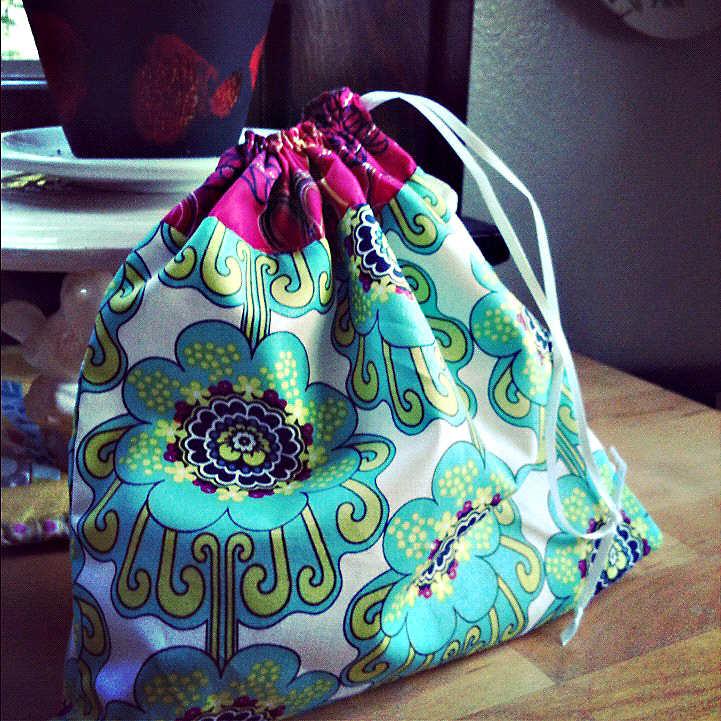
 I use these little bags for all sorts of things. They are great for travel, keeping dresser drawers organized, but most often I use them as gift bags. The only thing better than a wrapped present is when the wrapping is part of the present too. They are quick and easy to make, especially when you assembly line the process to make multiple bags.
These bags use two different fabrics, one for the main panel and one for the accent band.
For the main panels cut a rectangle that is 9 1/2" by 14". Cut that in half for two pieces that are 9 1/2" by 7".
For the accent band, start with a 9 1/2" by 6" rectangle and cut in half to get two 9 1/2" by 3" strips.
Attach the accent strips right sides together to the main panel with a 1/4" seam. I serged the raw edges, but it's not necessary. They could be zig-zagged, pinked, or left raw. After stitching, press the seam allowance towards the main panel.

With right sides together, stitch the two pieced panels together, keeping in mind how you will insert the drawstring. You could stitch it and then pick the stitches out for the ribbon. I usually leave an opening in my stitched seam. Using a 1/4" seam allowance, I stitch 2" down, back stitch to reinforce, leave a 1/2" space before I continue the seam around the rest of the bag.
To finish the top, fold over and press, 1/4" of the accent strip to the wrong side
Fold over the accent strip again to cover the accent seam. Be sure to cover the seam completely because the stitching will go on the main panel side of the seam.
To create the channel for the drawstring, stitch 1/4" below the seam where the accent band and main panel meet. Top stitch 3/4" from the top of the accent band.
Press. Cut a length of ribbon 24"-36". Using a safety pin, run ribbon through channel and knot the ends of the ribbon so they don't fray.
Fill bags with brownies and you have a great gift to share with your friends.


