Posts tagged quilt block
all in a weeks work

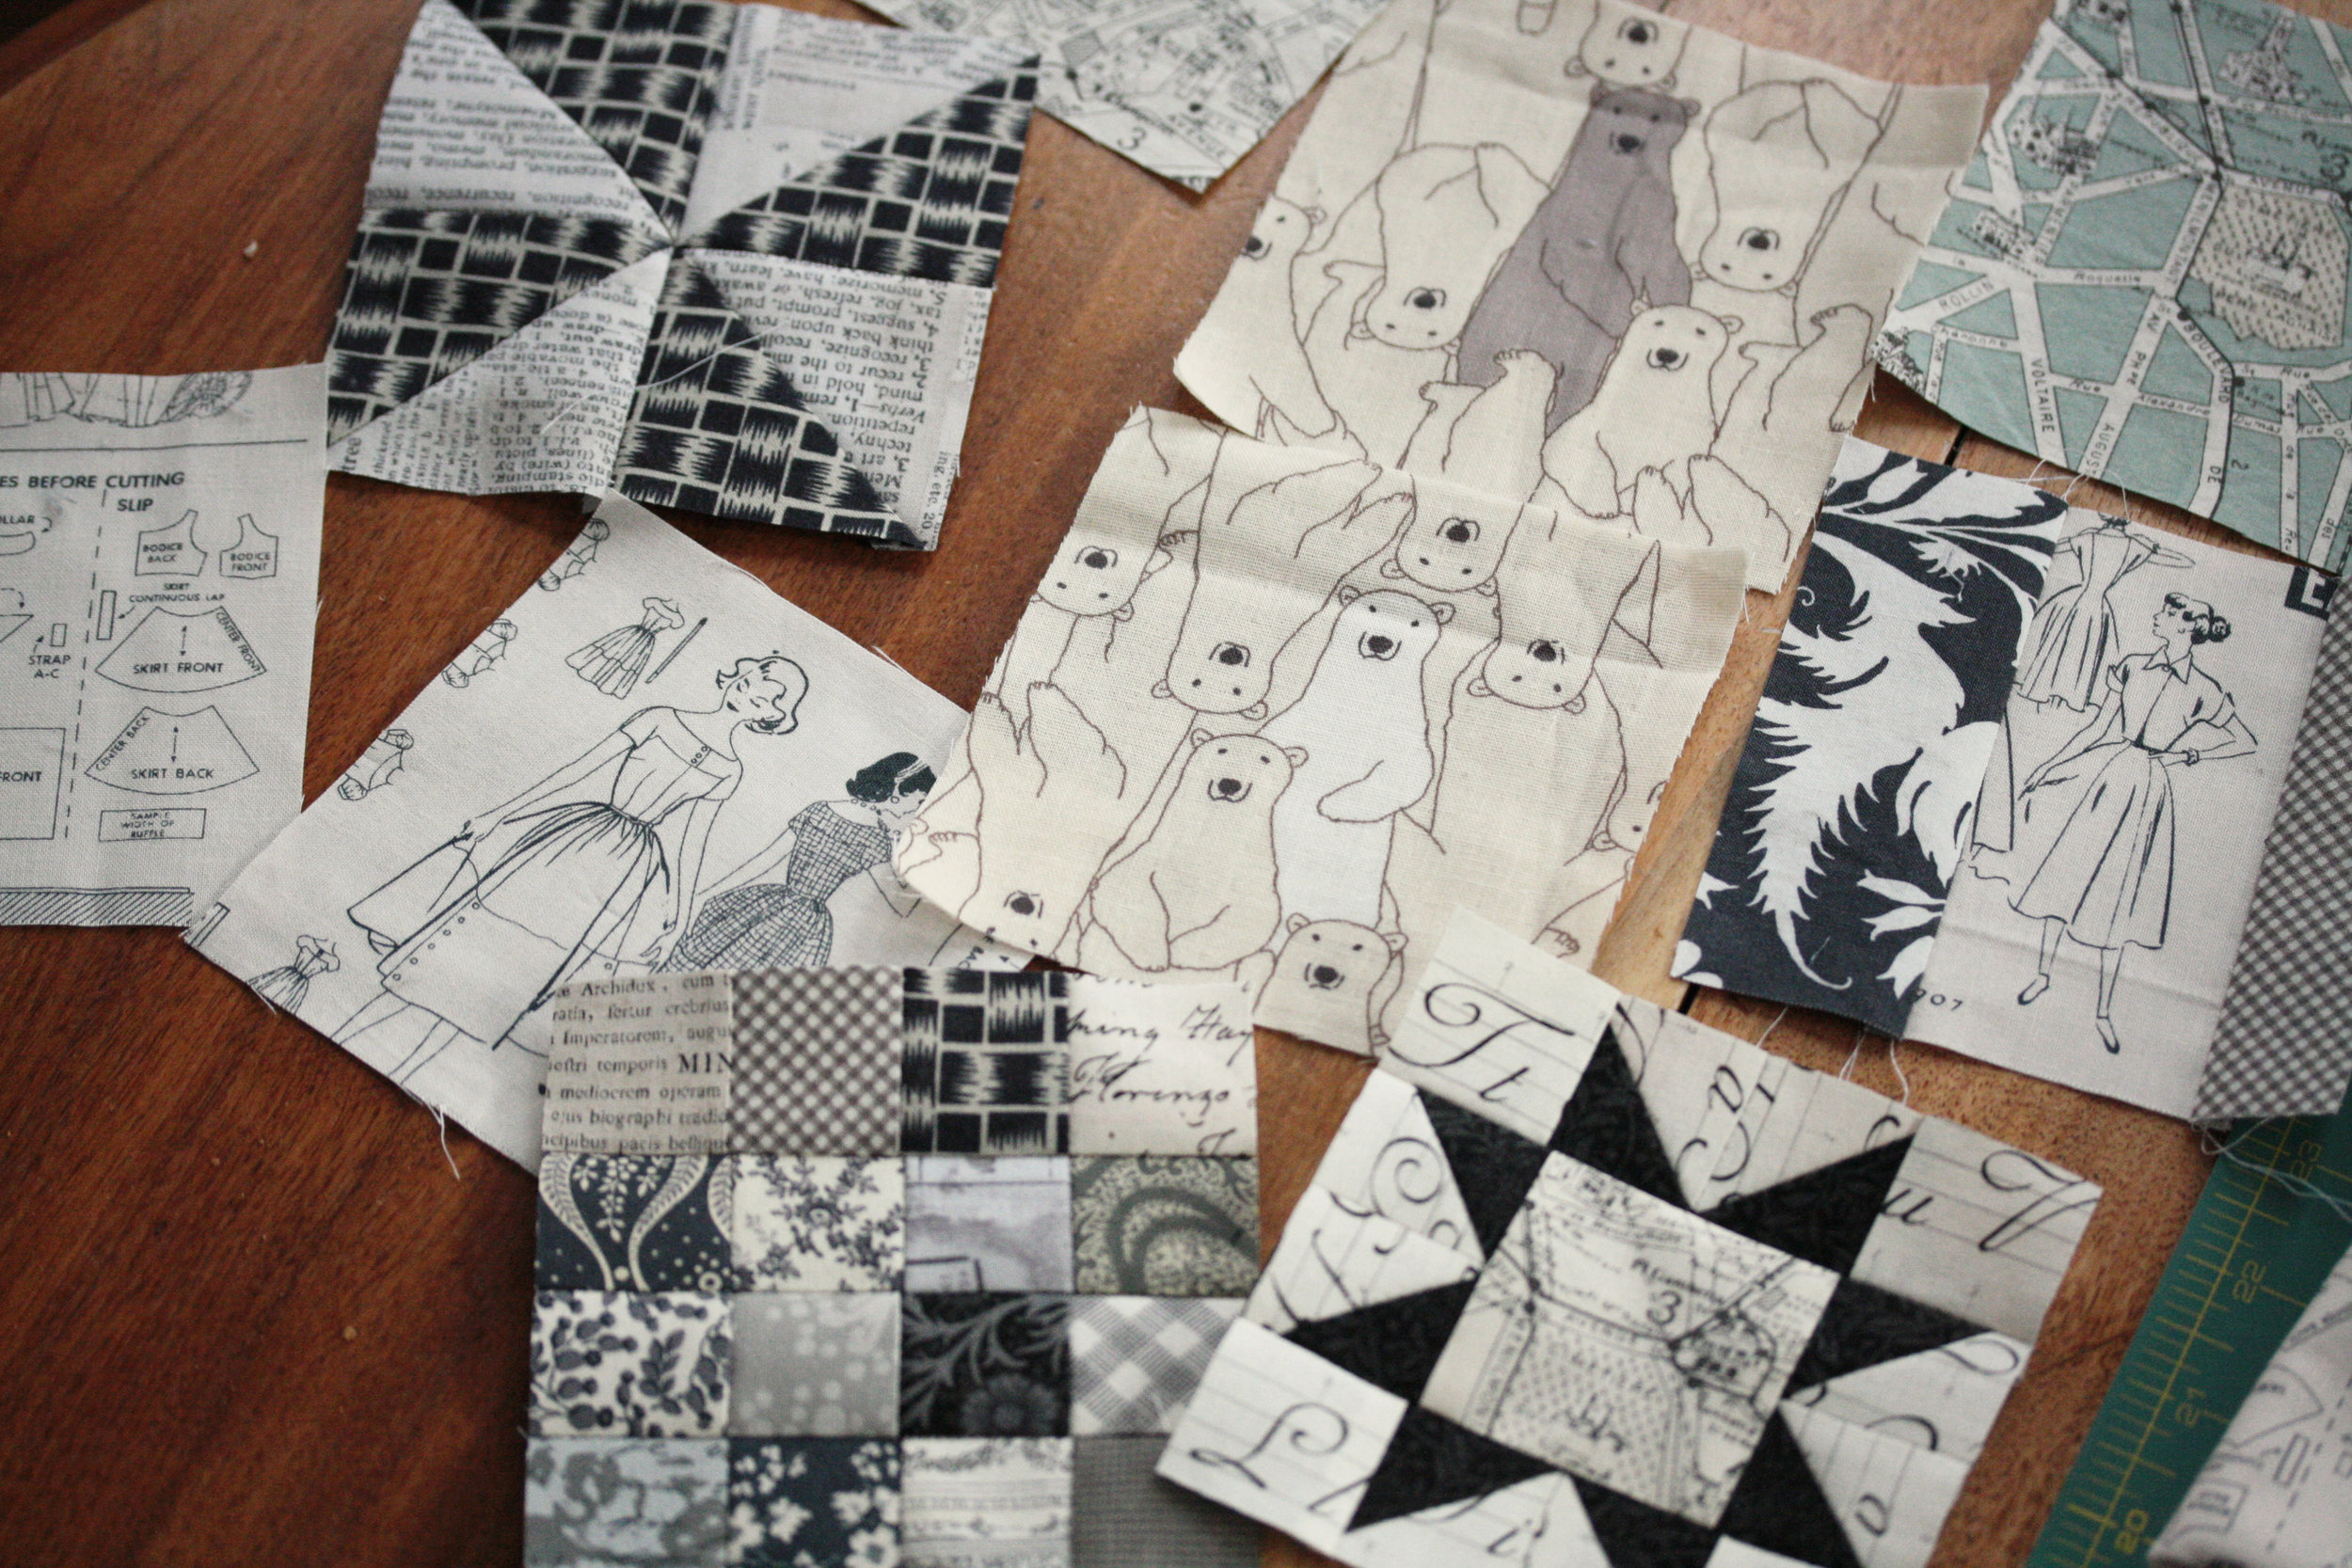
I managed to ignore a good portion of the housework this week in favor of some fun sewing projects. I've started a new quilt for our bed.  I've had a fabric stack set aside to make a bear paw quilt for our bed for over a year now.

fabric stack for bear paw

Then Dana from Old Red Barn started up a little scrappy bear paw quilt along over on instagram.  It was just the kickstart I needed.
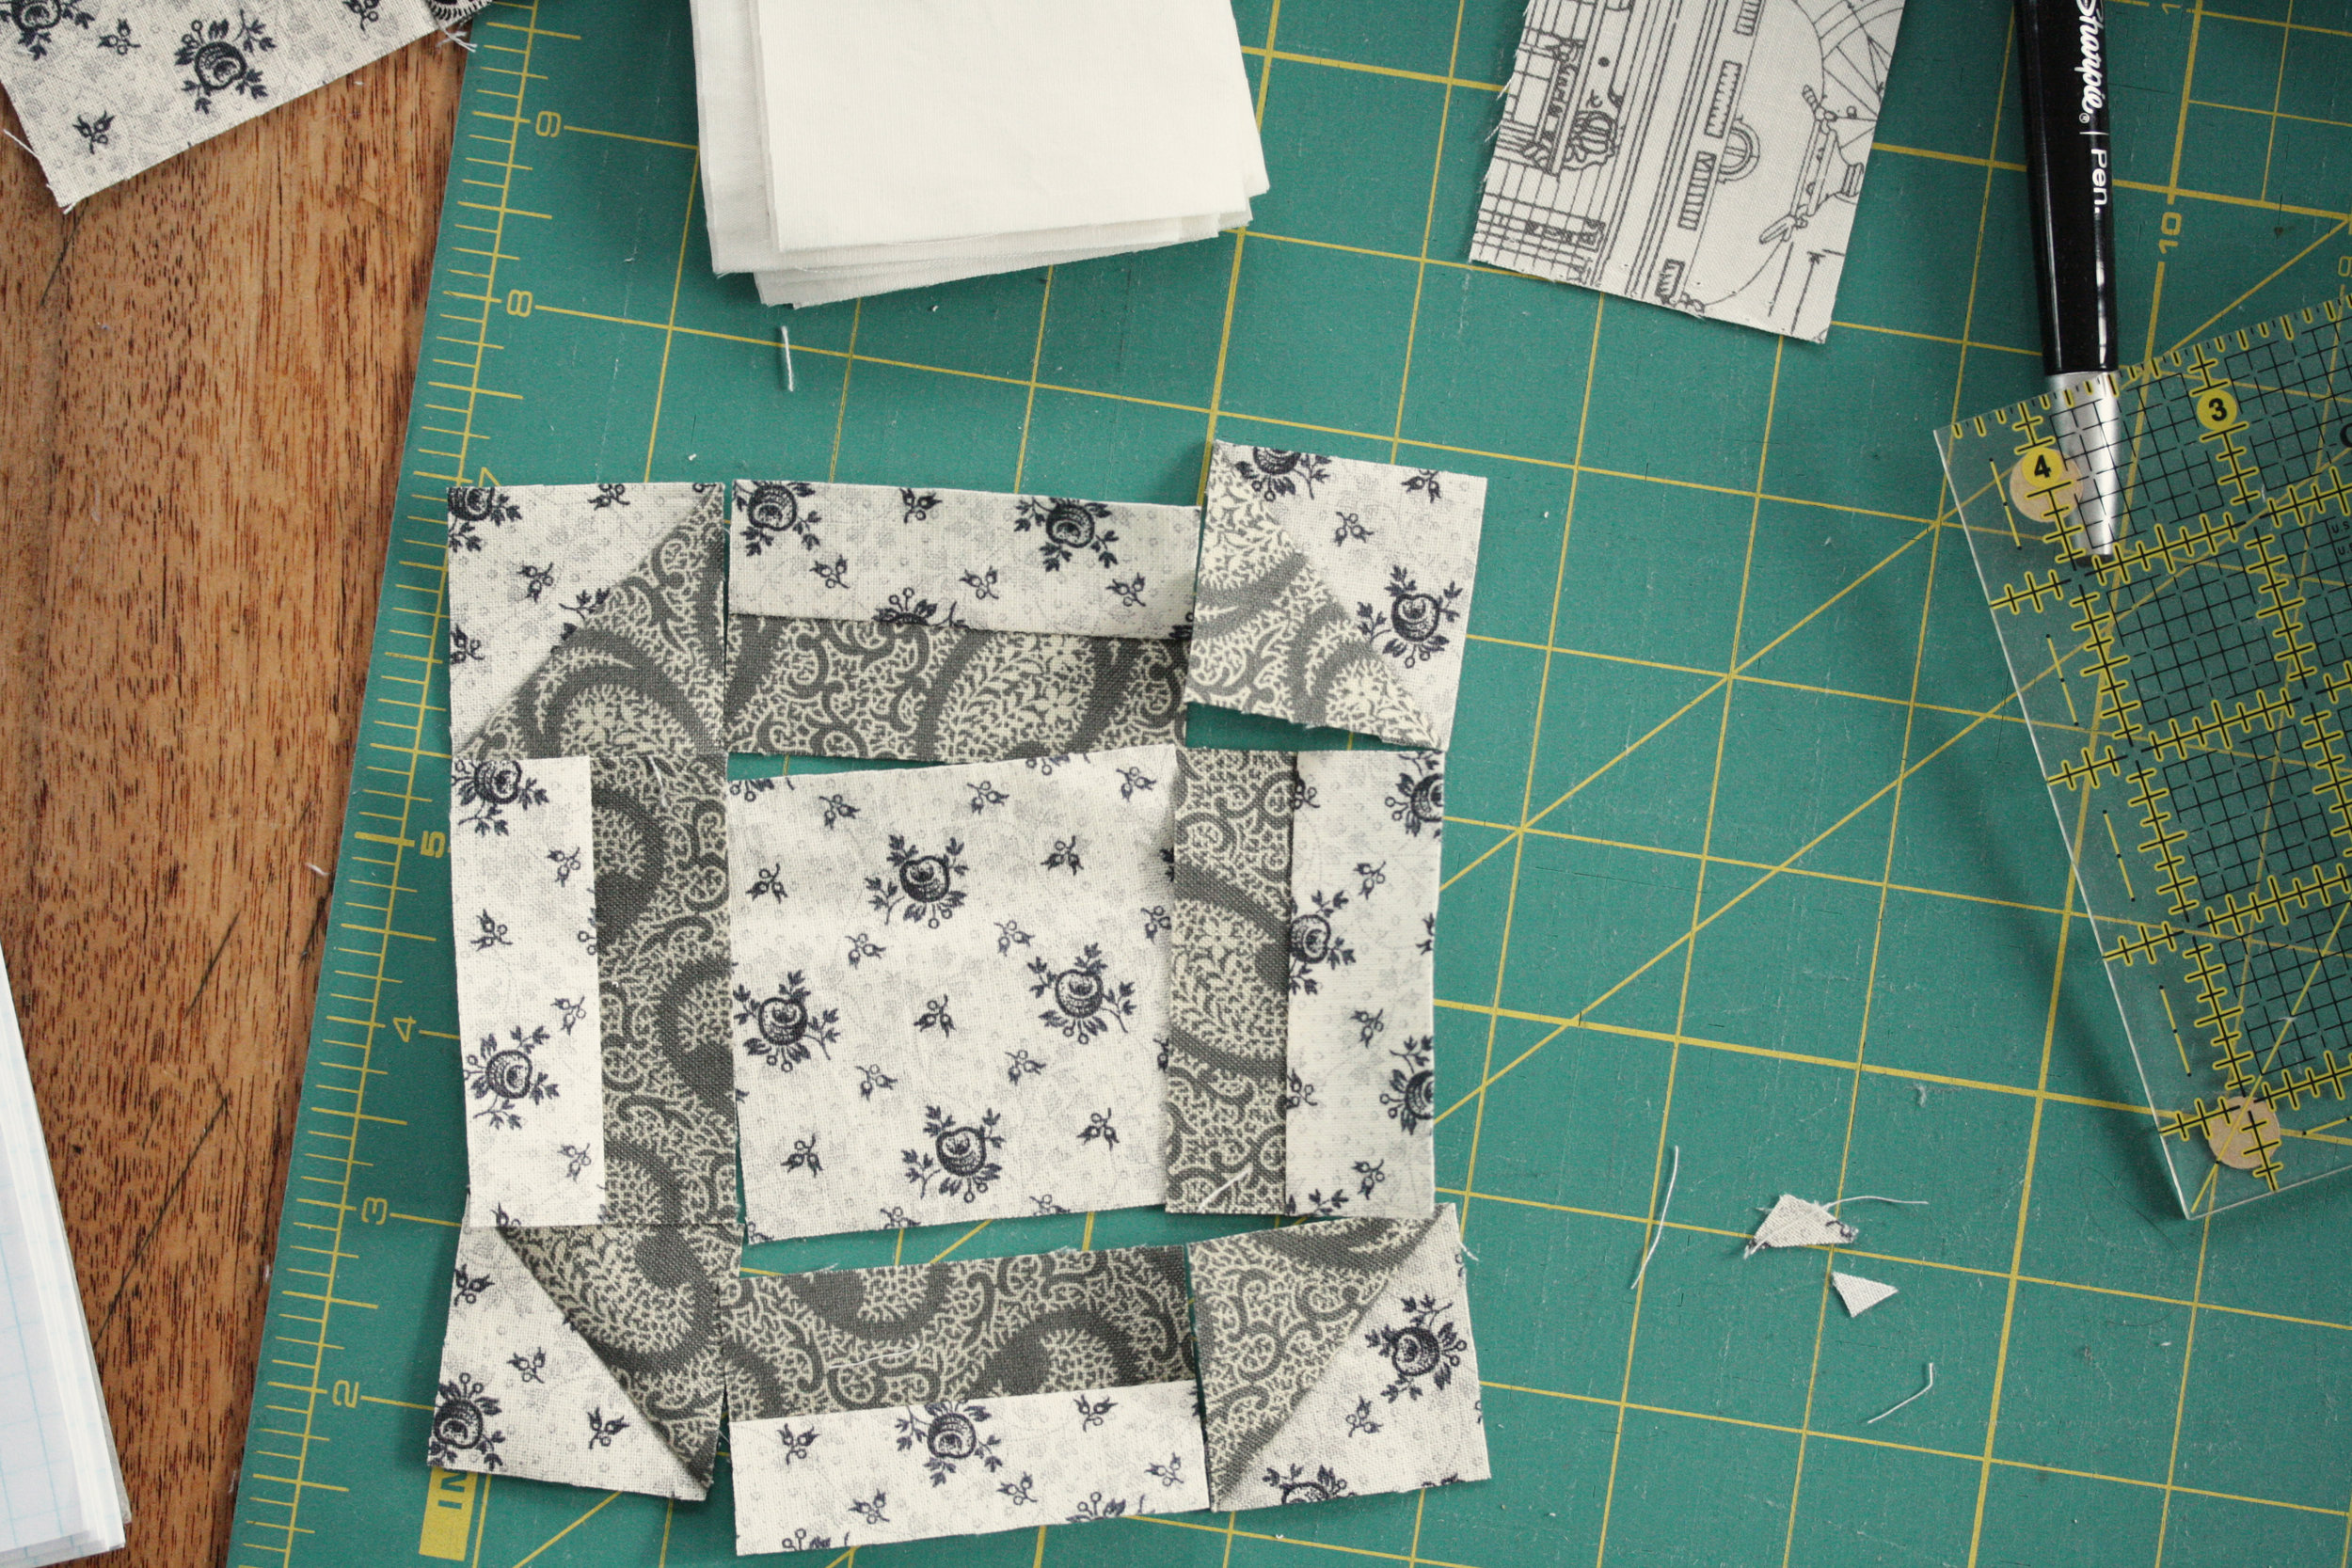
churn dash for bear paw

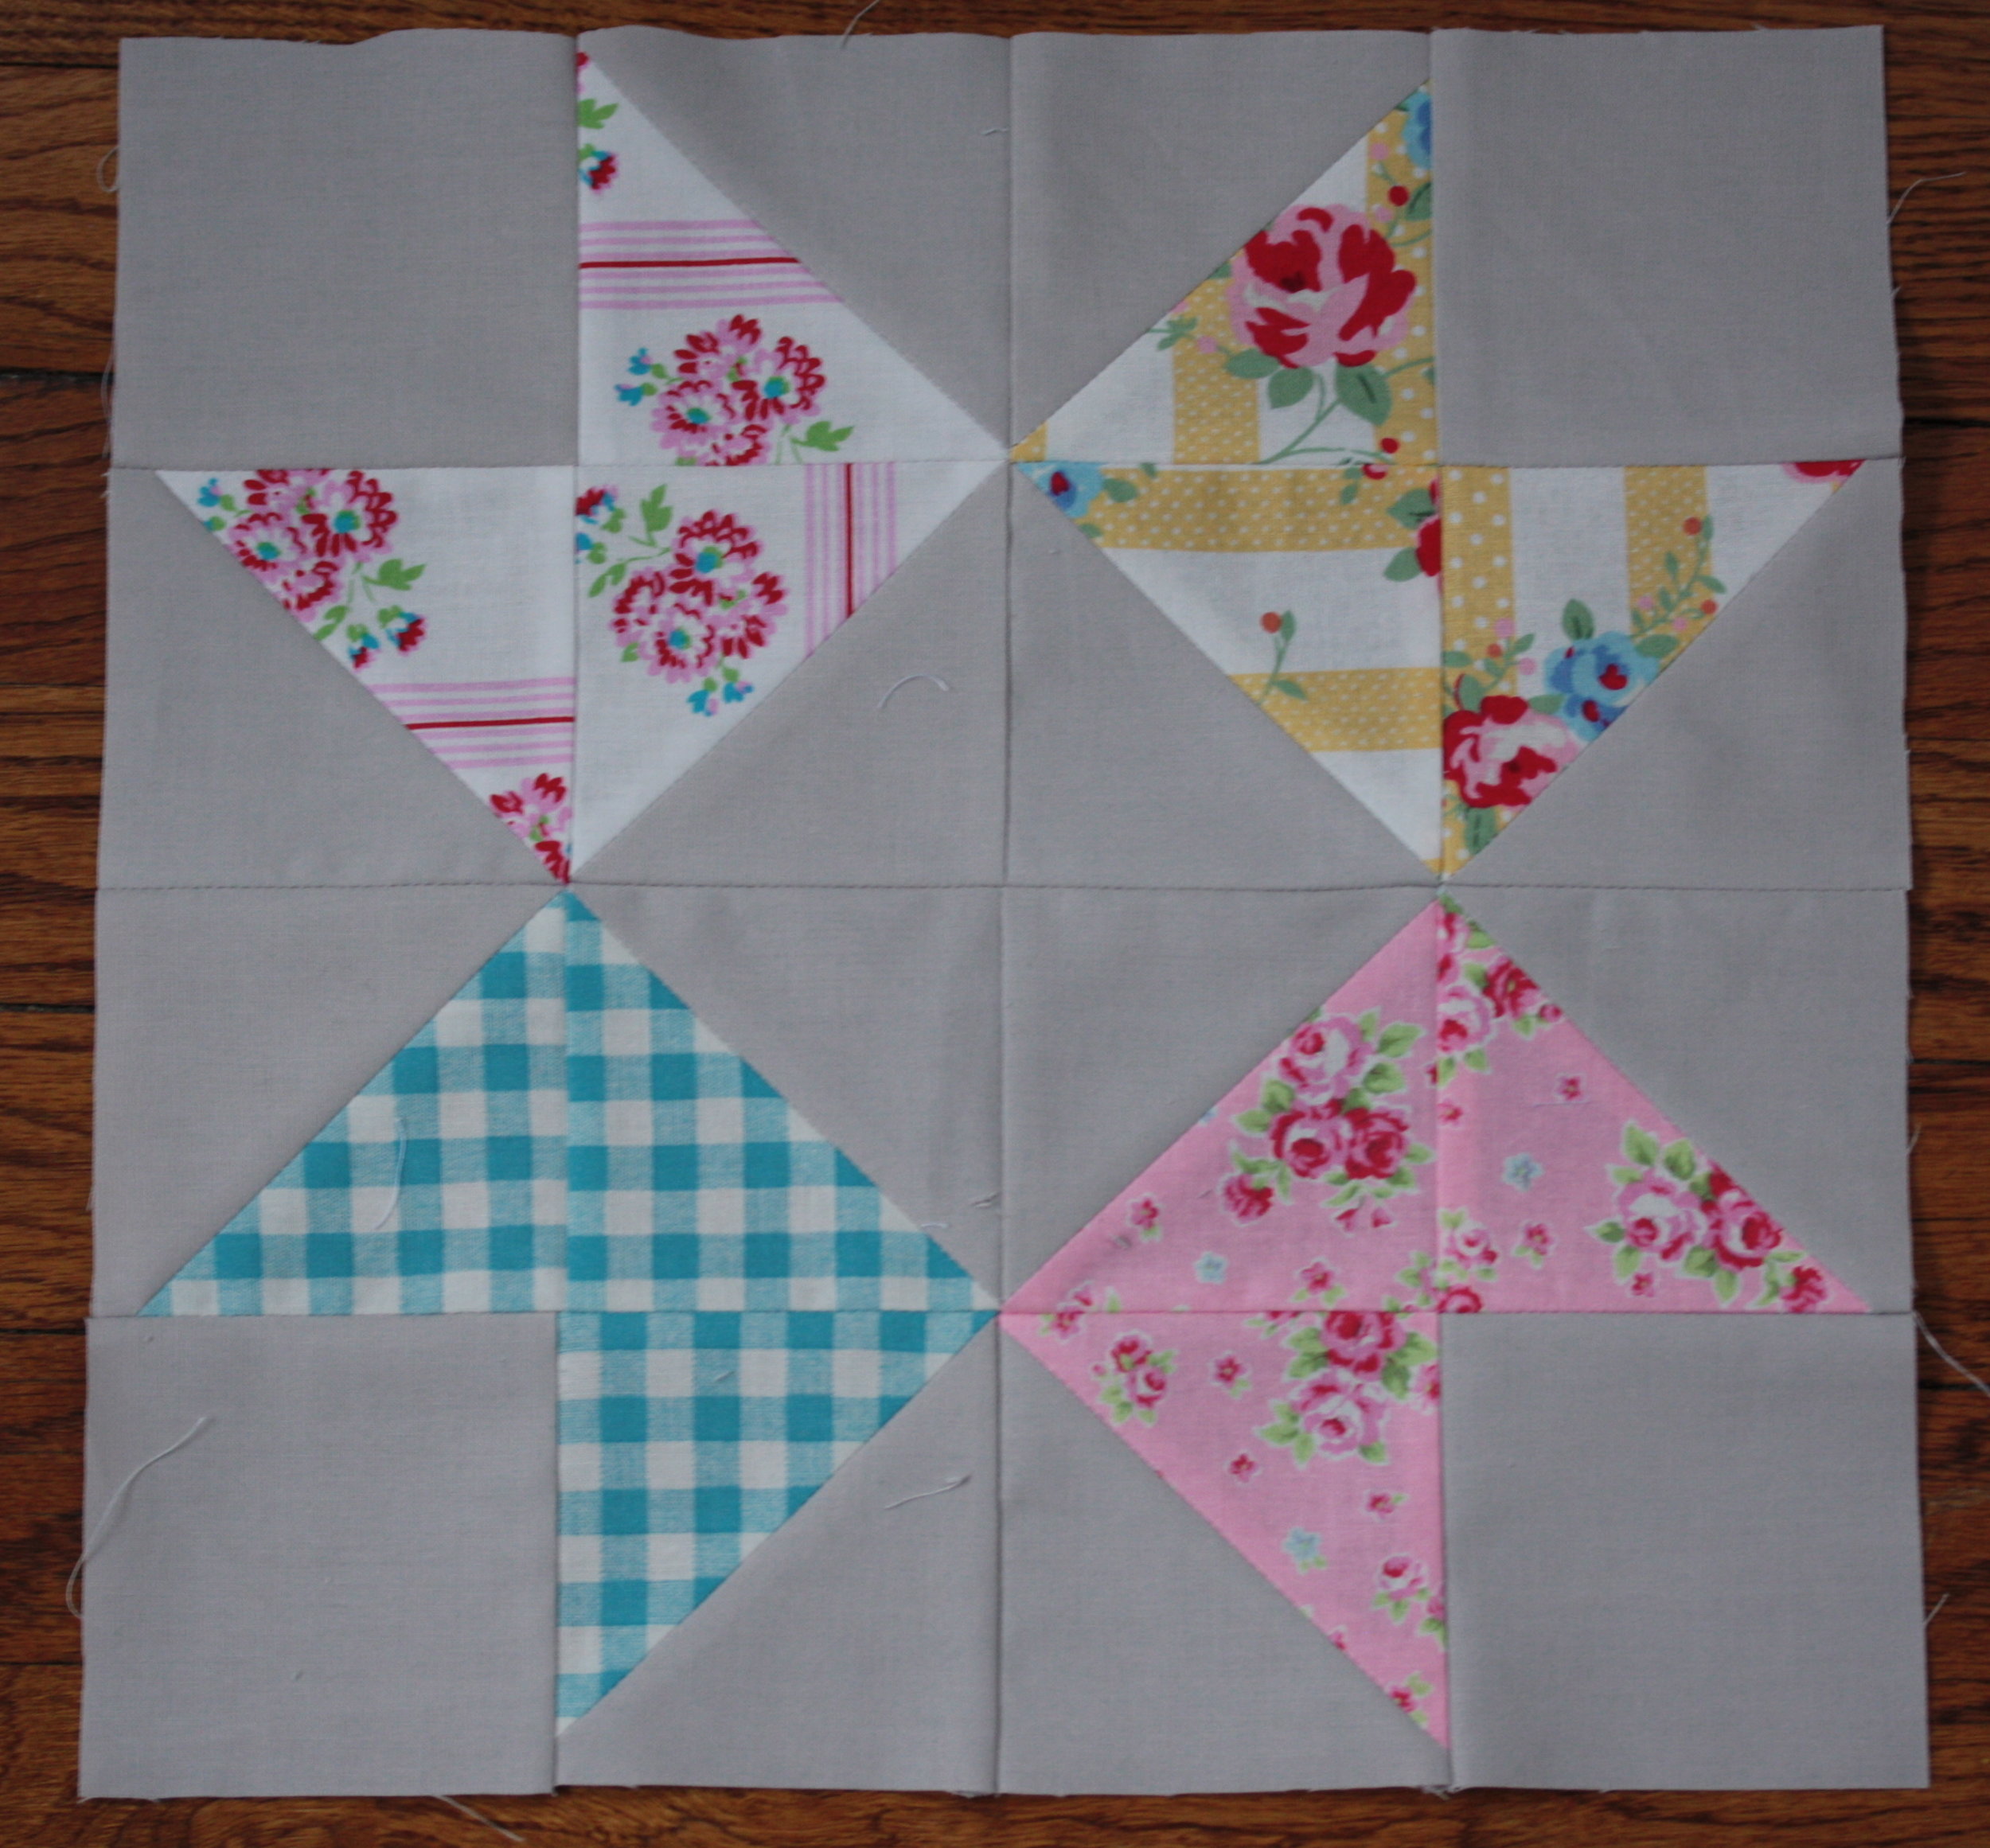
I'm planning to do one special accent paw in each block so I spent some time this week working on some of those.

blocks for bearpaw

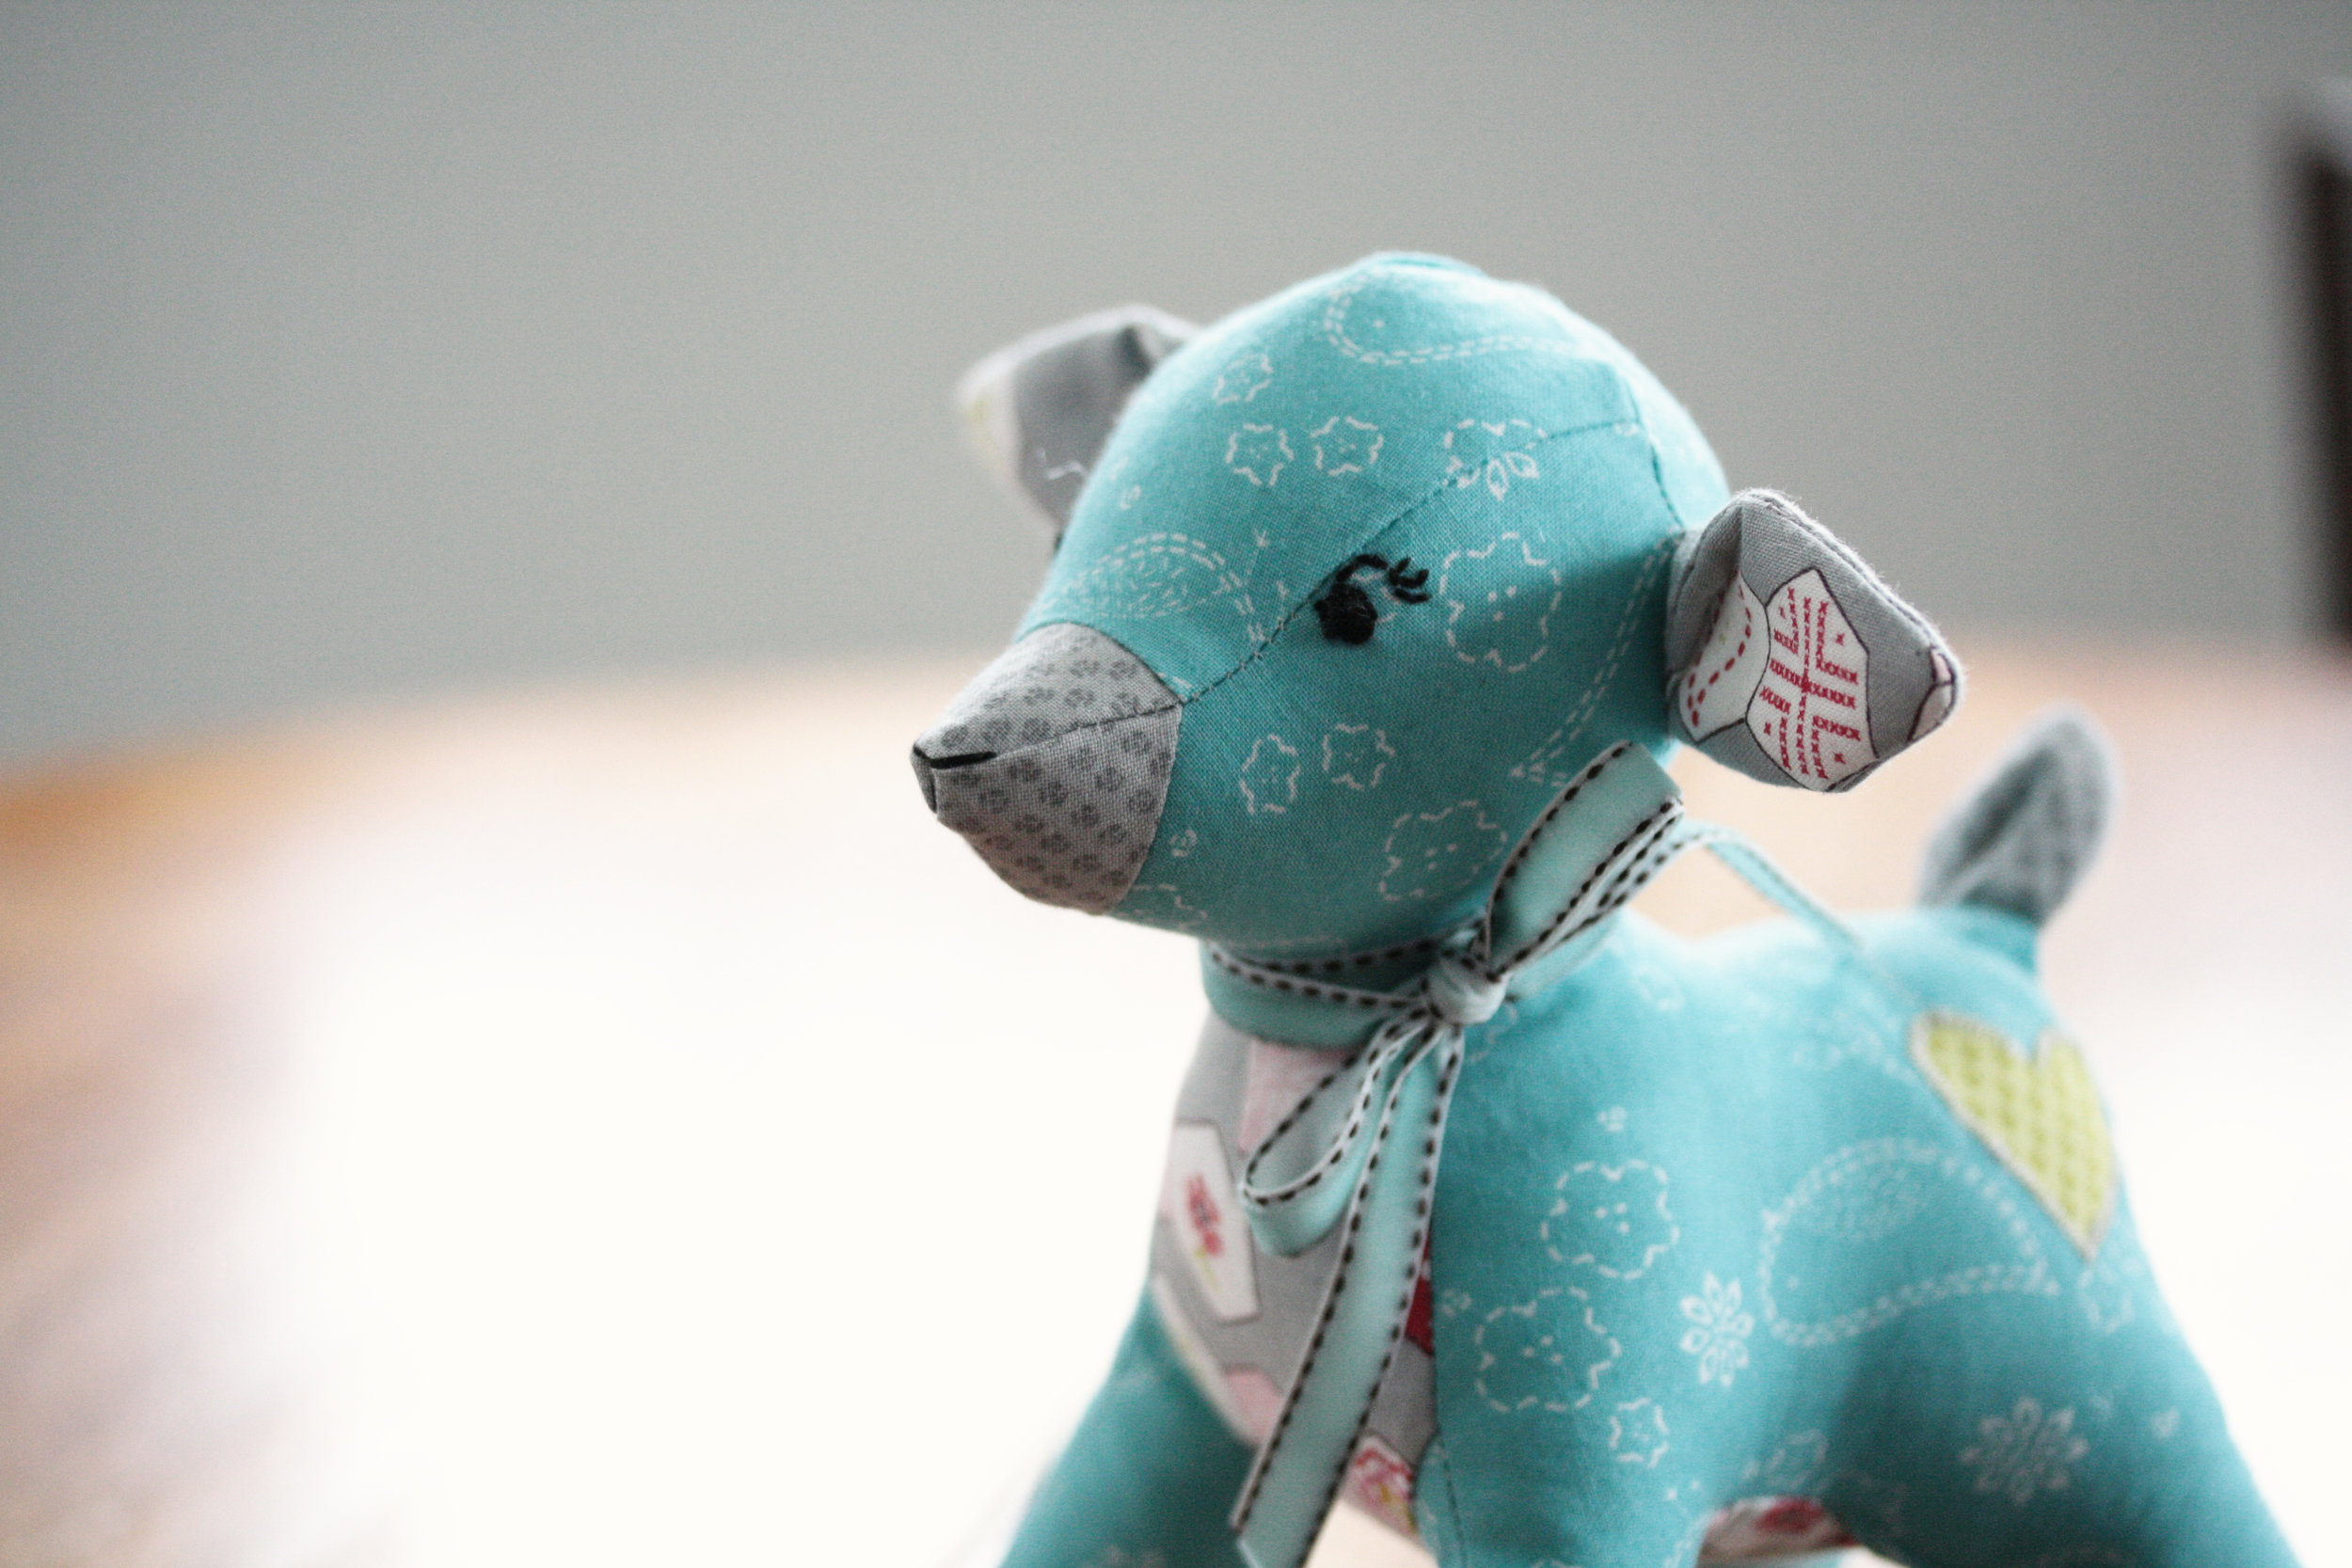
Lulu's friend has a birthday coming up so she chose the fabric and I did the stitching on this very dear deer.  The pattern is from Issue 2 of Love Patchwork and Quilting.  (one of the cutest quilting and stitching magazines around)

dear deer

I was also lucky enough to get a request from Anna of Noodlehead to try out her new road trip case pattern.  I'm already thinking about what fabrics I will use on my next one.

I love the button and loop closure.
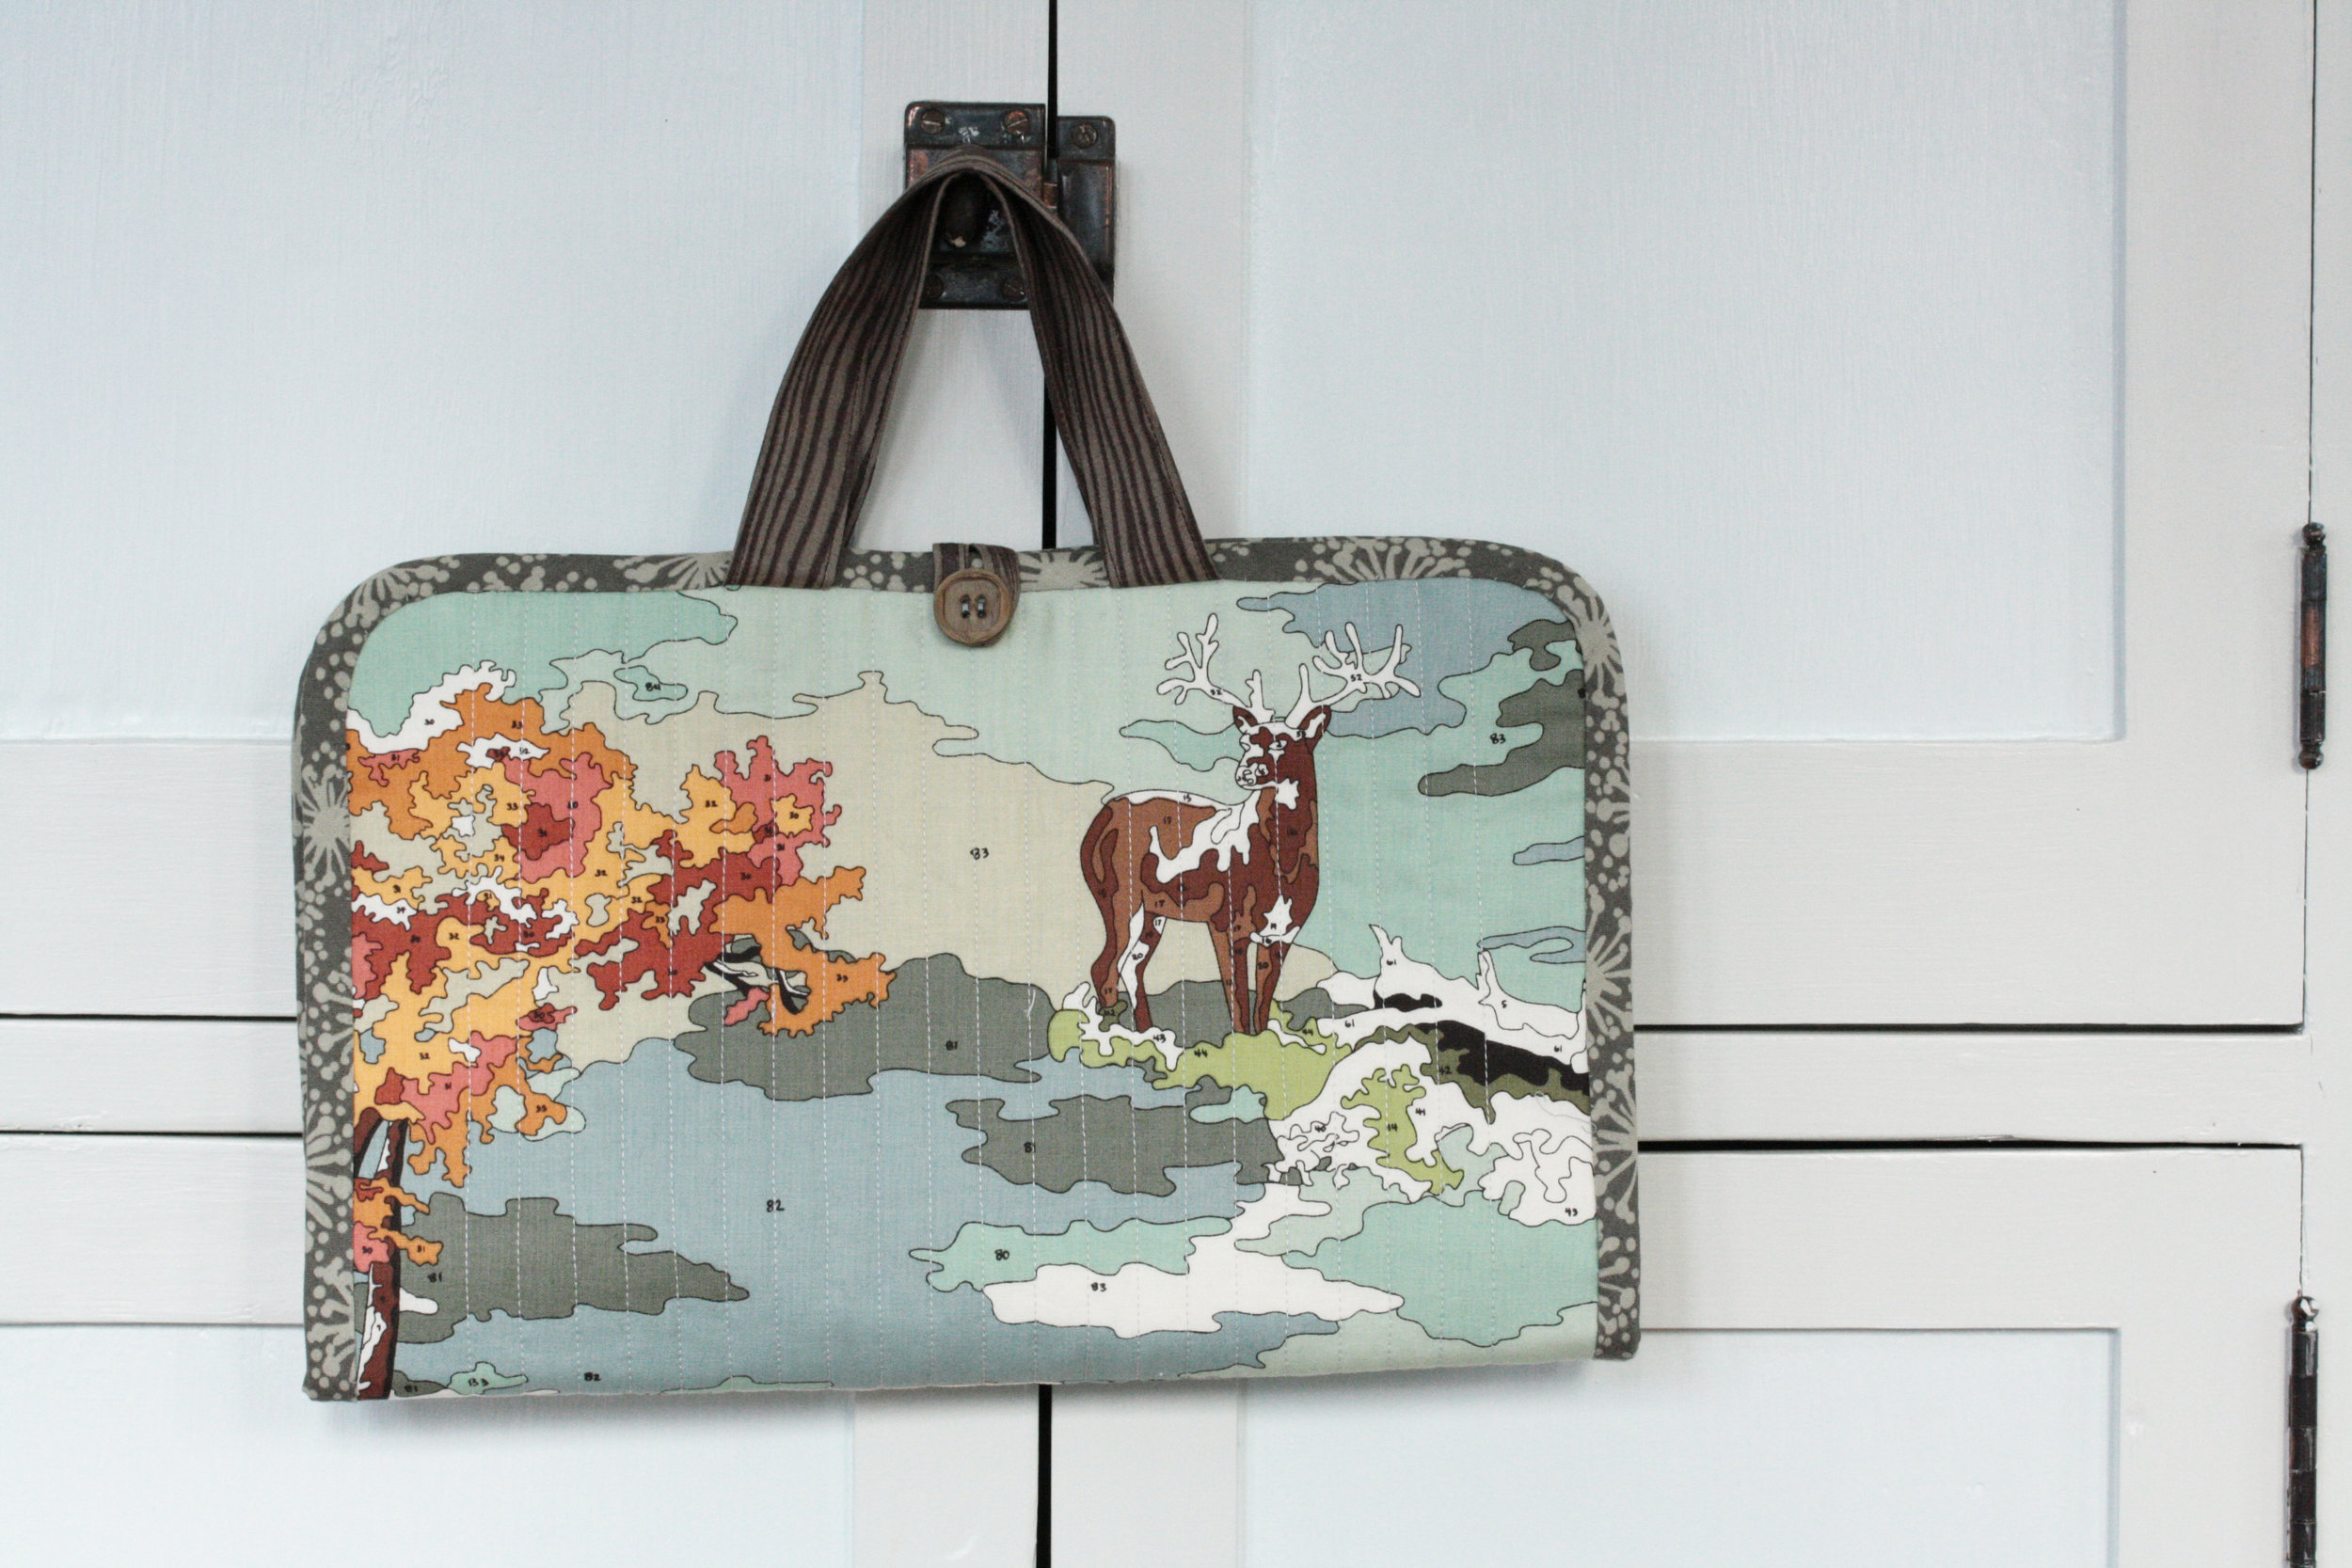
road trip case

There are two pocket options.  I chose the four pocket version with flaps.

inside of road trip case

I'm filling mine with some of my hand piecing supplies.

It was my first time working with vinyl.  I was nervous because I have heard so much over the years about how it can get stuck on presser feet while you are stitching, but I used my walking foot and it was a breeze!  I have to admit, I did get over confident and think that I could machine finish the binding.  A skill I've never been able to master and managed to get some stitches on the vinyl.  In the end, I couldn't take the sloppy stitching lines so I picked them out and finished it by hand.  I was left with some tiny holes in the vinyl, but I think they are less distracting than the line of stitching so I'm happy.

Thankfully this one wasn't a gift so I was able to accept my mistake and stitch on.  Well, again I have to admit first I ate a handful of chocolate covered almonds and then I stitched on.  I think those tiny holes might be a little reminder of how important it is to slow down and finish a project the right way.

Sometimes stubbornness just gets in the way doesn't it?

the neglectful blogger

hi  

I've been sewing, honest, I have.  I've been sewing so much that a lot of other things have been thrown by the wayside.  Important things like taking pictures of projects and writing posts and ironing.

I'm doing surprisingly well at keeping up with my 365.


These are a couple of photos from February.

I'm also following along with Faith's Solstice series over at Fresh Lemons Quilts.

Here's what I have so far...

I'm loving how they are coming together.


i was a bit preoccupied

The past few weeks I've been getting ready for a trip.  It was a big deal because I haven't travelled solo since the 90's.  I was feeling confident until one night when cj was in tears asking how I could leave when I promised him I would always be there for him.  Talk about some Mom Guilt!  I took a deep breath, had some friends and the spouse promise me that all would be well and... I went to the Sewing Summit...

It was cloudy when I arrived, so I was shocked to see the mountains outside my window when I woke up the next day.

All I can say is there are not enough adjectives to describe the trip...amazing, funfilled, overwhelming, thoughtful, kind, inspiring, exhausting, hilarious...

It was lovely to hang out with people who's blogs and tweets I've been following for so long, and also to meet new people {including Megan's awesome Mom & Dad!}

Honestly, it was just great to hang out and instead of typing LOL we could actually just laugh together.

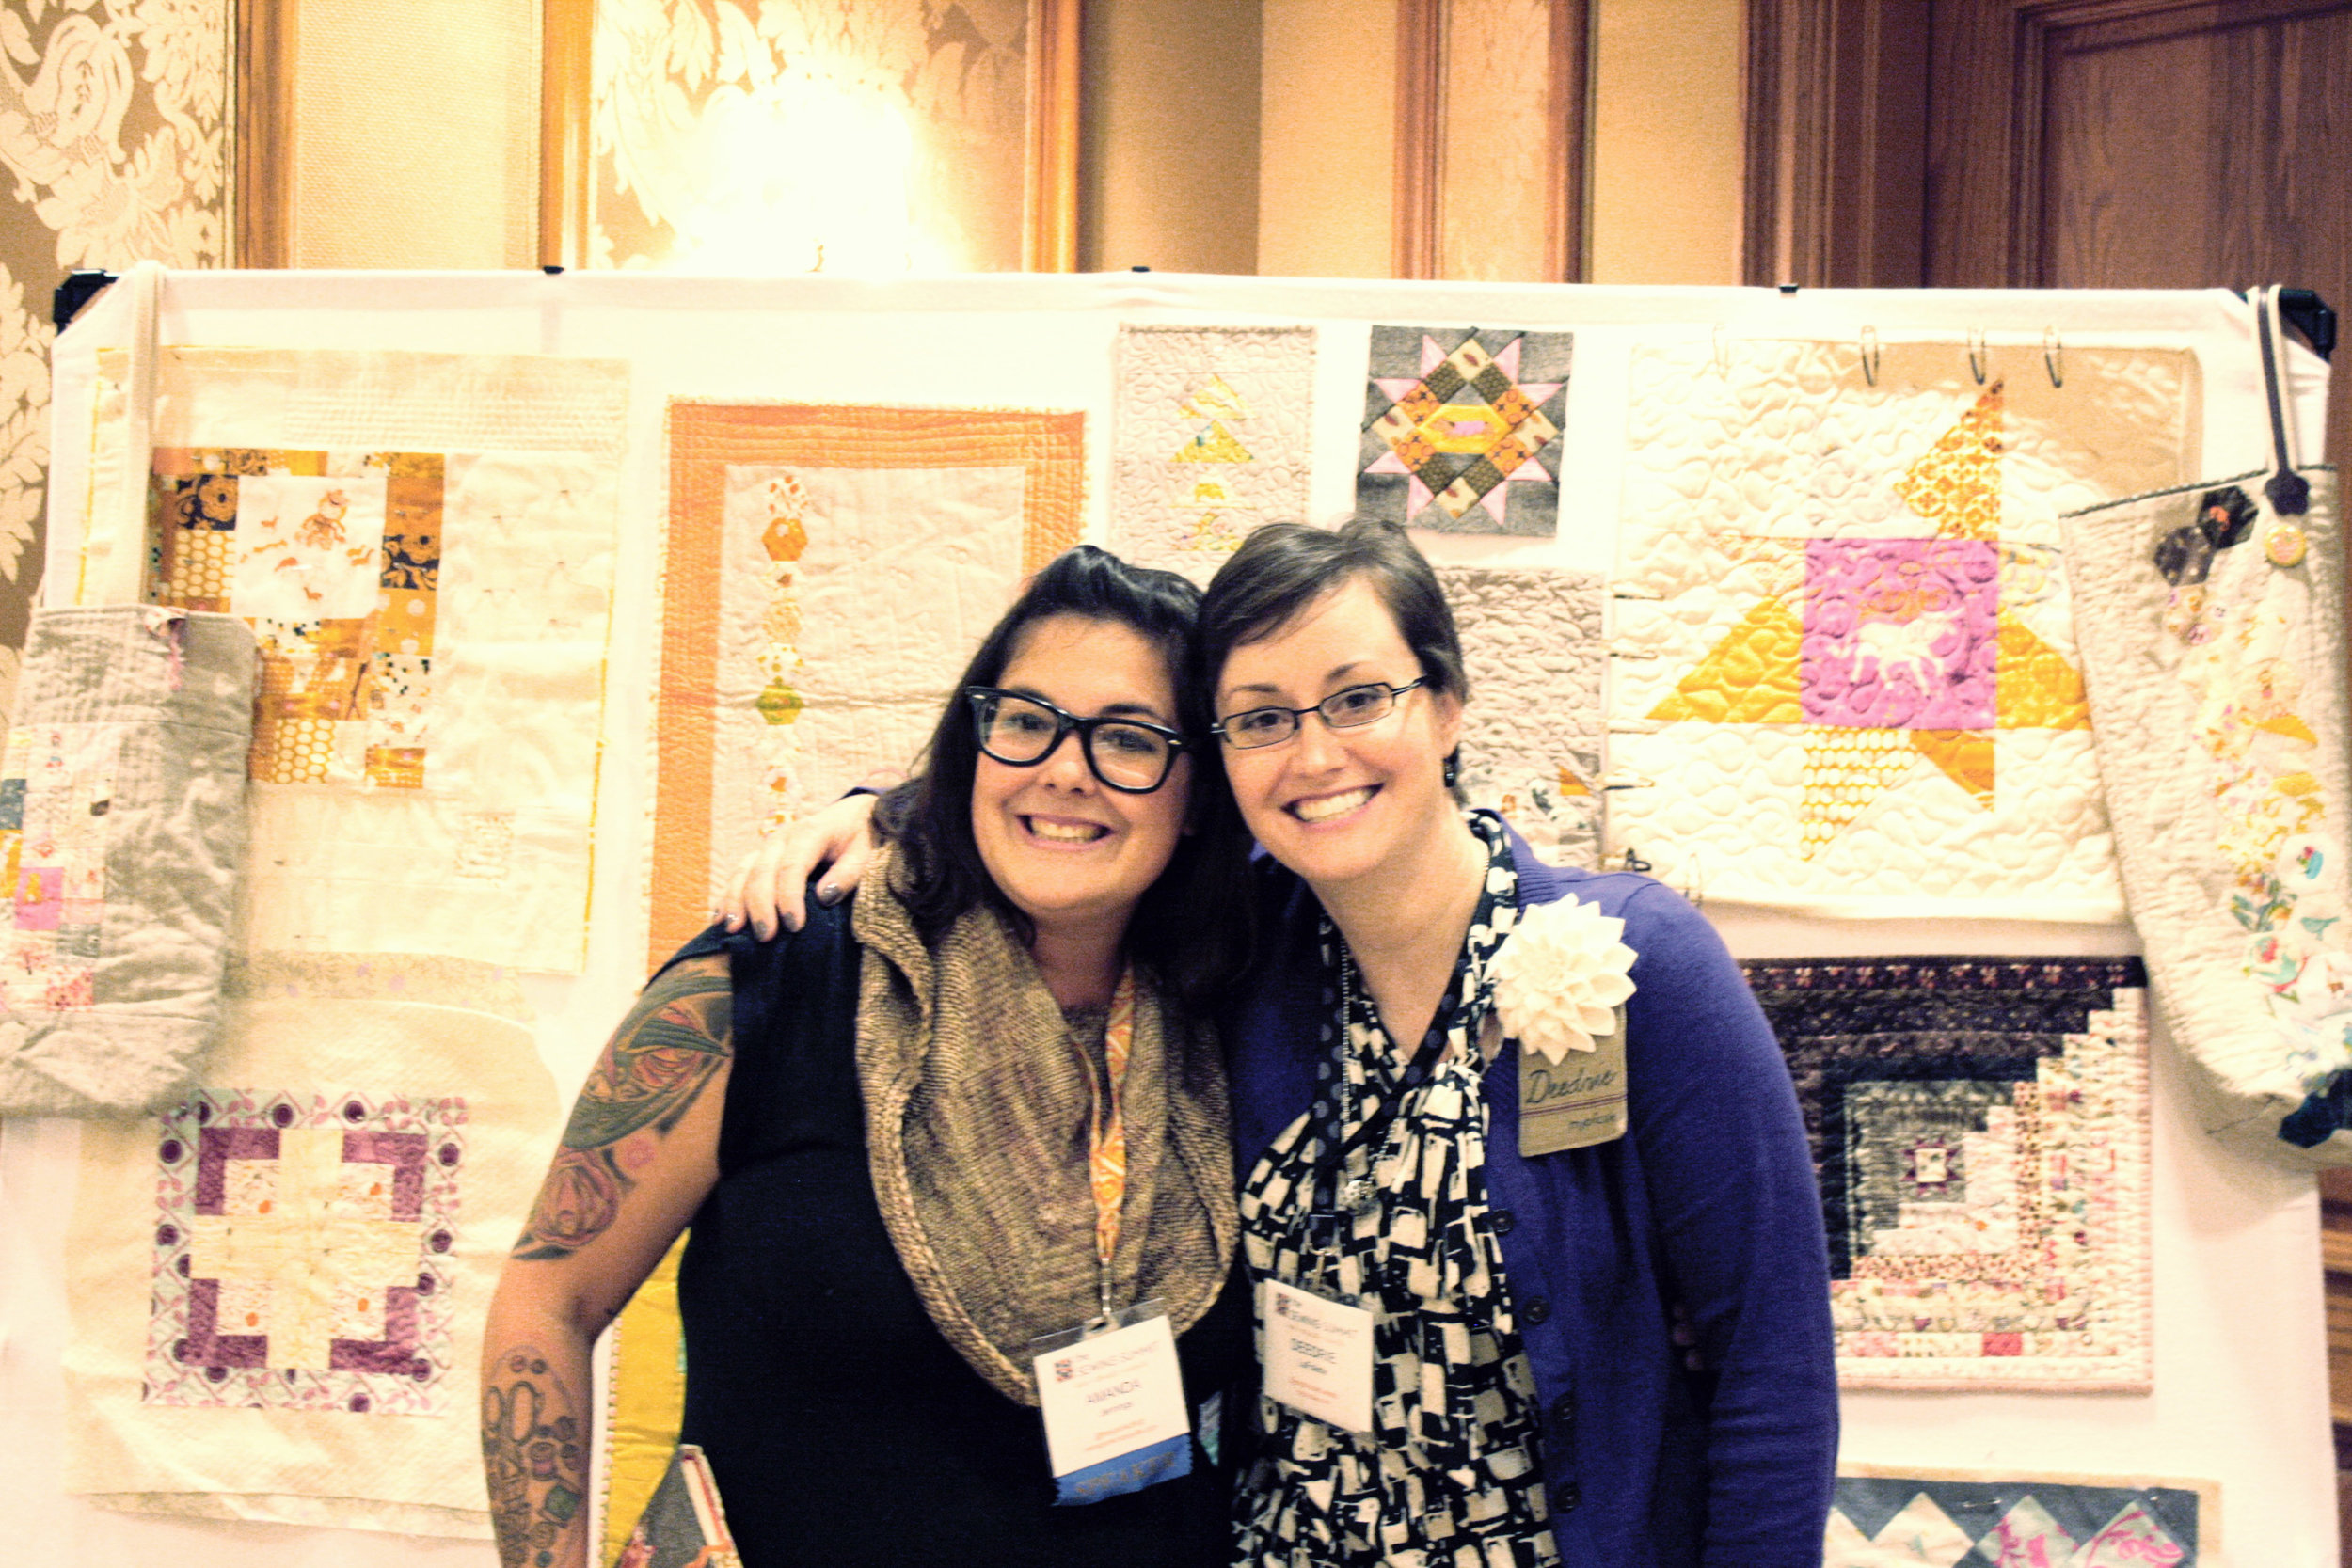
I was lucky enough to be Amanda's teaching assistant.  You can blame the boom of mini quilts that's about to happen all over the internet on her uber-inspiring class.

I got to sit with Claudia during the improve piecing class.

I know what you're thinking a bunch of ladies on the loose, there must of been some crazy nights...

like this, but she's Canadian, and she's awesome...

mostly, this happened...

(thanks for sharing your pic Amanda)

I love this pic too.

All the classes and dinners and chats and stitching flew by and I was heading home before I knew it.  Oh and  I also saved a camera.

Things at the cottage were fine.  The spouse learned how to make tacos, lulu was thrilled I was able to find sock monkey flannel to make her some new pj's, and cj keeps the little owl I found him by his bed at night.  He had some trouble sleeping while I was gone and there were a few extra "NO" and "I don't want to" last week, but he seems to be getting back on track.

I'm doing my best to finish all the projects I've already started before starting anything new.

We'll see how that goes.

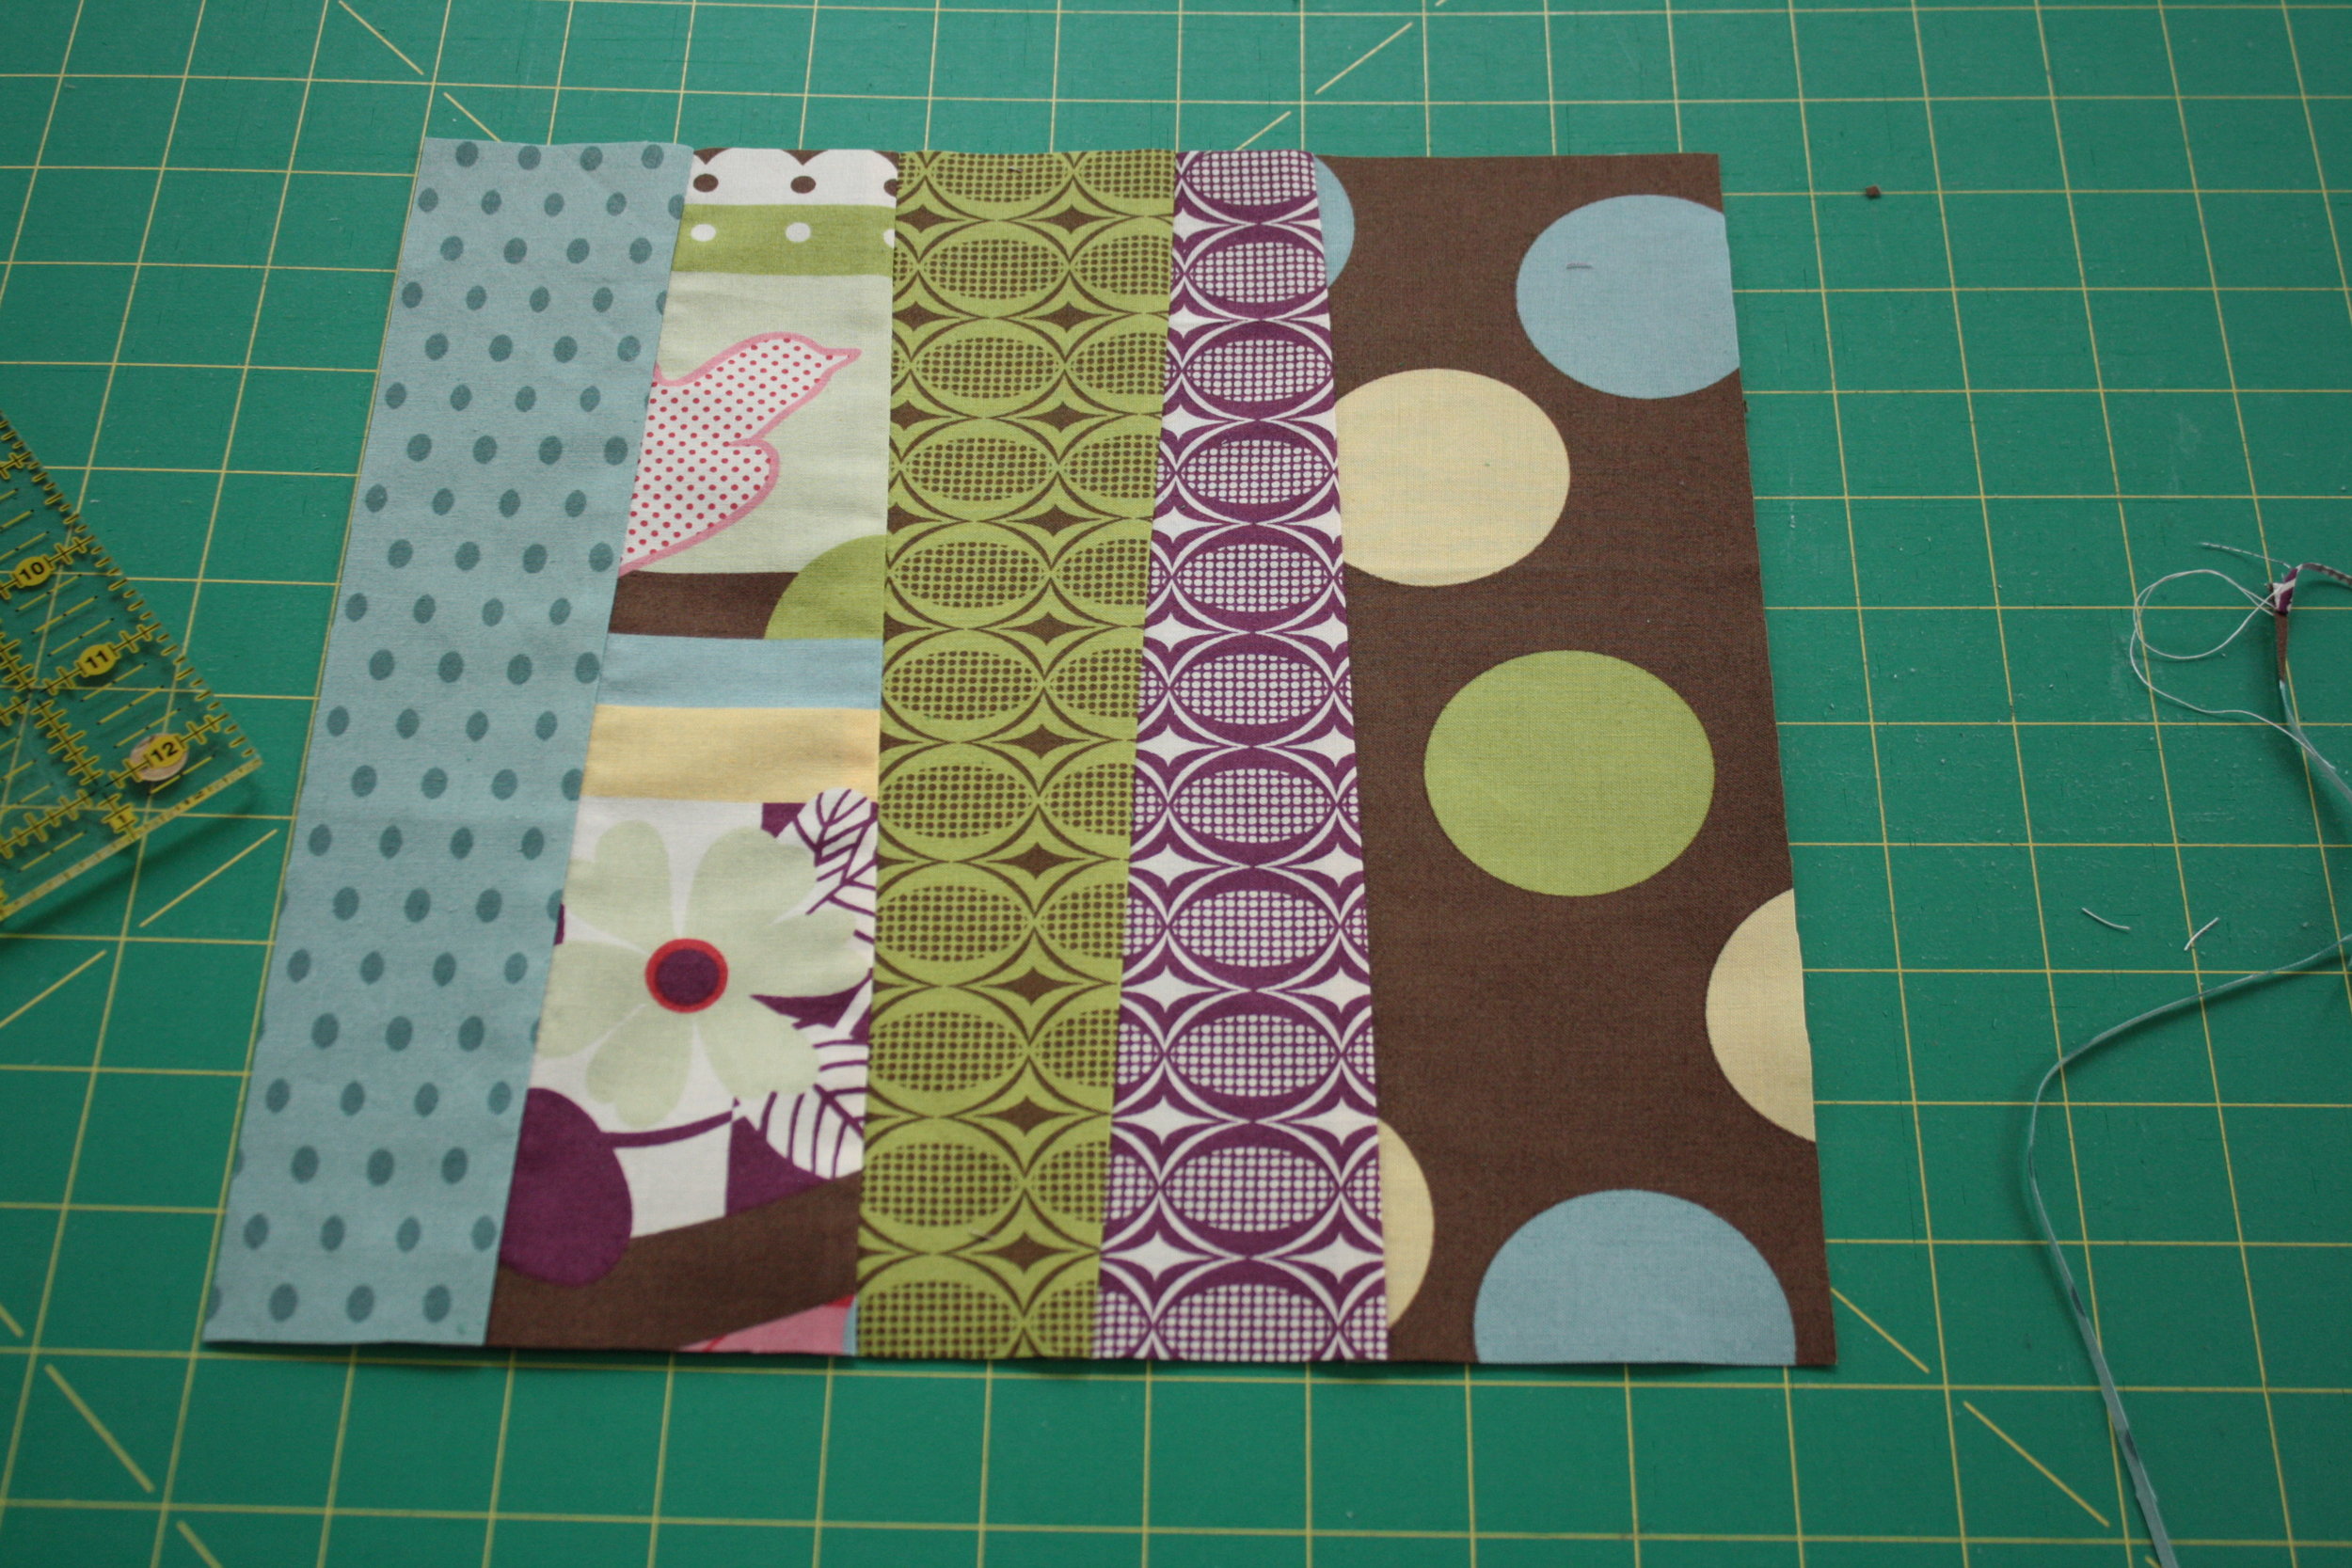
how to make a broken fence block

I always forget all the little short cuts that can make patchwork go more smoothly. I think about strip sets only after I've individually stitched an entire postage stamp style quilt.

So, when it came to making a non-traditional rail fence block I put extra thought into what I could do to make the piecing part go a little more smoothly.

Here's how I make the blocks for my broken fence quilt.

I cut 12 1/2" squares of fabric.  (a total of 36 for my lap quilt)

I want 5 bars in each block so I work with 5 pieces of fabric at a time.

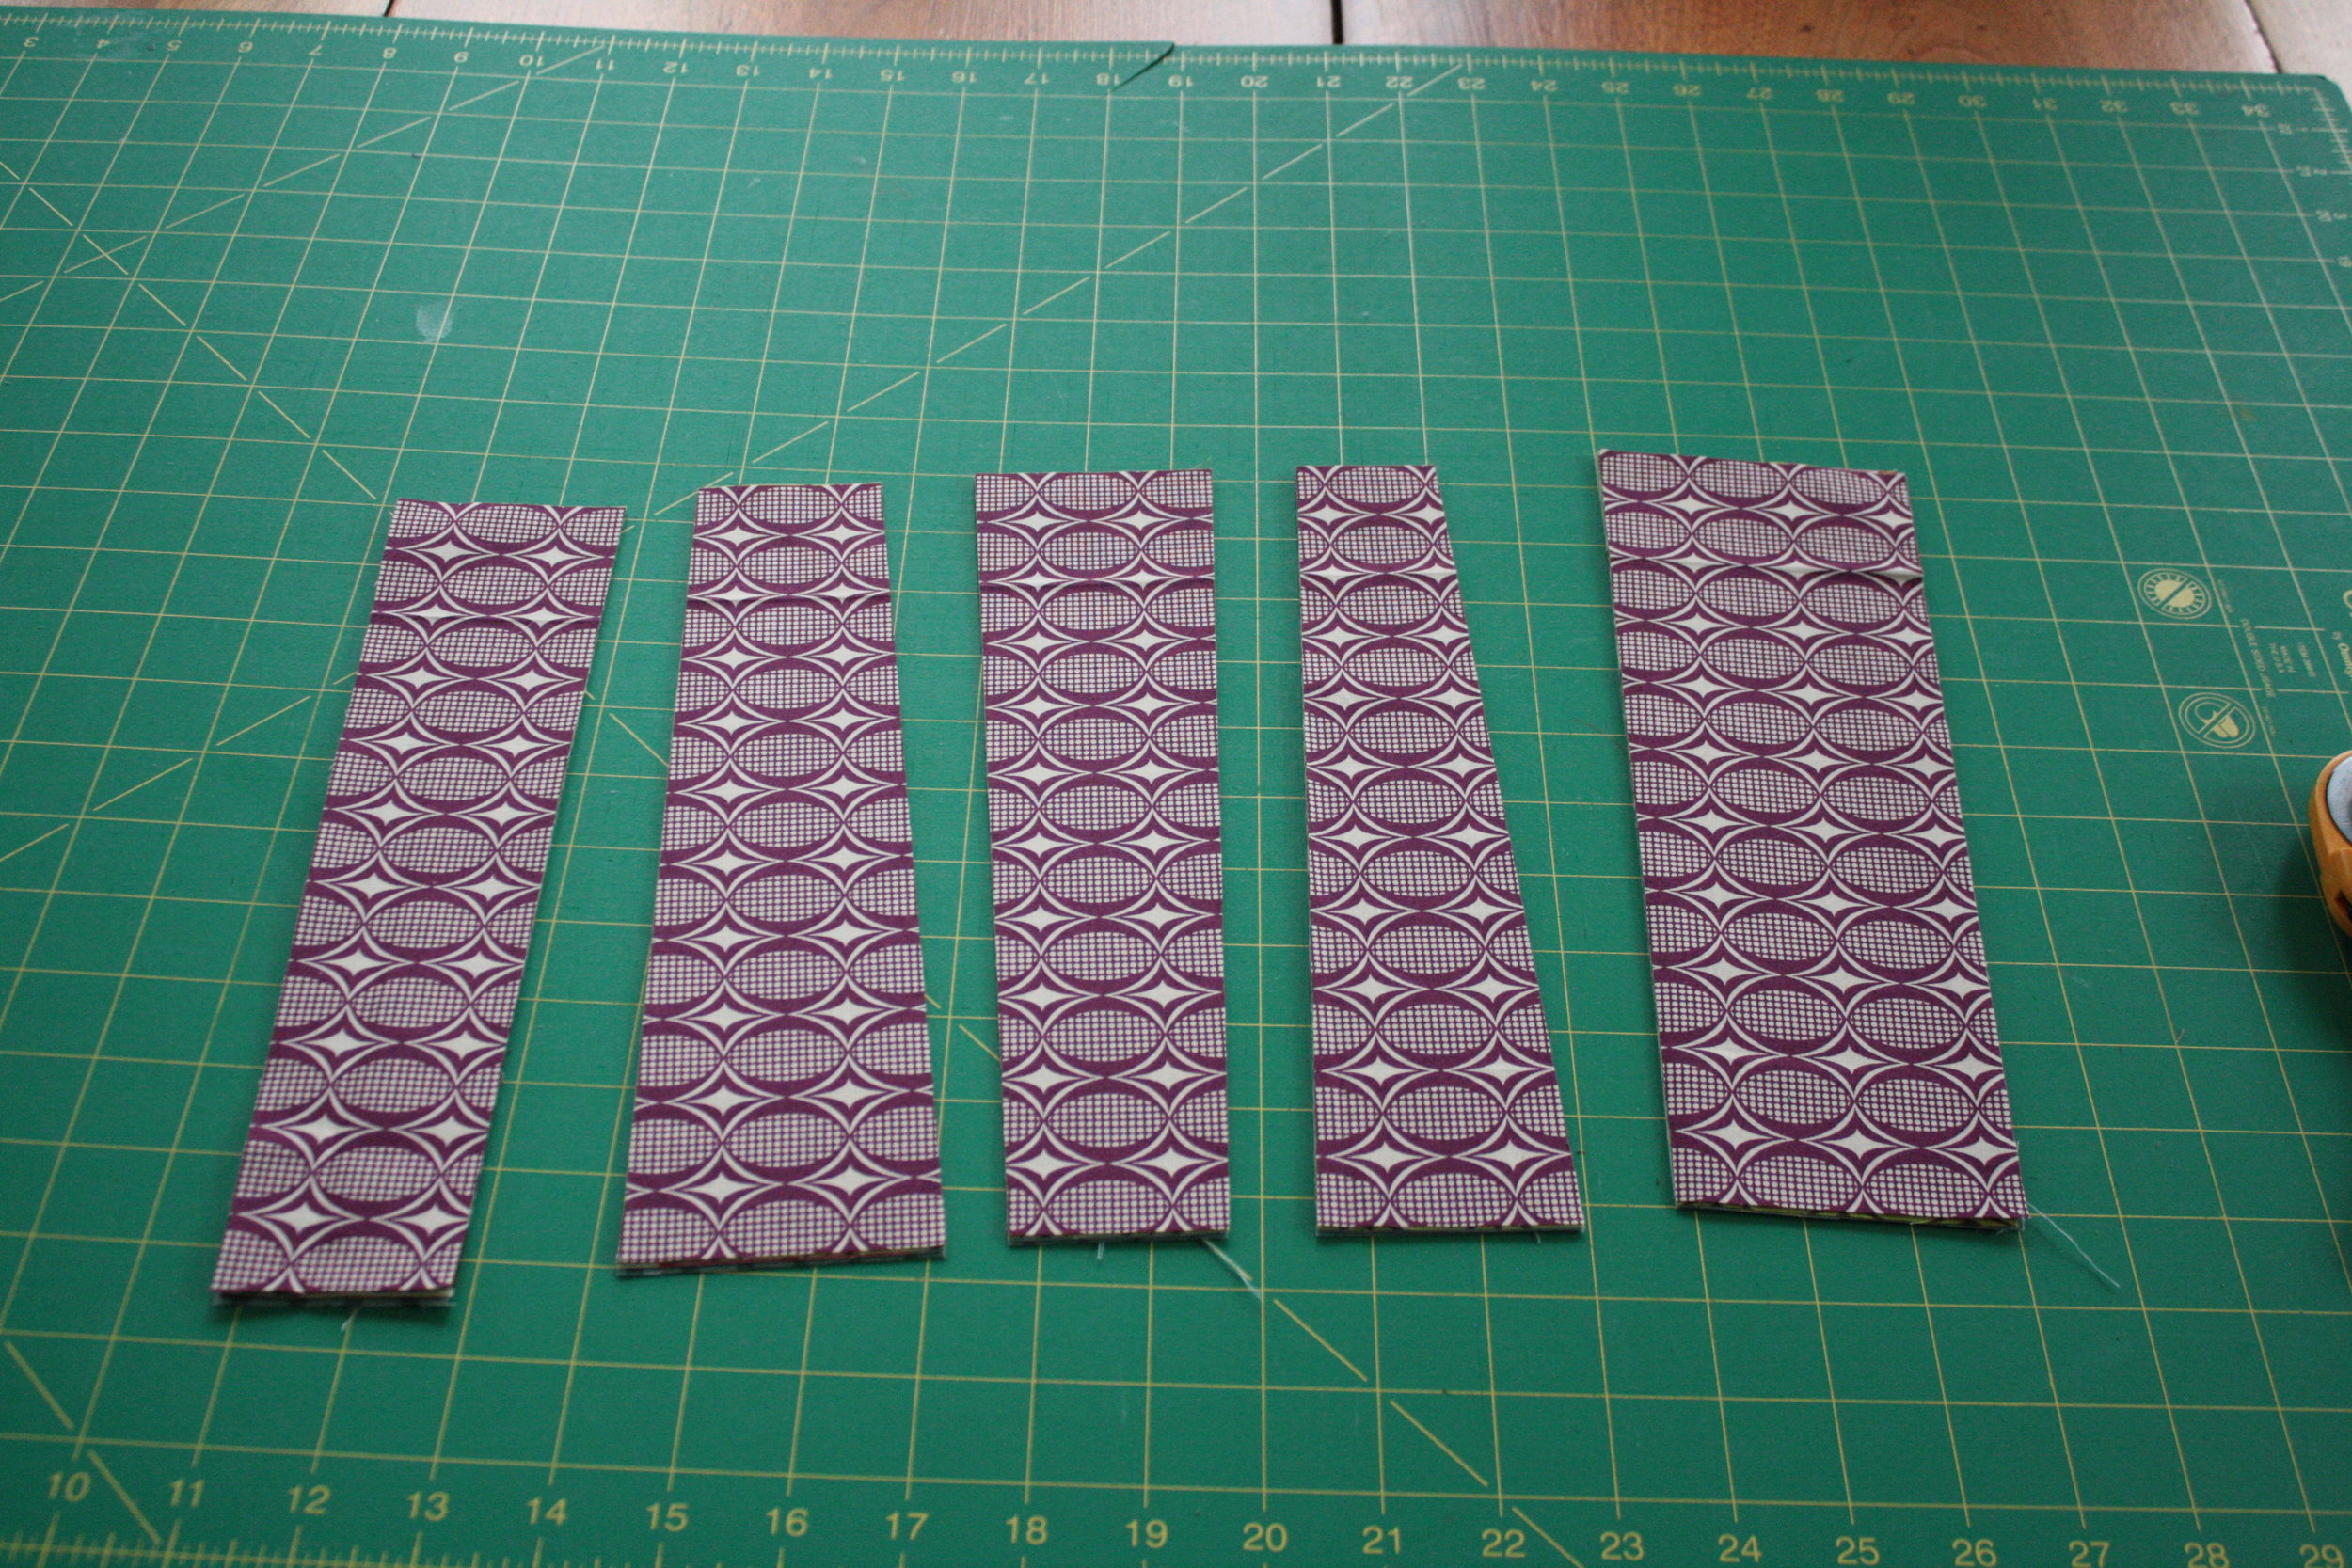
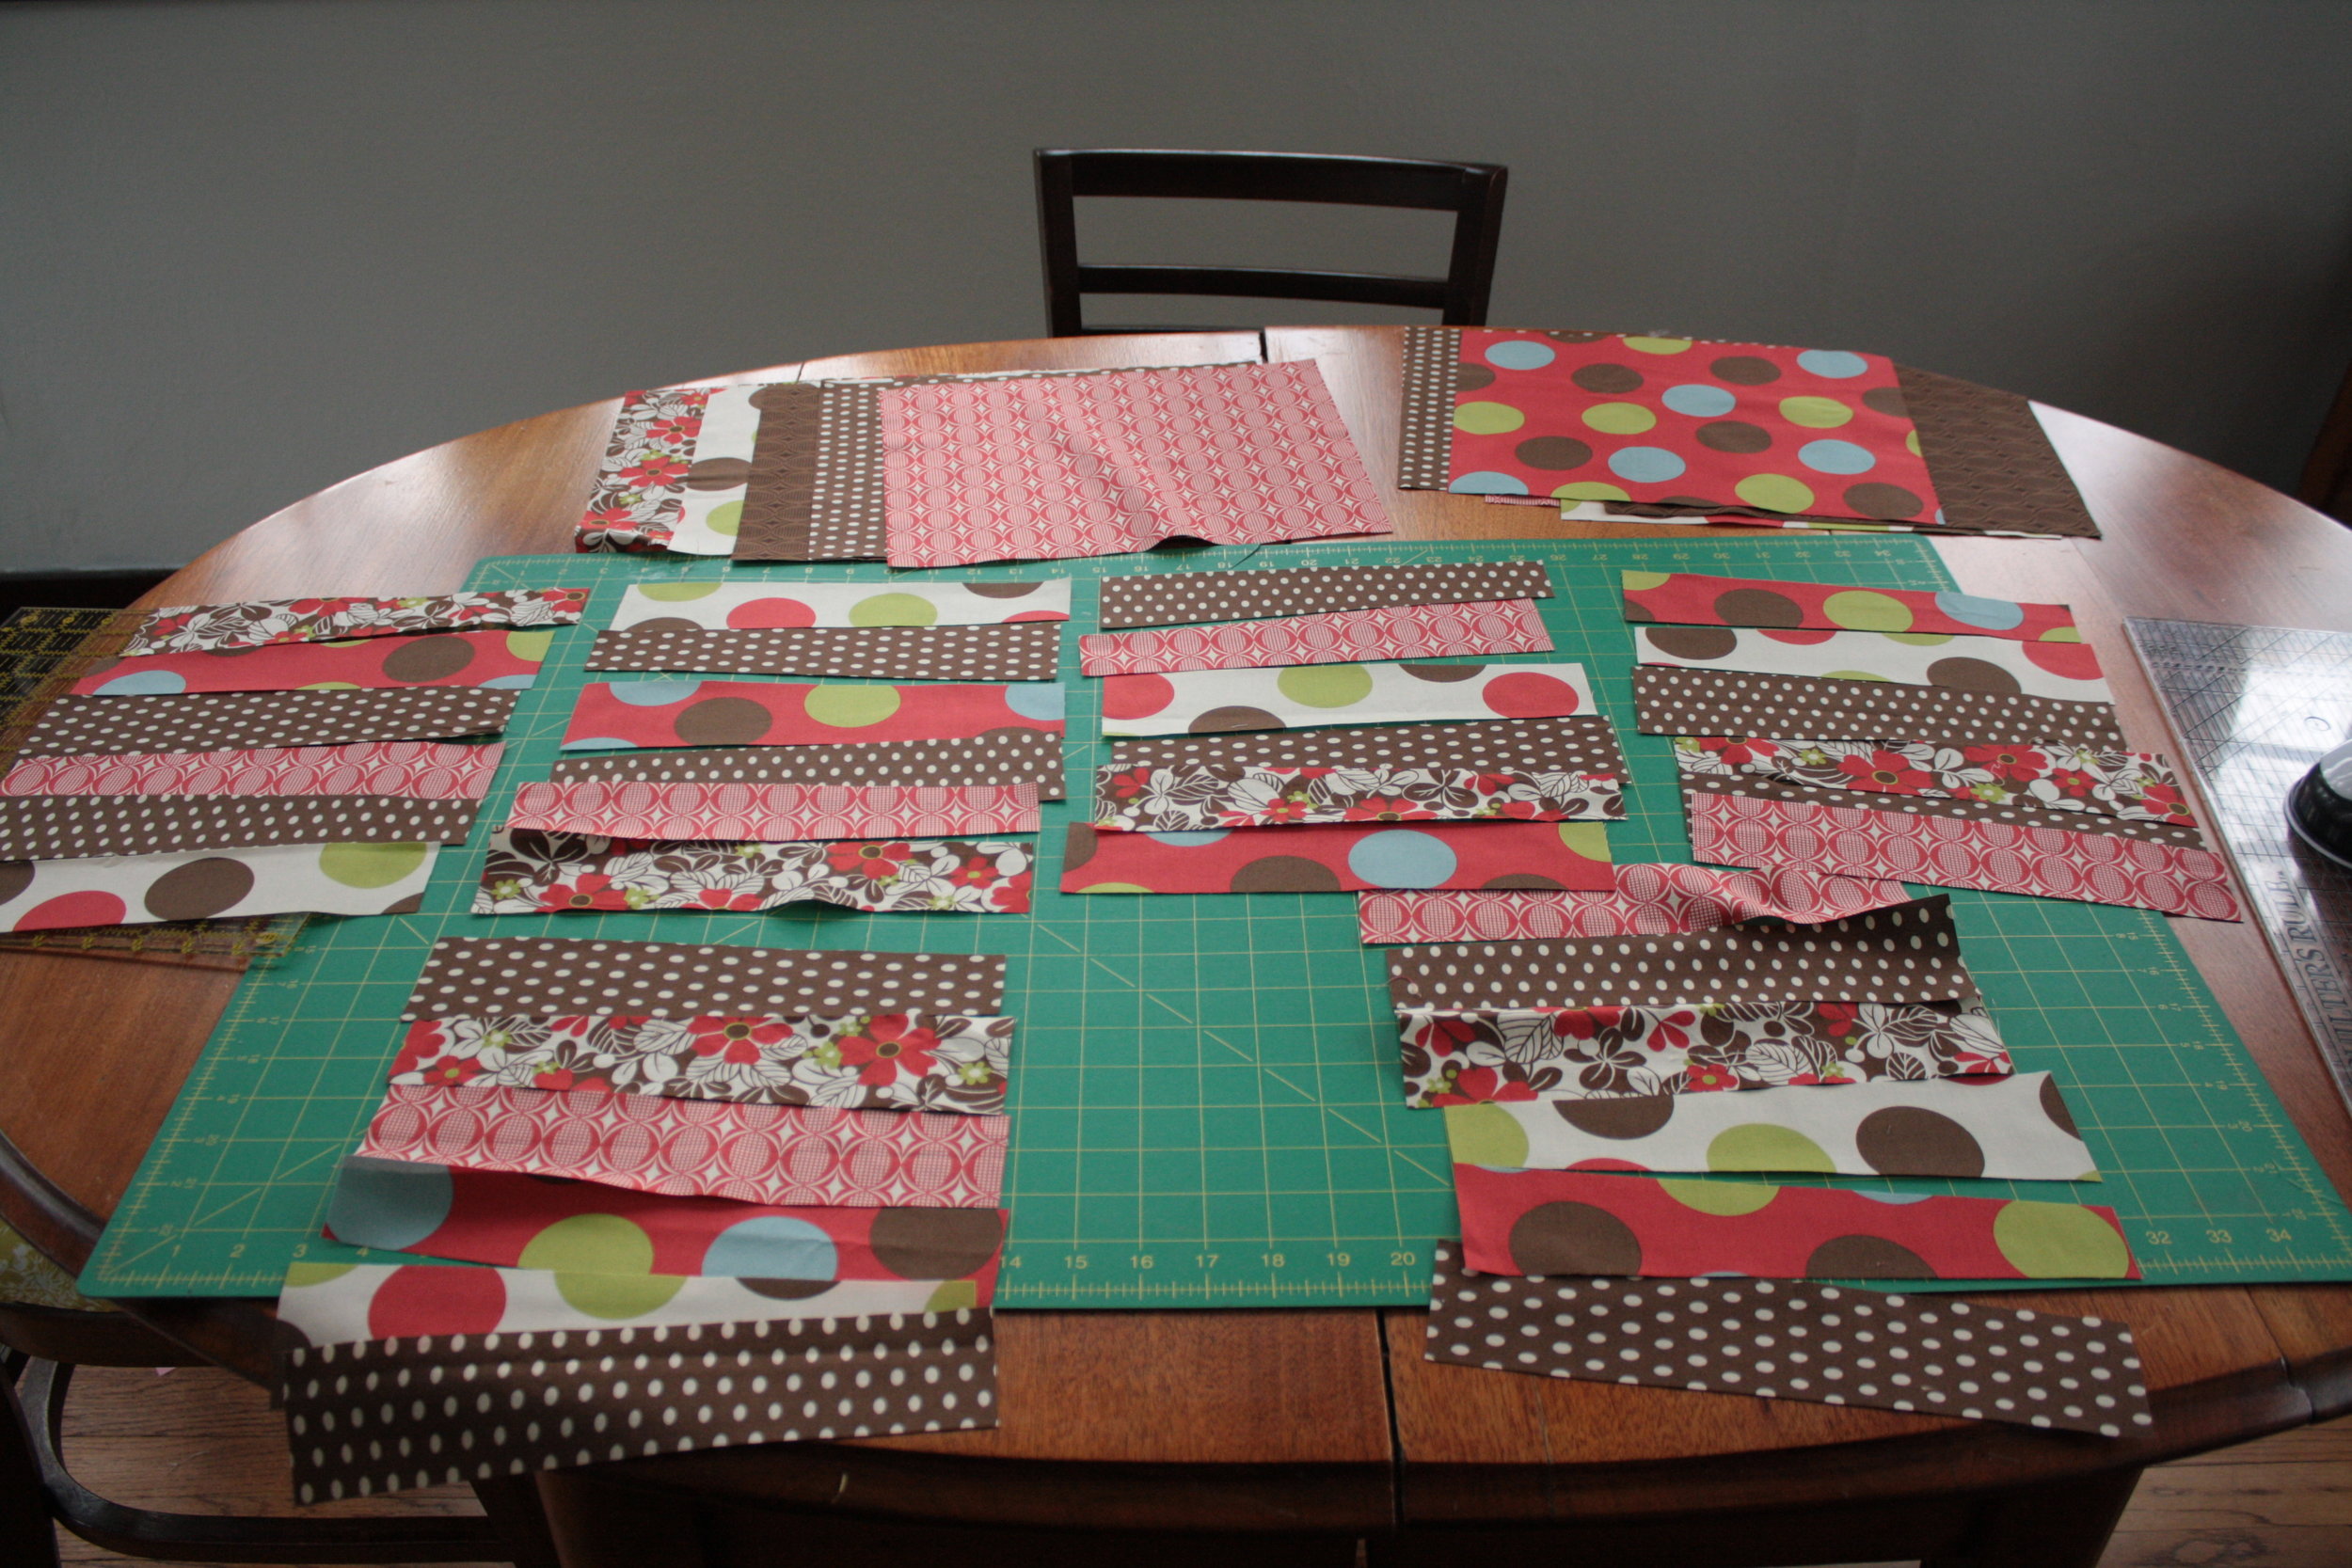
I stack the five pieces on top of each other and make 4 random cuts with my rotary cutter.

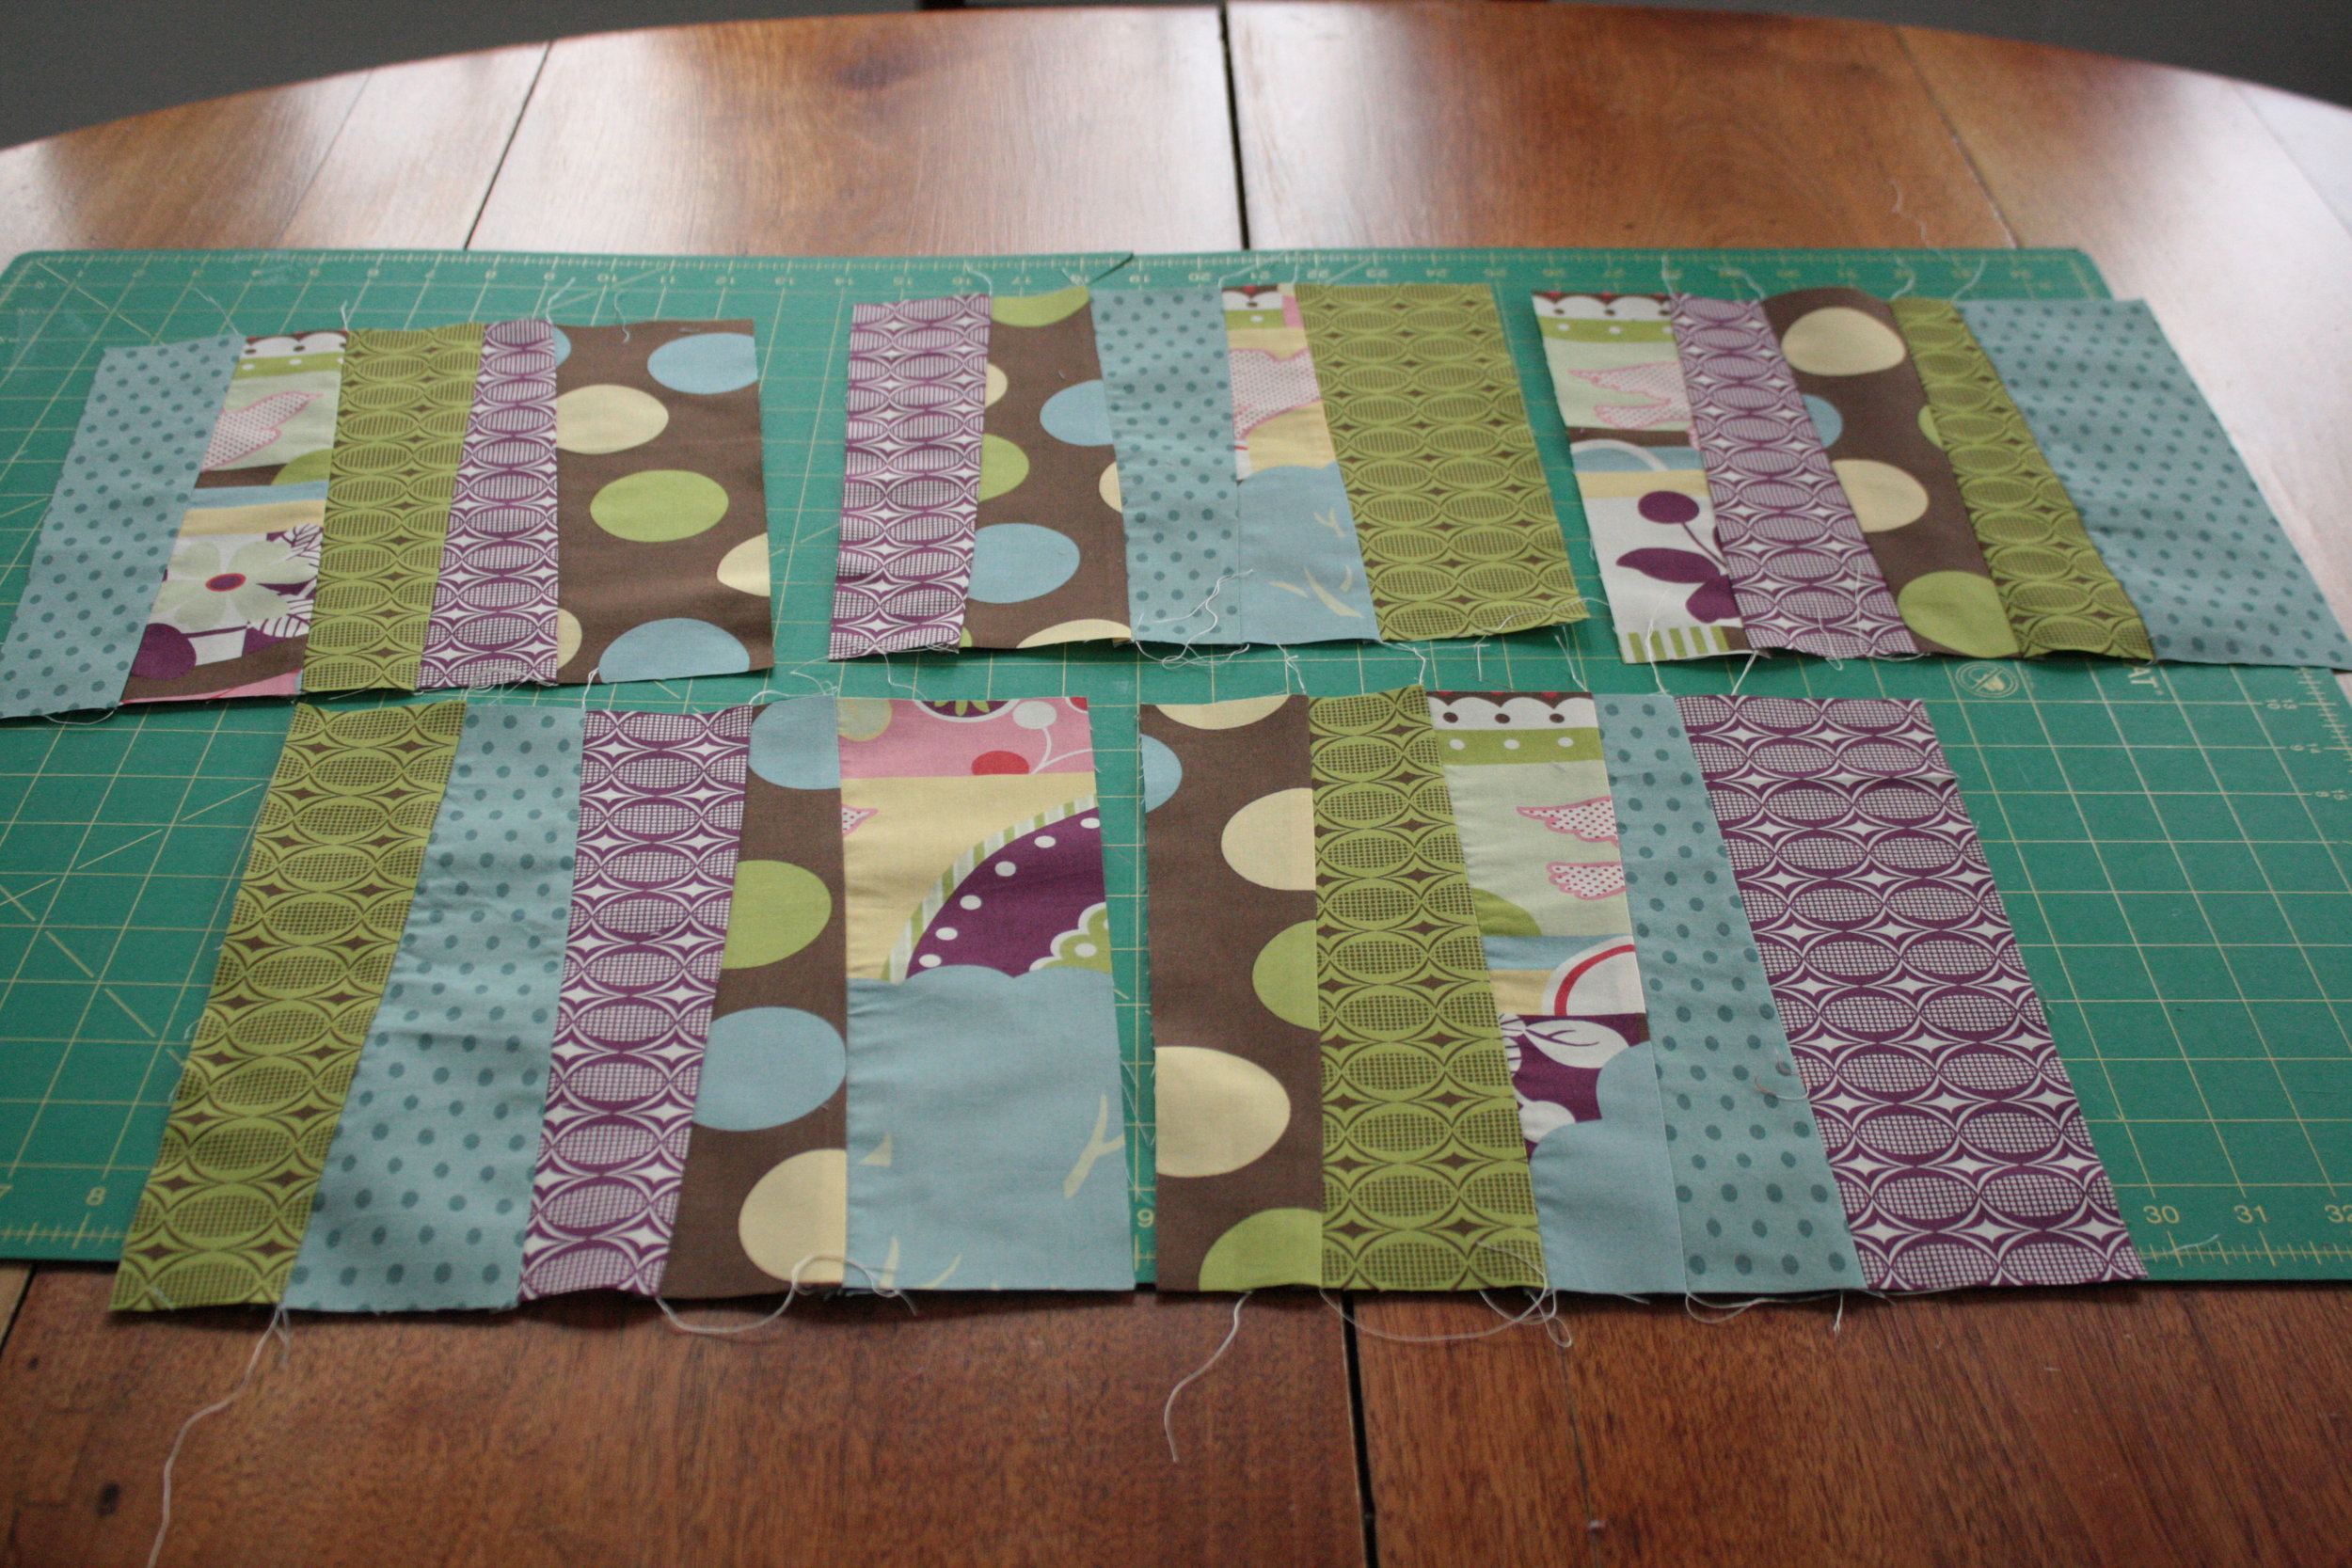
Then divide the pieces so that each block had a slice from each fabric.

I stitch the pieces together with a 1/4" seam and press.

After pressing, I trim each block to 10 1/4 " square.

This method gives you 5 blocks at a time, but my quilt is made of 36 blocks.  For the last block you can just make one block with individually cut strips, you can make an extra set of five (use extras on back or in another project), or you can do one set of six.  I will warn you (because I didn't think this all way through when I chose this option) if you do six cuts, your block will be shorter than 10 1/4" .  I simply add an extra strip on those blocks.

For this quilt I cut the bluish blocks vertically and the reddish blocks horizontally.

happy piecing