the cottage, stitched

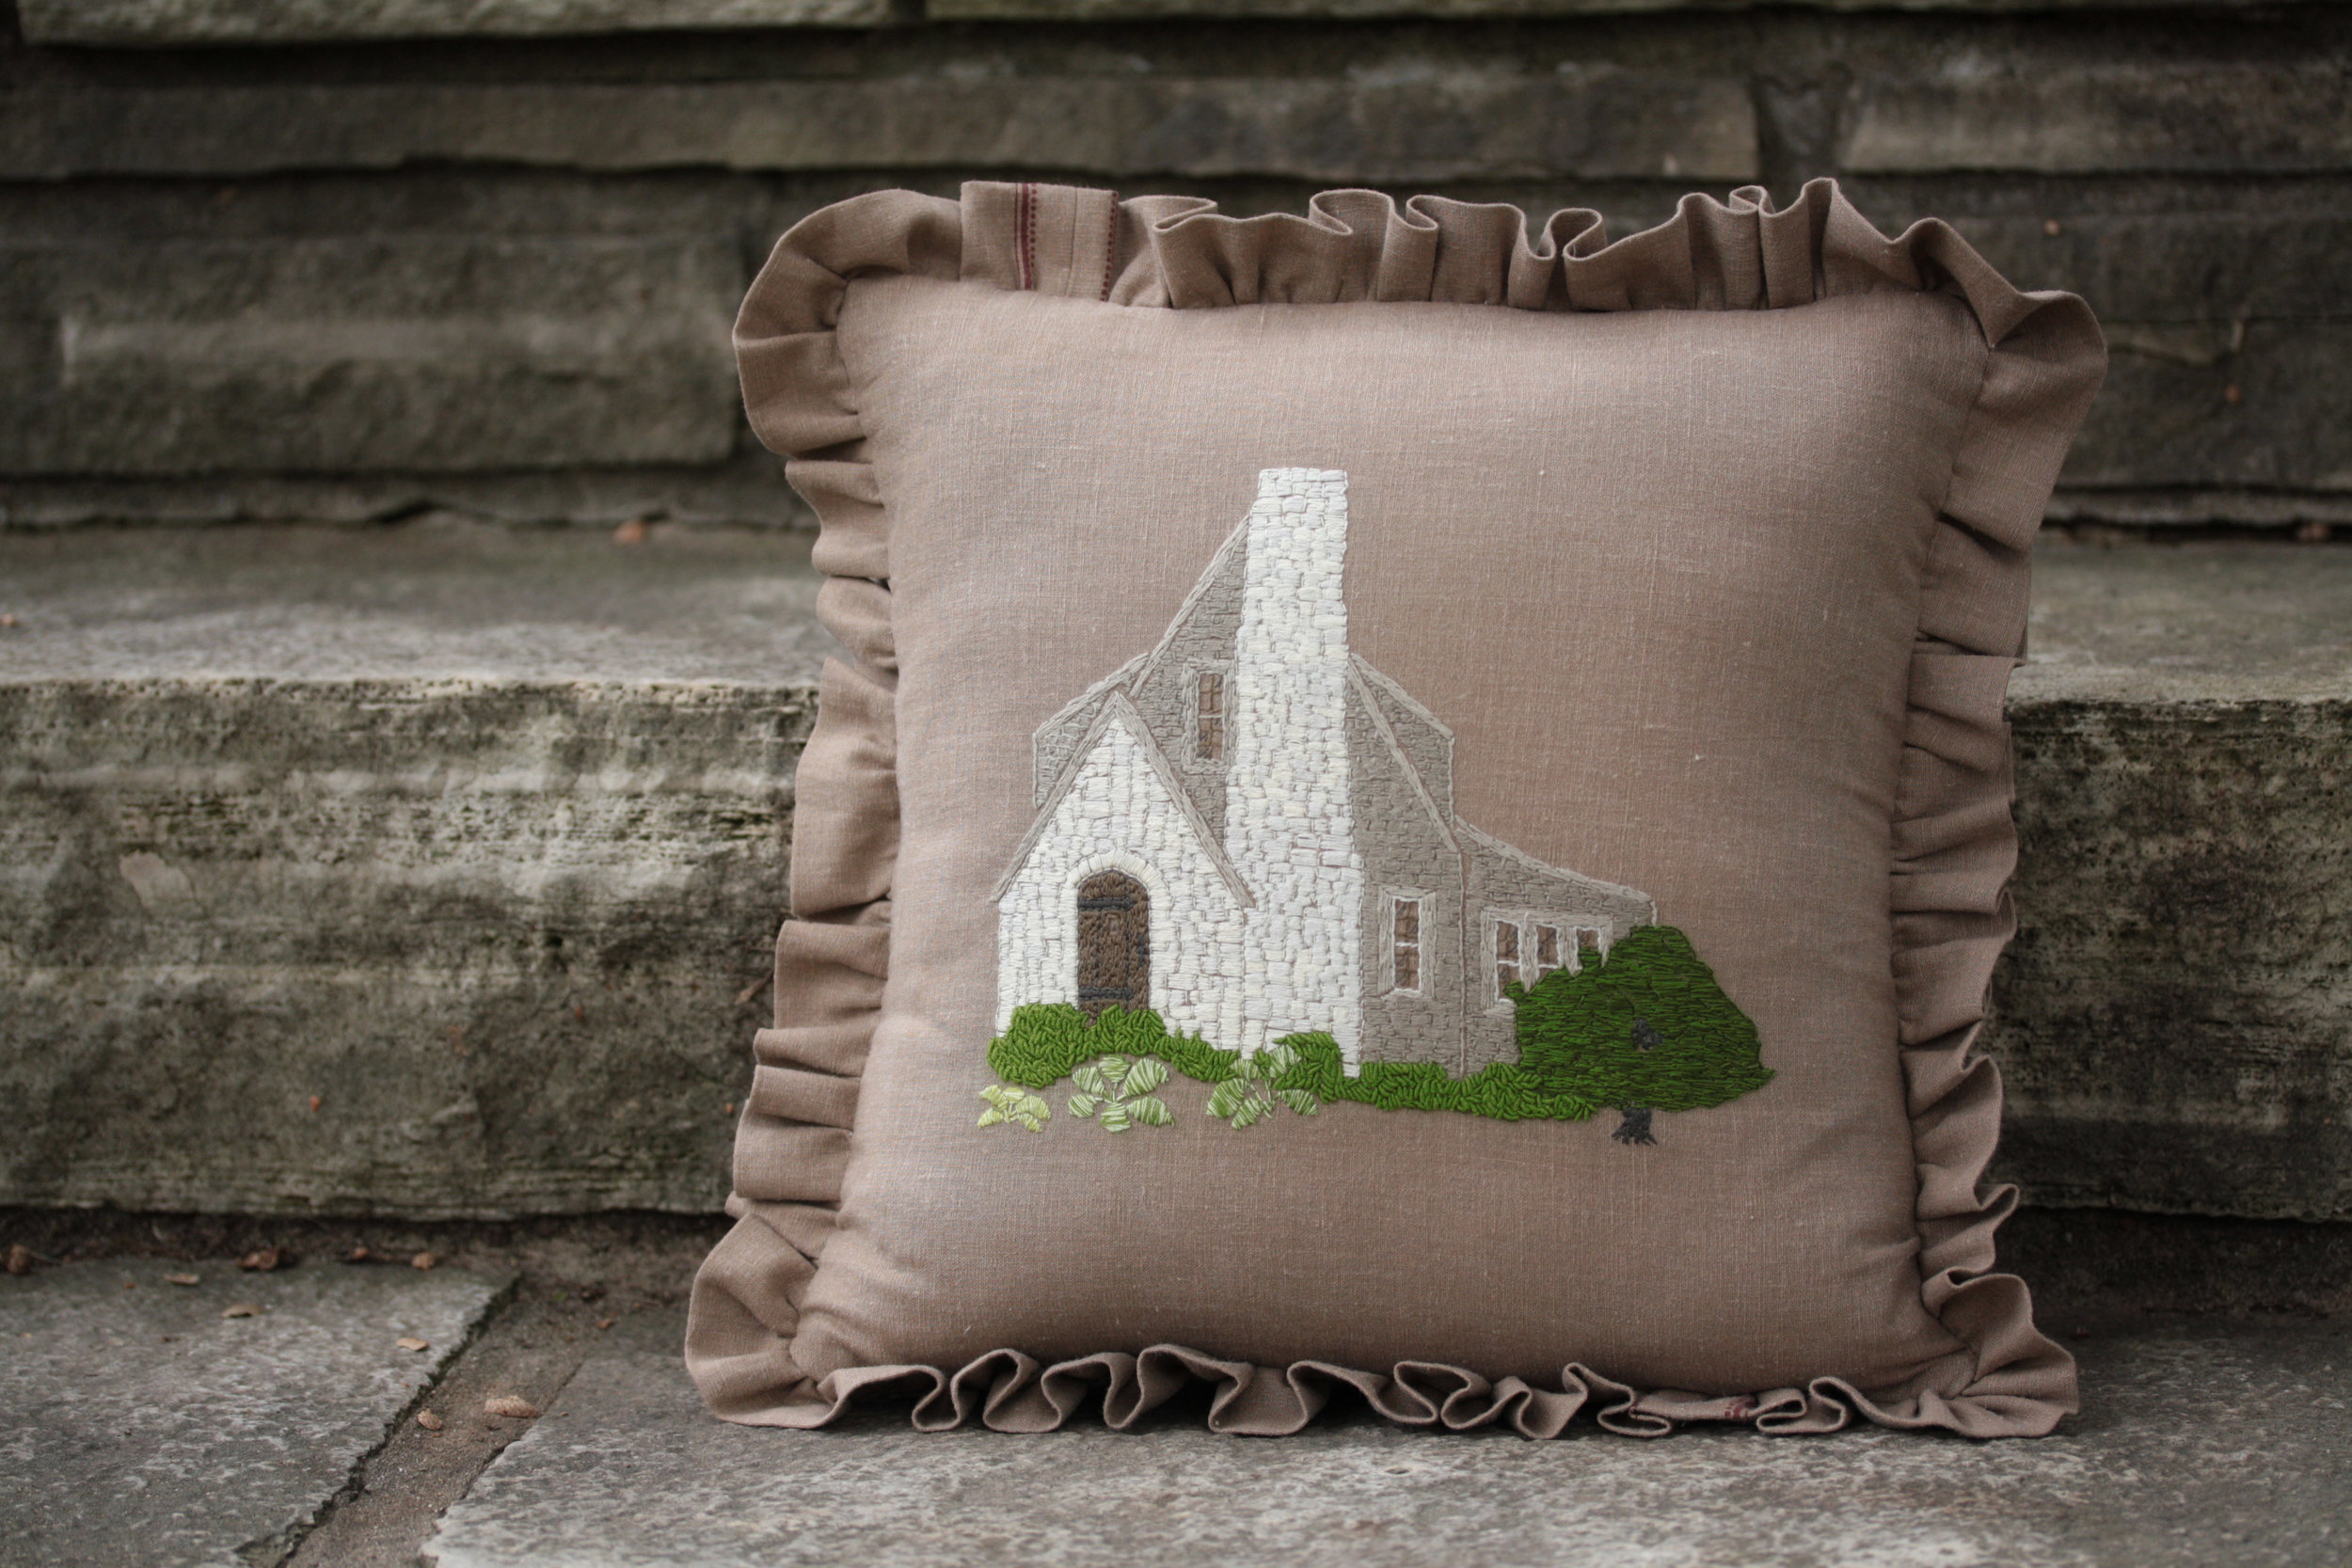
For months now, I've been tossing making throw pillows for the living room to the bottom of the priority project list.  Somehow, this little pillow made it the top of the list this fall, and I'm so happy with how it looks.

I started with a picture of our house in big huge labs color palette generator.

I matched the palette colors with cosmo floss colors over at the workroom.

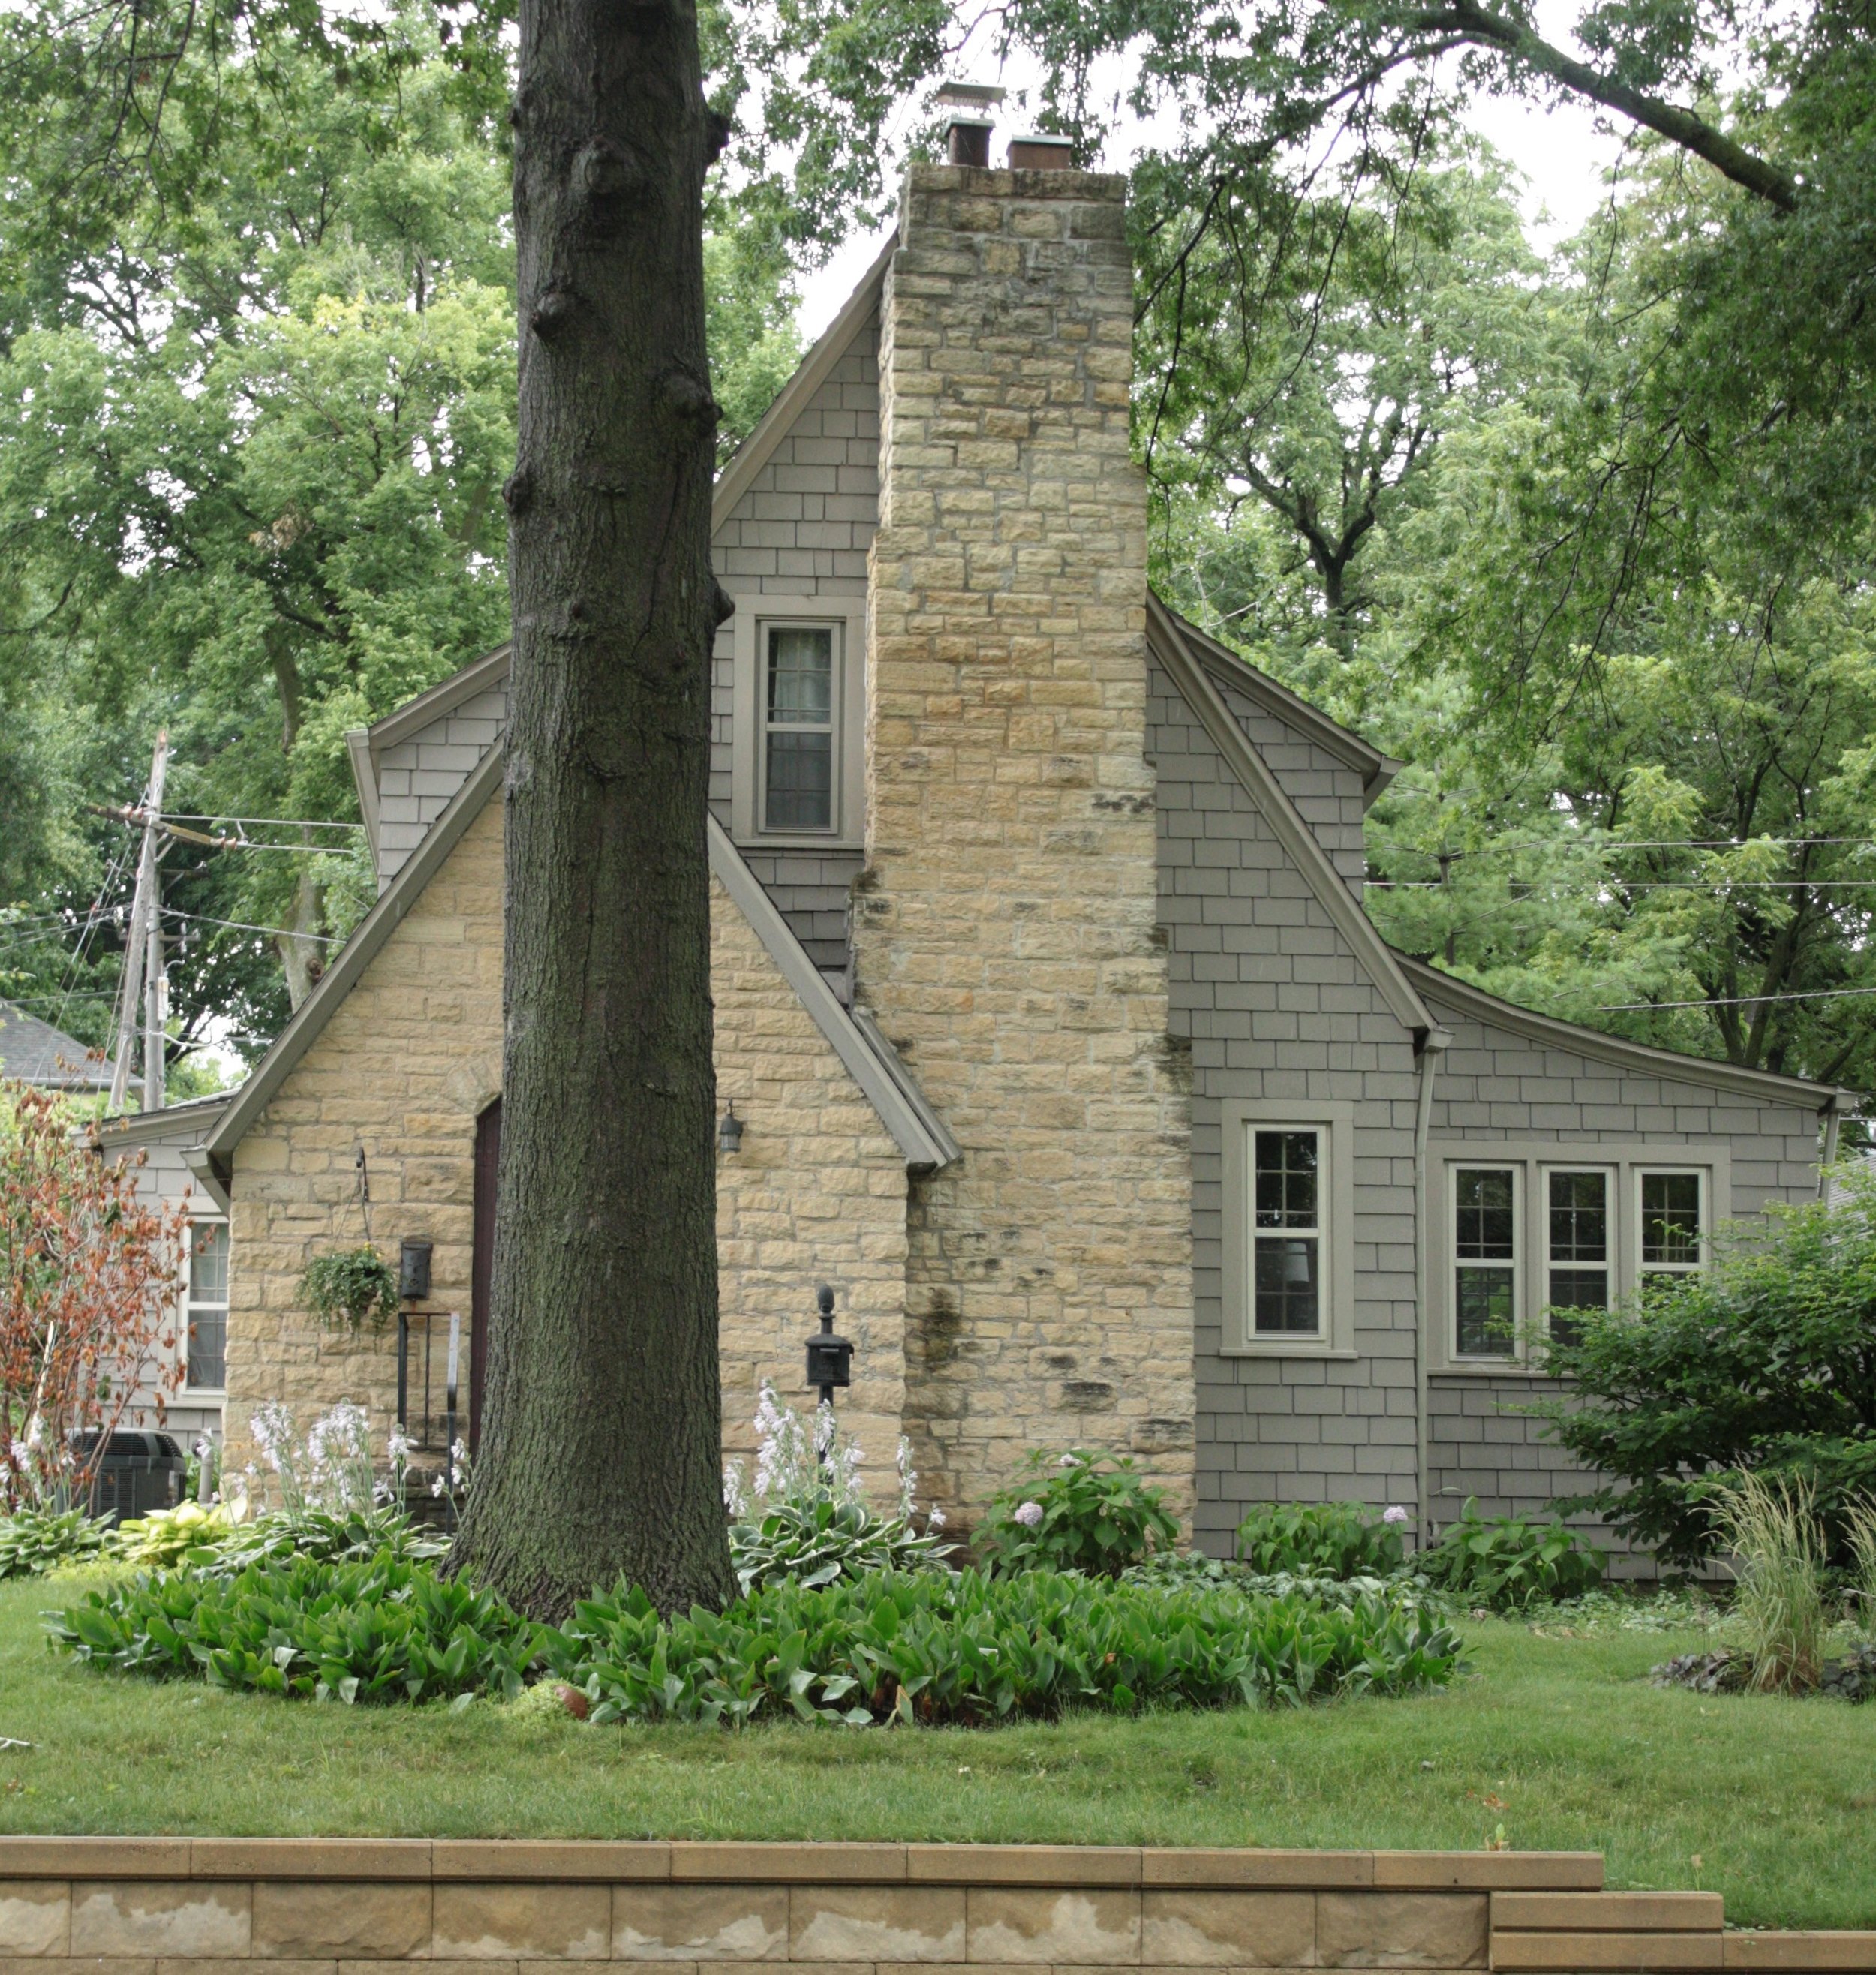
For the pattern, I took two pictures of the cottage.

I love the oak tree in front yard, but I really didn't want a big dark tree trunk in the middle of my pillow so I pulled both shots into photoshop elements and overlapped them to get both sides of the front door in one shot.  In elements, I clicked on image, then to mode and chose grayscale.  Once the picture was converted to grayscale, I chose filter, then stylize, then find edges.  This left me with a line drawing style picture I was able to print onto a sheet of transfer-eze that could be stuck onto my background fabric.

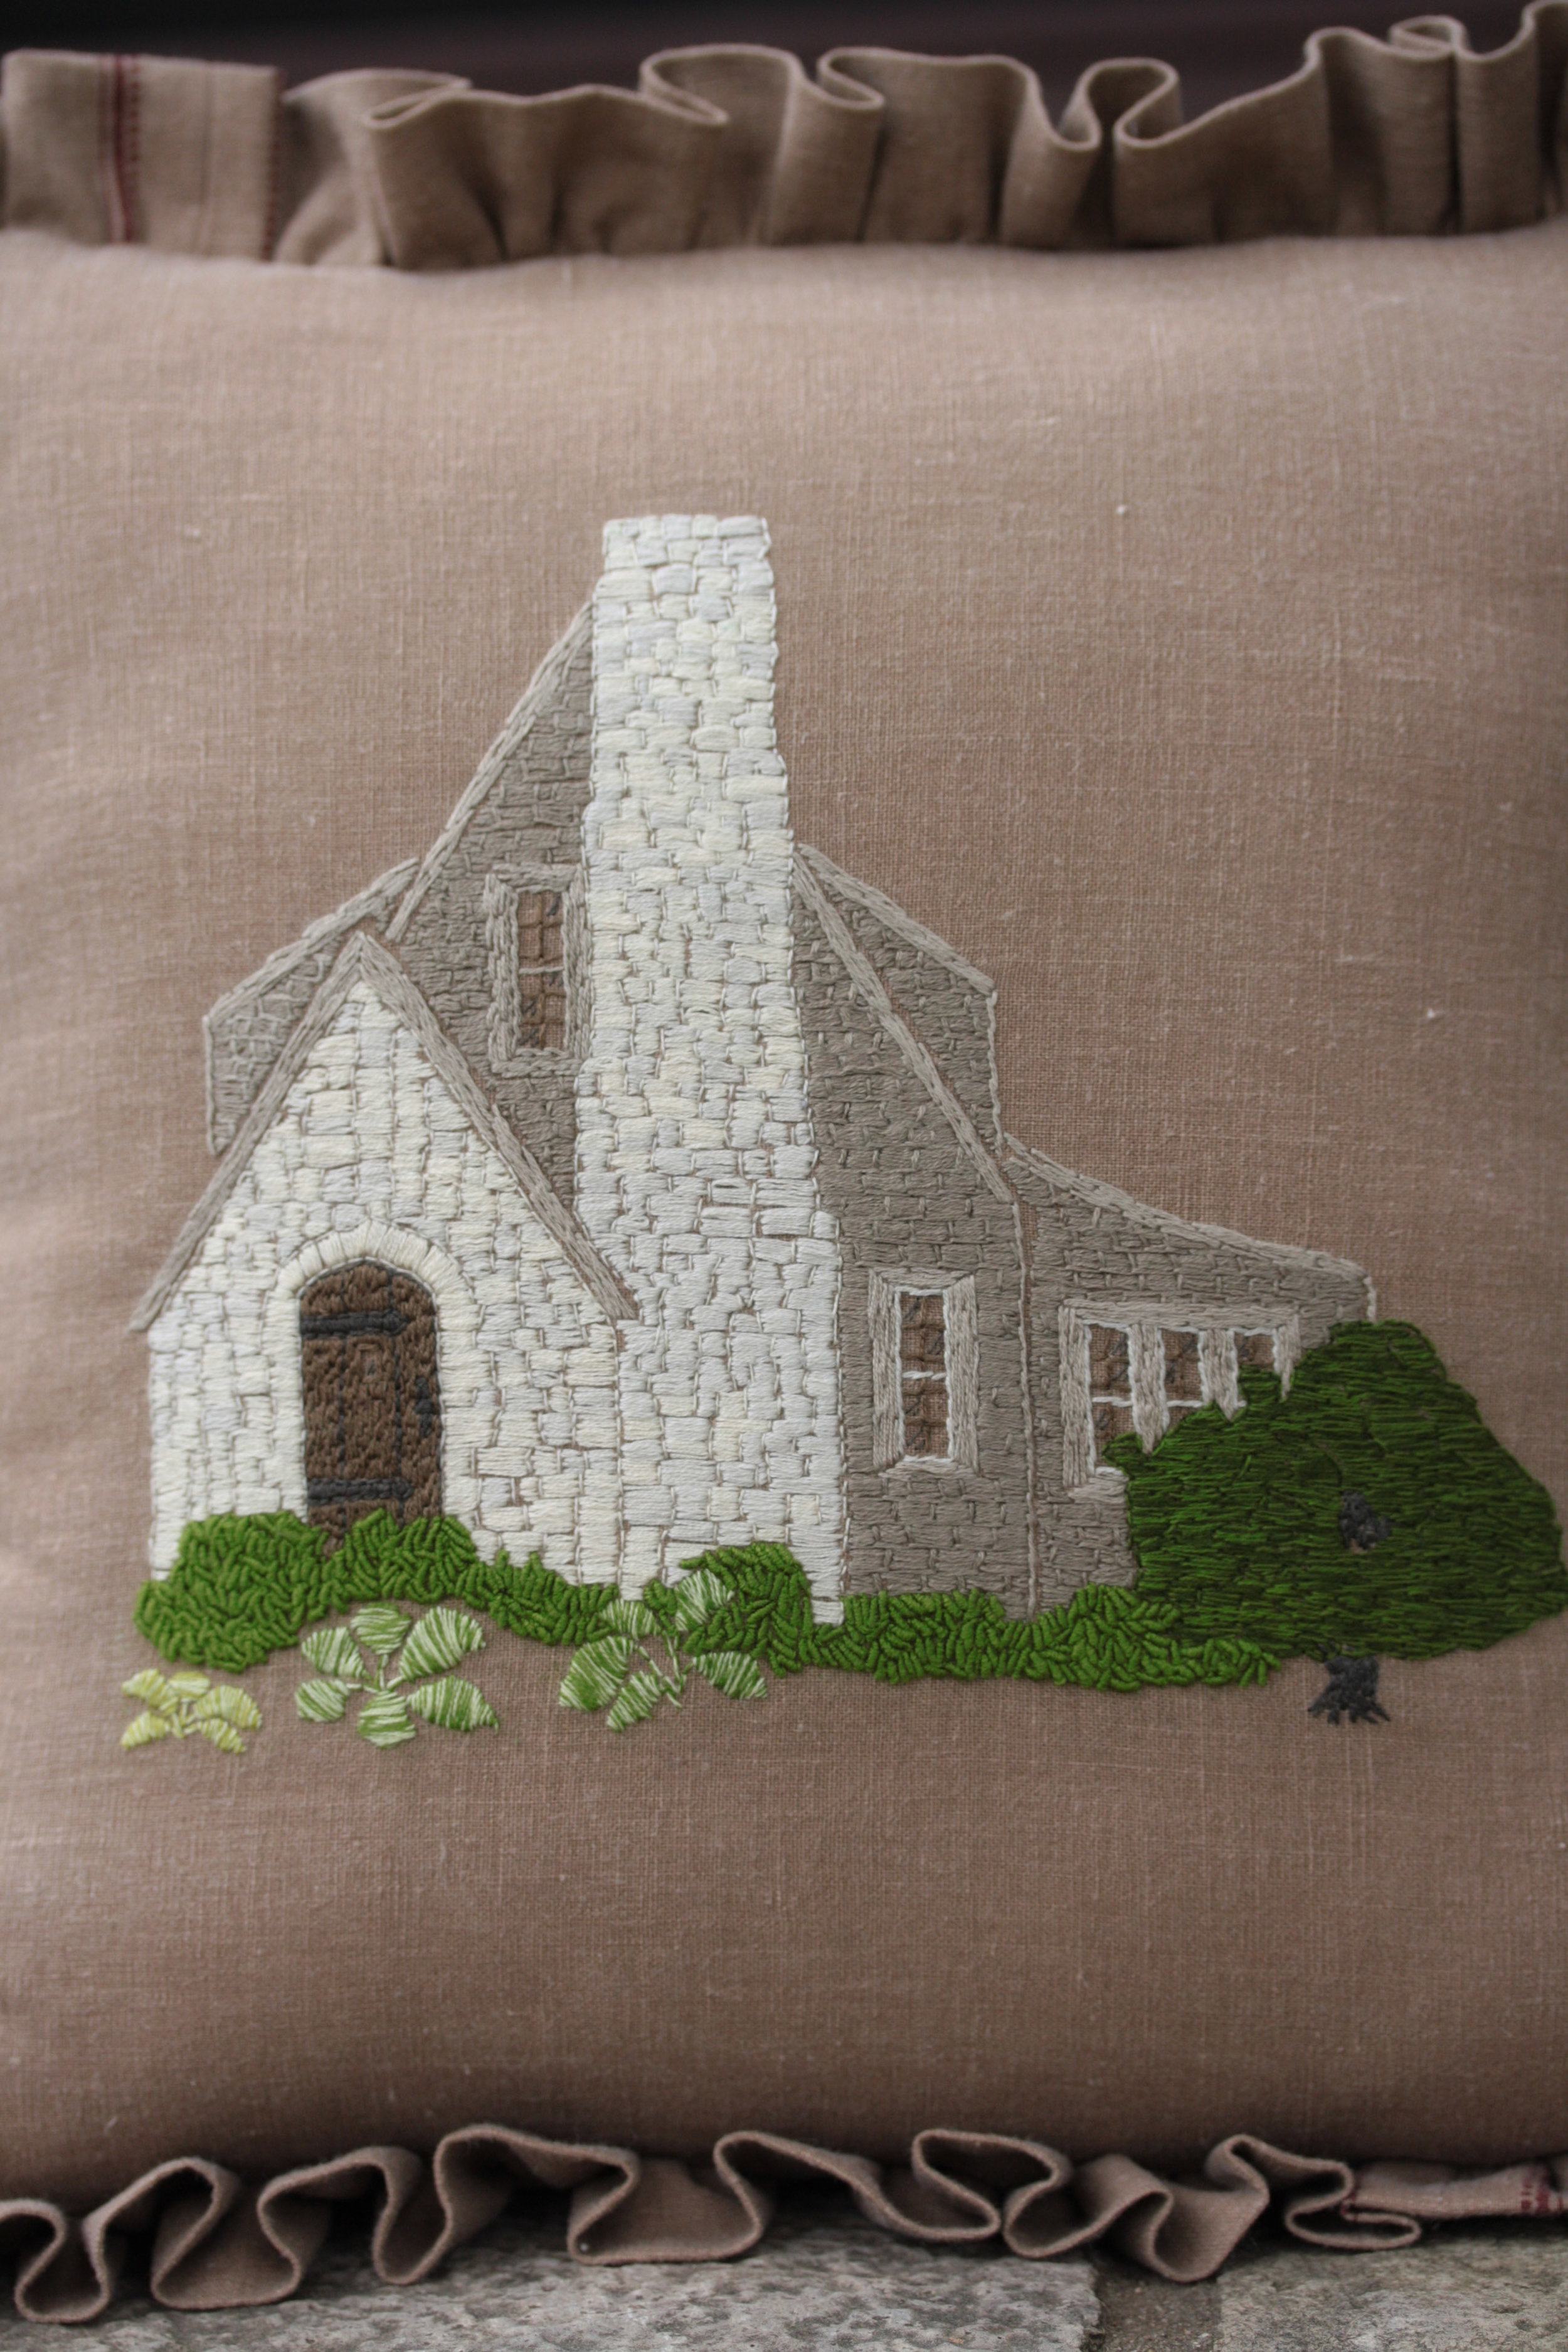
When I was done stitching, it looked like this.

At this point, it's hard to see past the transfer-eze.  Once it was rinsed and pressed I could not wait to get it on the pillow form.

Here it is on the front step

I'm off to make some new kitchen curtains now.

lemon shortbread squares

I love shortbread.

It's buttery, crunchy, travels well, and last for days.

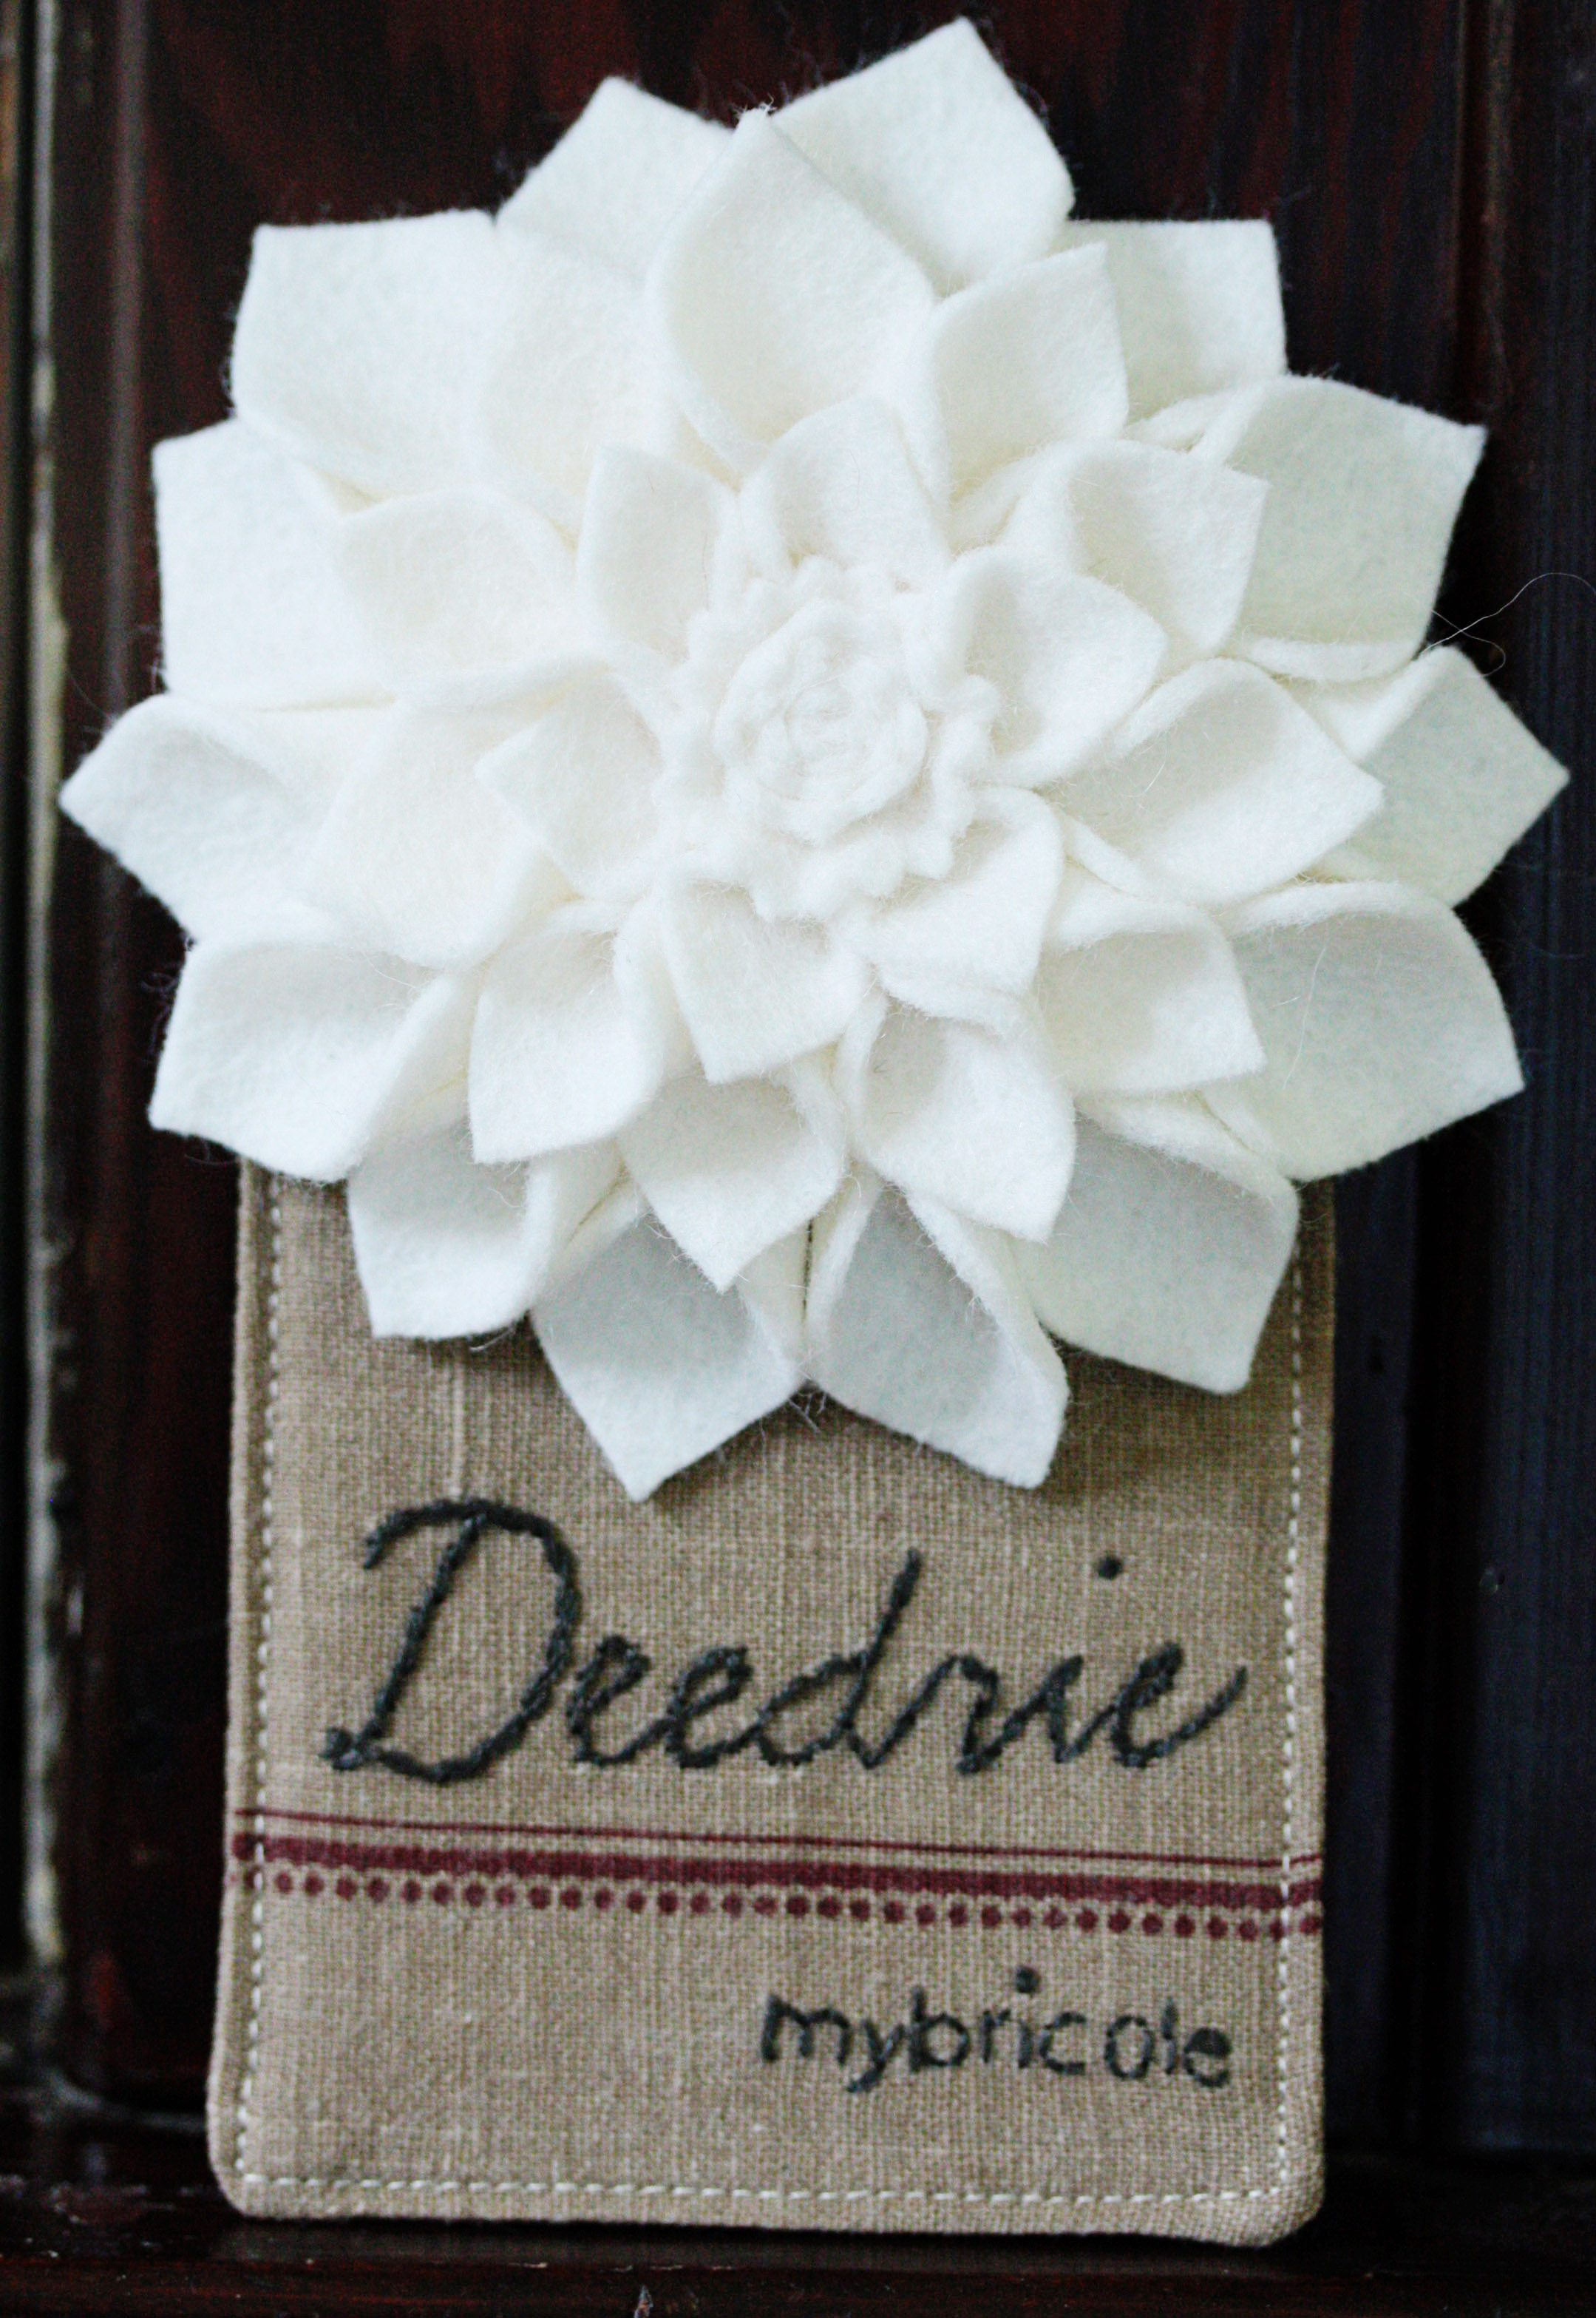
These travelled with me to the sewing summit.

I think it's always best to travel with cookies.

lemon shortbread

2 sticks butter (at room temperature)

1/2 cup sugar

1/4 teaspoon salt

zest of one lemon

2 teaspoons vanilla or vanilla paste

2 drops lemon extract

1/4 teaspoon ground ginger

2 cups flour

Preheat oven to 325 degrees.

In bowl of mixer combine butter, sugar, salt and lemon zest. Beat on medium speed for about five minutes, or until the dough is soft and light in color. Add vanilla, lemon extract, and ginger and mix to combine.

Slowly add flour and mix until just combined. Turn dough out onto a lightly floured surface and press by hand into a thick rectangle, wrap with plastic wrap and chill dough for 1 - 2 hours.

Once chilled, place dough on lightly floured surface and roll to about 1/4 inch thick. Using a sharp knife, cut the dough into squares. Place the squares onto a parchment lined cookie sheet, sprinkle with sugar and bake for 20 - 25 minutes or until the start to just turn golden on the edges. Cool on the pan for 5 minutes or so before removing to cooling rack to cool completely.

i was a bit preoccupied

The past few weeks I've been getting ready for a trip.  It was a big deal because I haven't travelled solo since the 90's.  I was feeling confident until one night when cj was in tears asking how I could leave when I promised him I would always be there for him.  Talk about some Mom Guilt!  I took a deep breath, had some friends and the spouse promise me that all would be well and... I went to the Sewing Summit...

It was cloudy when I arrived, so I was shocked to see the mountains outside my window when I woke up the next day.

All I can say is there are not enough adjectives to describe the trip...amazing, funfilled, overwhelming, thoughtful, kind, inspiring, exhausting, hilarious...

It was lovely to hang out with people who's blogs and tweets I've been following for so long, and also to meet new people {including Megan's awesome Mom & Dad!}

Honestly, it was just great to hang out and instead of typing LOL we could actually just laugh together.

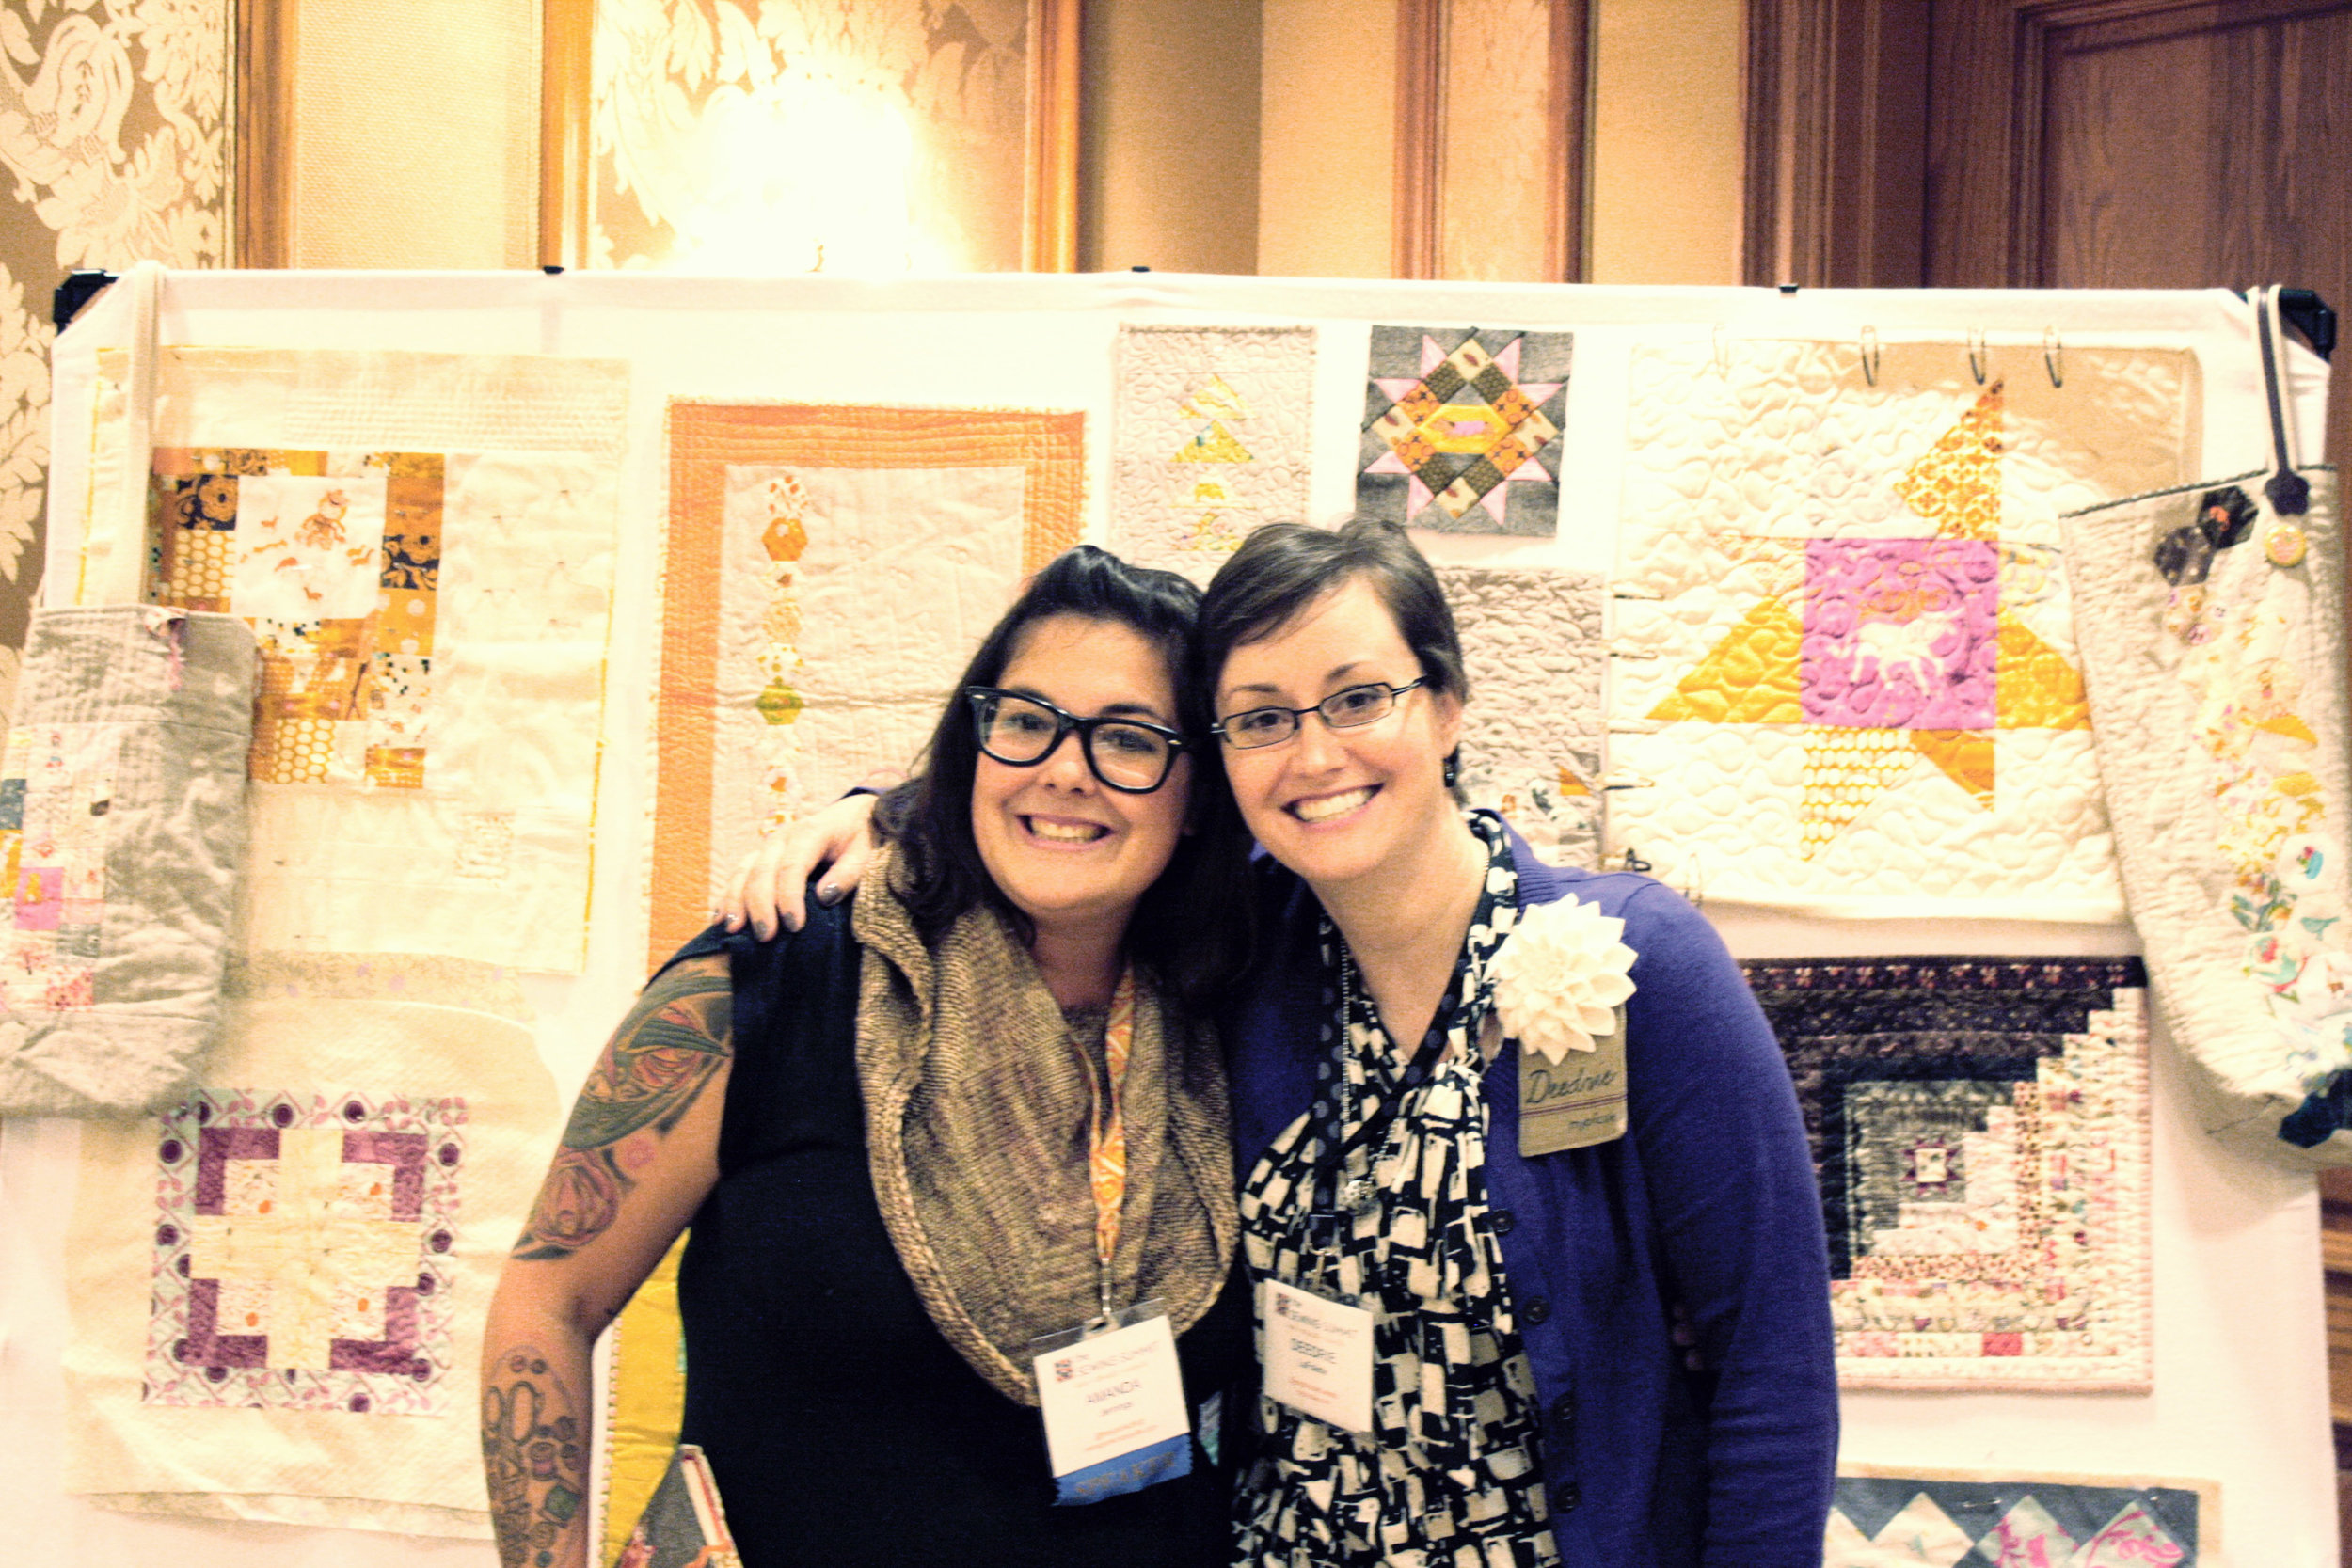
I was lucky enough to be Amanda's teaching assistant.  You can blame the boom of mini quilts that's about to happen all over the internet on her uber-inspiring class.

I got to sit with Claudia during the improve piecing class.

I know what you're thinking a bunch of ladies on the loose, there must of been some crazy nights...

like this, but she's Canadian, and she's awesome...

mostly, this happened...

(thanks for sharing your pic Amanda)

I love this pic too.

All the classes and dinners and chats and stitching flew by and I was heading home before I knew it.  Oh and  I also saved a camera.

Things at the cottage were fine.  The spouse learned how to make tacos, lulu was thrilled I was able to find sock monkey flannel to make her some new pj's, and cj keeps the little owl I found him by his bed at night.  He had some trouble sleeping while I was gone and there were a few extra "NO" and "I don't want to" last week, but he seems to be getting back on track.

I'm doing my best to finish all the projects I've already started before starting anything new.

We'll see how that goes.

a bit strap happy

I needed a new camera strap cover.  I thought it would be the perfect project for this fabric.  Now, every time I grab my camera I get to see these sweet little cowgirls.

{made using cluck cluck sew's tutorial}

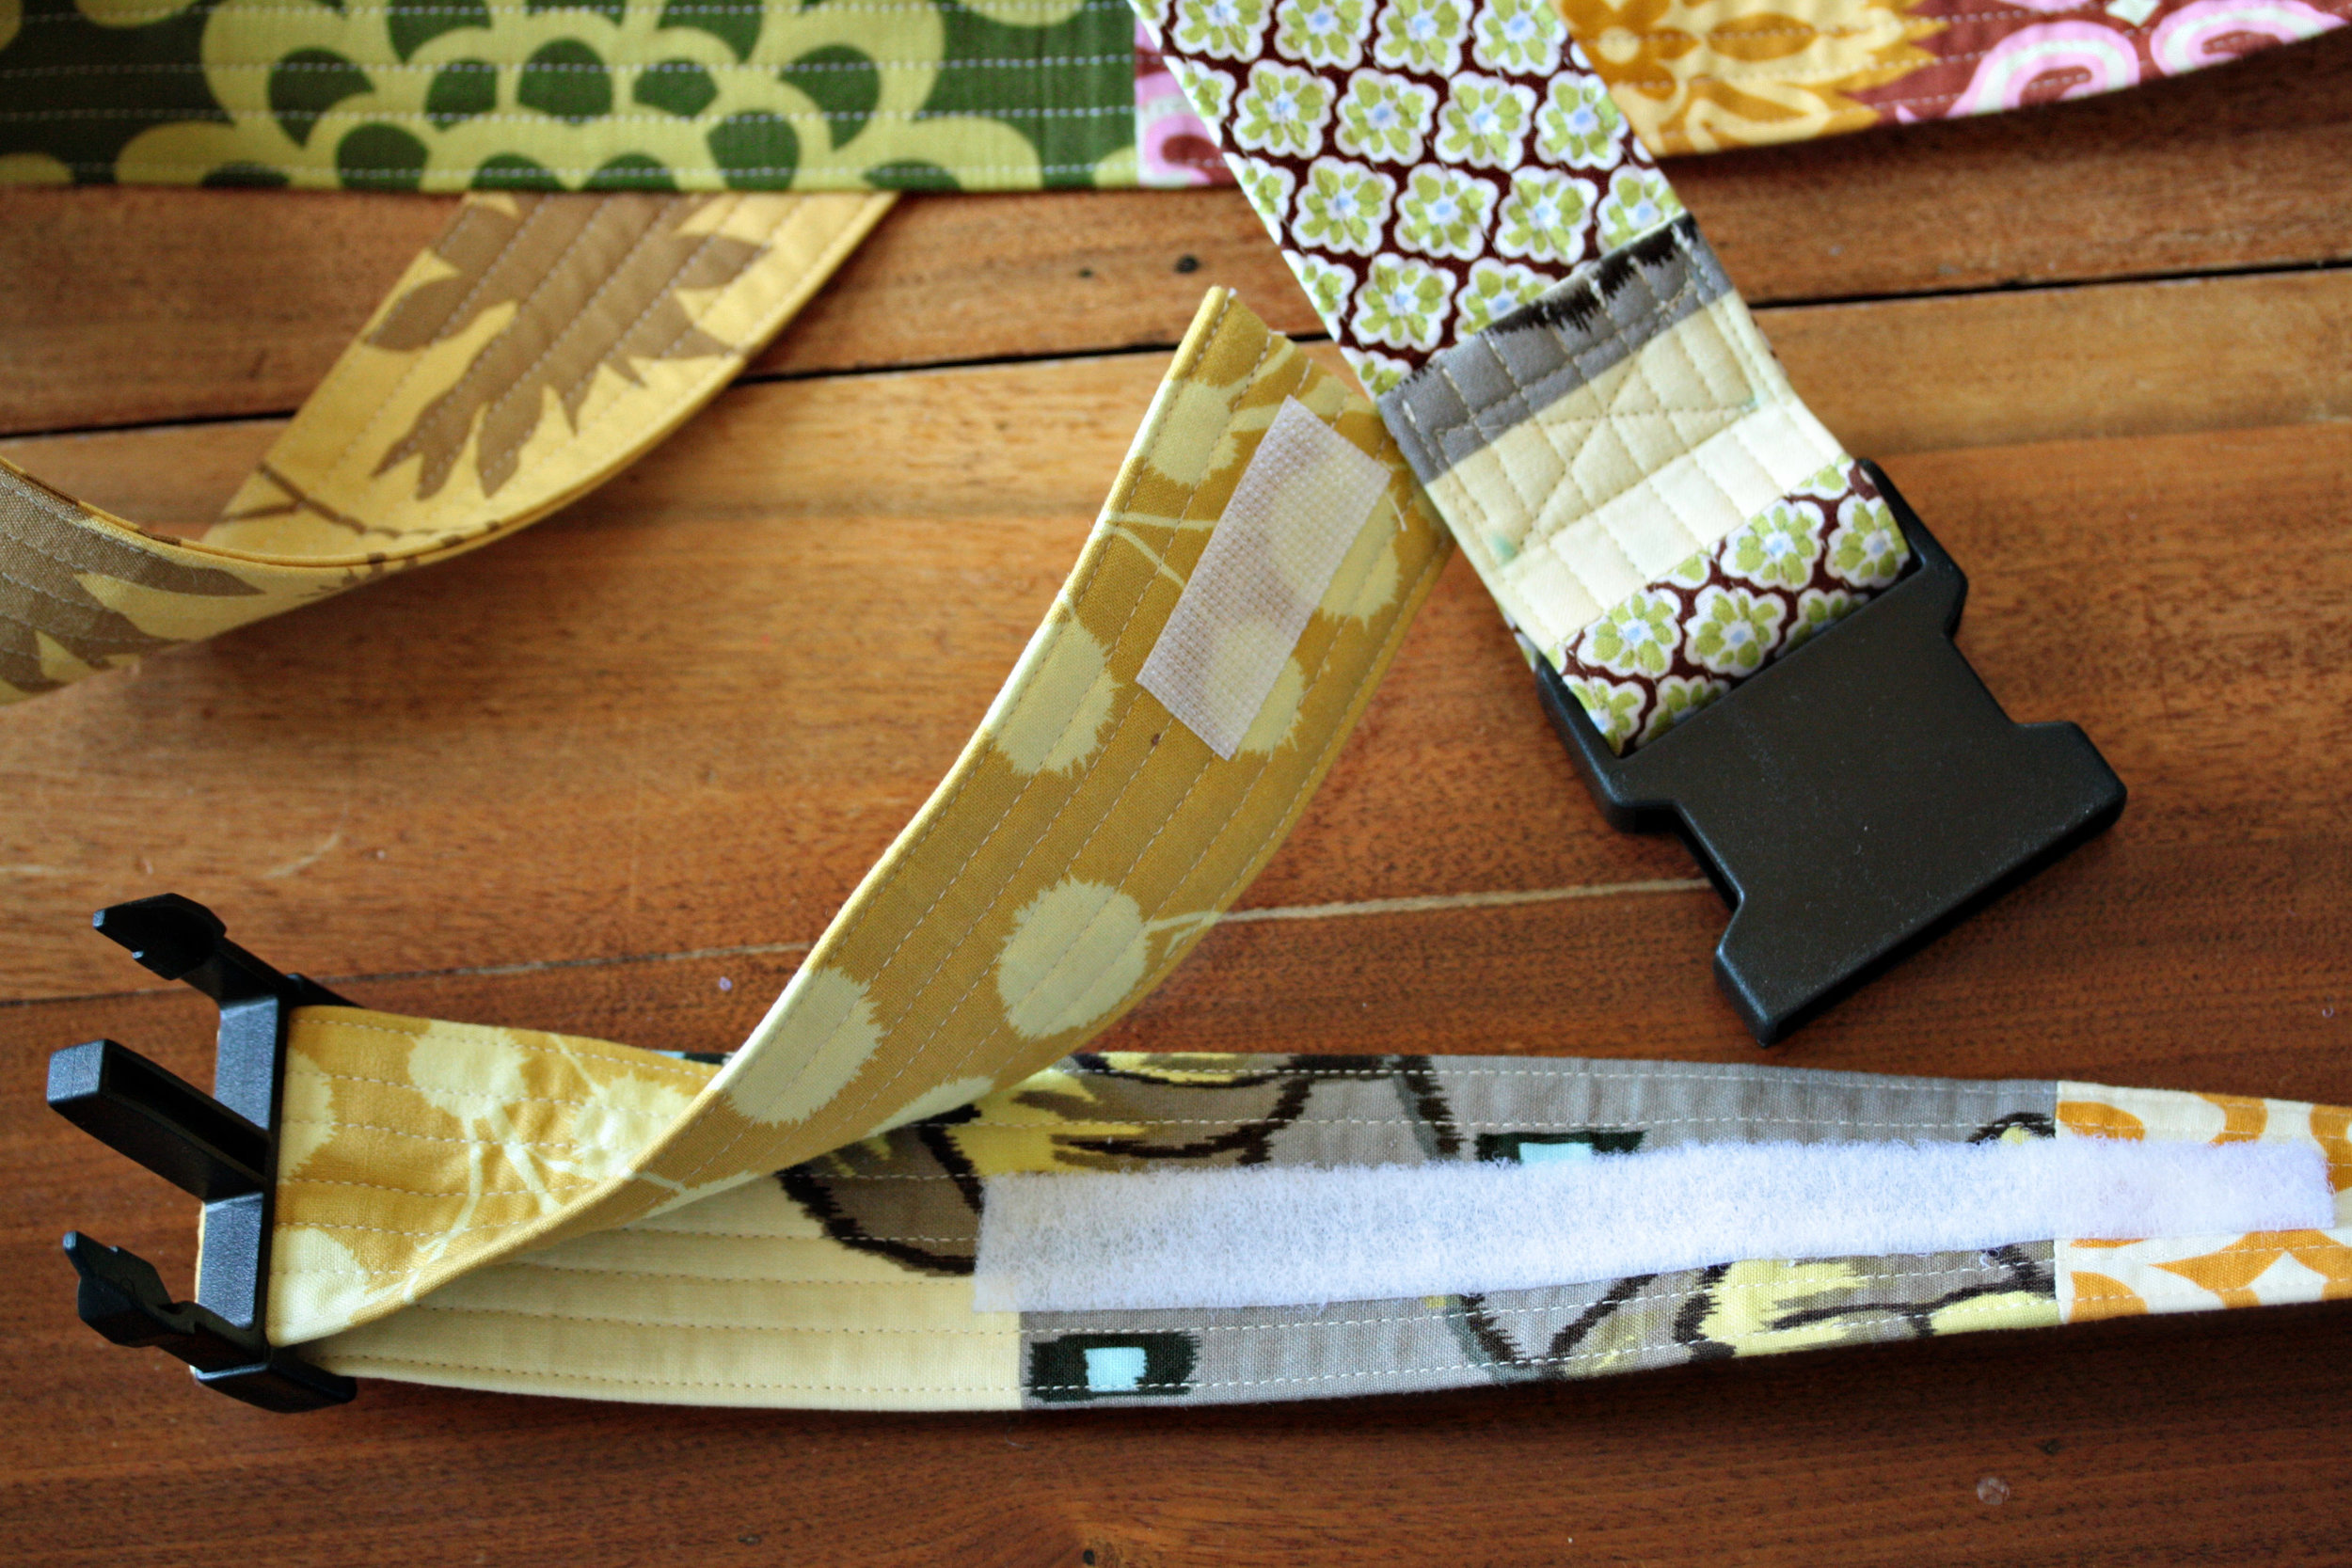
I also made this strap to secure my suitcase.  I've sat on planes and looked out the window as they remove luggage.  Luckily my bags were fine, but it left me with horrible visions of my undies flying across the tarmac. {shudder}

This should help...

{made using i like orange too's tutorial}

I was able to find a two inch buckle at Hancock's, but they didn't have the glide.  I improvised and used some velcro strips to help hold the extra length in place.

Next up, I'm hoping to get a back put together for Cj's quilt so I can bind it at Friday's craft night.

sweet and salty fried eggplant

The spouse's birthday was last week.  I made his favorite cake.

I also made a chicken, stuffed with garlic and onion, roasted on a bed of carrots and more onion.  Served along with mashed potatoes with gravy, sliced carrots, corn on the cob, and fried eggplant.  We sat down to lunch and the spouse stopped to thank me for the meal, when lulu piped up to add a thank you to Laura.  She's our farmer, and lulu figured she deserved some credit with this meal since every one of the vegetables involved (and the eggs in the cake) came from her farm.  Props to Laura, she has one heck of a green thumb.

This was my first try at frying eggplant.  I prefer my eggplant chopped and baked under layers of cream, fontina, and parmesan.  I also know that one should only eat so much of anything baked under layers of cream, fontina, and parmesan.  At the same time I have to grab those eggplants at CSA pick up because Laura notices if you don't get all your veggies.

This recipe completely won me over.  I will be grabbing all the eggplants I can now.

sweet and salty fried eggplant

1 medium eggplant - sliced paper thin

1/2 cup powdered sugar

1/2 cup corn starch

1 cup panko crumbs

1/2 teaspoon salt

oil for frying

In a shallow dish, mix powdered sugar, corn starch, panko, and salt.

In a large pan, heat oil to 360 degrees.  I use a stock pot for frying to minimize splatters.

Dredge a few of the pieces of eggplant into the panko mixture, pressing to coat well.  Fry pieces in oil for 1-2 minutes or golden brown.  Use a mesh strainer to remove from oil.  Cool on rack placed in a sheet pan to catch drips.  Season with salt if you like.

Repeat with remaining eggplant slices once oil has returned to 360 degrees.

Can be made ahead (1 hour or so) and served at room temperature.

cookingmybricolecake, eggplant
a bit of home improvement

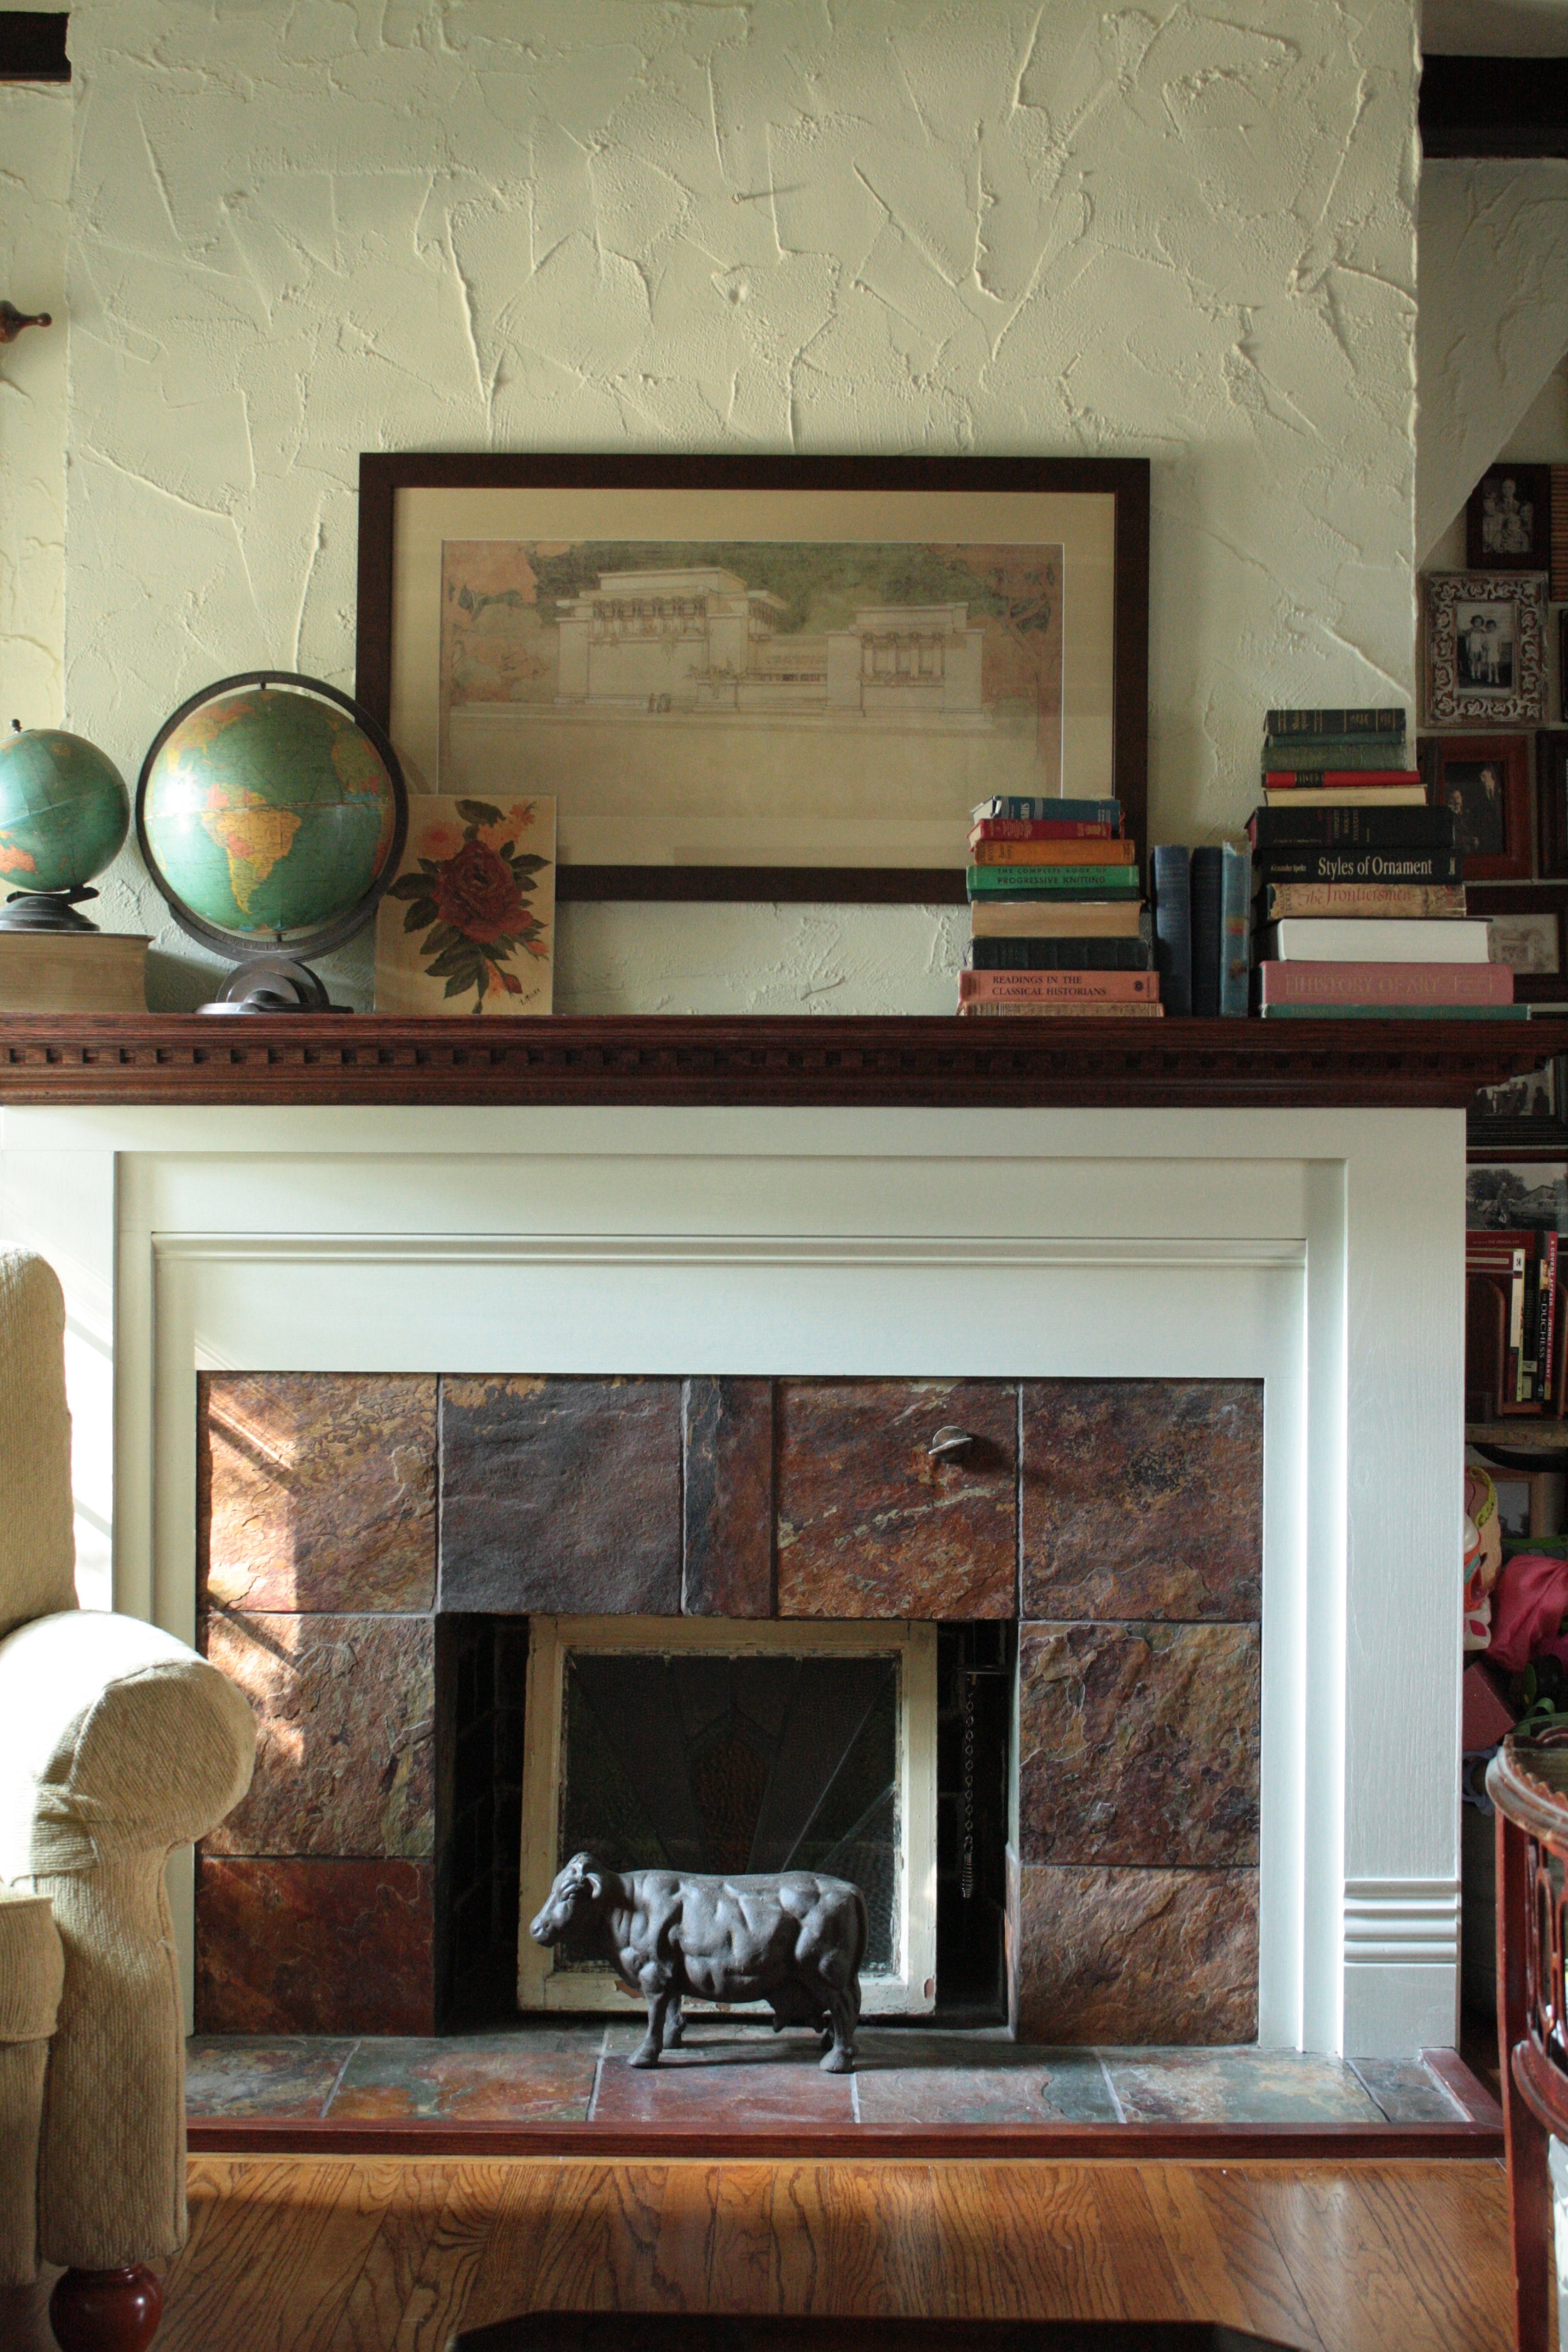
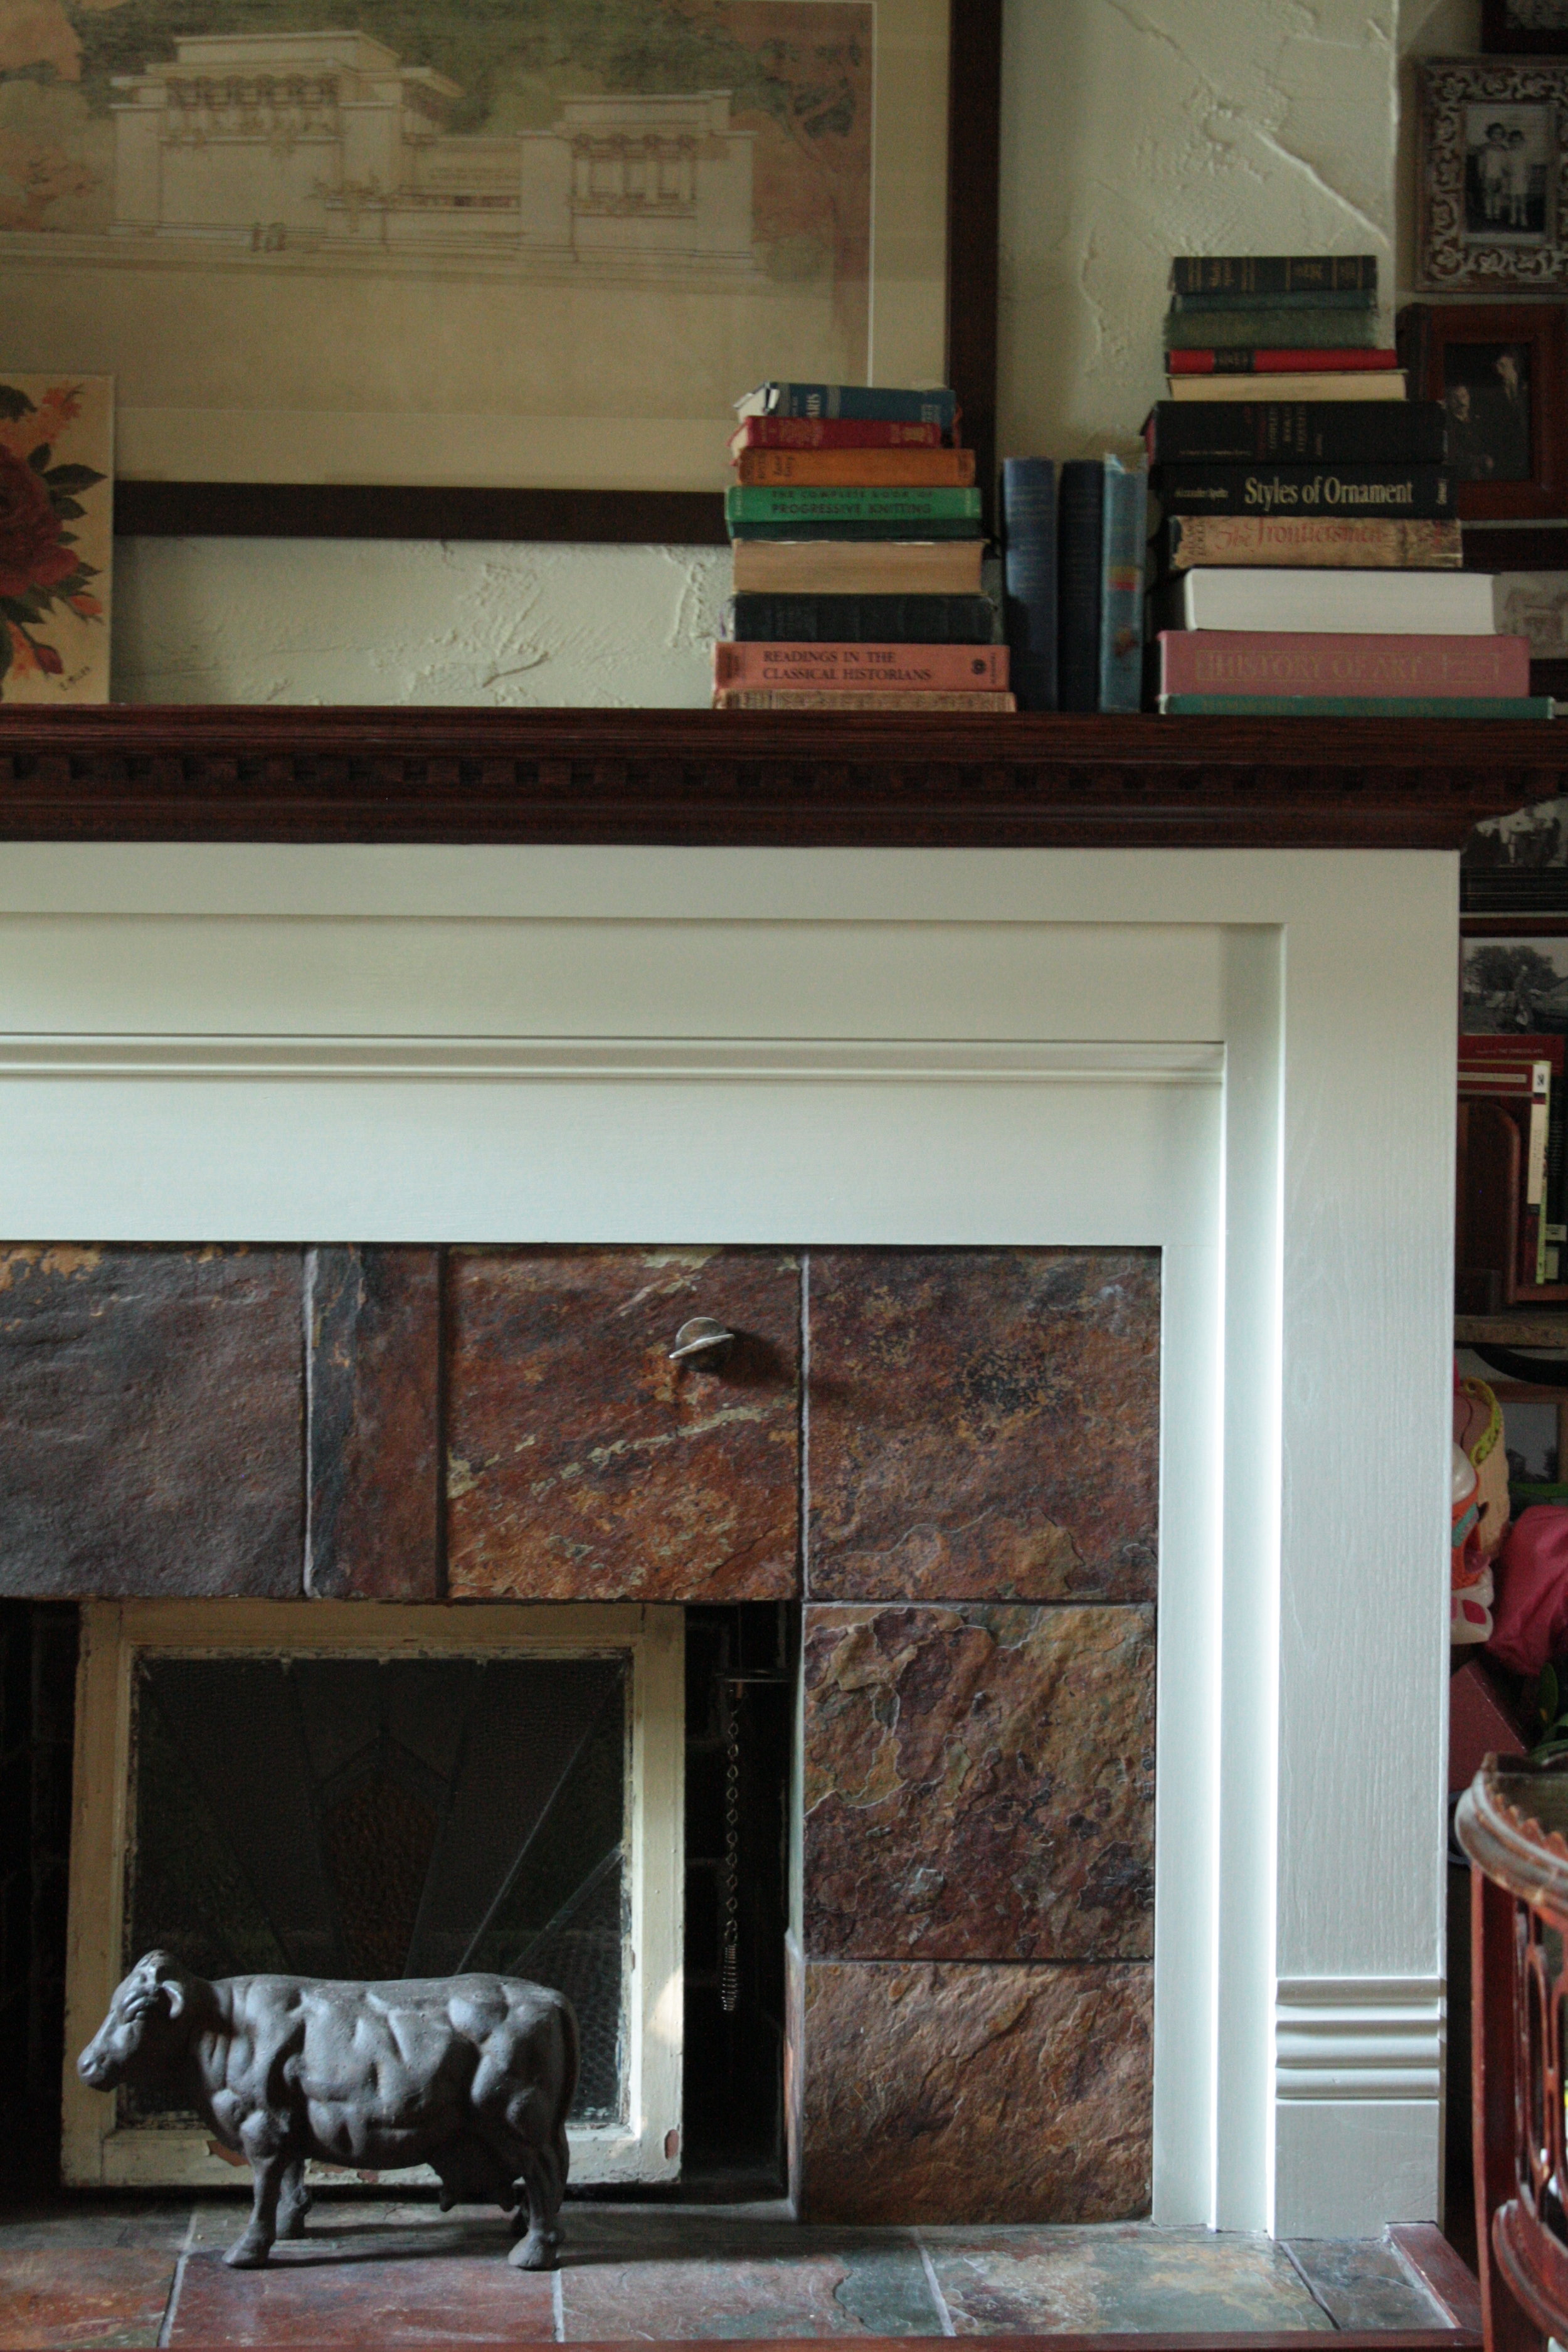
We are lucky to still have a lot of great original features in our home. Our mantle is not one of them.  The previous owner bulked it up.  So much so, when you open the window next to the fireplace, it hits right into the corner of the mantle.  I do love having a great big shelf for display, but wasn't loving the trim.

I went scouring my files for before pictures of our mantle.  This was more difficult than I thought it would be.

Here you can see where my dad chiseled off the scrolly things for me.

I knew I wanted them off, but wasn't sure what to do once they were off.  Matching stain would be a pain, but I didn't want to paint the whole thing.  Since we couldn't decide what to do, we left it...

for over two years...

Then my mom called to tell me about a fireplace she saw on This Old House that was just painted on the bottom...

done...

We swapped out the bullseye blocks that didn't go with anything in the house and were wider than the boards beneath them, that were also replaced with something more understated.  I'm still not 100% committed to the tile, but at least I can look at the fireplace without frustration.

laundry from paris apartment

I wish my laundry was in a Paris apartment!

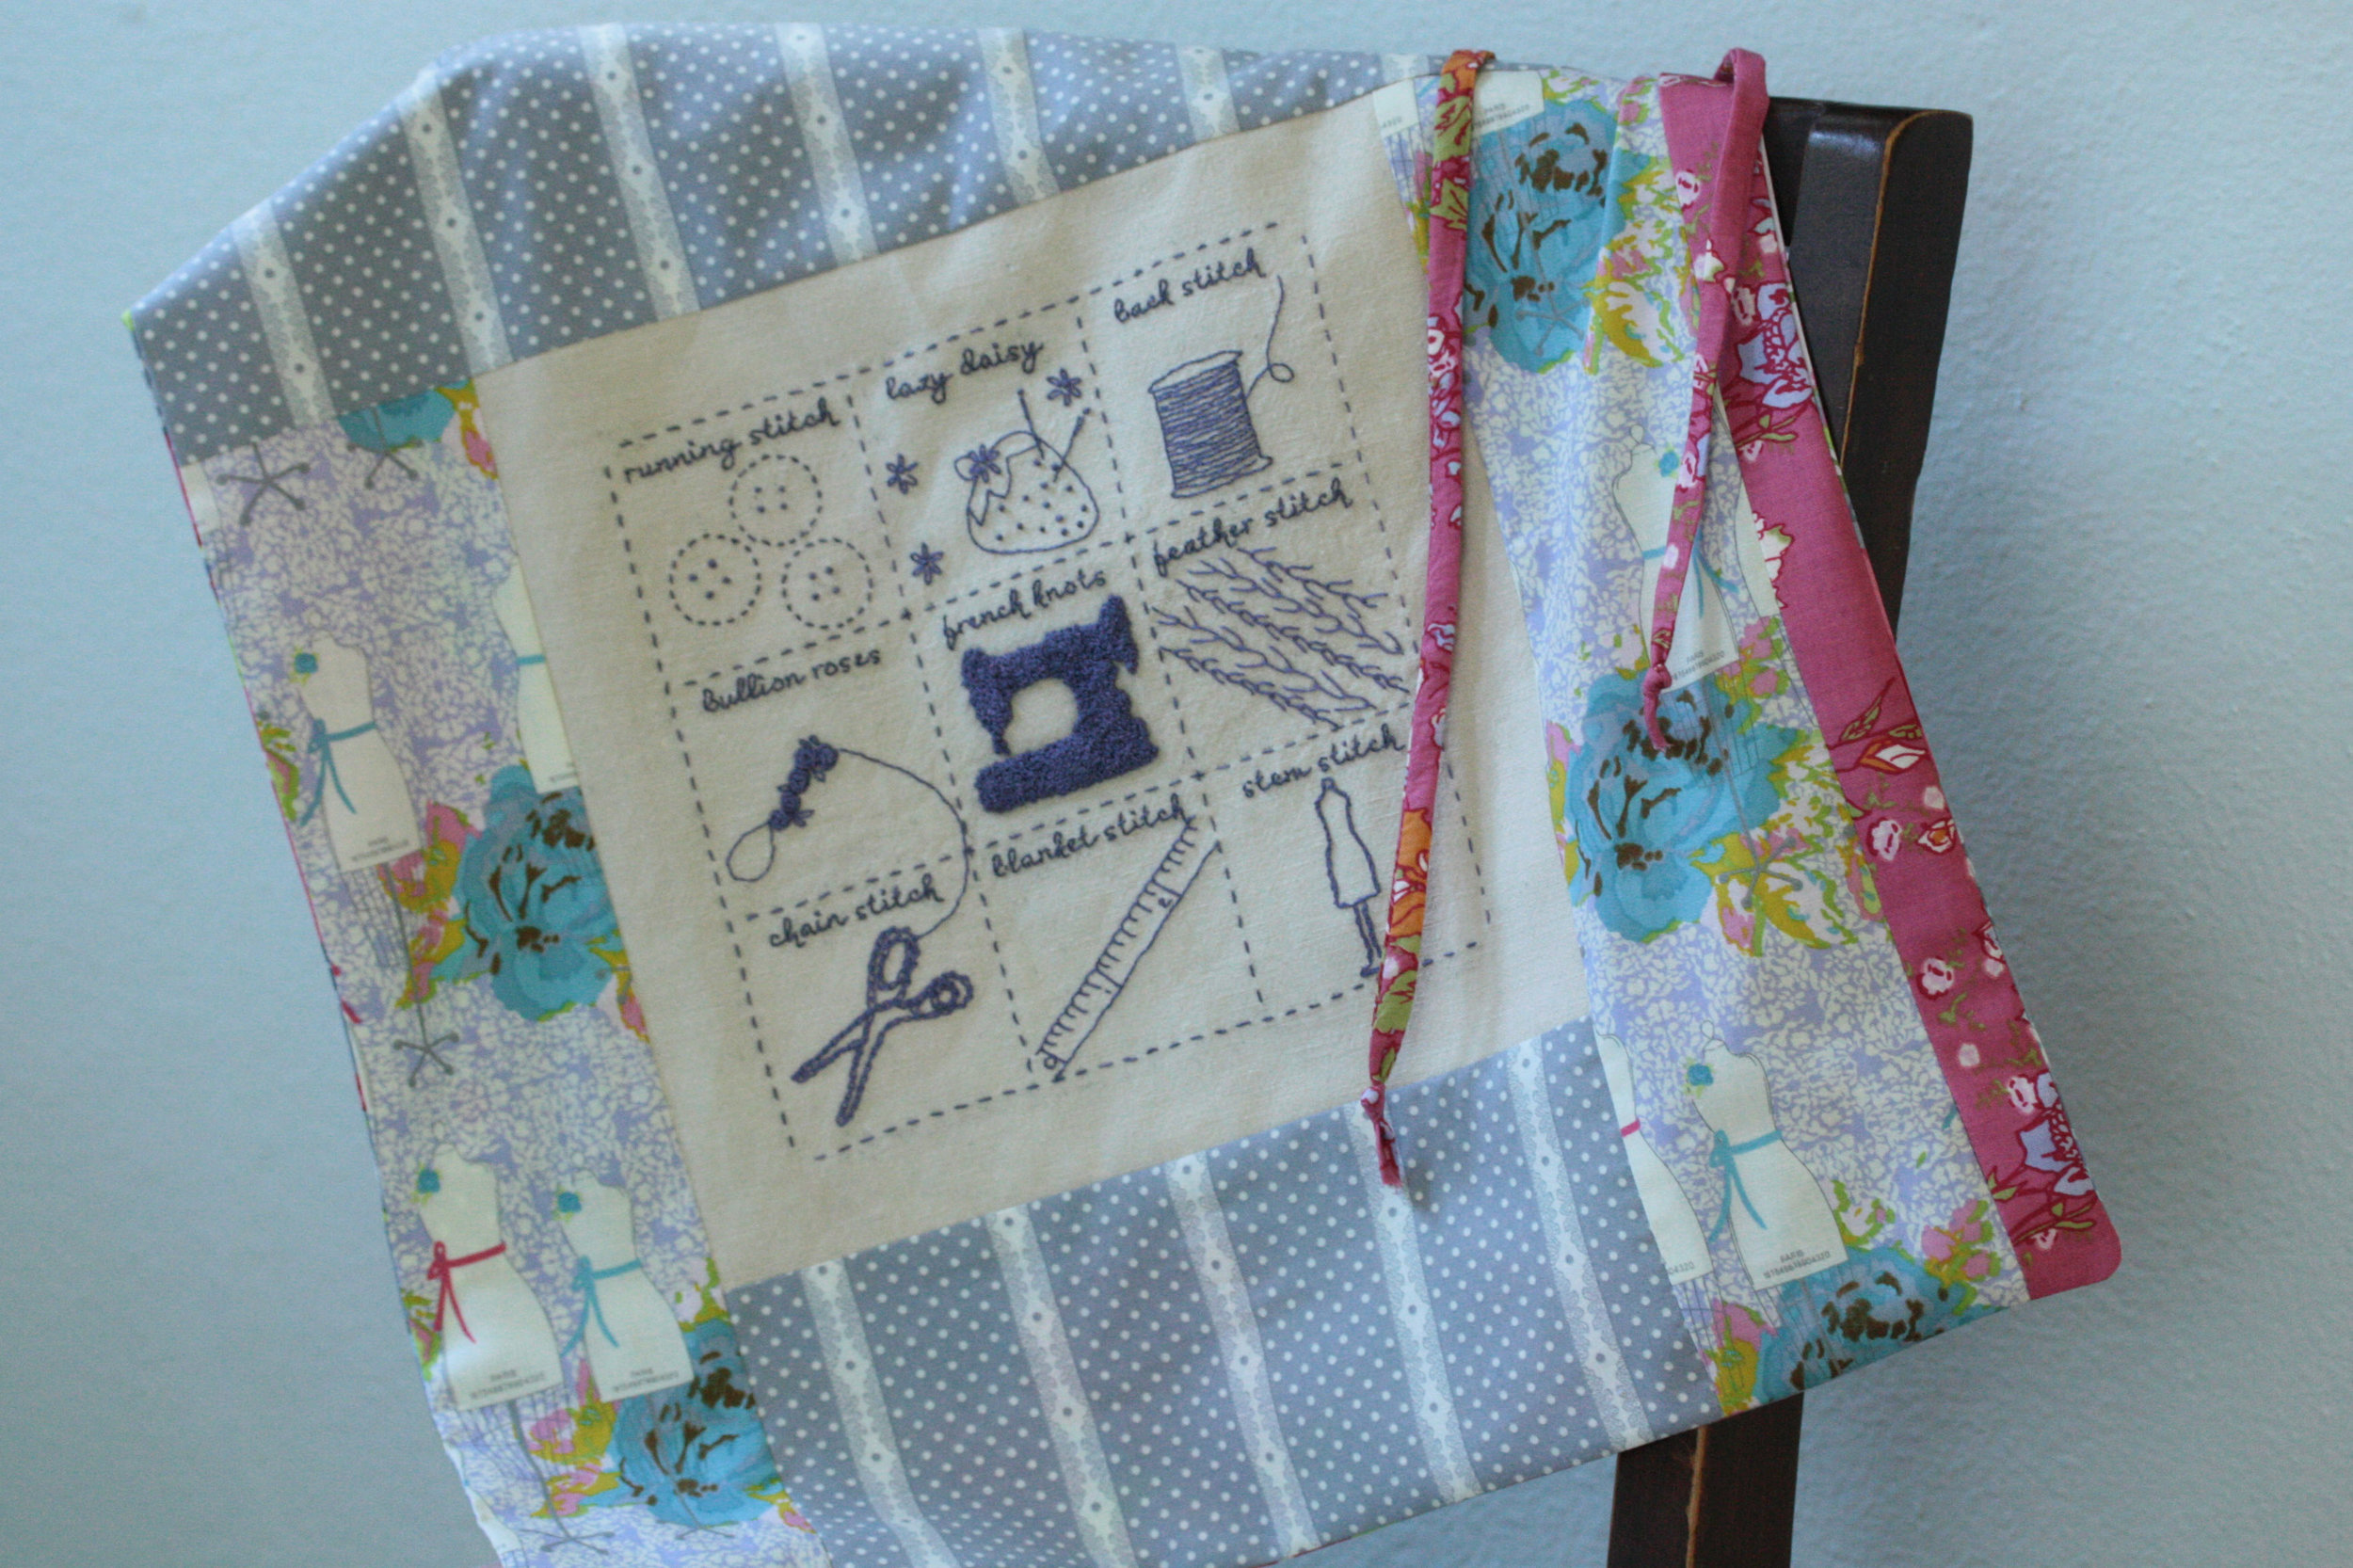
This is my new travel laundry bag made with Bari J.'s Paris Apartment line.

I'm working with fat quarters so the back uses one quarter with the front pieced to match the size.

You put right sides together, stitch the sides and bottom together, leaving the top open.  Then turn and press the top down 1/4", then turn down another 1".  With the bag wrong side out, edge stitch the bottom edge for the drawstring pocket/casing.

Then turn the bag right side out and edge stitch the very top of the bag.  Make a couple of bar tacks at the top edge and bottom edge of the casing, then use a seam ripper to take out the stitches between the bar tacks.  This gives you a little hole for the drawstring.

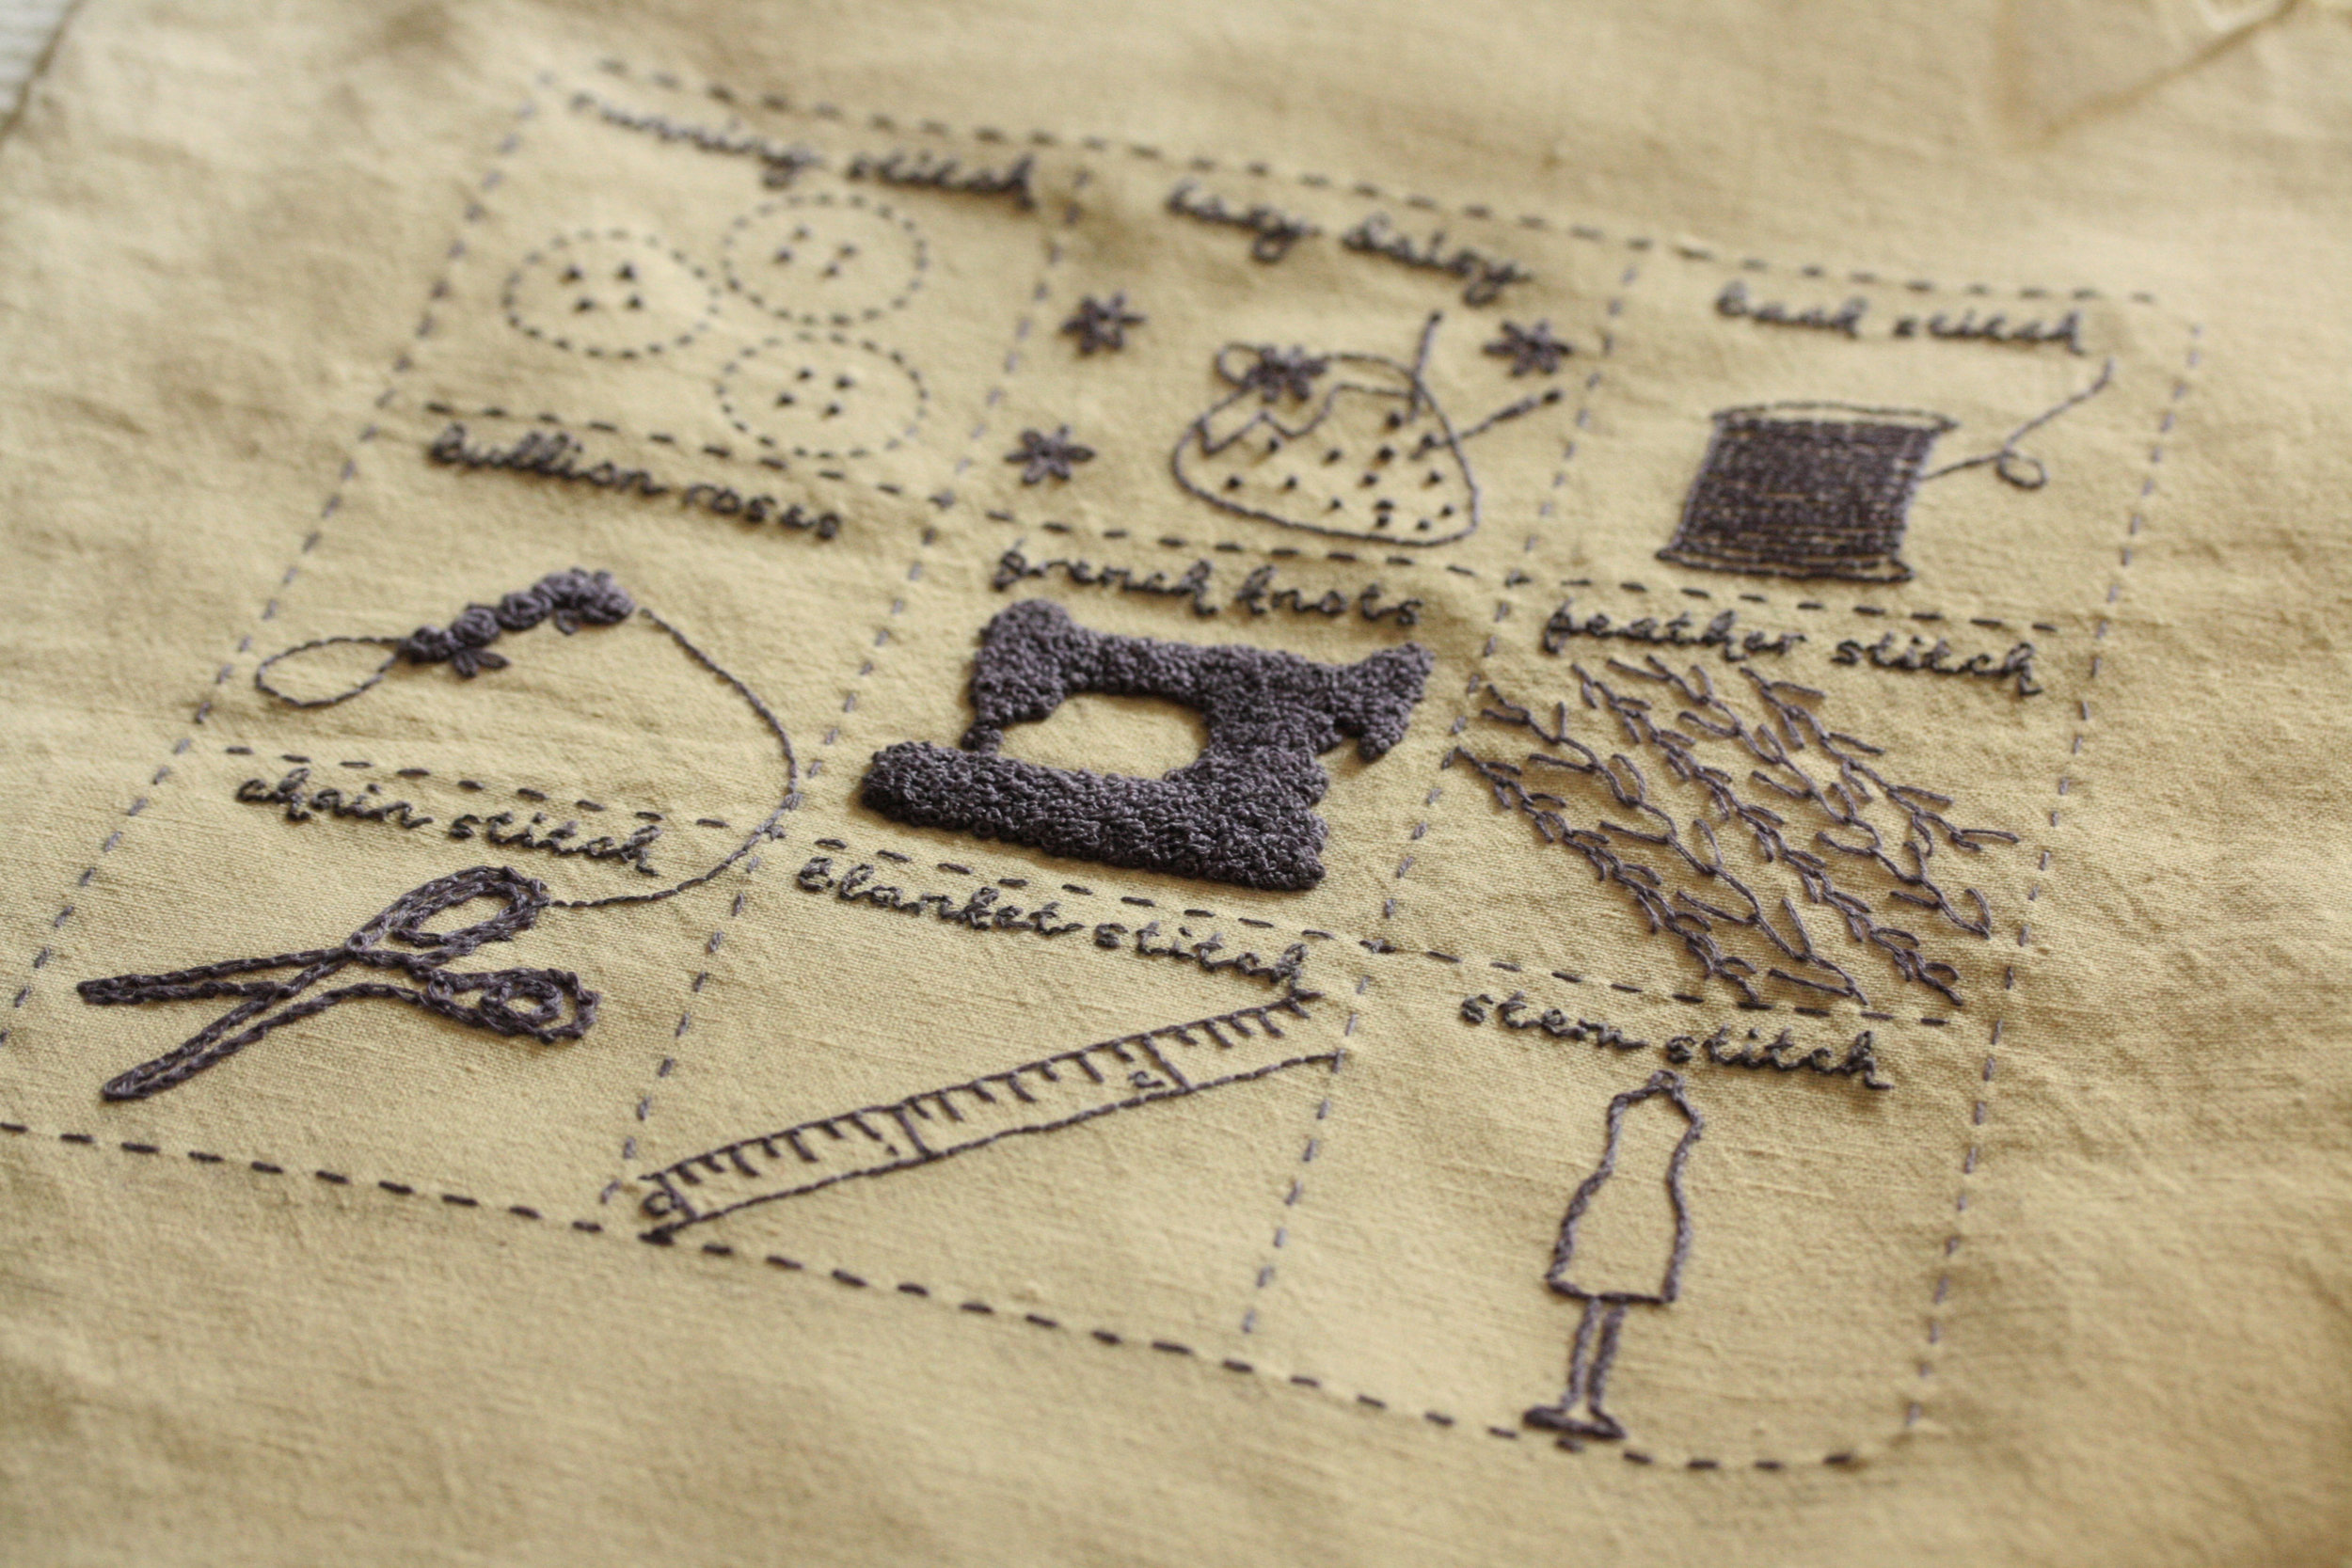
You could use ribbon, but I made a spaghetti style string for mine.  The main panel on the front is the embroidery sampler from Bari J.'s new project, We love french knots.

I love the look of all the knots clustered together.

Well, all this talk of dirty laundry has reminded me I have my share waiting for me down by the washing machine...

golf pros

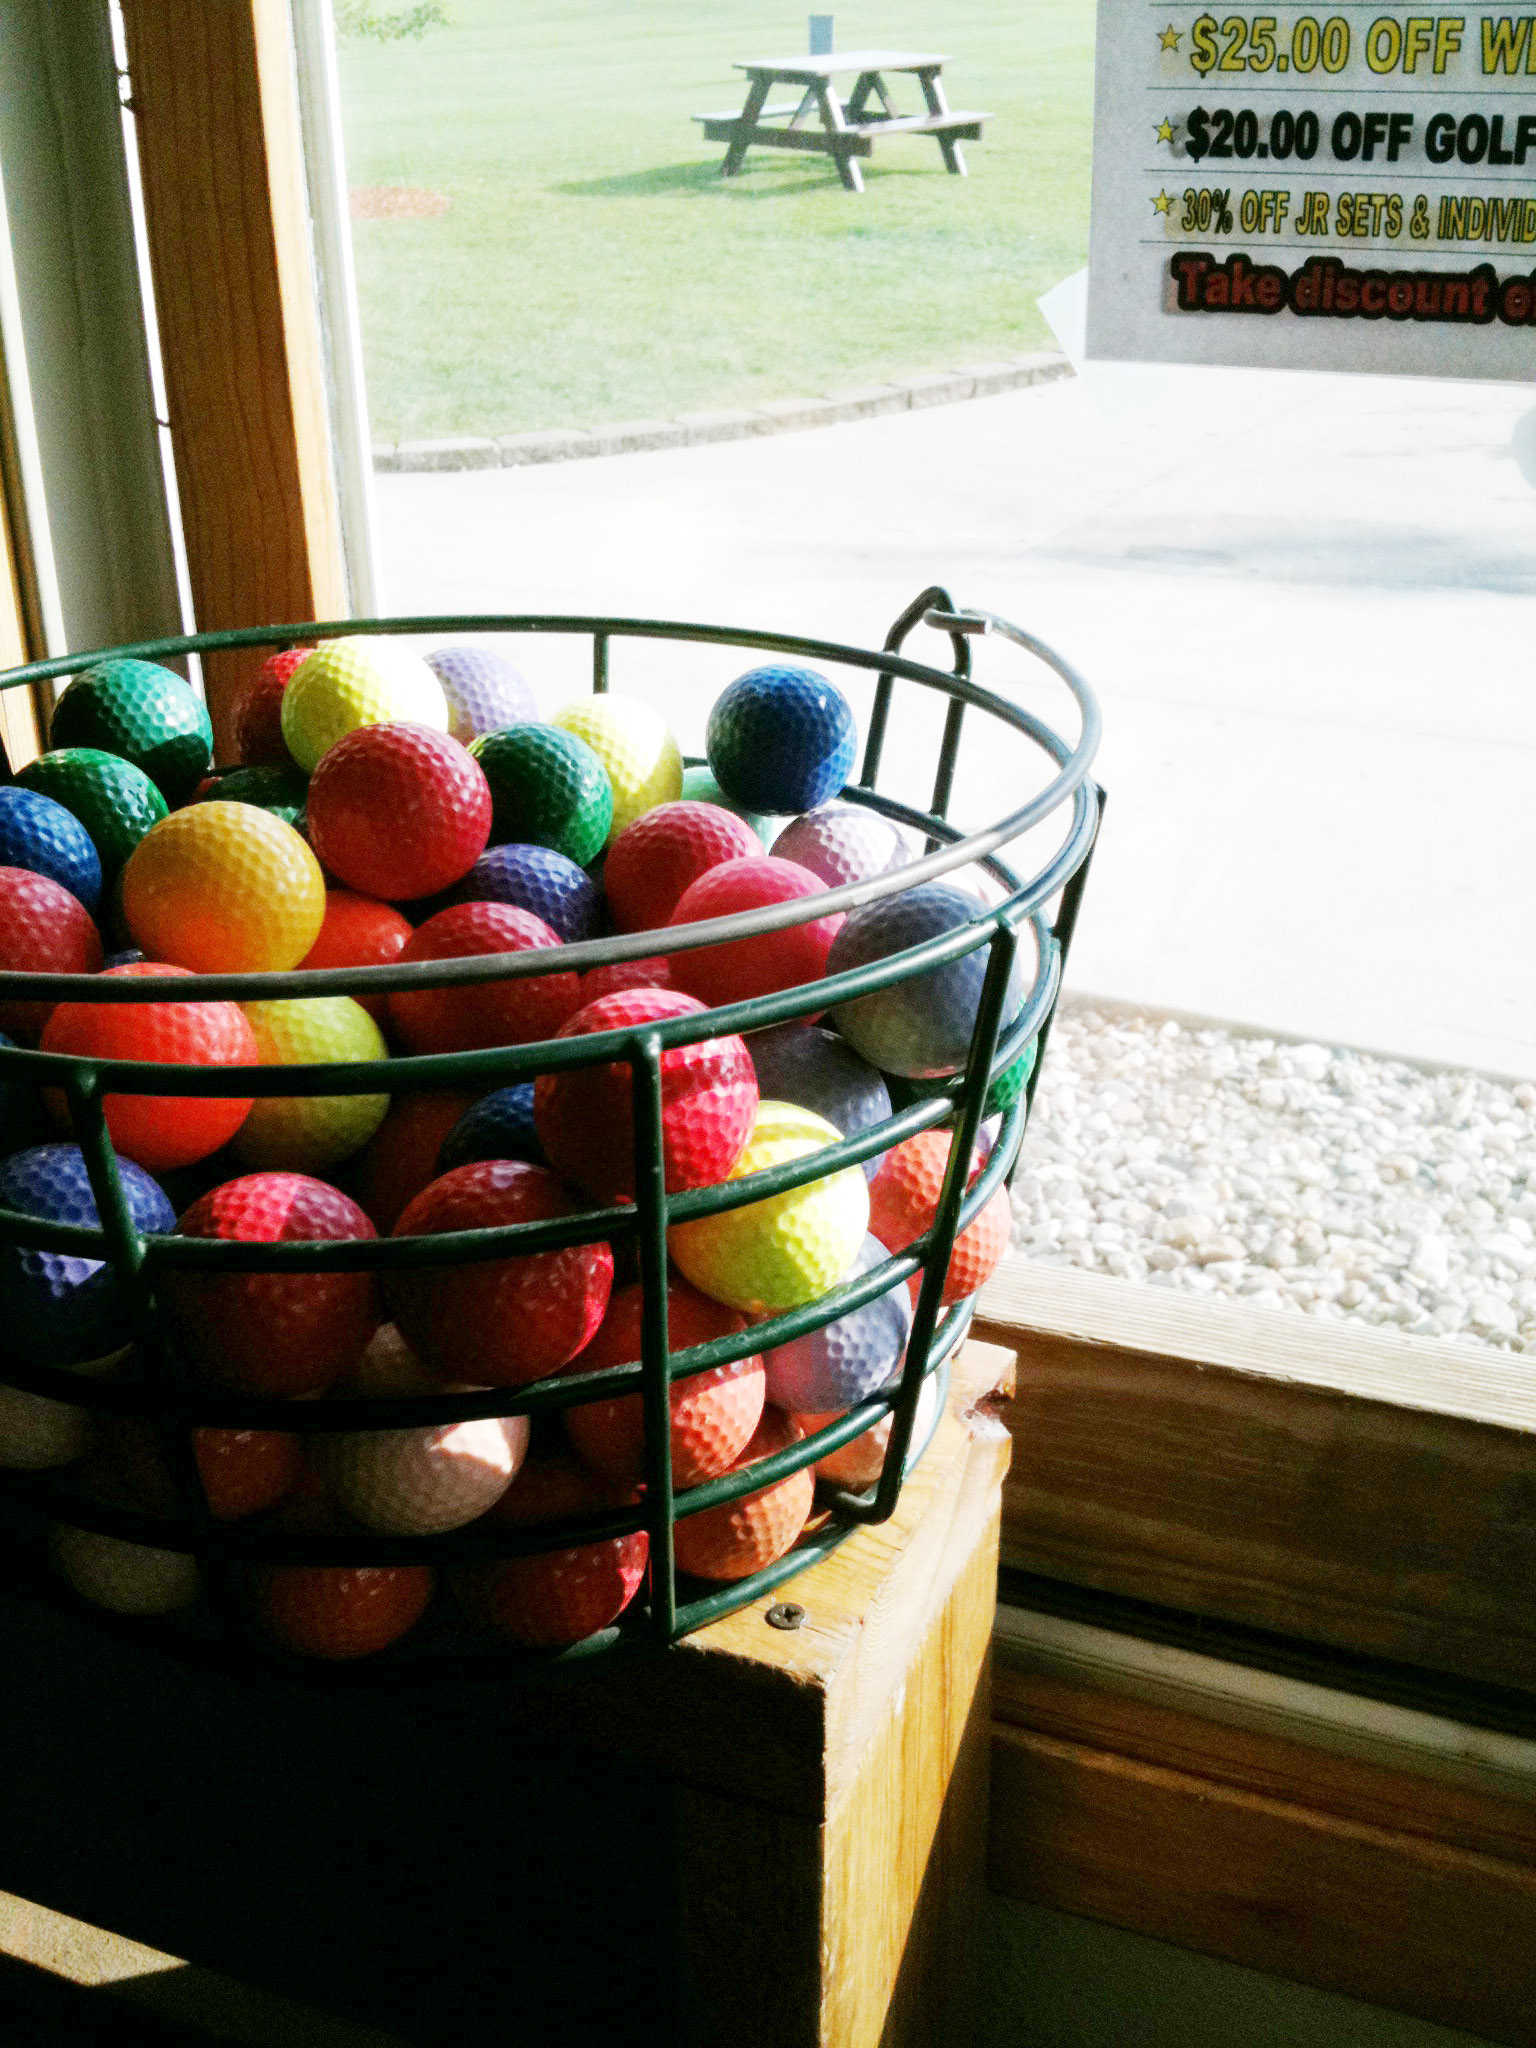
Mini golf counts as golfing in my world.

We had a great time, despite the ridiculous heat wave that was going on.

Lulu was trying to find shade next to boulder here.

why yes,  I did make a hole in one on 12.

we traveled handmade

We took a little trip last week.

Cj's favorite part of any hotel stay is having snacks in bed while watching tv.

ahhh the simple pleasures (this was taken about 4 o'clock in the afternoon)

Lulu and I did our best to travel handmade.

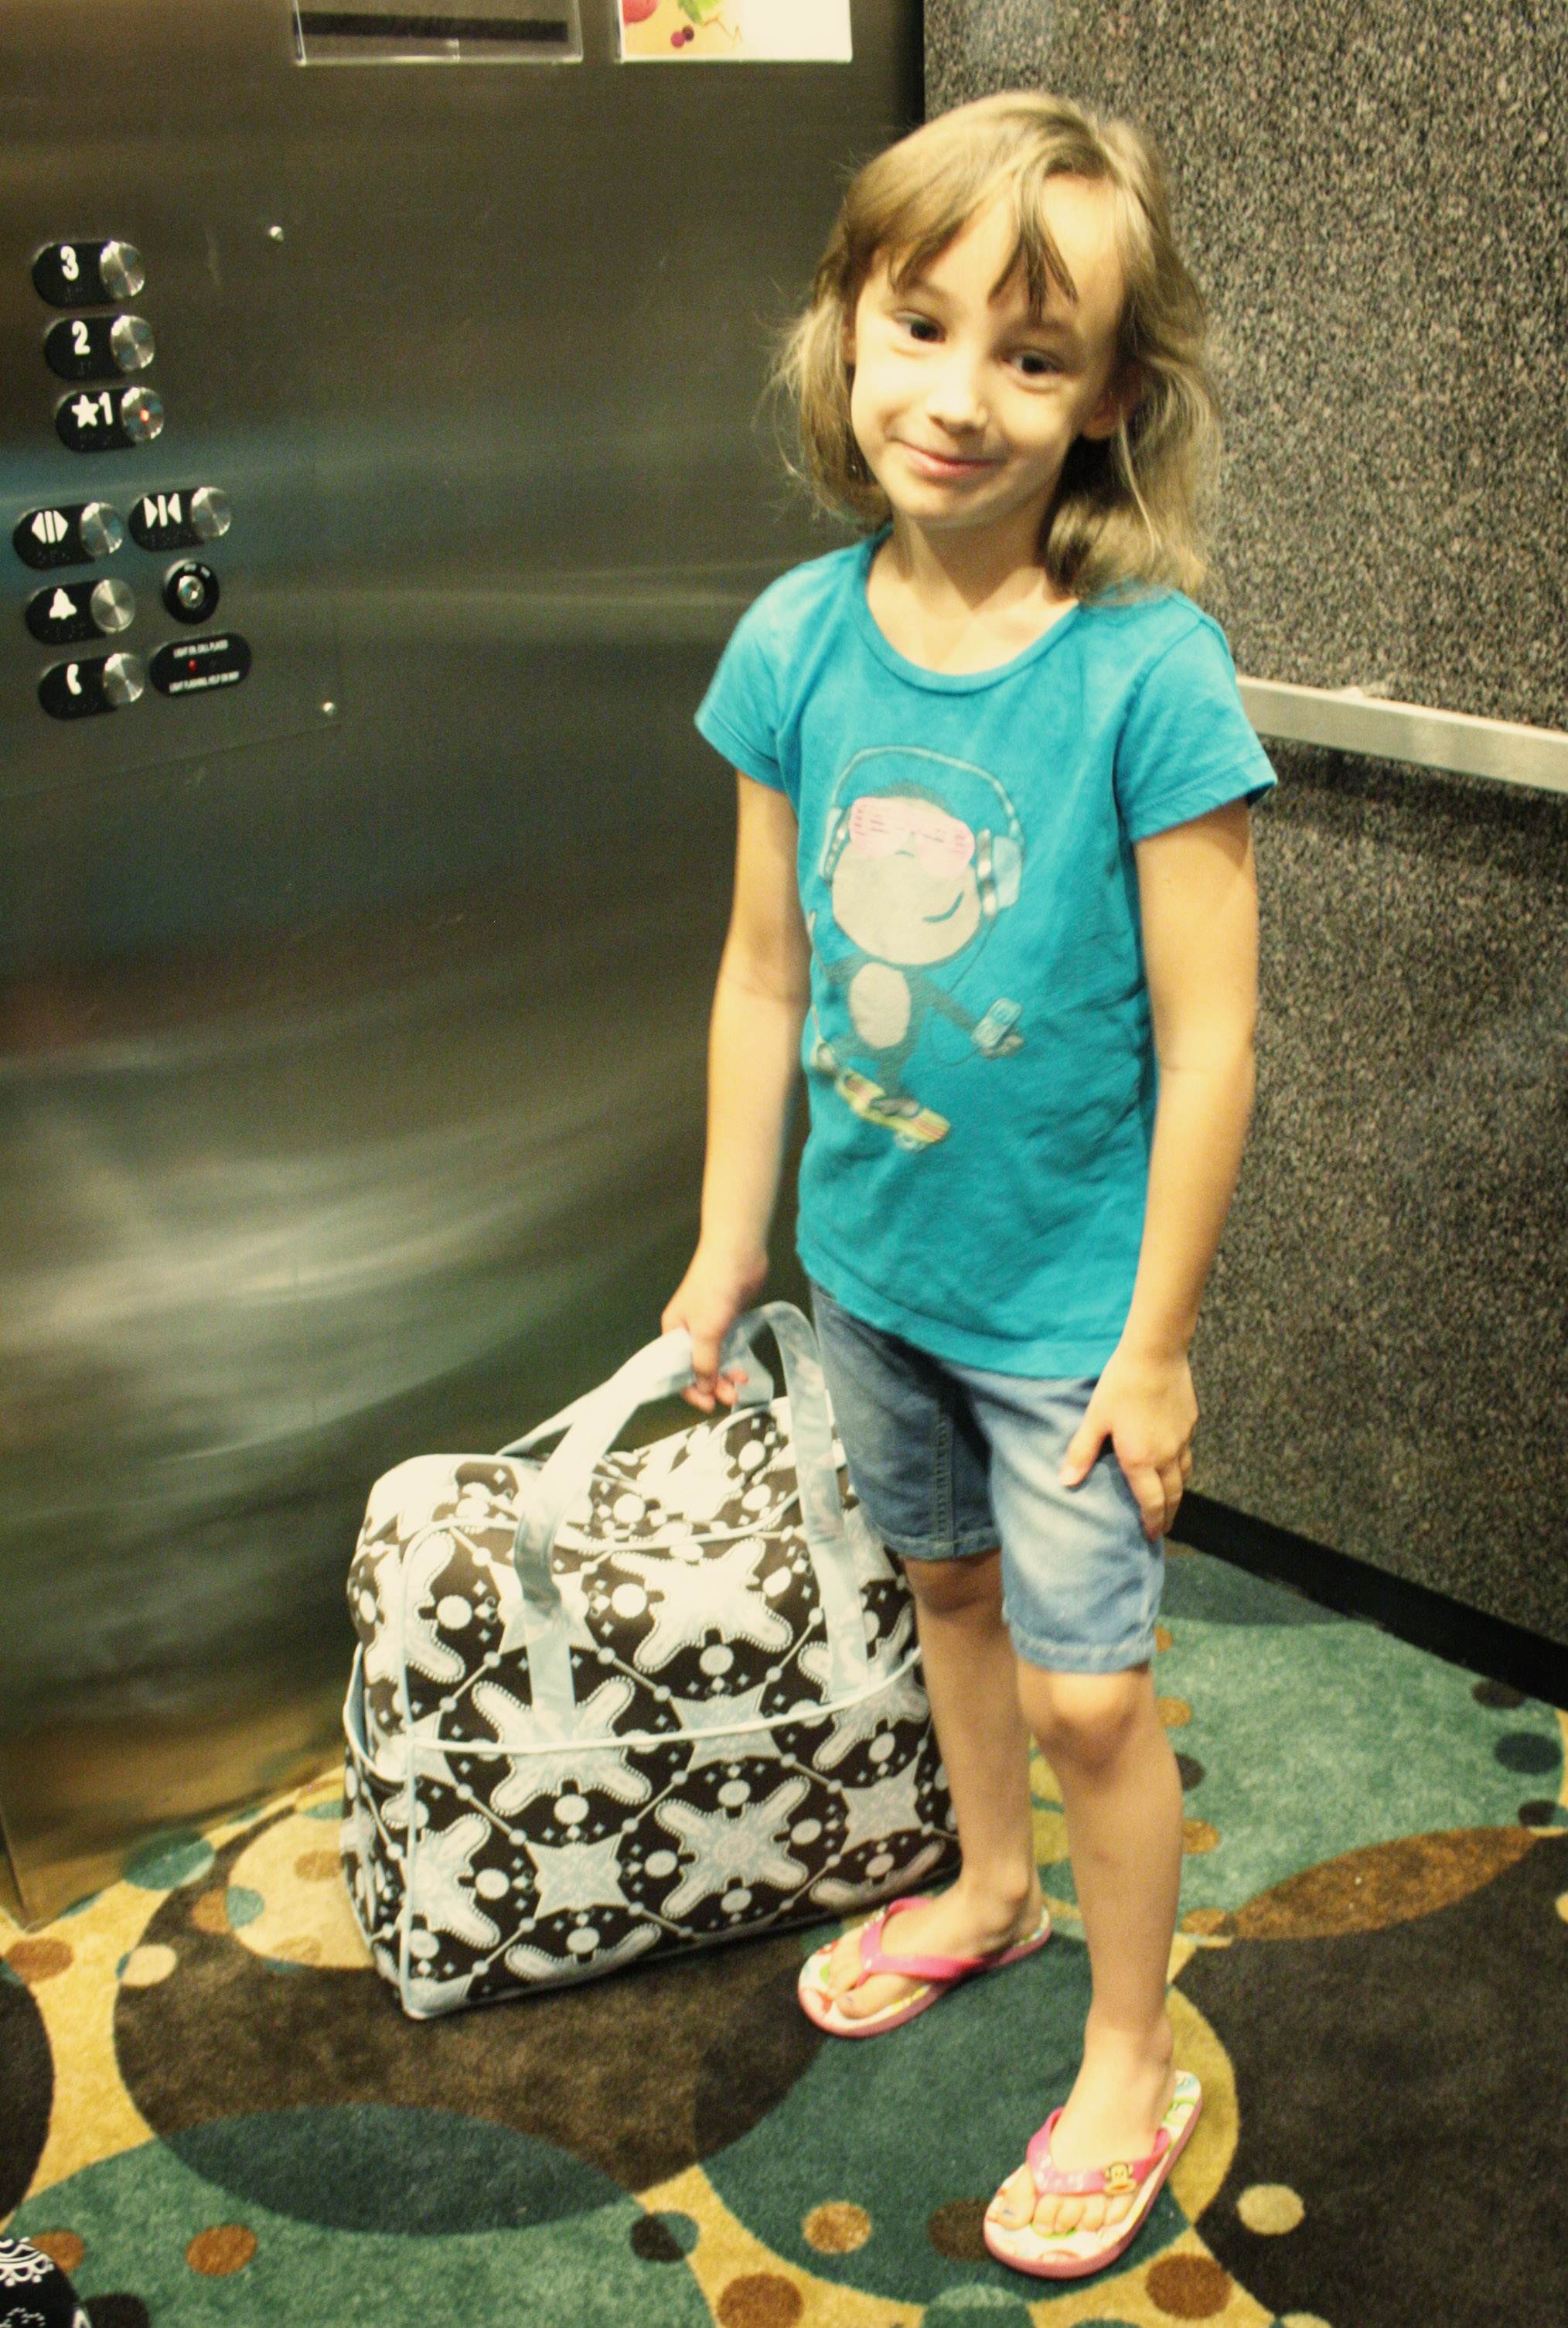
Here she is in the elevator with her weekender.

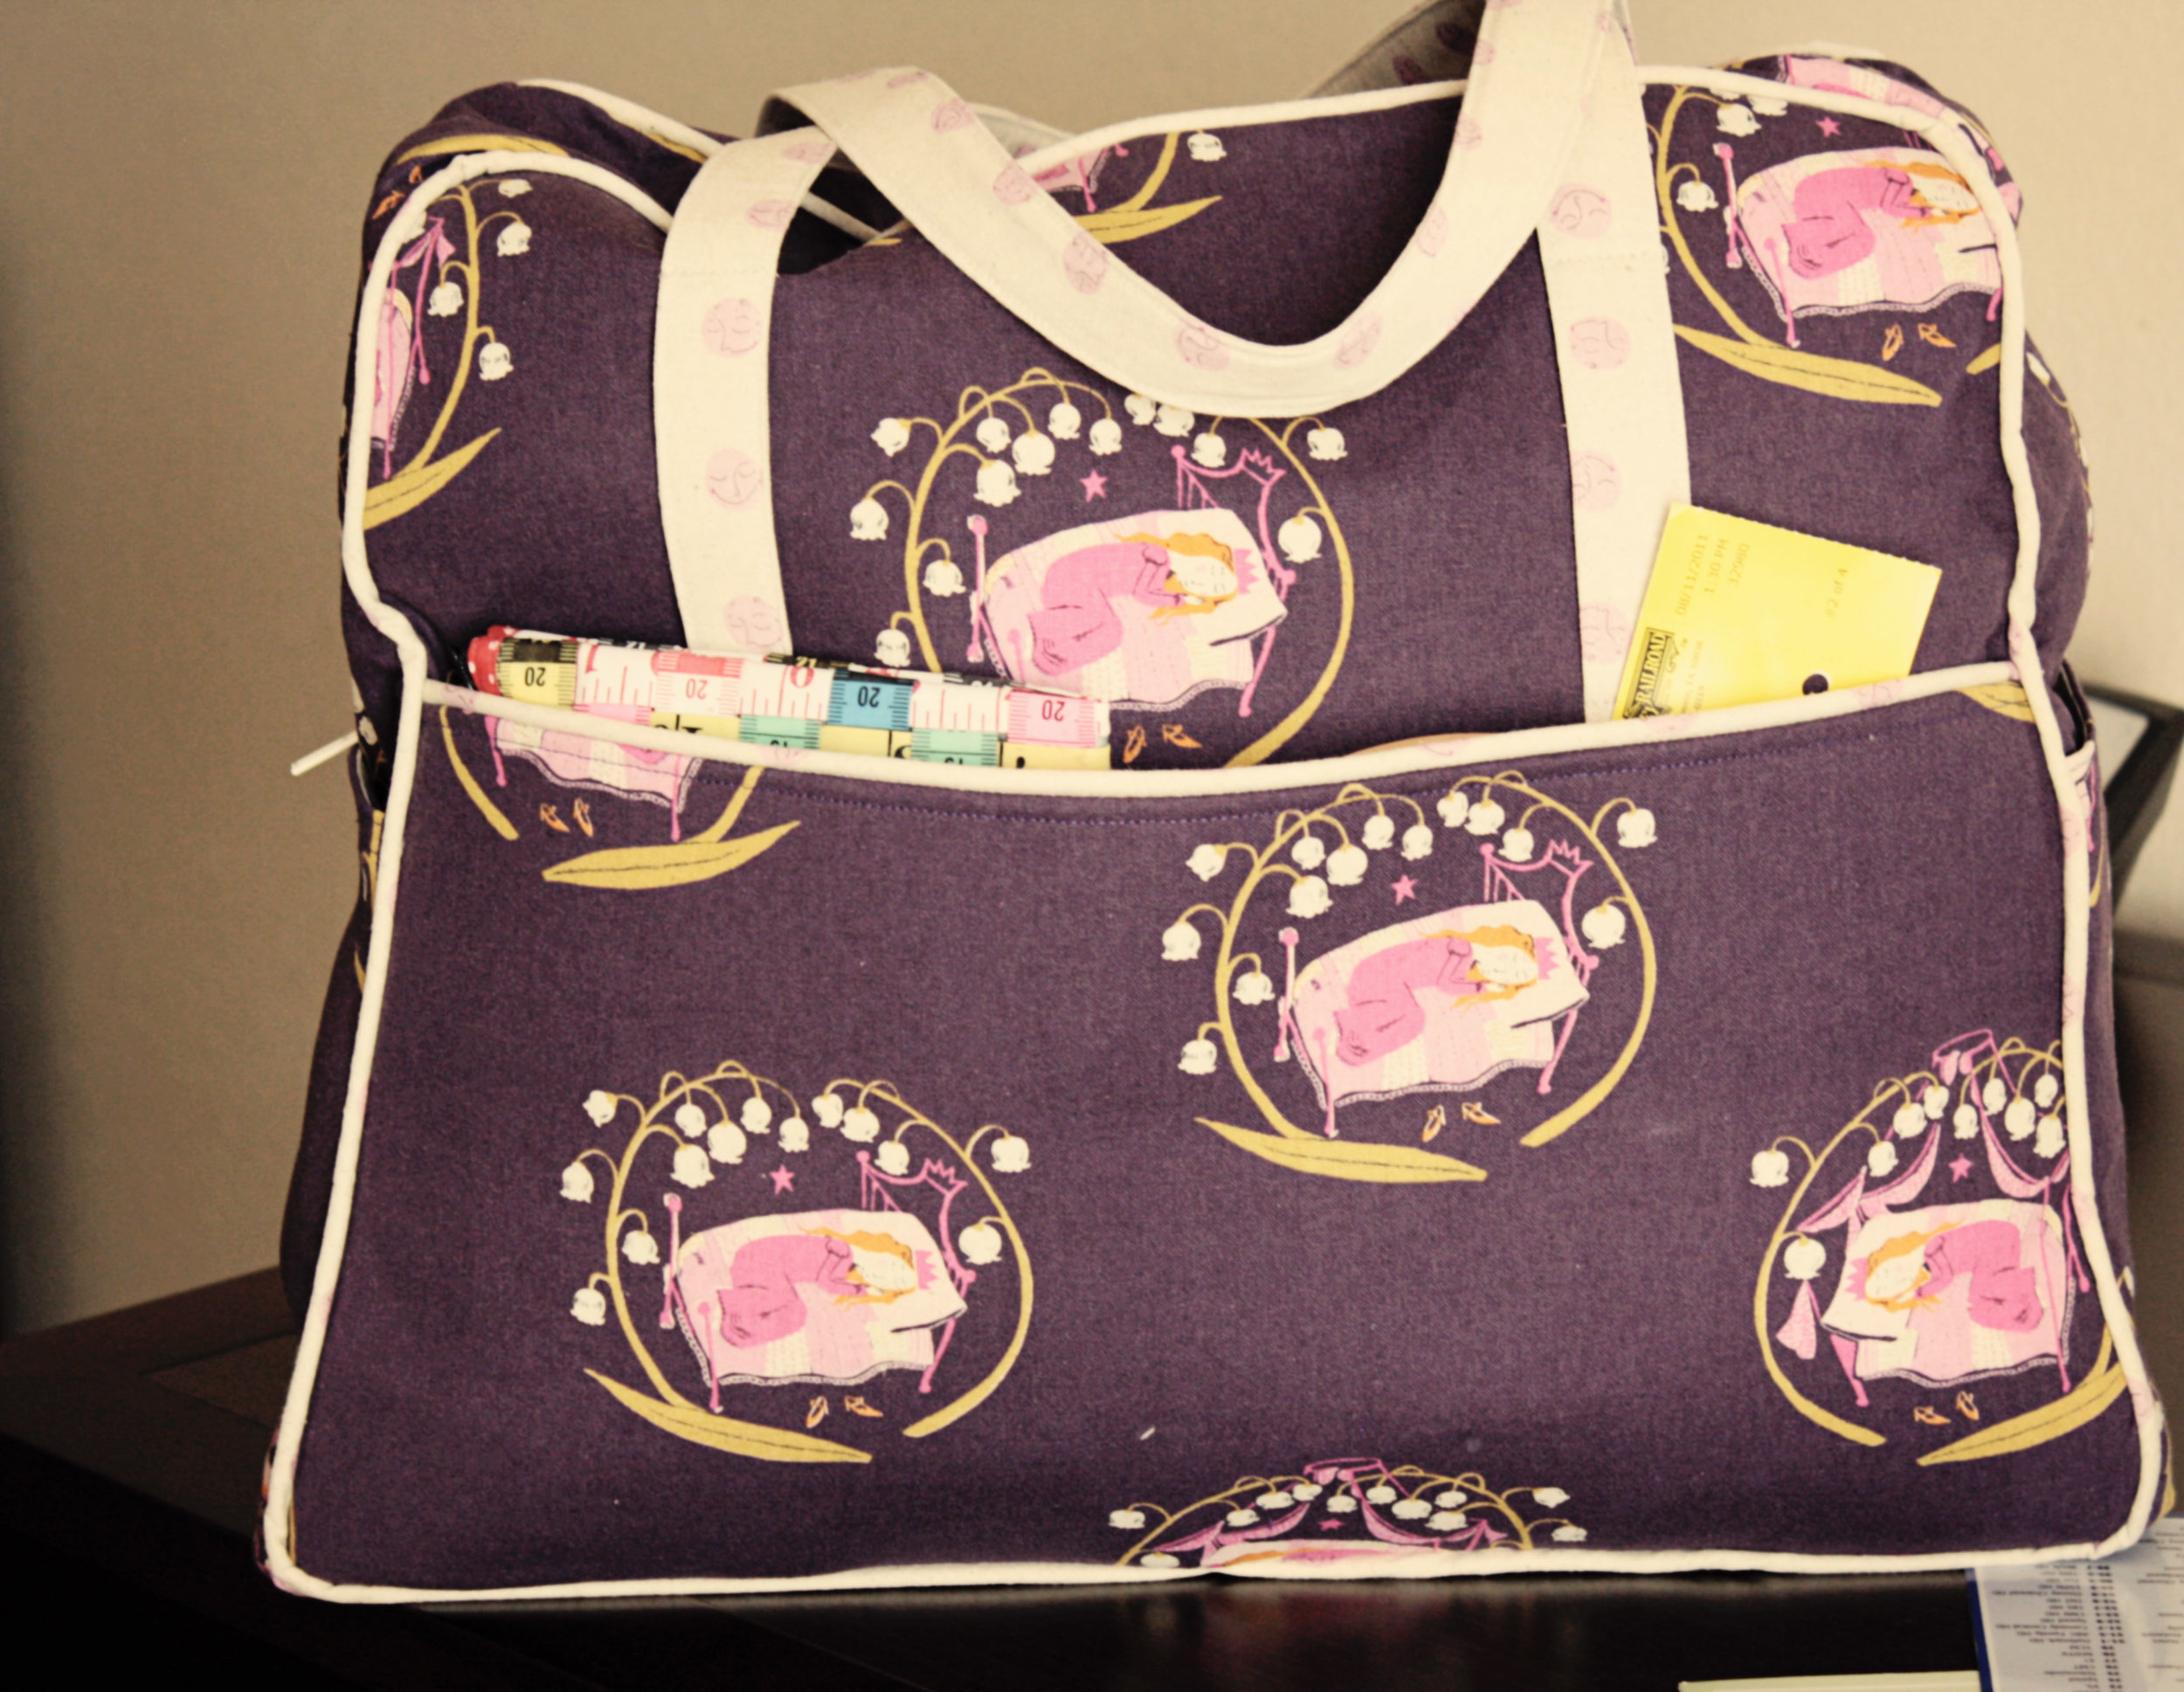
Here's my weekender.

I love it.

Lily of the valley and purple are some of my favorite things, so I was thrilled to find enough of this fabric. (hooray superbuzzy) It's the weekender pattern from Amy Butler.  (I love that link because I could access it with my phone and get the pattern requirements while I was in the fabric store, before the pattern arrived at my house.) I tend to have good luck with her patterns.  Although there was one point around step 11 where I finally had to stop and slowly read out loud the same step a couple of times because I just couldn't figure out what she was talking about.  Once I figured it out it was smooth sailing.  For me, the biggest help was to stitch slowly, pin the corners with several pins, and also not stitch too closely when making the piping.

You can see my zipper pouch made from tape measures that a friend gifted me, along with the tiniest bit of the edge of an embroidery hoop sticking out of the pocket.  I had the best of intentions to get some stitching done, but was too tired by the end of each day.

I also finished a simple drawstring laundry bag from a fat quarter of the dwarves' laundry print from Heather Ross.

her weekender

This is lulu's weekender bag.

When it was all done, she threw it over her shoulder and told me it's her favorite of all the things I have a made for her.

I really don't think you can receive a better compliment.

It's made with Ty Pennigton's home dec fabric (Moorish) and the pattern is Amy Butler's Weekender.  And, I had no intention of having the fabric line up like it did.  I didn't even notice how nicely it matched up until I was looking at these pictures.  I know, I'm pathetic.

Now I can get started on mine.

gooseberry crumble

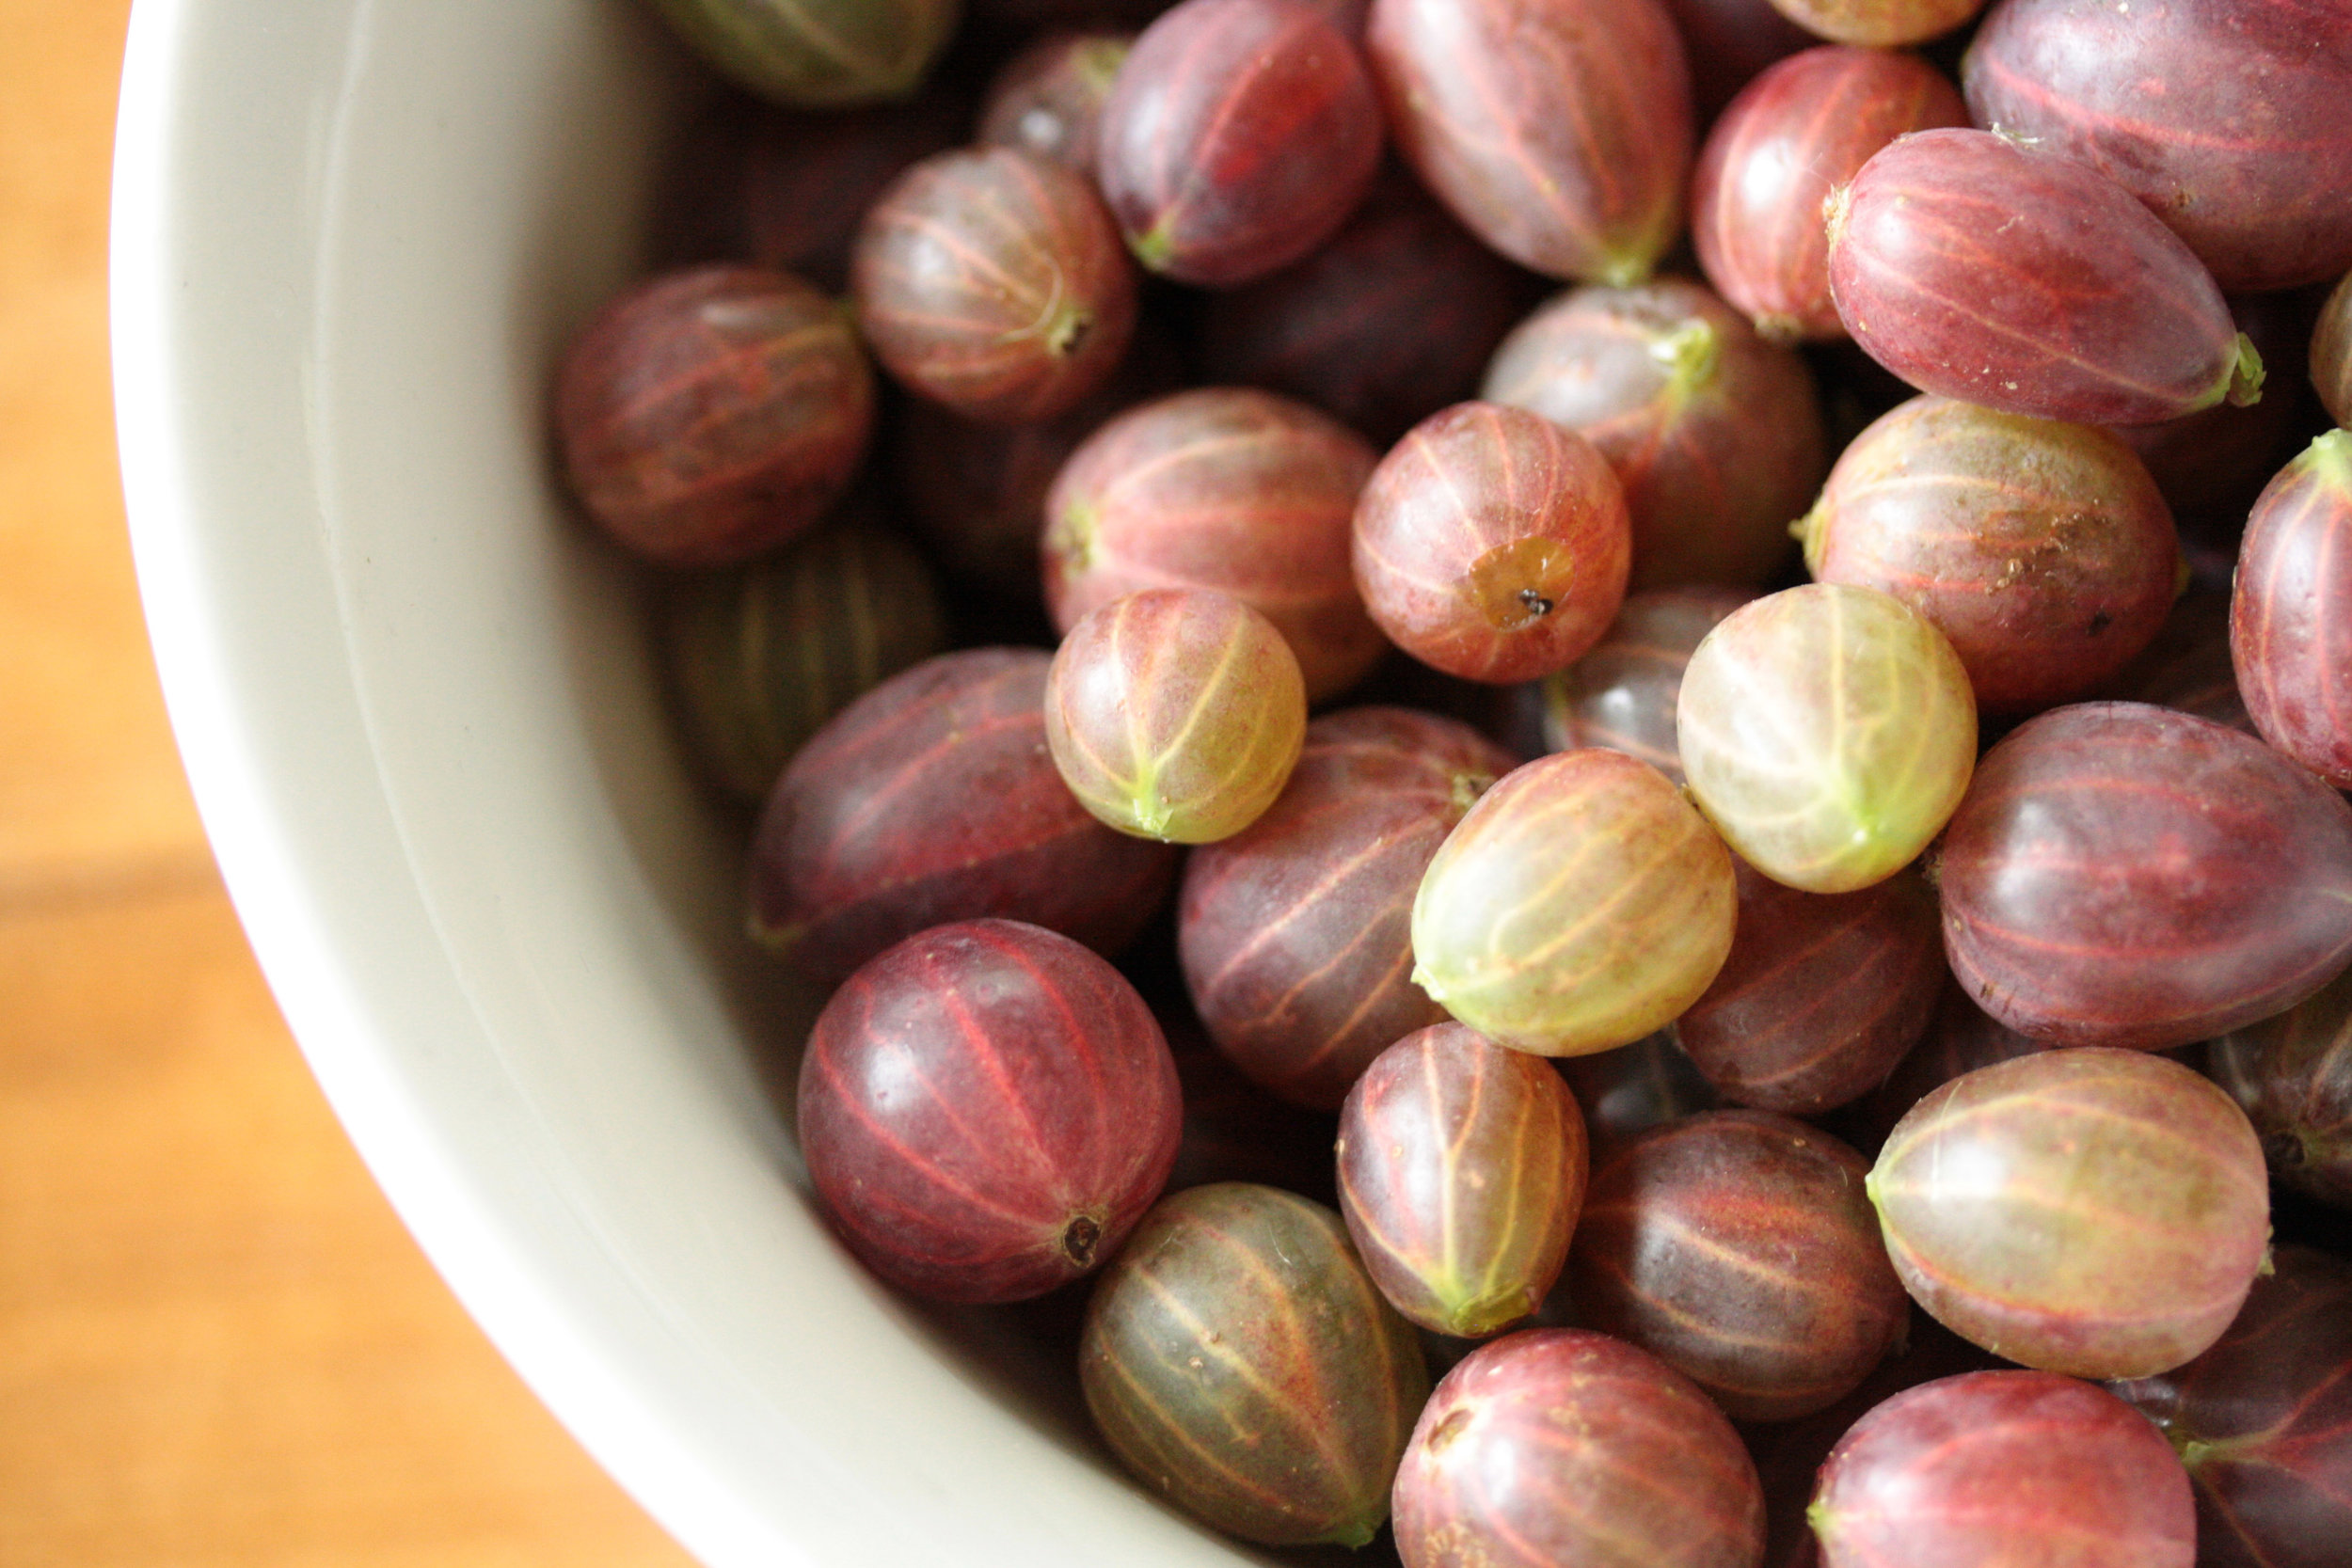
This was our first crop of gooseberries.

Just enough for one crumble...

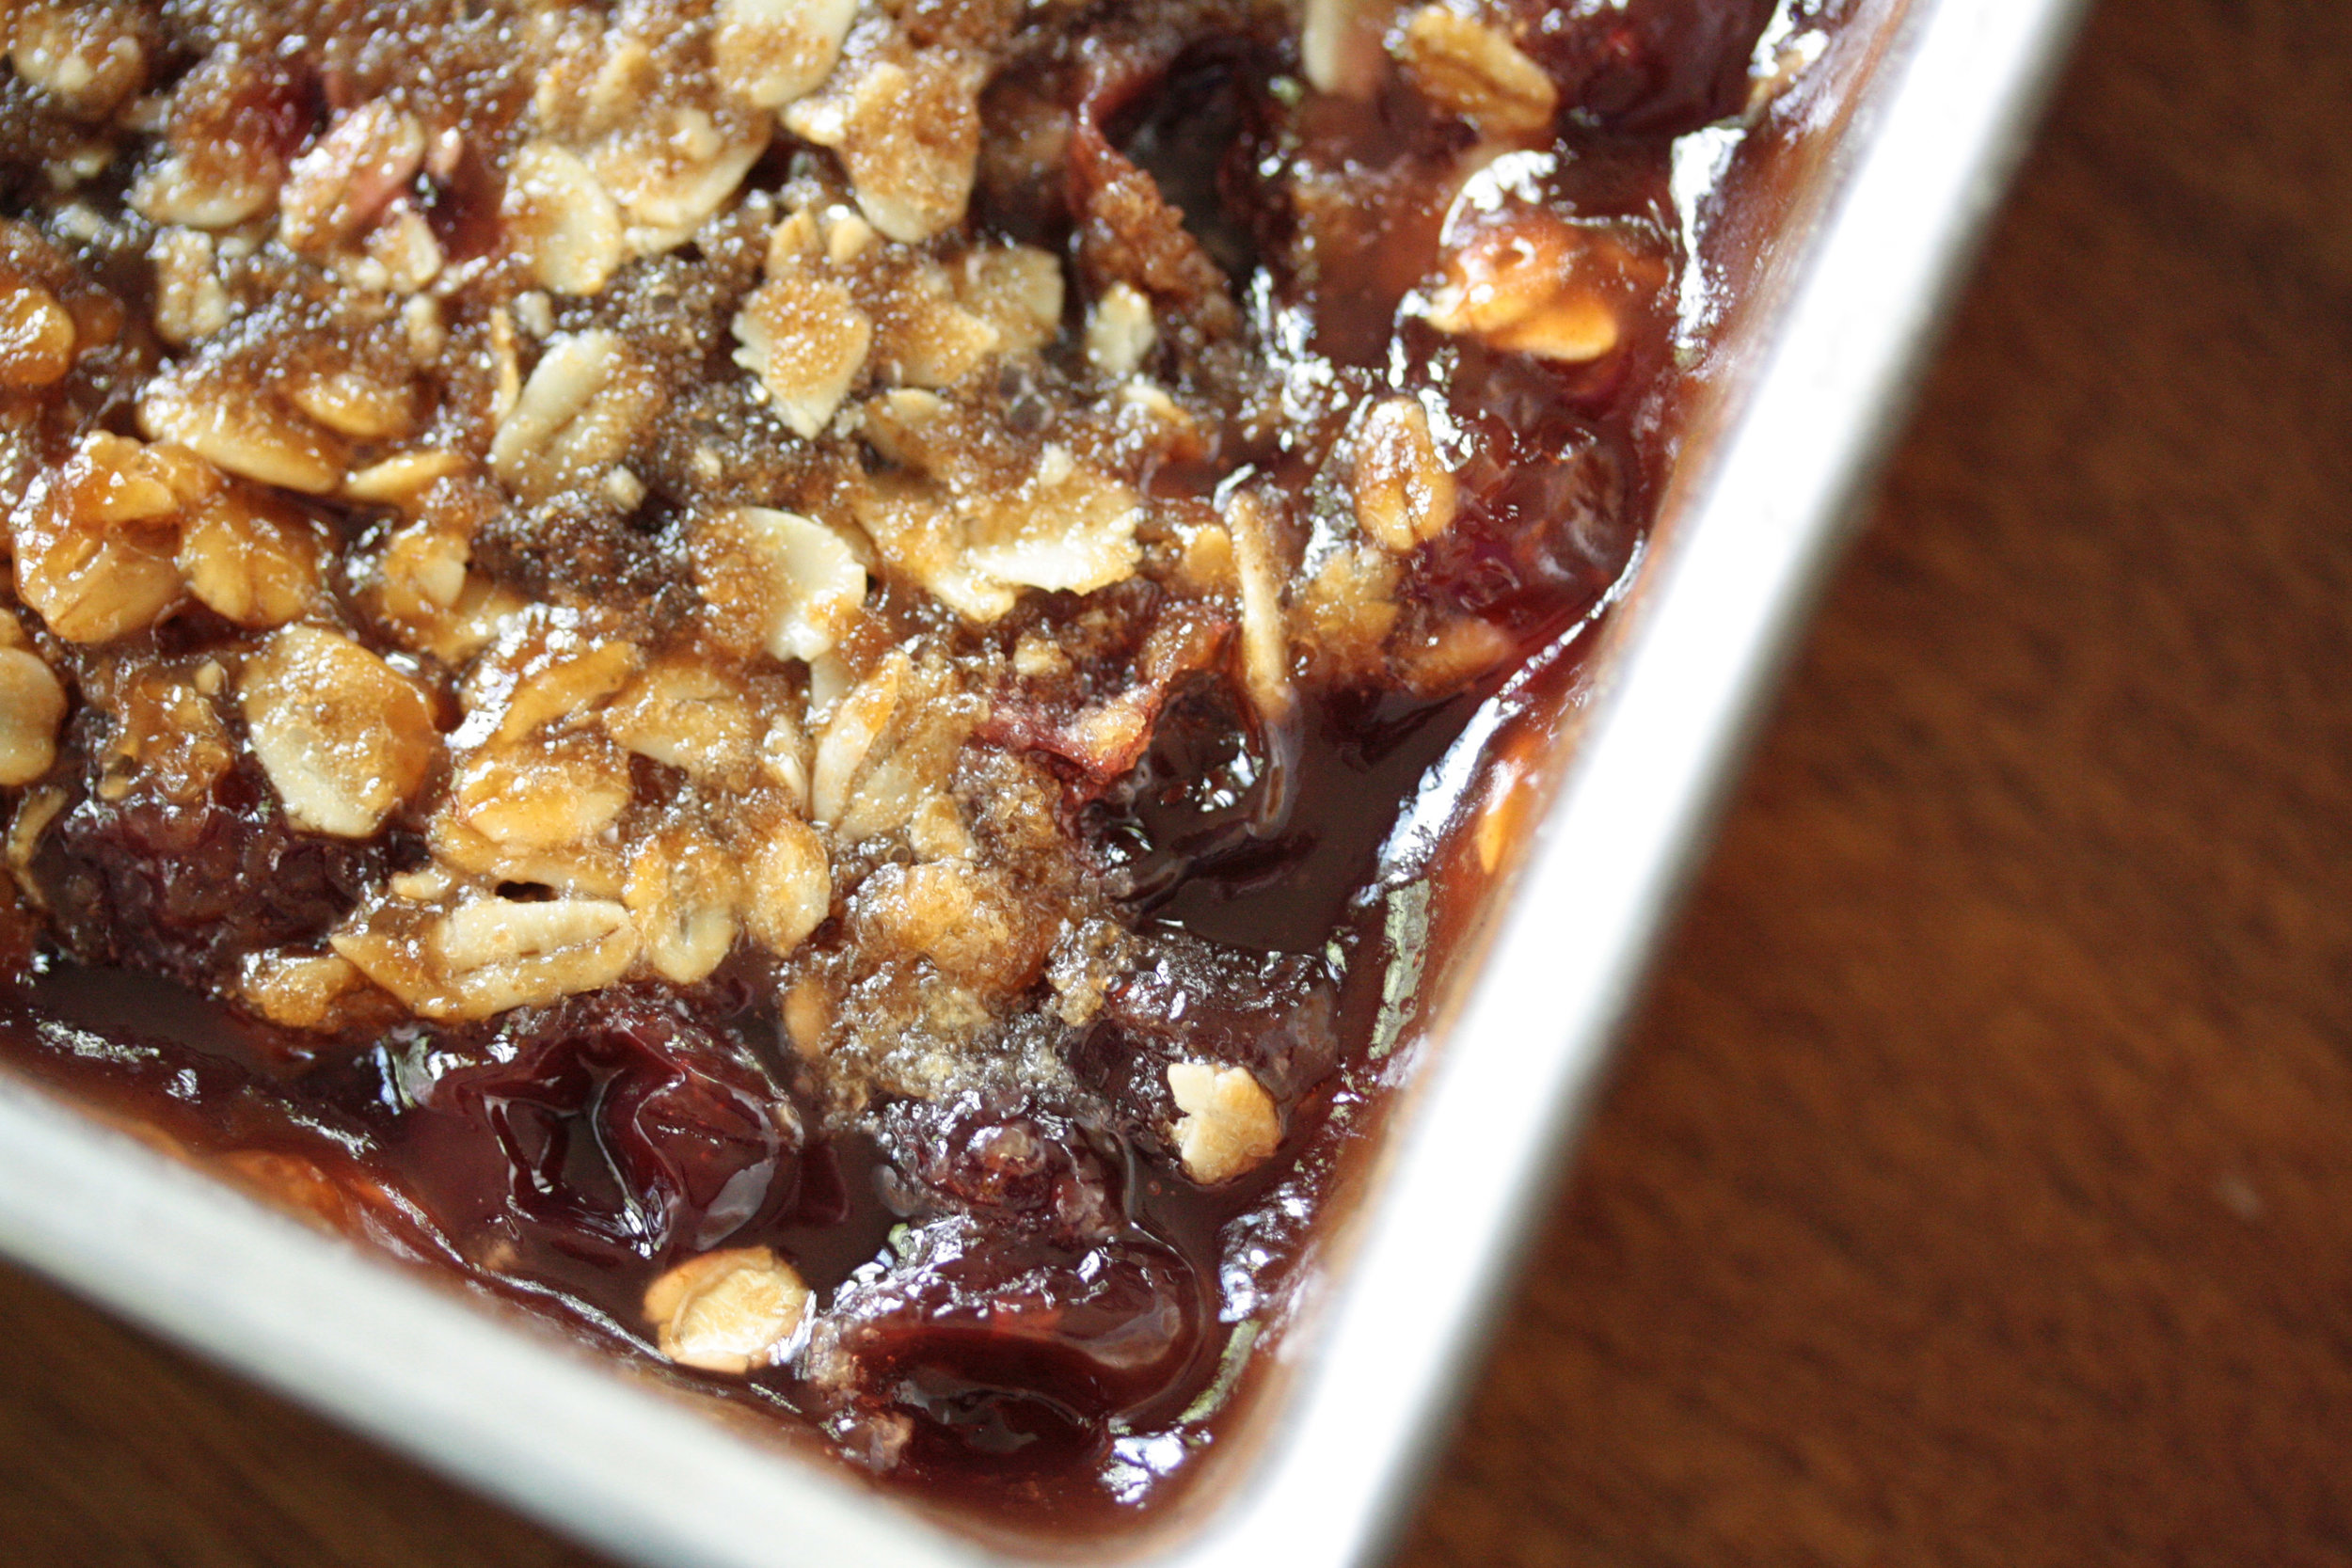
My mom sent me the recipe.  We had a can of whipped cream leftover from lulu's sundae bar and I have to admit, by the end I was adding the whipped cream right in the pan.

gooseberry crumble

3 cups gooseberries

1 1/2 cup sugar (divided into 1 cup and 1/2 cup)

1/4 cup water

2 Tablespoons flour

1/2 teaspoon cinnamon

1/2 teaspoon cloves

1/8 teaspoon nutmeg

dash of salt

first make the filling-

Combine gooseberries, 1 cup sugar, and water in a saucepan and cook over medium heat, stirring until berries have burst.

While the berries are cooking, mix together 1/2 cup sugar, flour, cinnamon, cloves, nutmeg, and salt.  Once the gooseberries are cooked, remove from heat and stir in spice mixture and set aside to cool slightly.

Preheat oven to 350 degrees.

Grease 8"x8" pan, set aside.

crumble base and topping-

In a large bowl, blend together

1 cup rolled oats

1 cup brown sugar

1/2 cup flour

1/2 cup cold butter cut into small pieces

Sprinkle one half of oat mixture onto bottom of pan.  Pour cooked gooseberries over top and spread evenly.  Sprinkle remaining oat mixture on top of berries.

Bake 45 minutes.

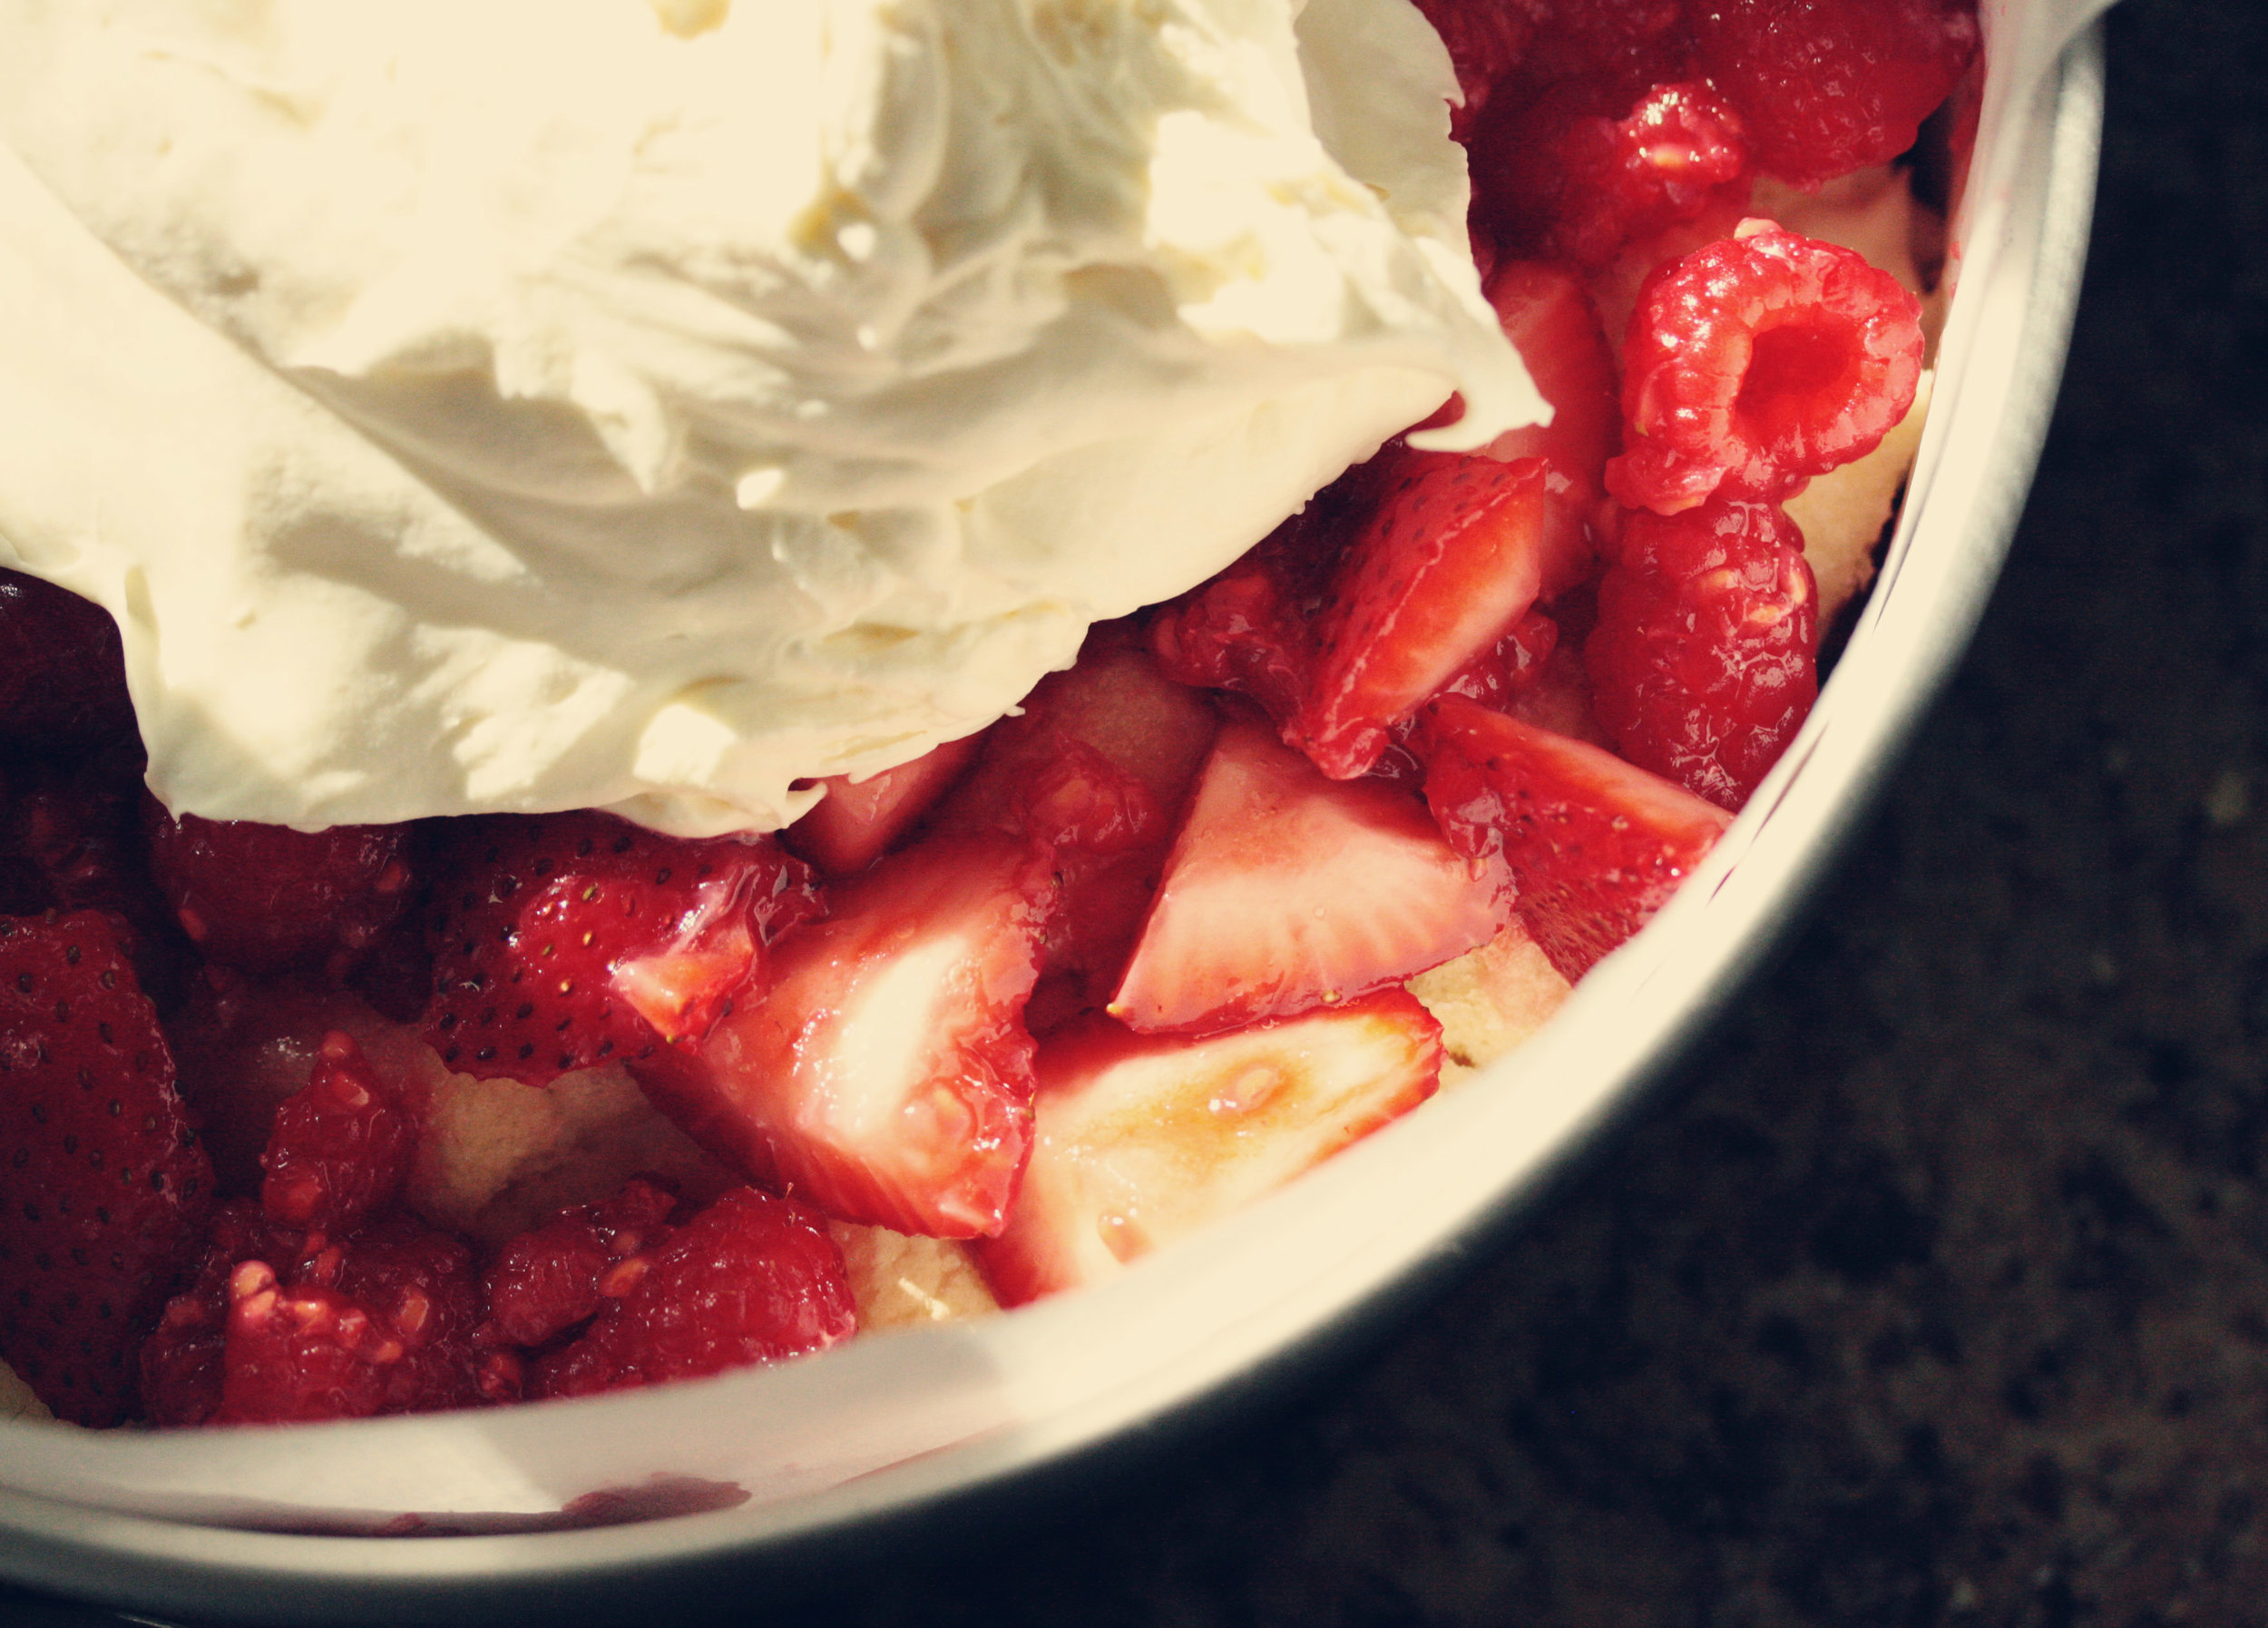
raspberry, mascarpone, and blueberry

Keeping with tradition, I made another red, white, and blue dessert for our friends July 4th bbq.

fourth of july trifle cake

1 pound raspberries

1/2 pound strawberries (cut into pieces)

1/4 cup lemon juice

1 cup powdered sugar (divided 1/4 and 3/4 cups)

16 ounces mascarpone cheese

2 cups heavy cream

1 teaspoon vanilla

1/4 teaspoon almond extract

pinch salt

25-30 lady finger cookies

3/4 cup blueberries

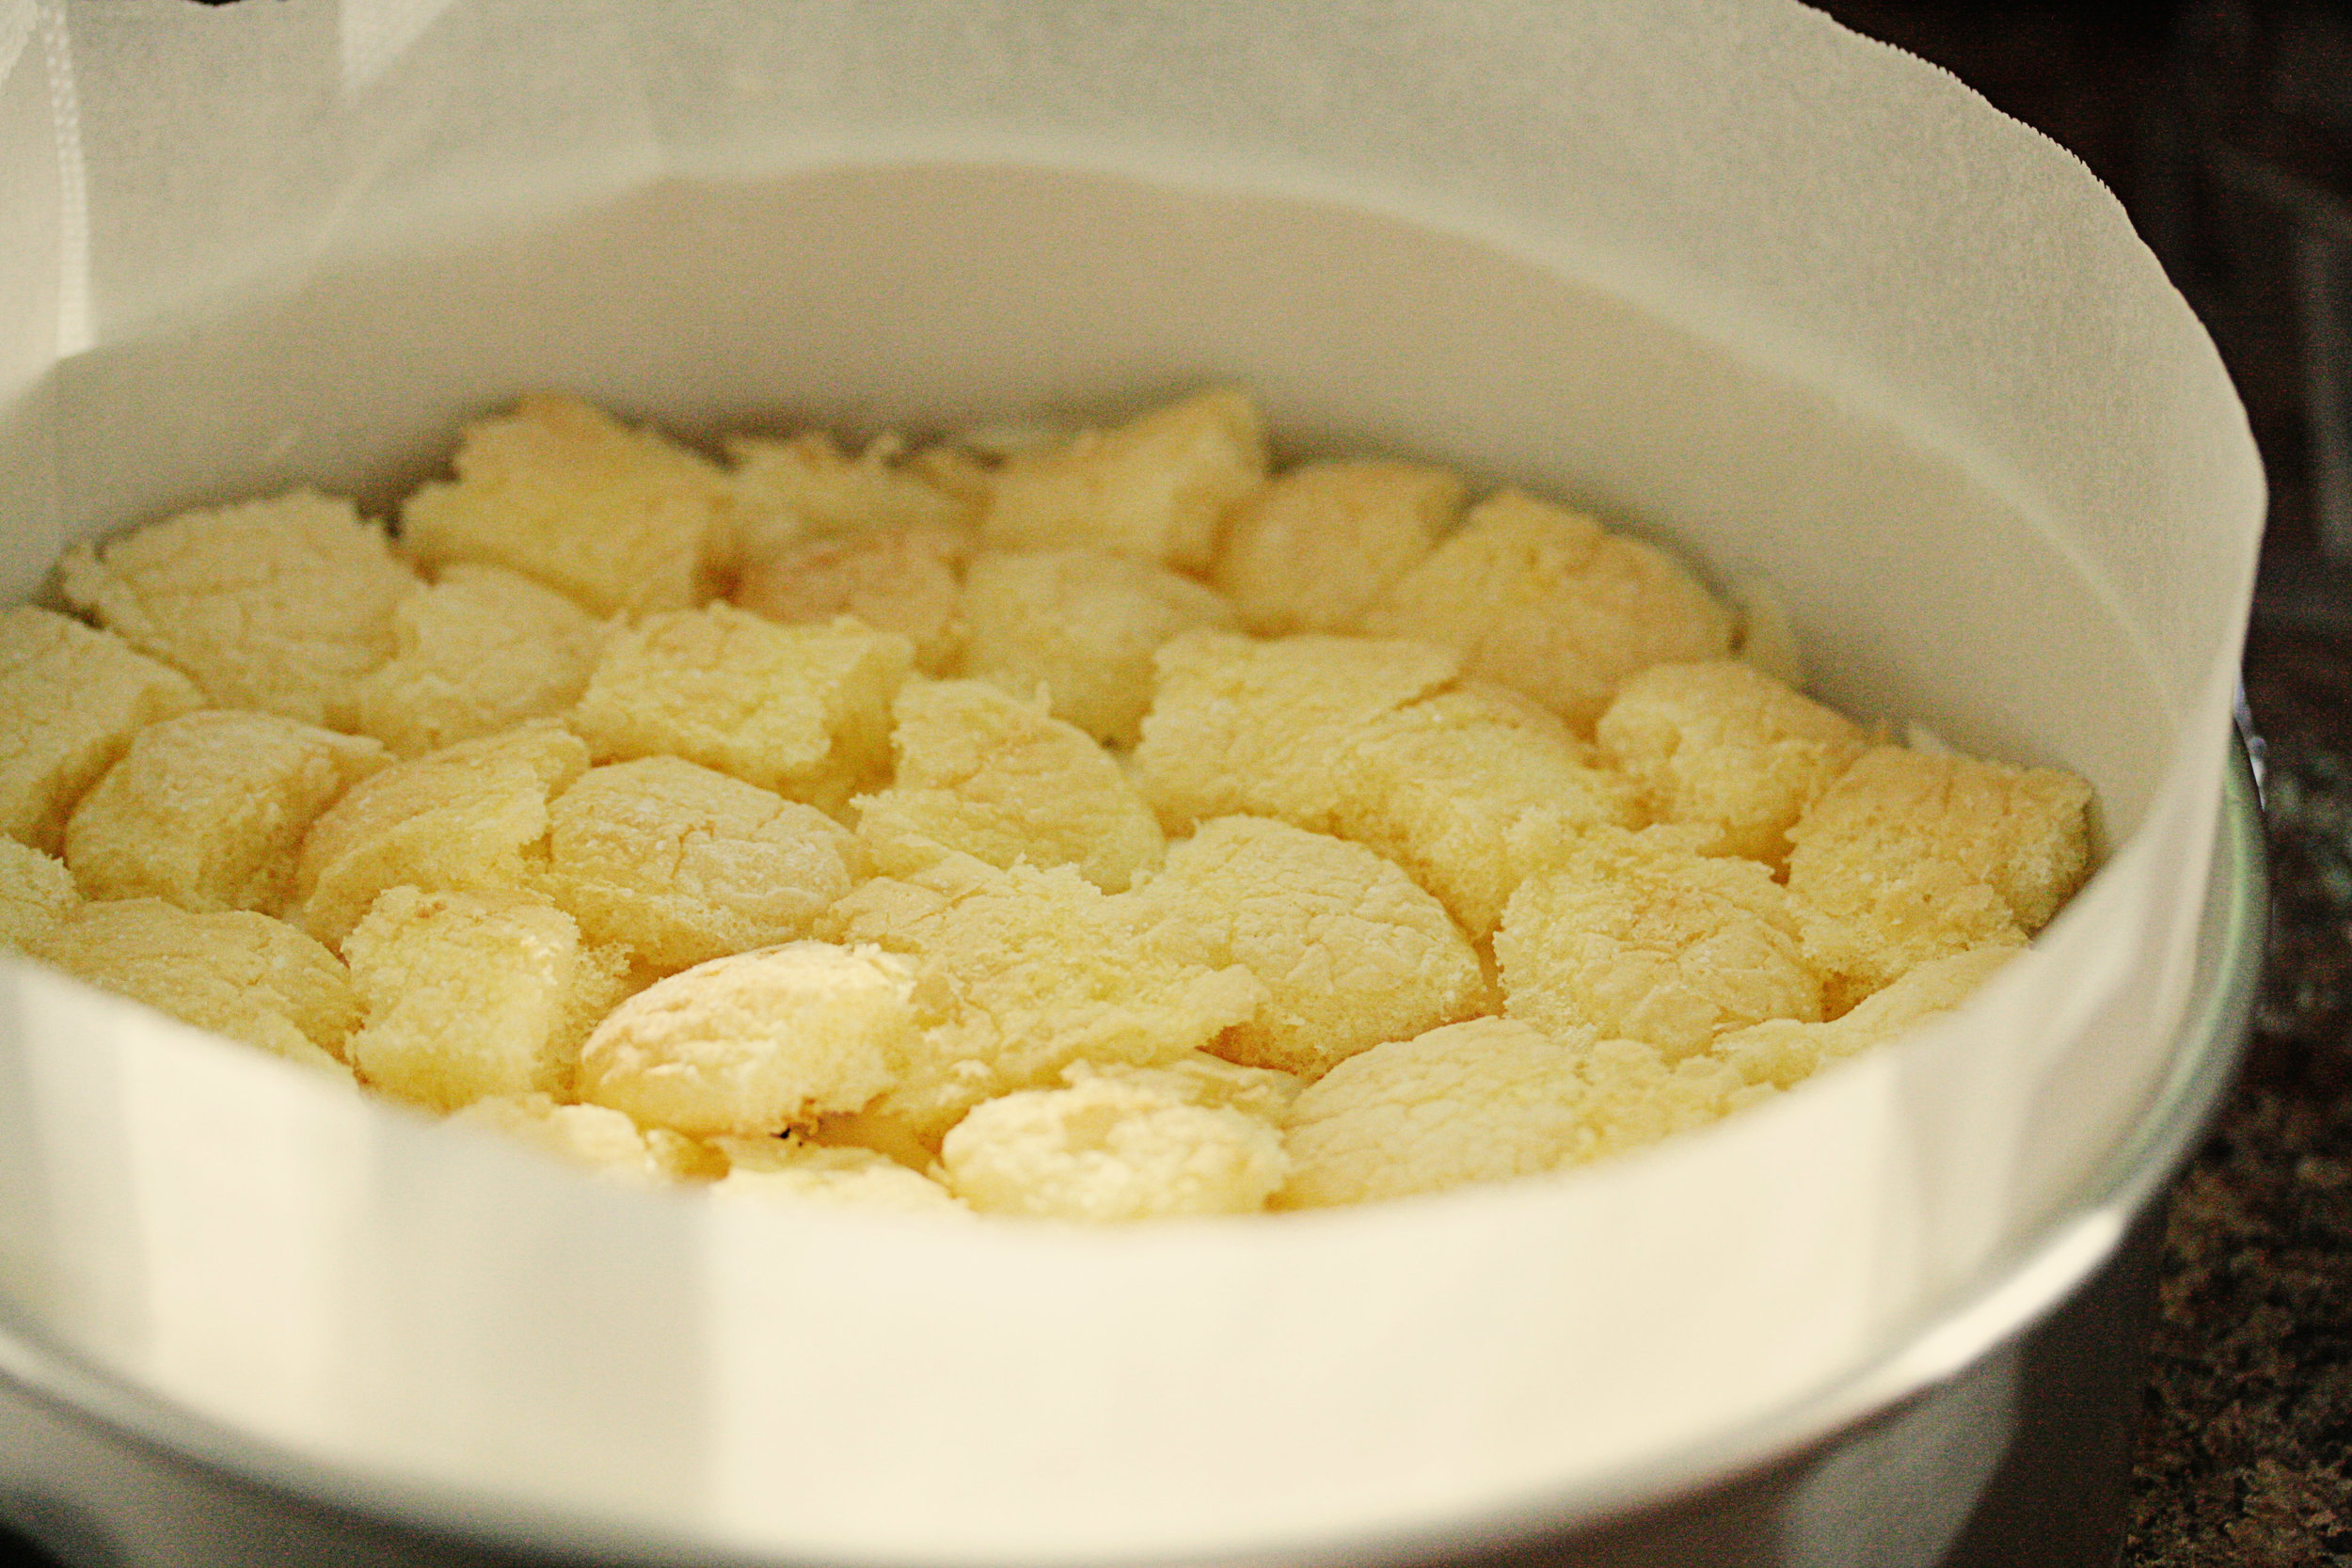
Cut two strips of parchment that are at least an inch taller than the side of your springform pan and line the inside with them. (I used a 9"pan.)

In a bowl, combine raspberries, strawberries, 1/4 cup of powdered sugar, and lemon juice.  Use a fork to slightly smash the berries and let sit for ten minutes.

In the bowl of a mixer, whisk together the mascarpone and 3/4 cups powdered sugar until smooth.  Then whisk in the cream, vanilla, almond extract, and salt until soft peaks form.

Break the ladyfingers into three pieces each and make a single layer of cookies on the bottom of the pan.  Top with half the berry mixture.  Spread half the mascarpone mixer over top of the berries, smoothing the top with an offset spatula.

Then repeat, a layer of cookies, then berries, then mascarpone.

Top with a layer of blueberries.

Wrap gently with plastic wrap and chill in the refrigerator for at least 4 hours, up to overnight.

party for 7

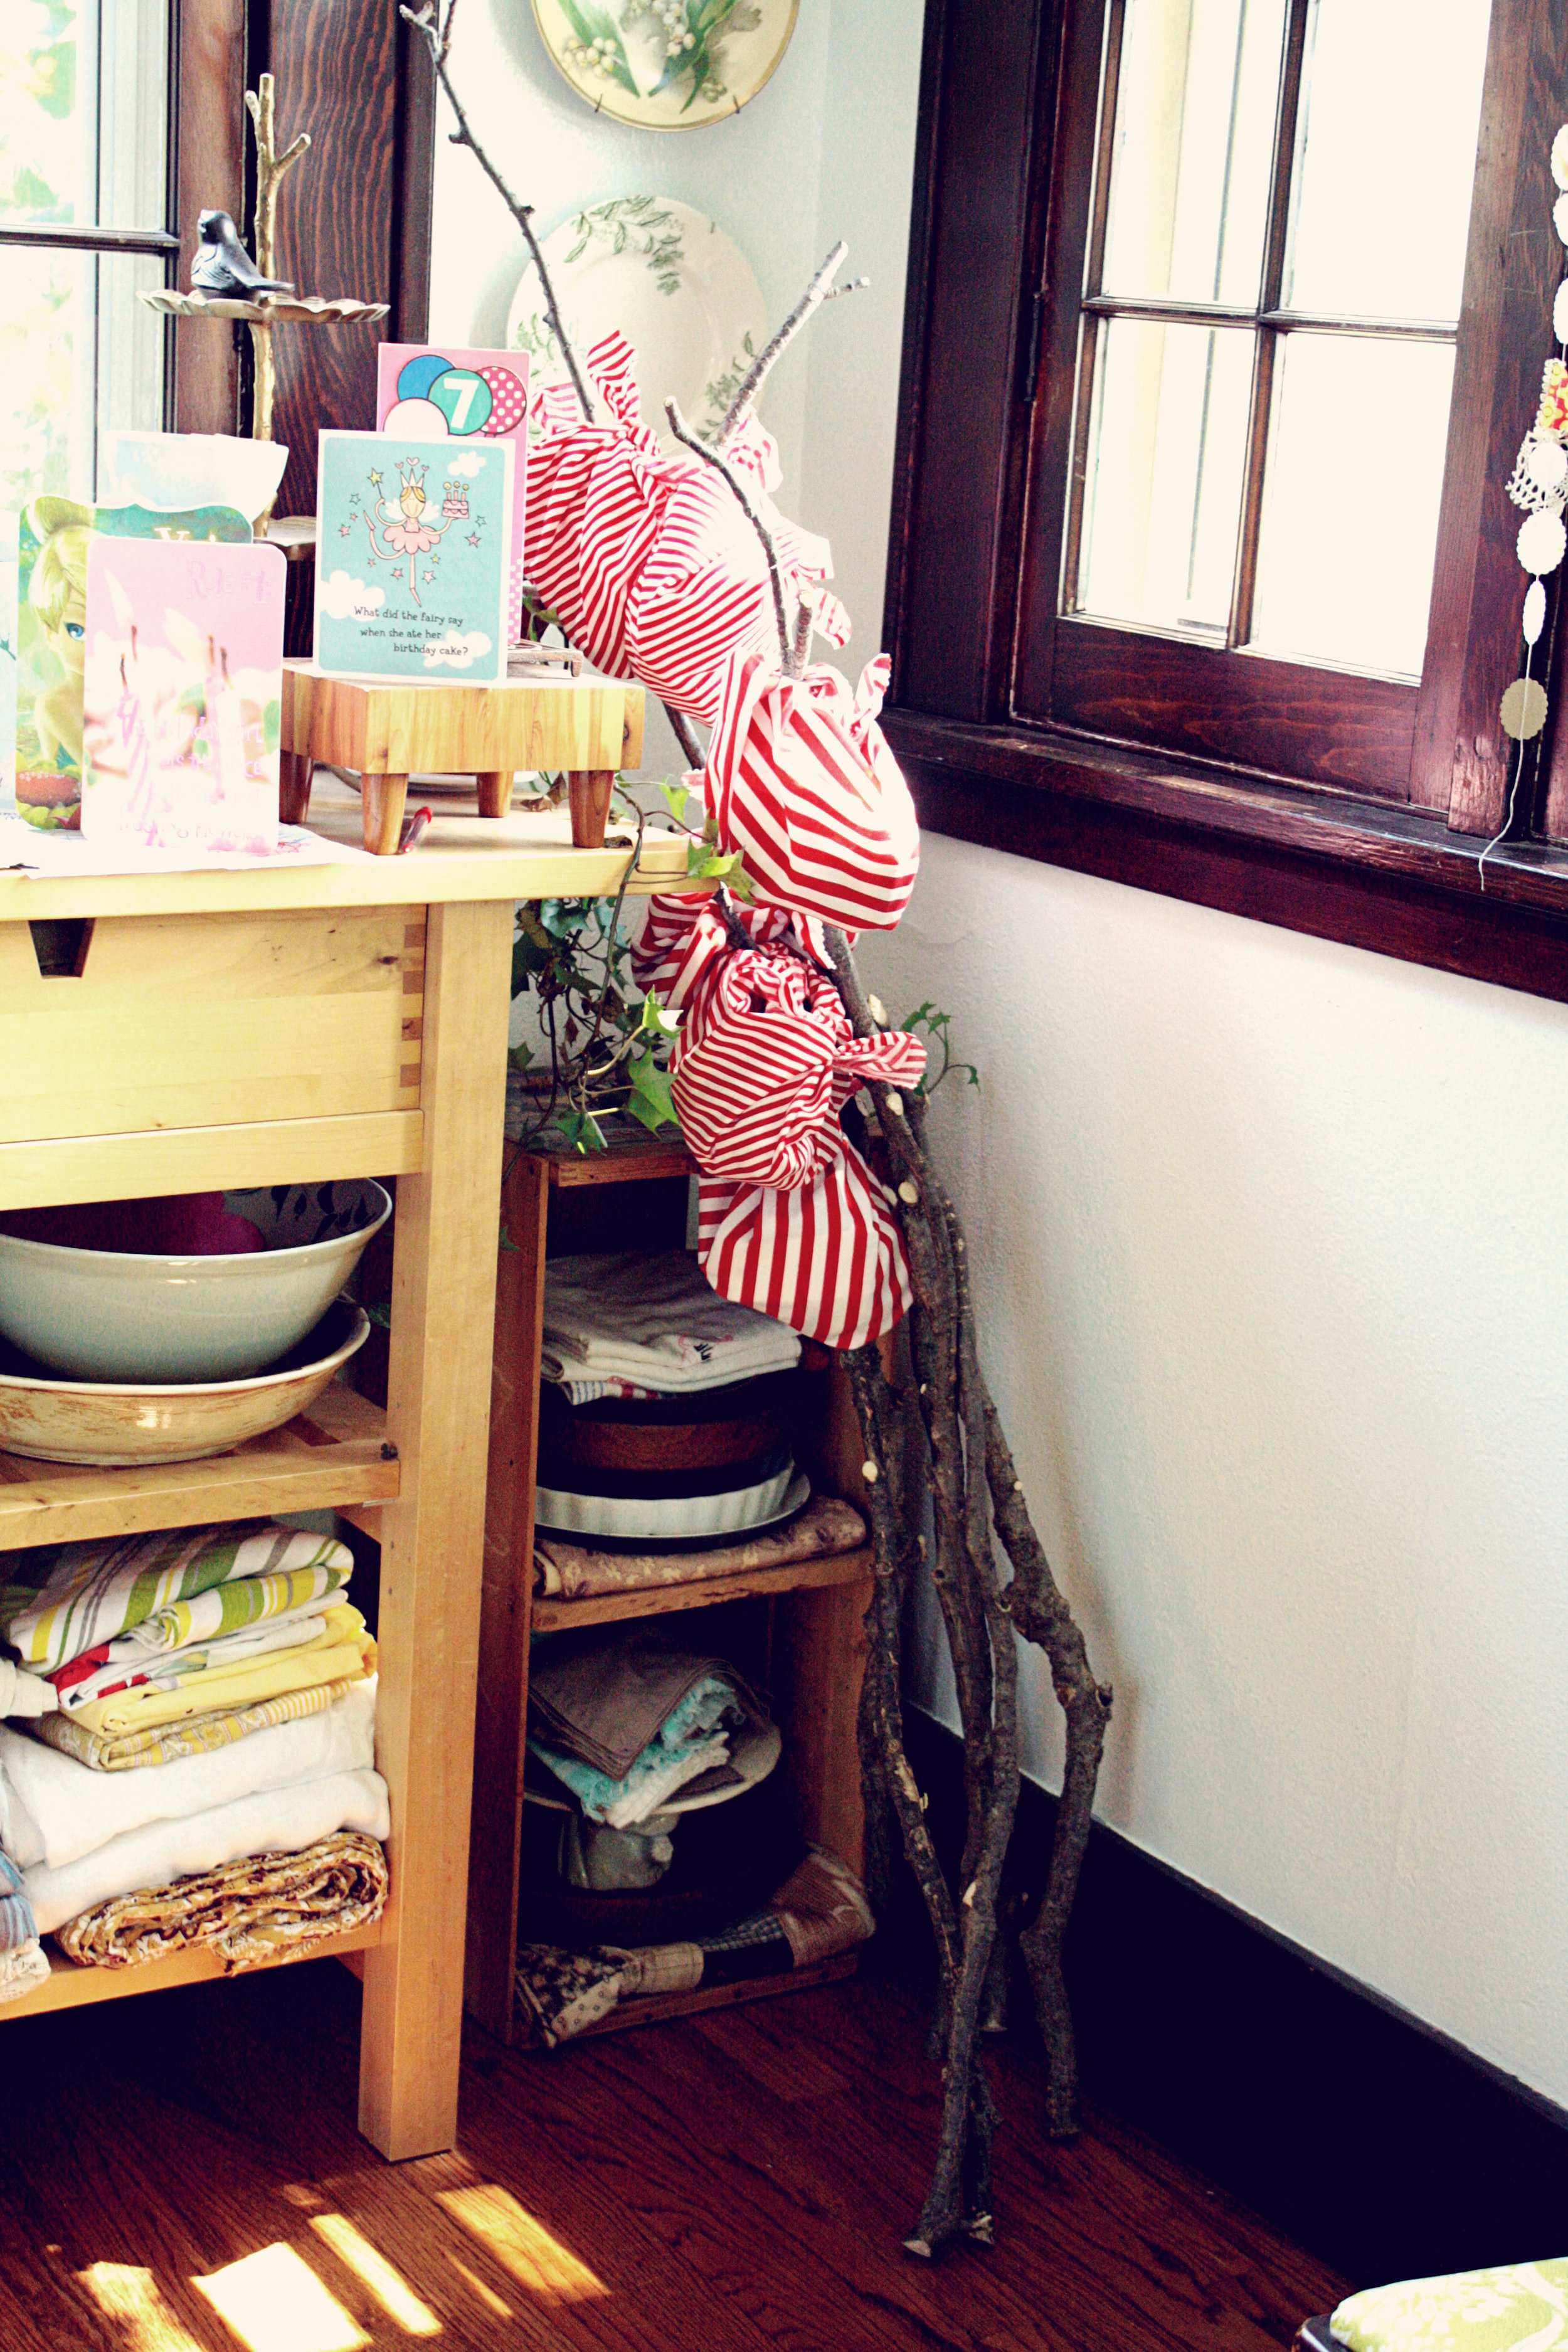
Turning seven that is... I spent an evening last week knotting strips of scrap fabric on to a piece of twine.

Lulu wanted a camp theme so we set a plan for an afternoon in the backyard with a tent full of balloons and games like bocce and basketball.  Then it turned out to be the hottest and most humid day we've had this year.  We still had the tent, but went with a water fight to try to cool off. Then they painted birdhouses.

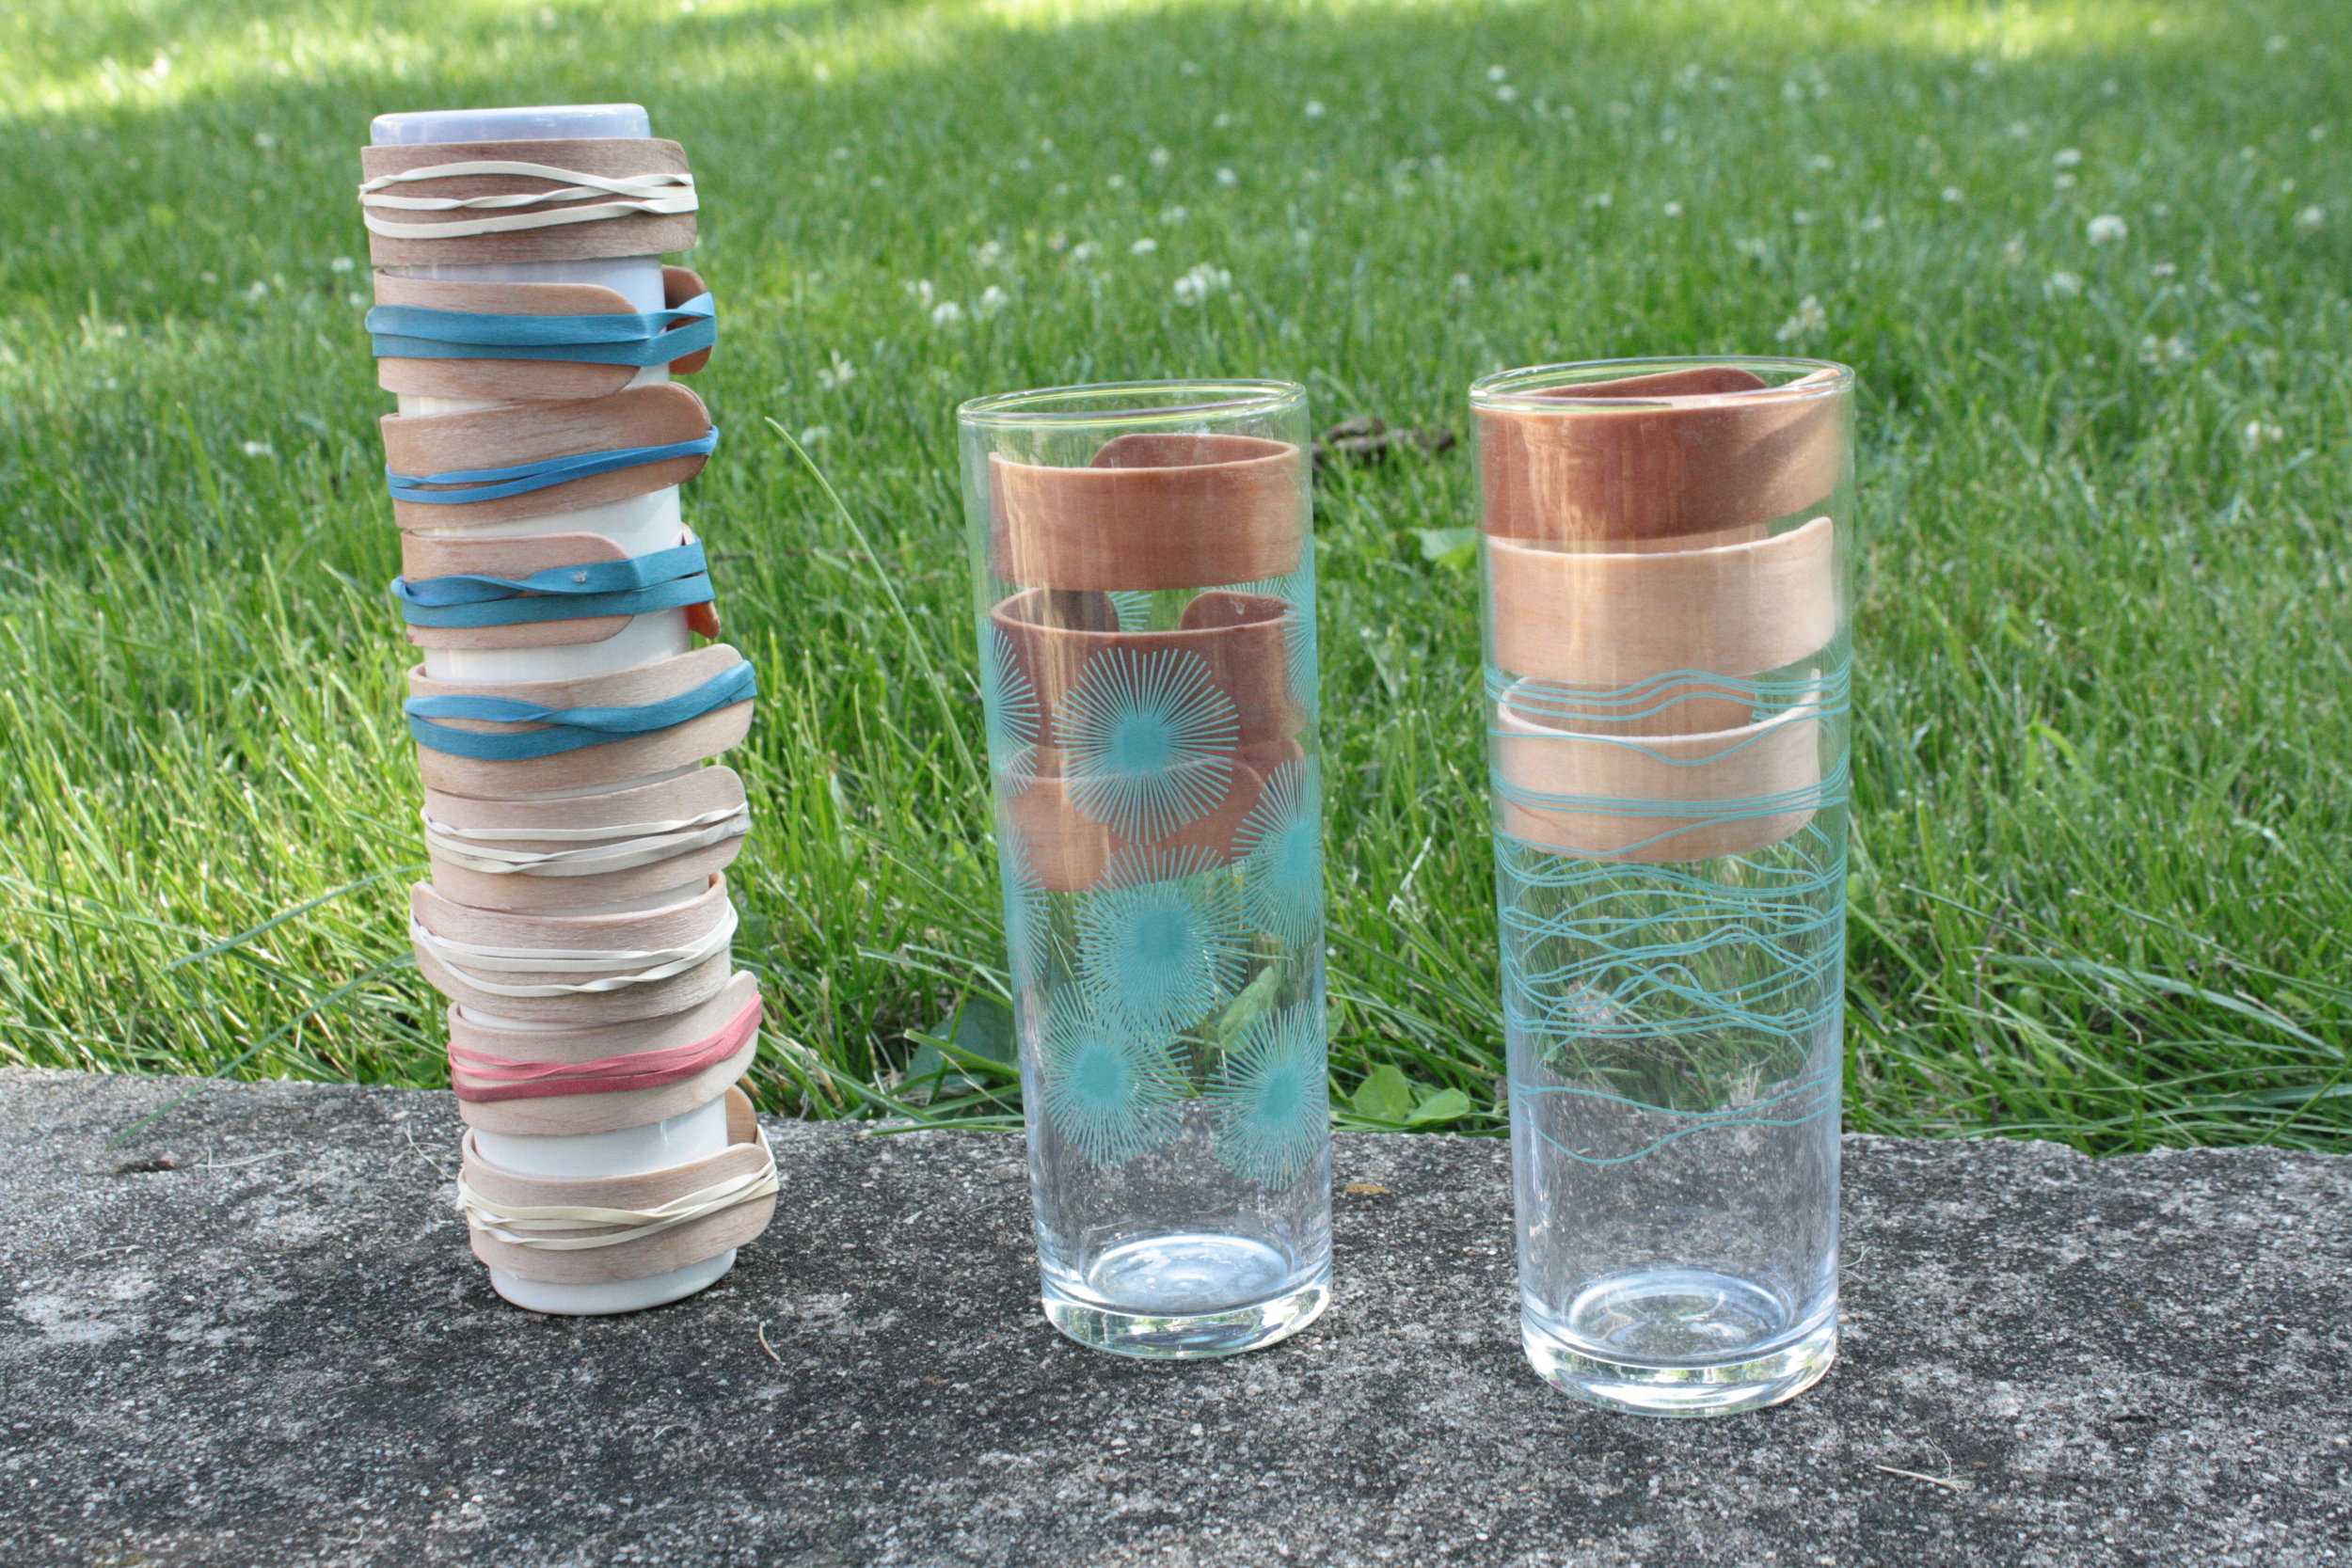
They decorated bangle bracelets made from popsicle sticks. (here they are undecorated)

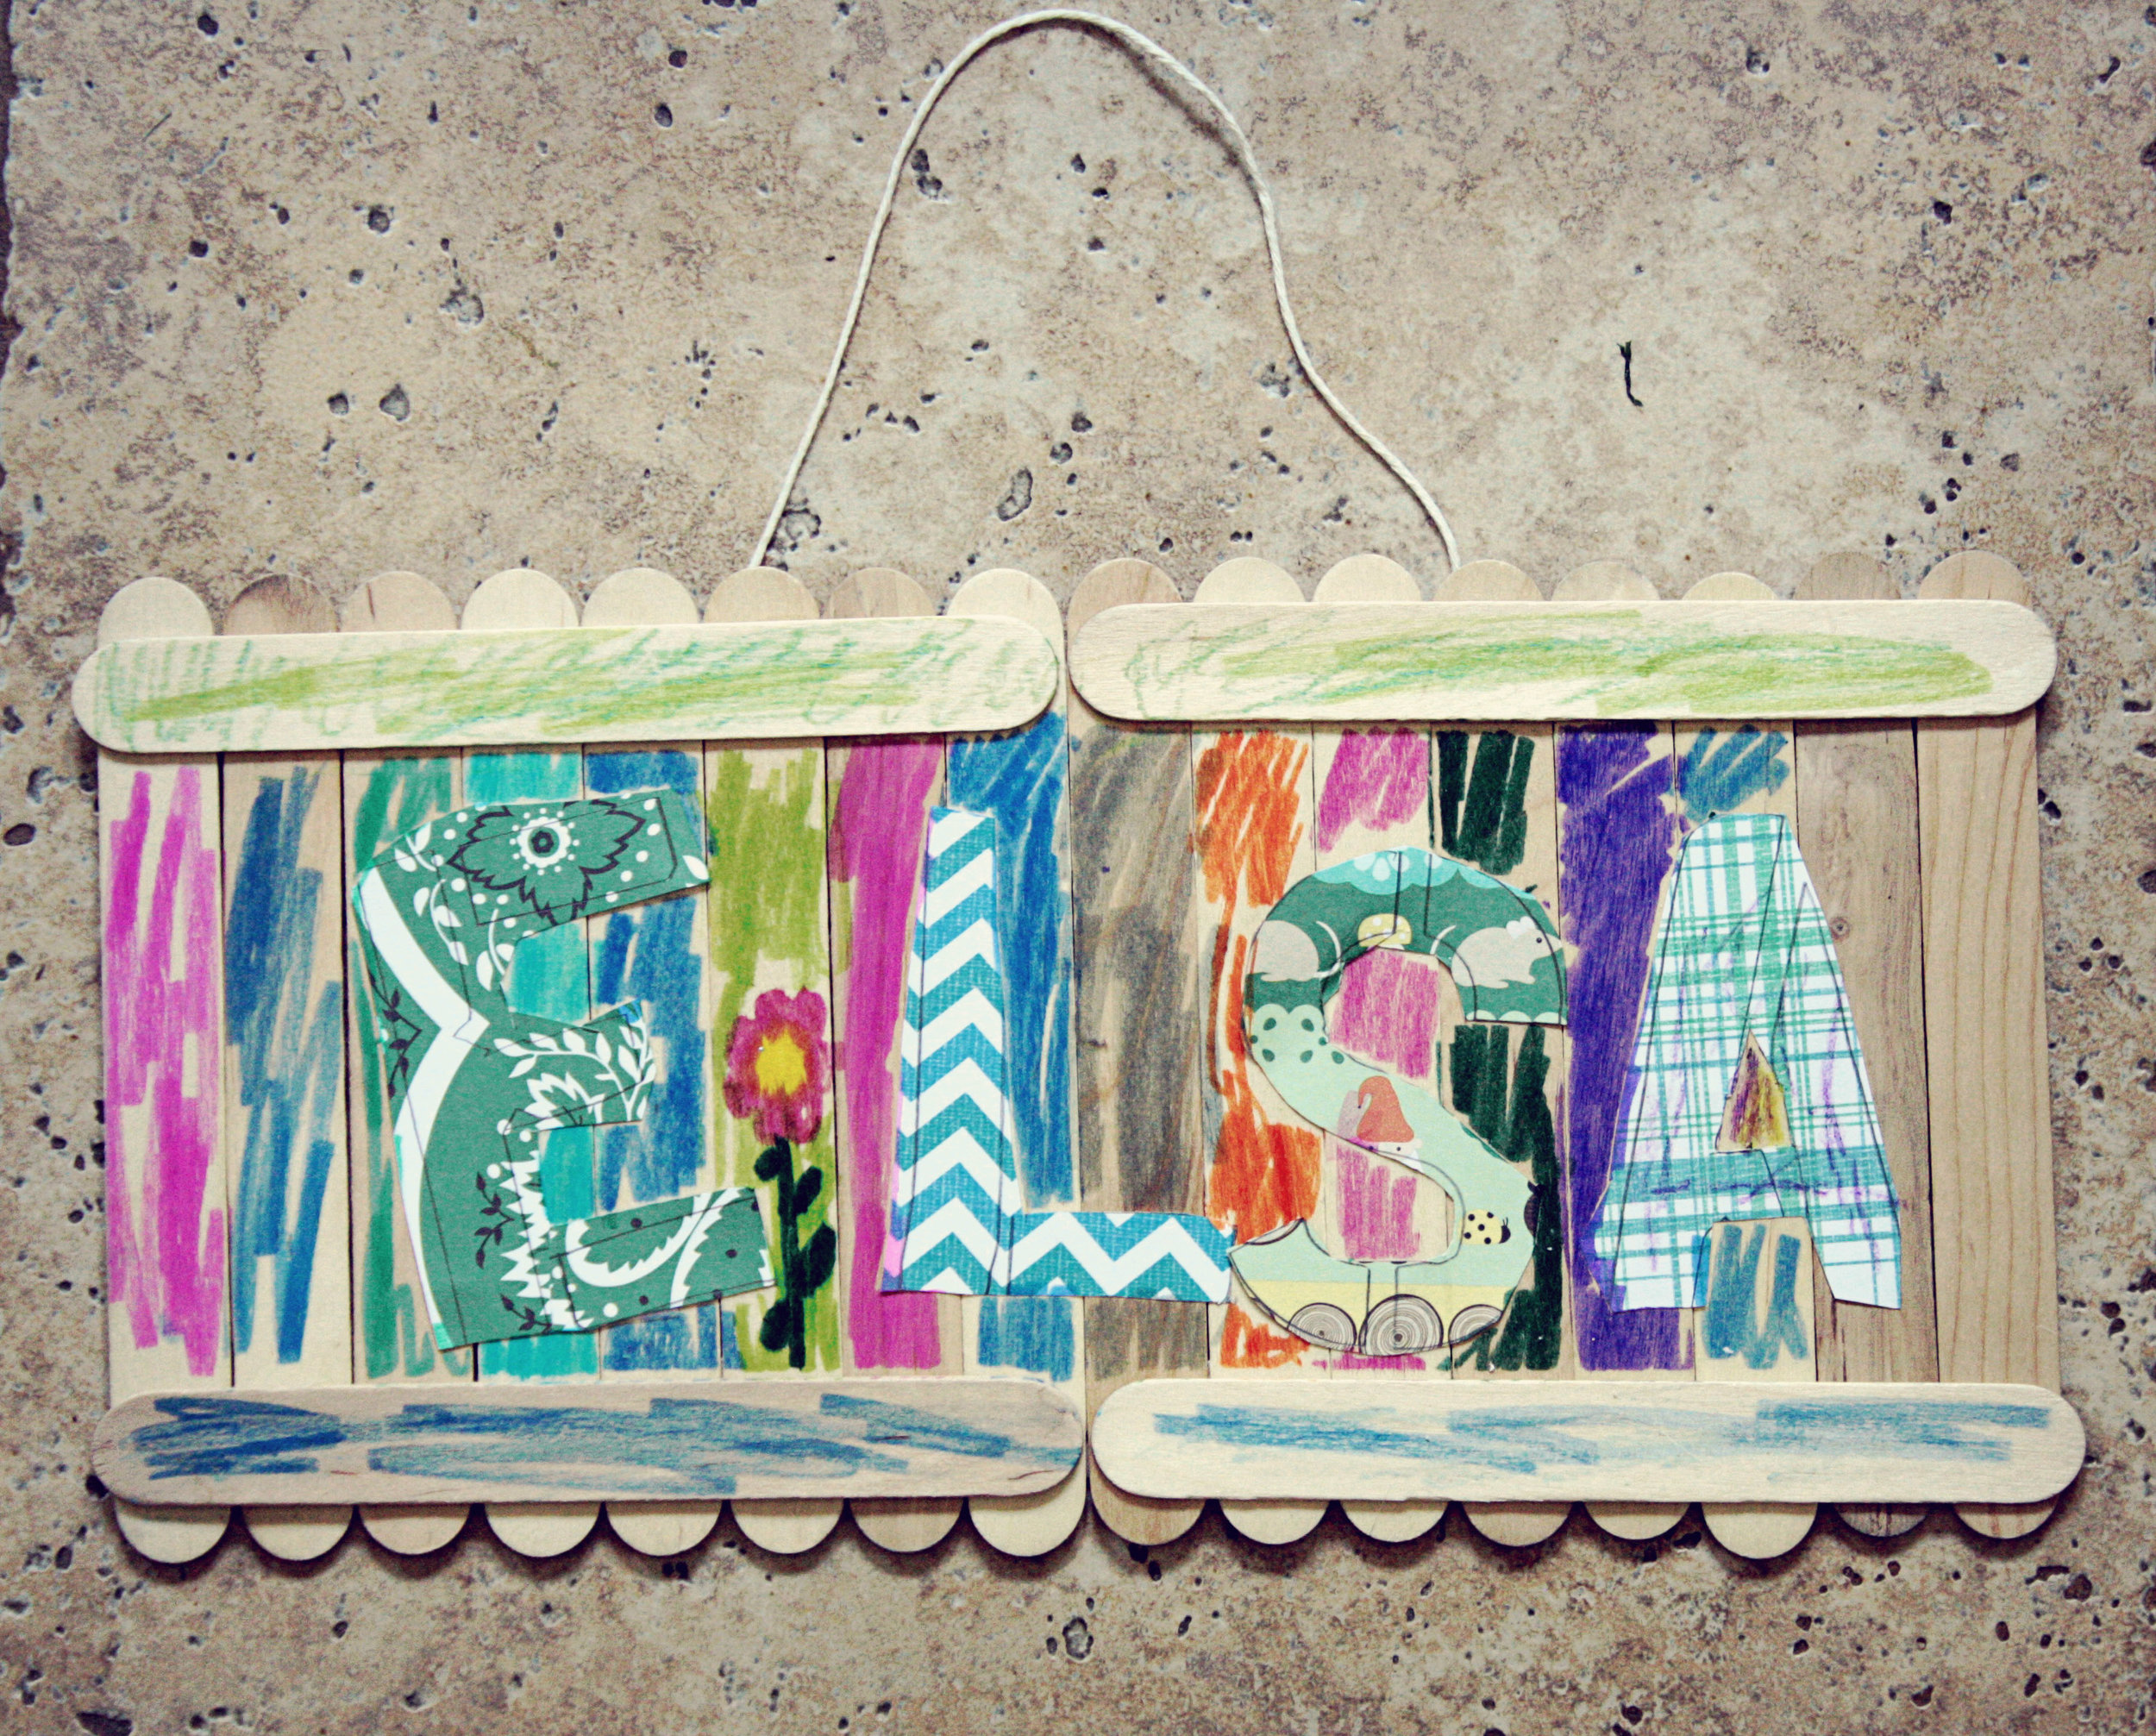
They made paper fortune tellers and signs for their rooms.

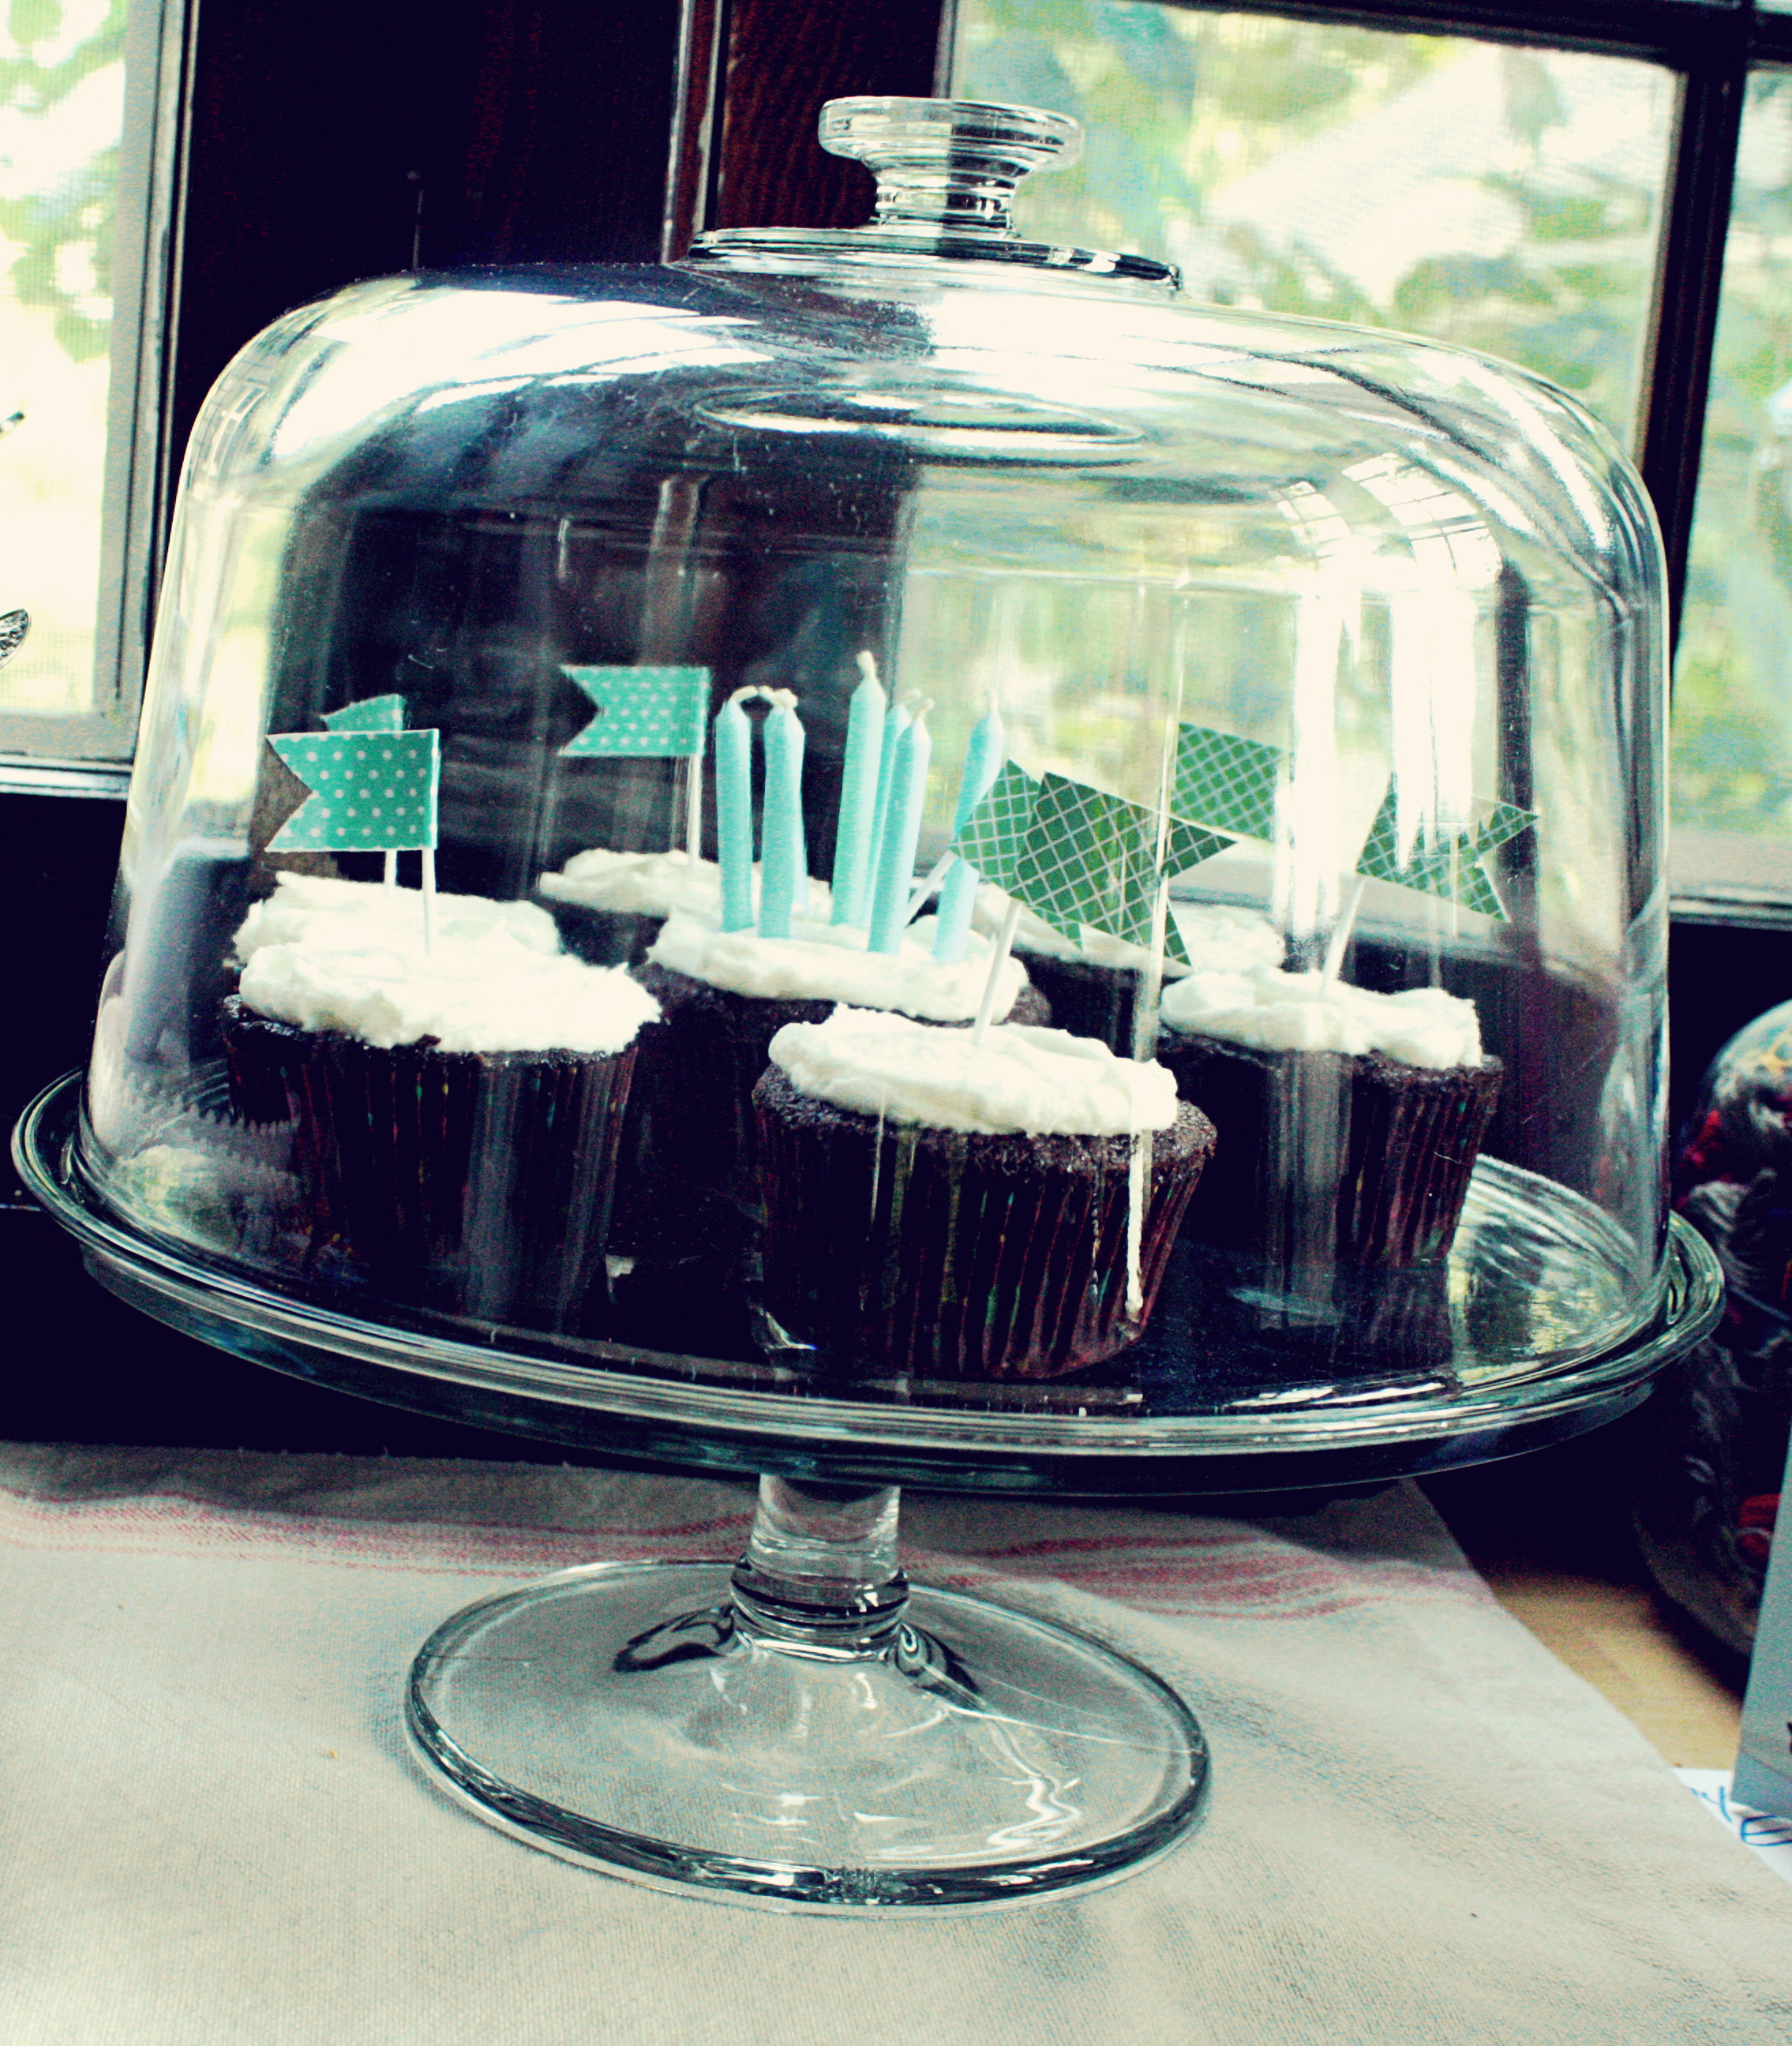
We had a sundae bar with all the fixin's along with cupcakes.

After all of that, they each went home with their own hobo bindle filled with goodies...

...and I slumped into a chair and didn't move for hours.

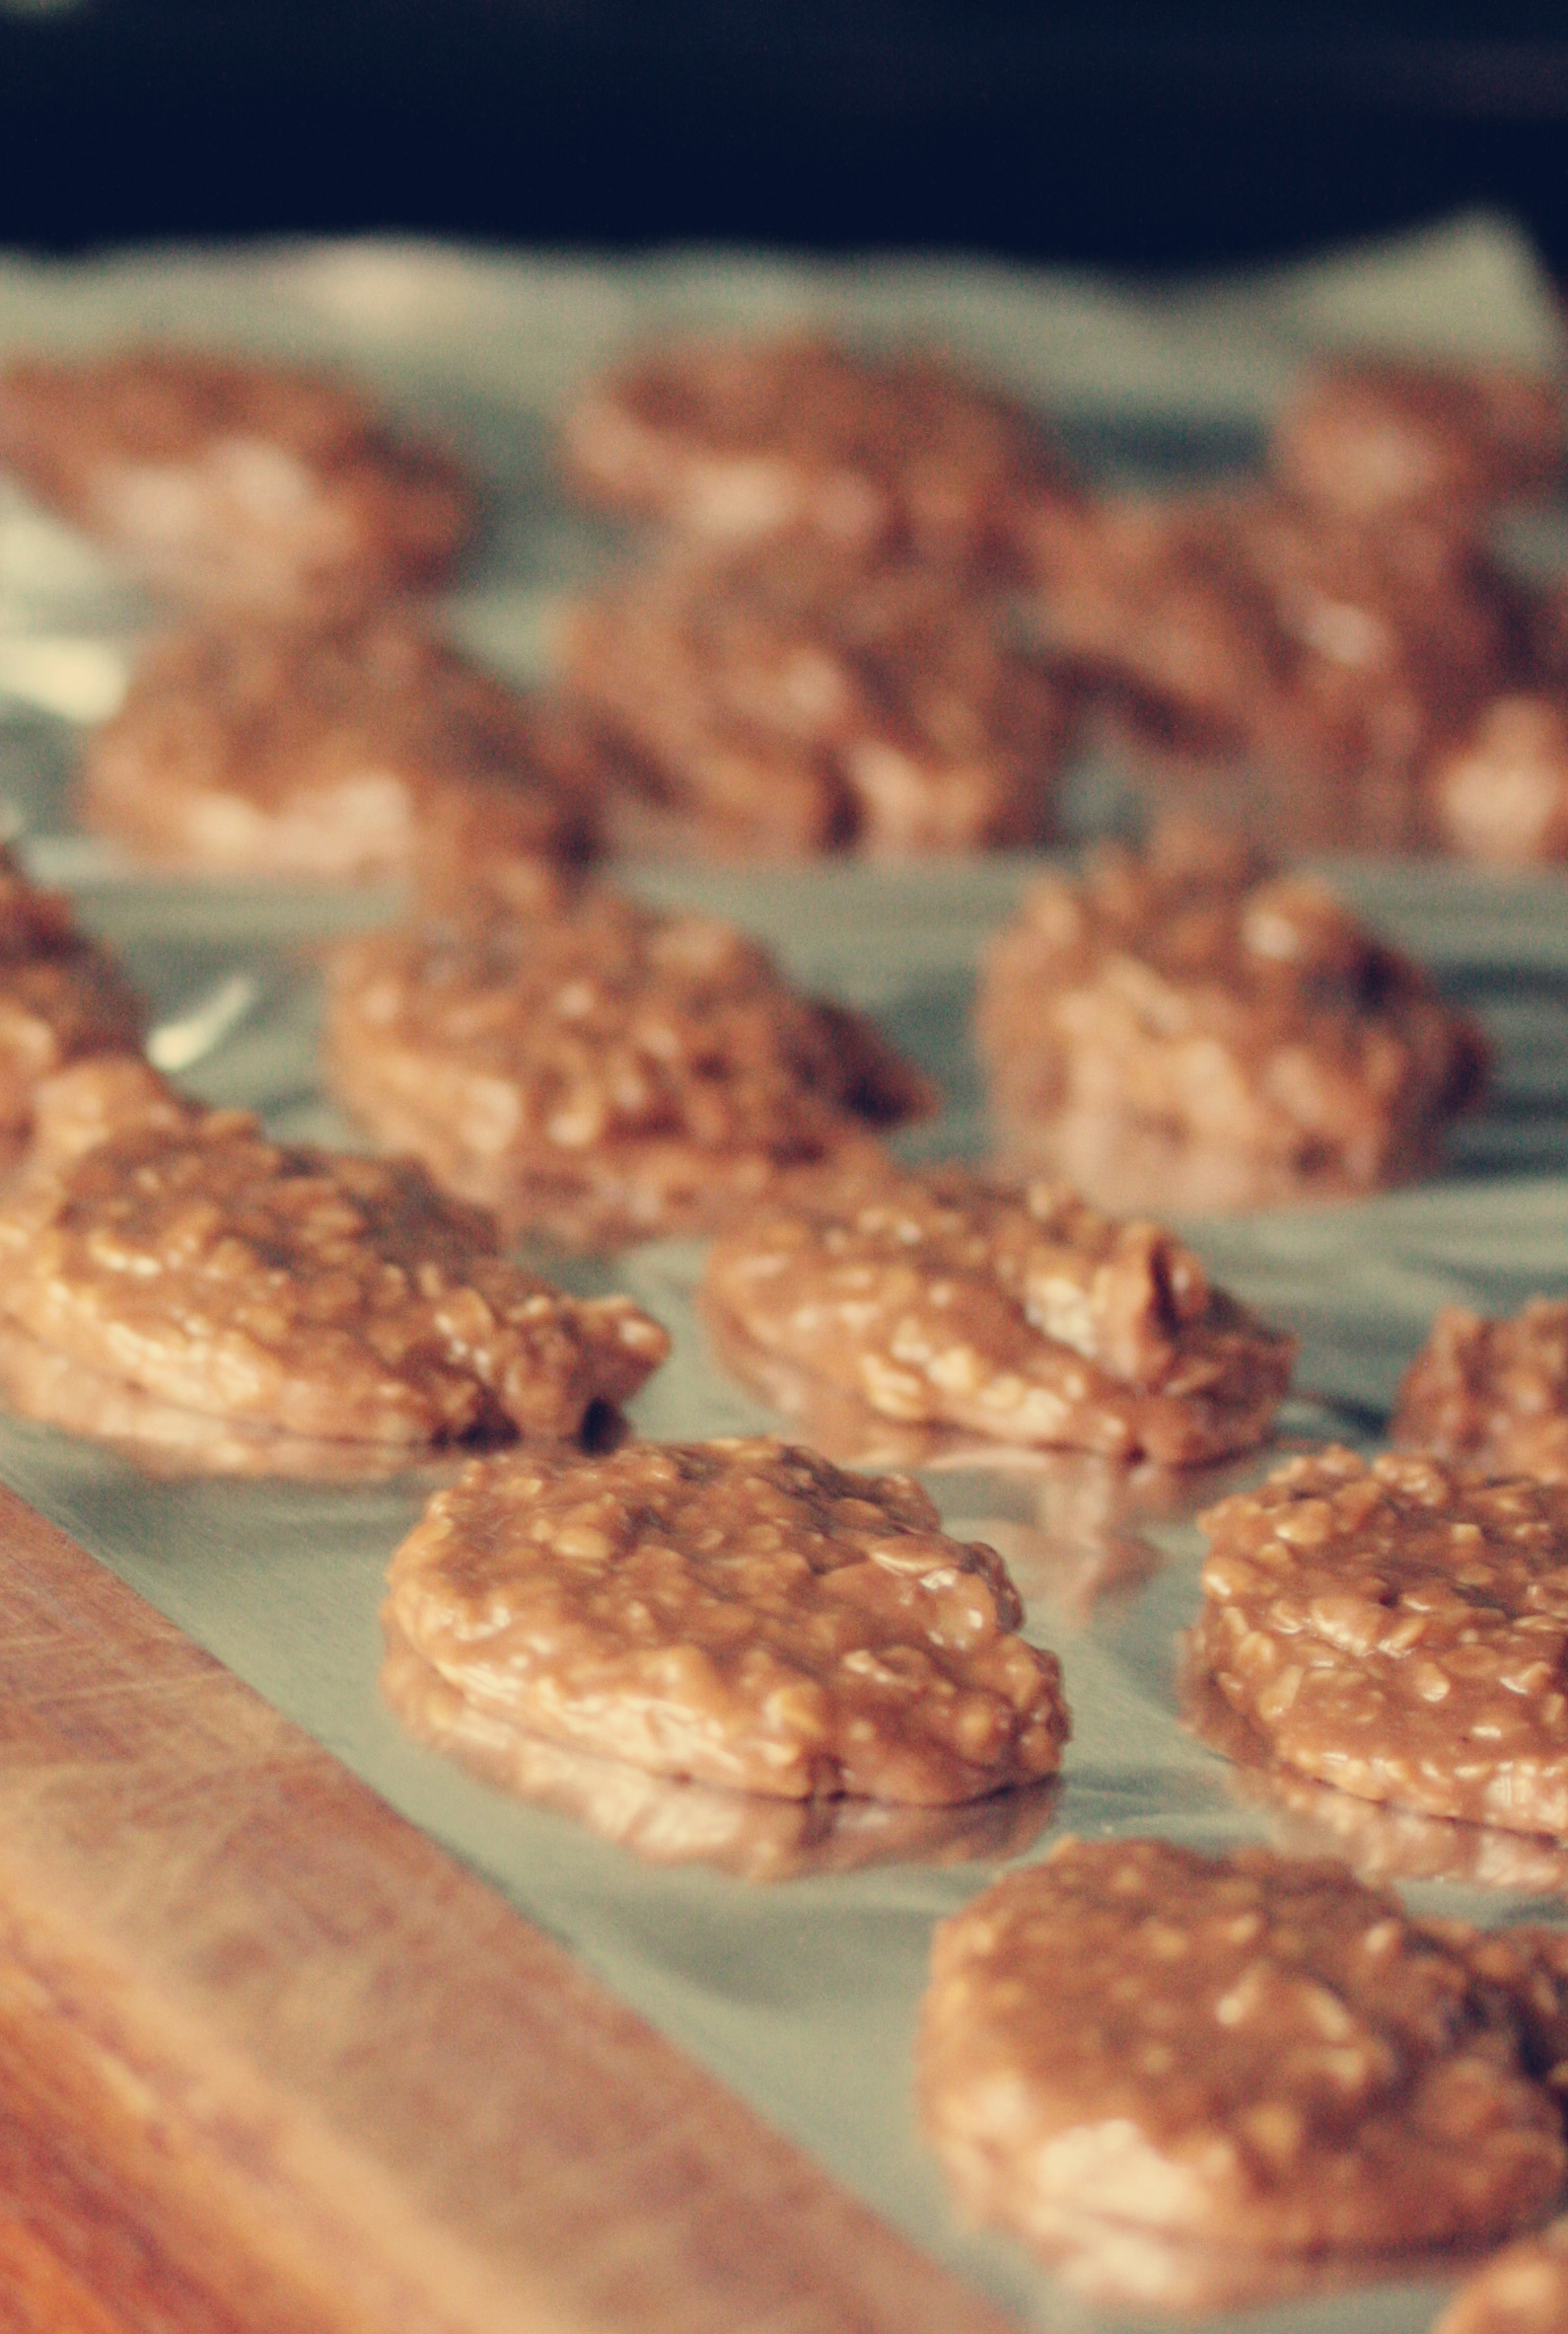
linda's cookies

My mom is the oldest of four and when she was growing up these were one of her specialties.  I was told they named them after her because no one else in the family could make them as well as she could.

We always called them chocolate oaties, instead of Linda's cookies.  Why limit your mom to one special cookie when she could be making all sorts of great ones?

There are the thing to make, when you don't know what else to make, especially when the weather turns hot and you don't want the oven heating up the kitchen.  Basically, they are quick, simple, and everyone likes them.

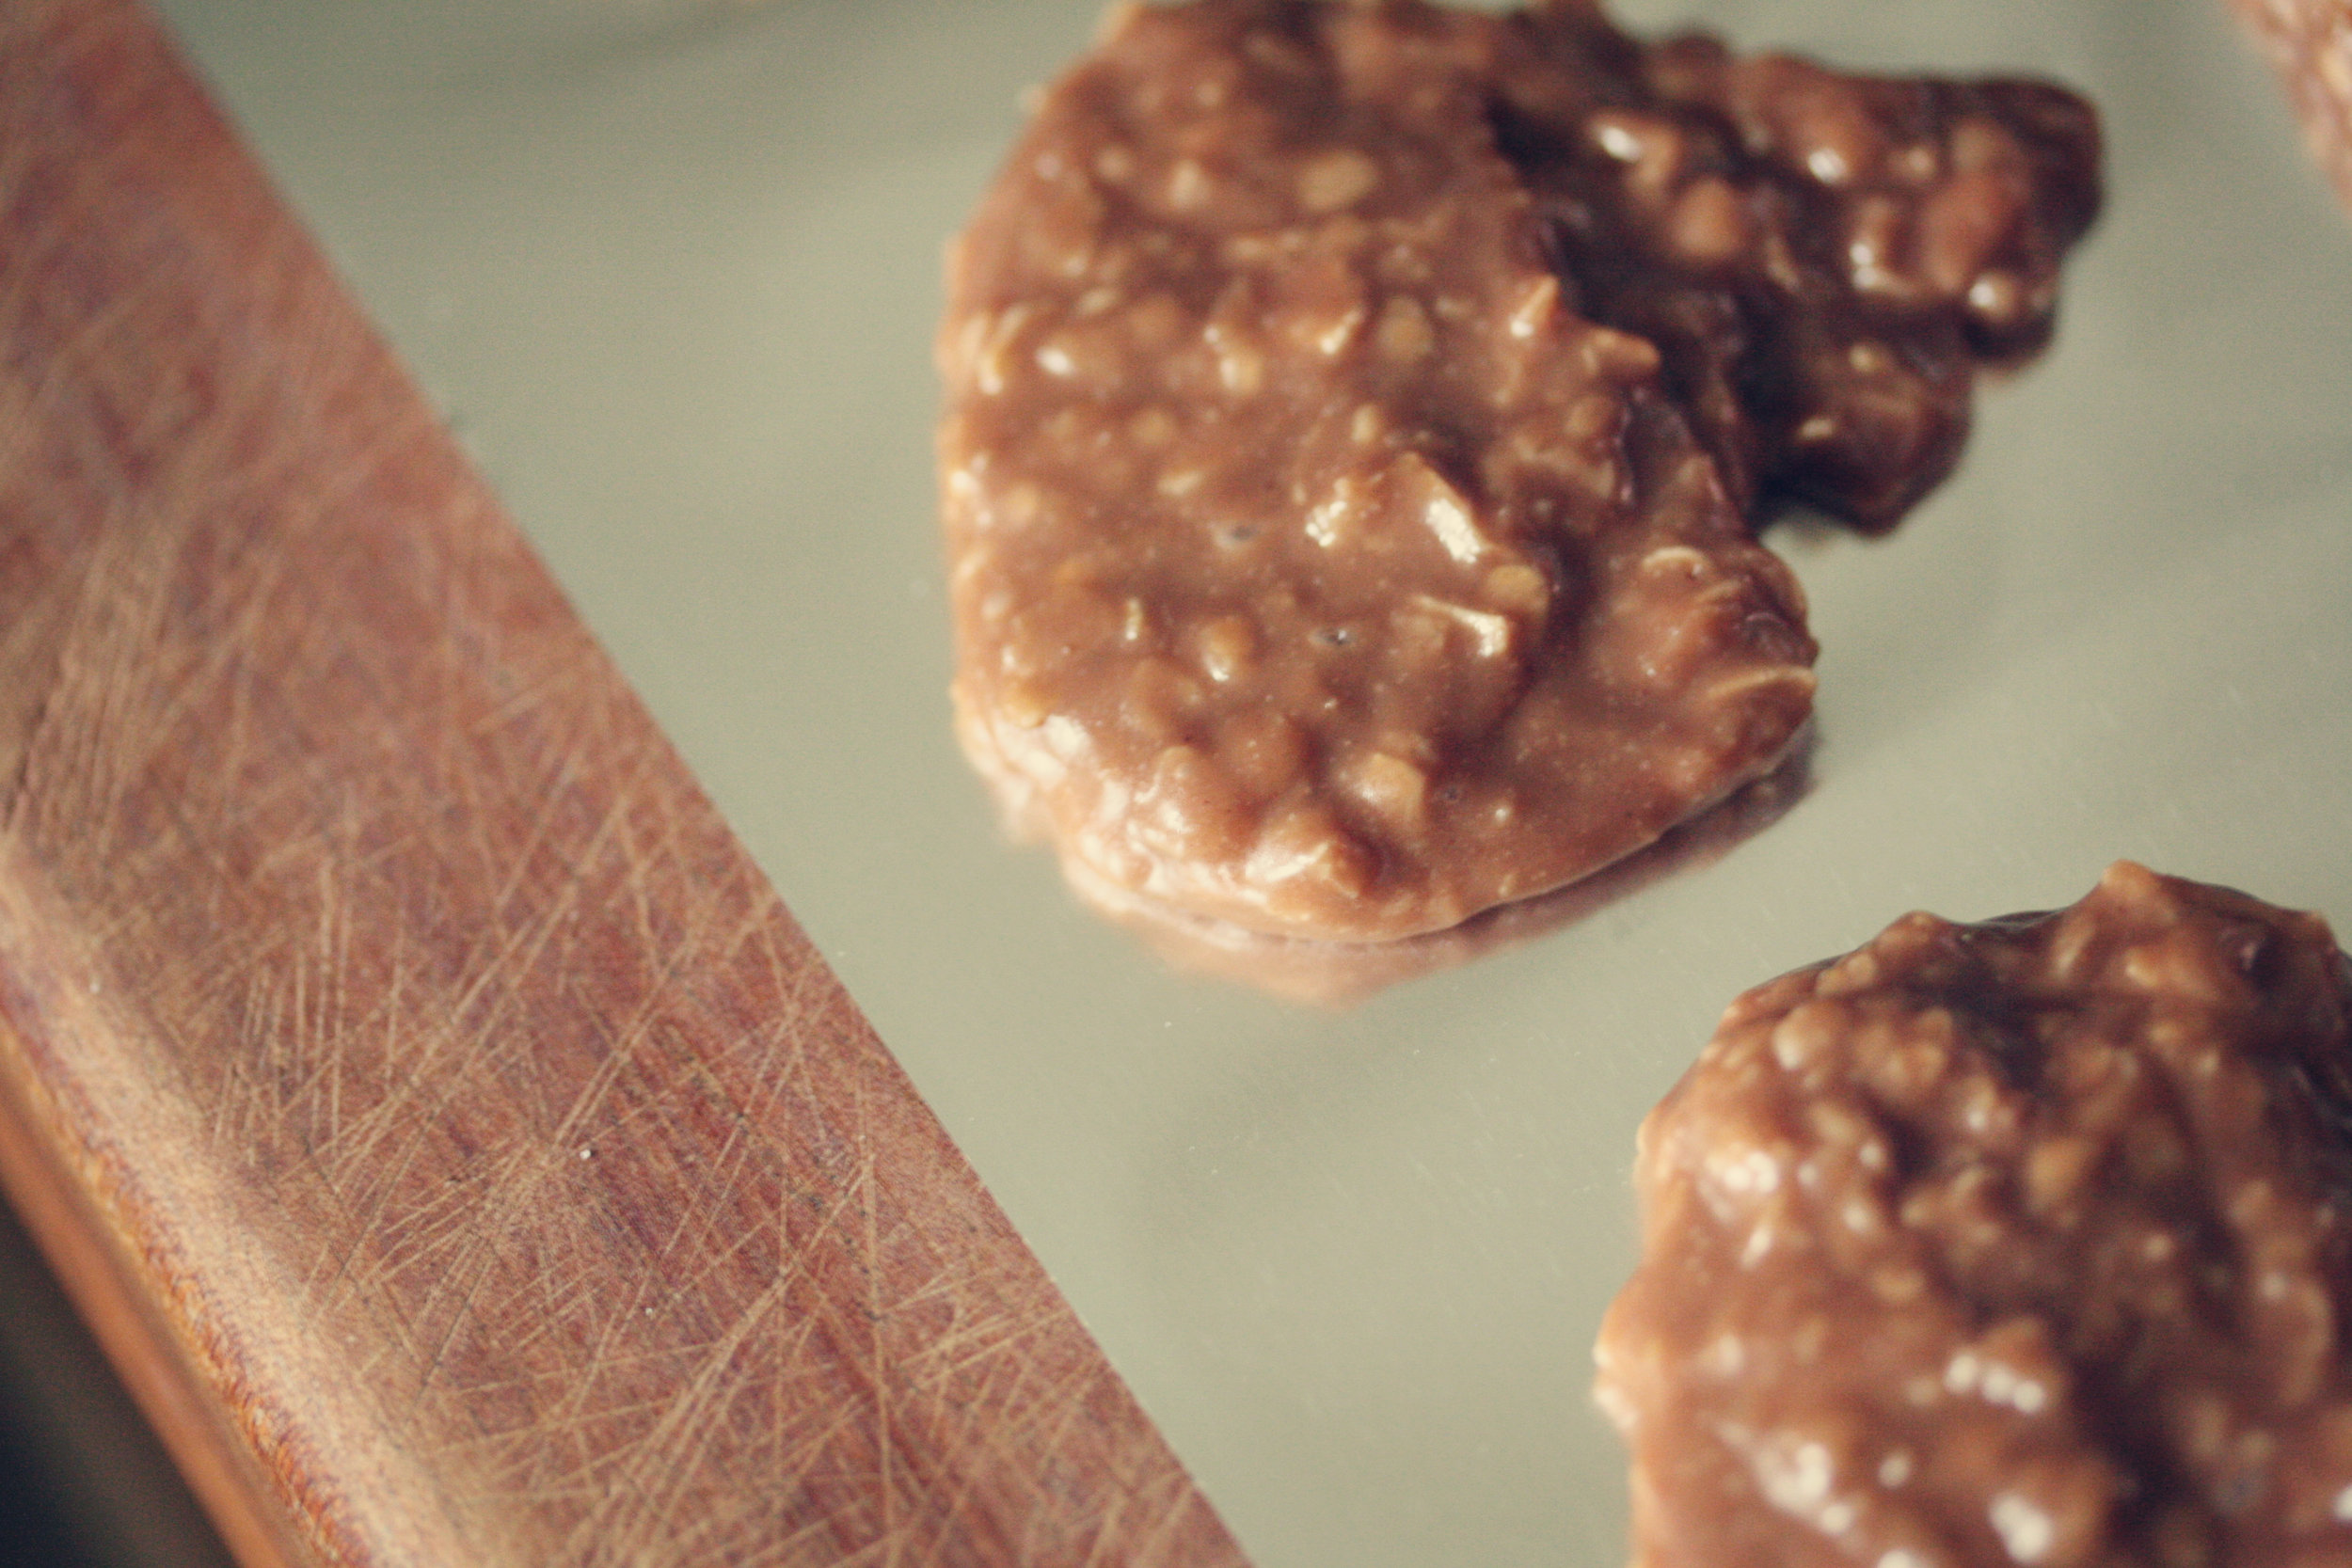
The trick is in the boil, not too hot, you want the sugar to melt before it starts to boil so the cookies have smooth texture.  Also, wait to start your three minute count until after you reach a rolling boil (that's when the mixture continues to boil even while stirring it).  These are really more of a candy than a cookie, so it also helps to have a heavy bottomed pan like you would use for candy making.  It helps heat the mixture at a more even rate and keep it from scorching.  Sometimes even when you think you've followed all the rules, they still don't set up and the only way to eat them is to scrape them off the tin foil with a spoon.  Don't worry, just call them spoon oaties and enjoy!


linda's cookies (chocolate oaties)

2 cups sugar

2 Tablespoons cocoa powder

1 stick butter

5 ounces evaporated milk (one small can)

1/3 cup creamy peanut butter (you can use crunchy, unless you are making them for cj)

1 Tablespoon vanilla

2 cups quick cooking oatmeal

Lay a sheet of aluminum foil (or as we call it tin foil), about 18" long on your counter.  In a large, heavy bottomed saucepan, stir the sugar and cocoa powder together (this keeps the cocoa from clumping together).  Add the stick of butter and stir in the evaporated milk.

Place over medium heat and stir constantly.  Once the mixture reaches a rolling boil (still boiling even when stirring) cook stirring continuing to stir constantly for 3 minutes.  Remove from heat, stir in oats, peanut butter, and vanilla.  Drop by spoonfuls on the foil and allow to cool.


summer days

Seems like it rains everyday, but we have managed to sneak in some outside time.

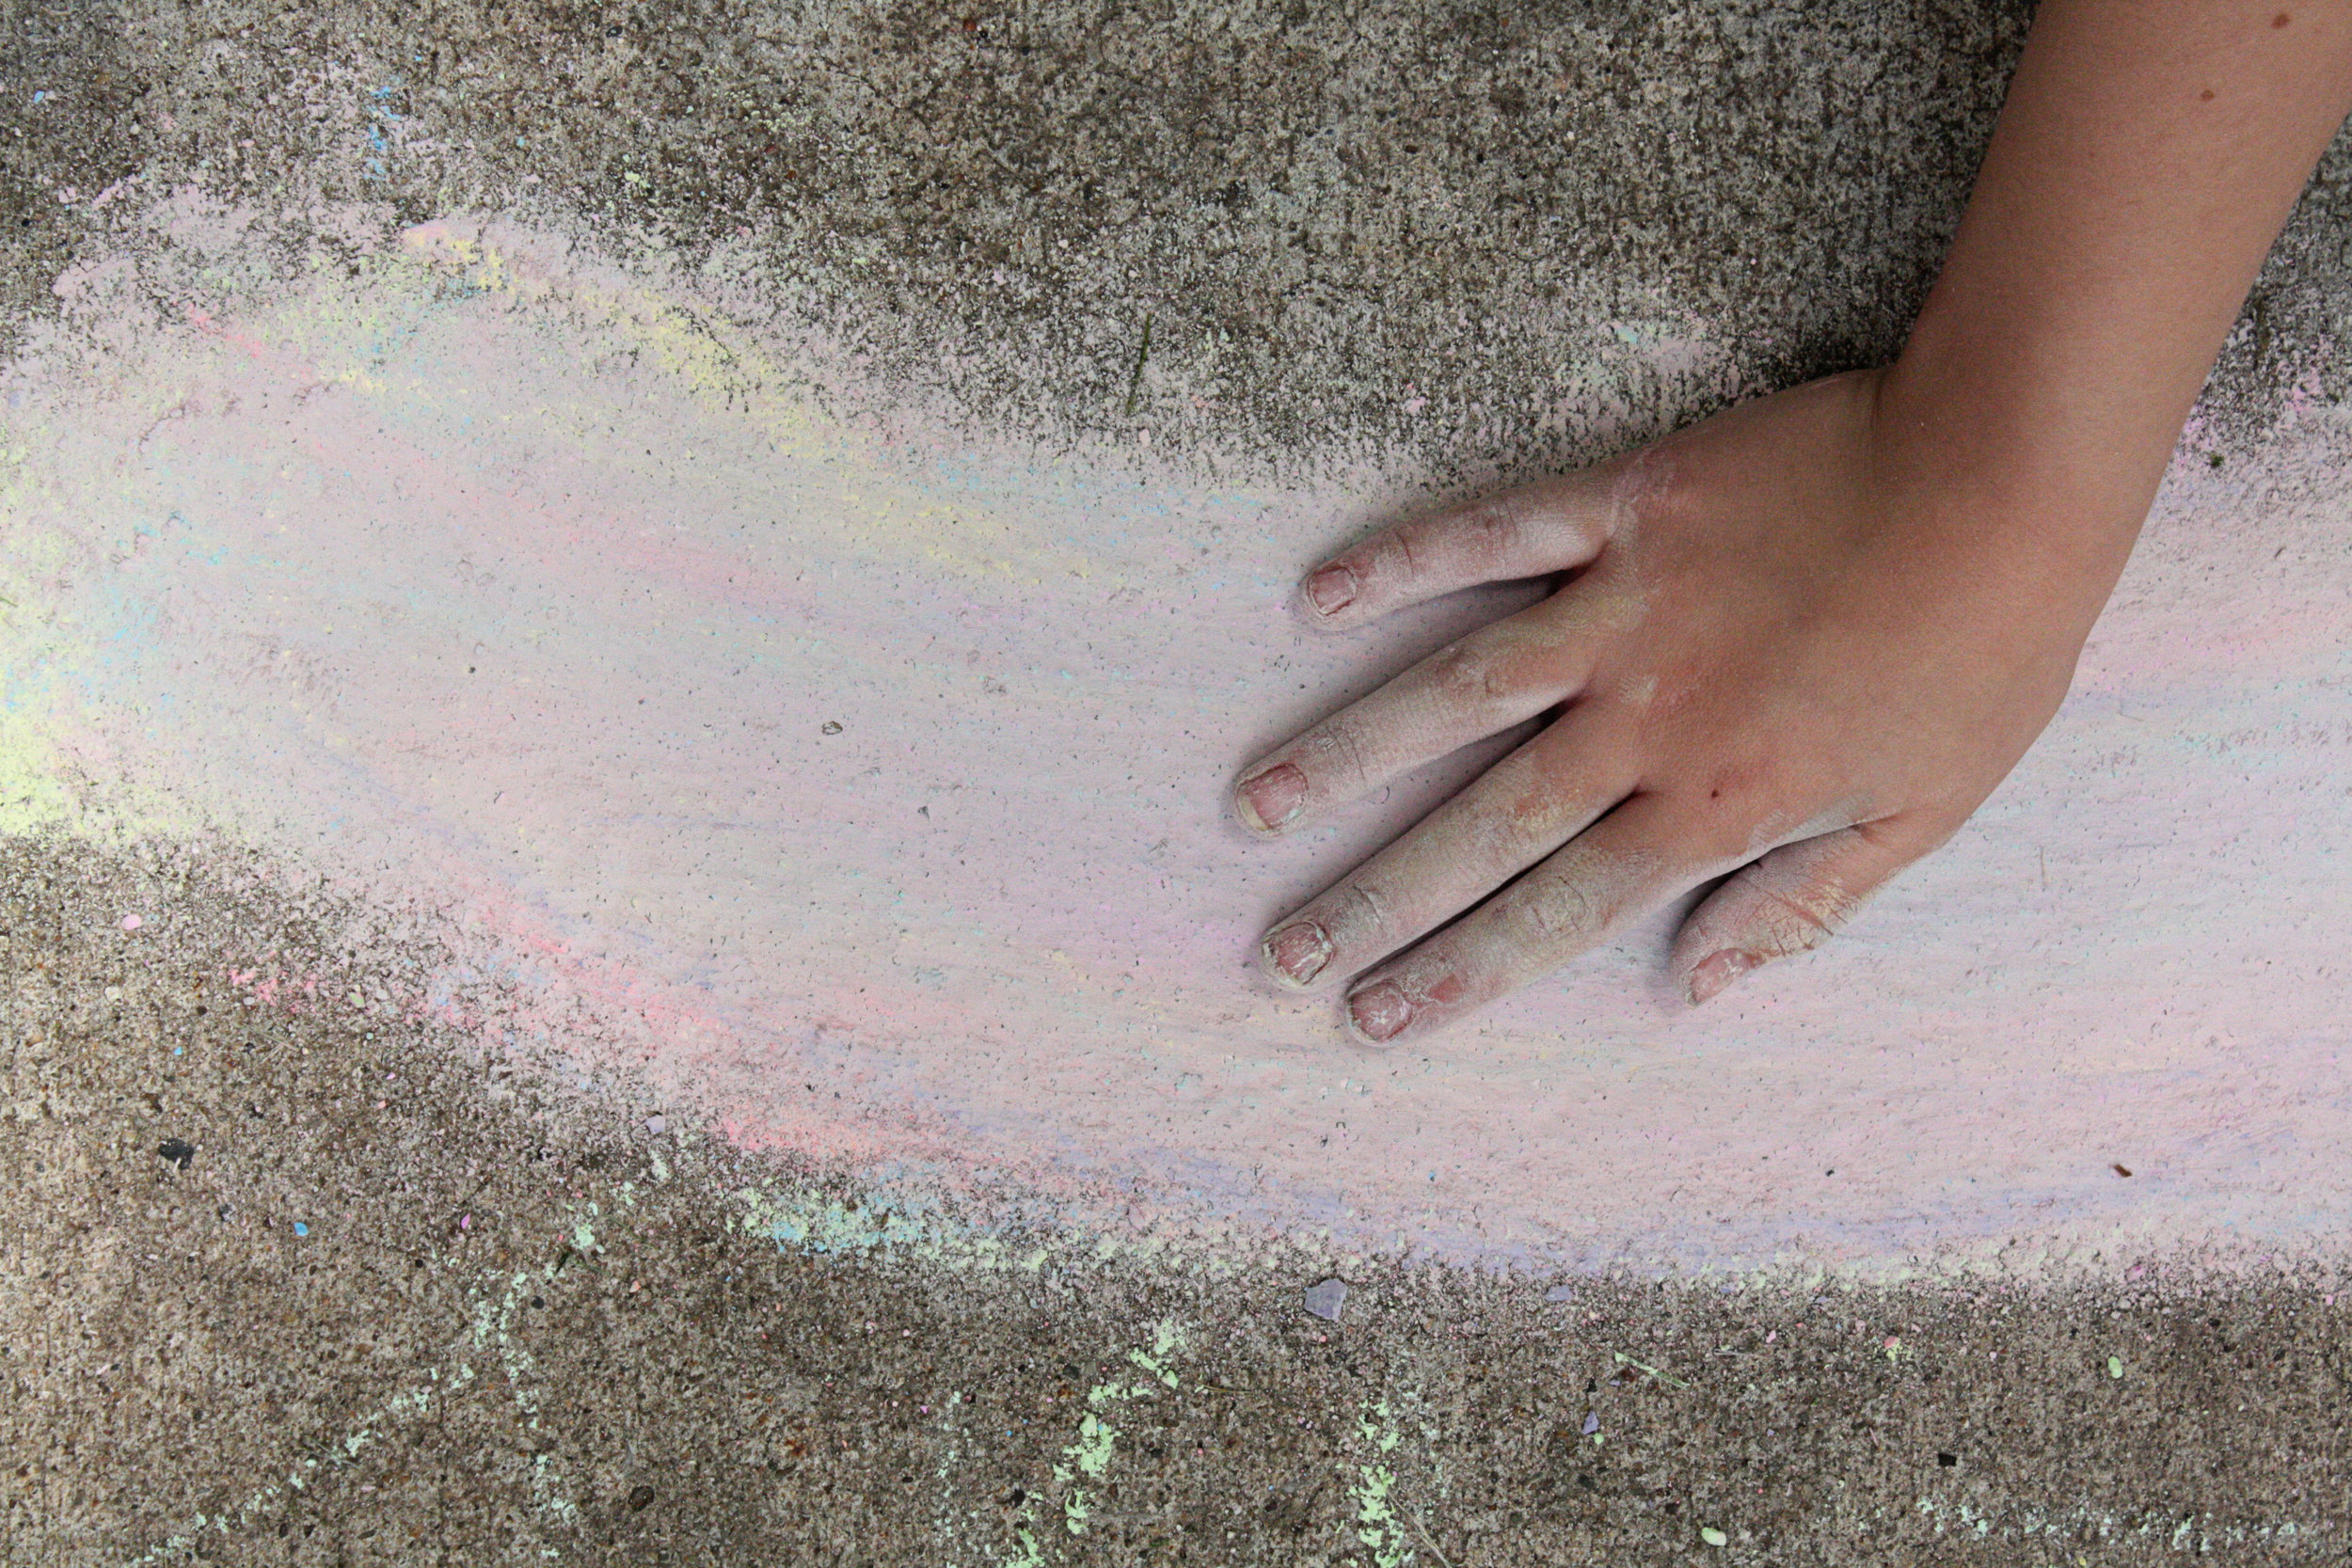
Lulu is blending colors for the perfect sunset.

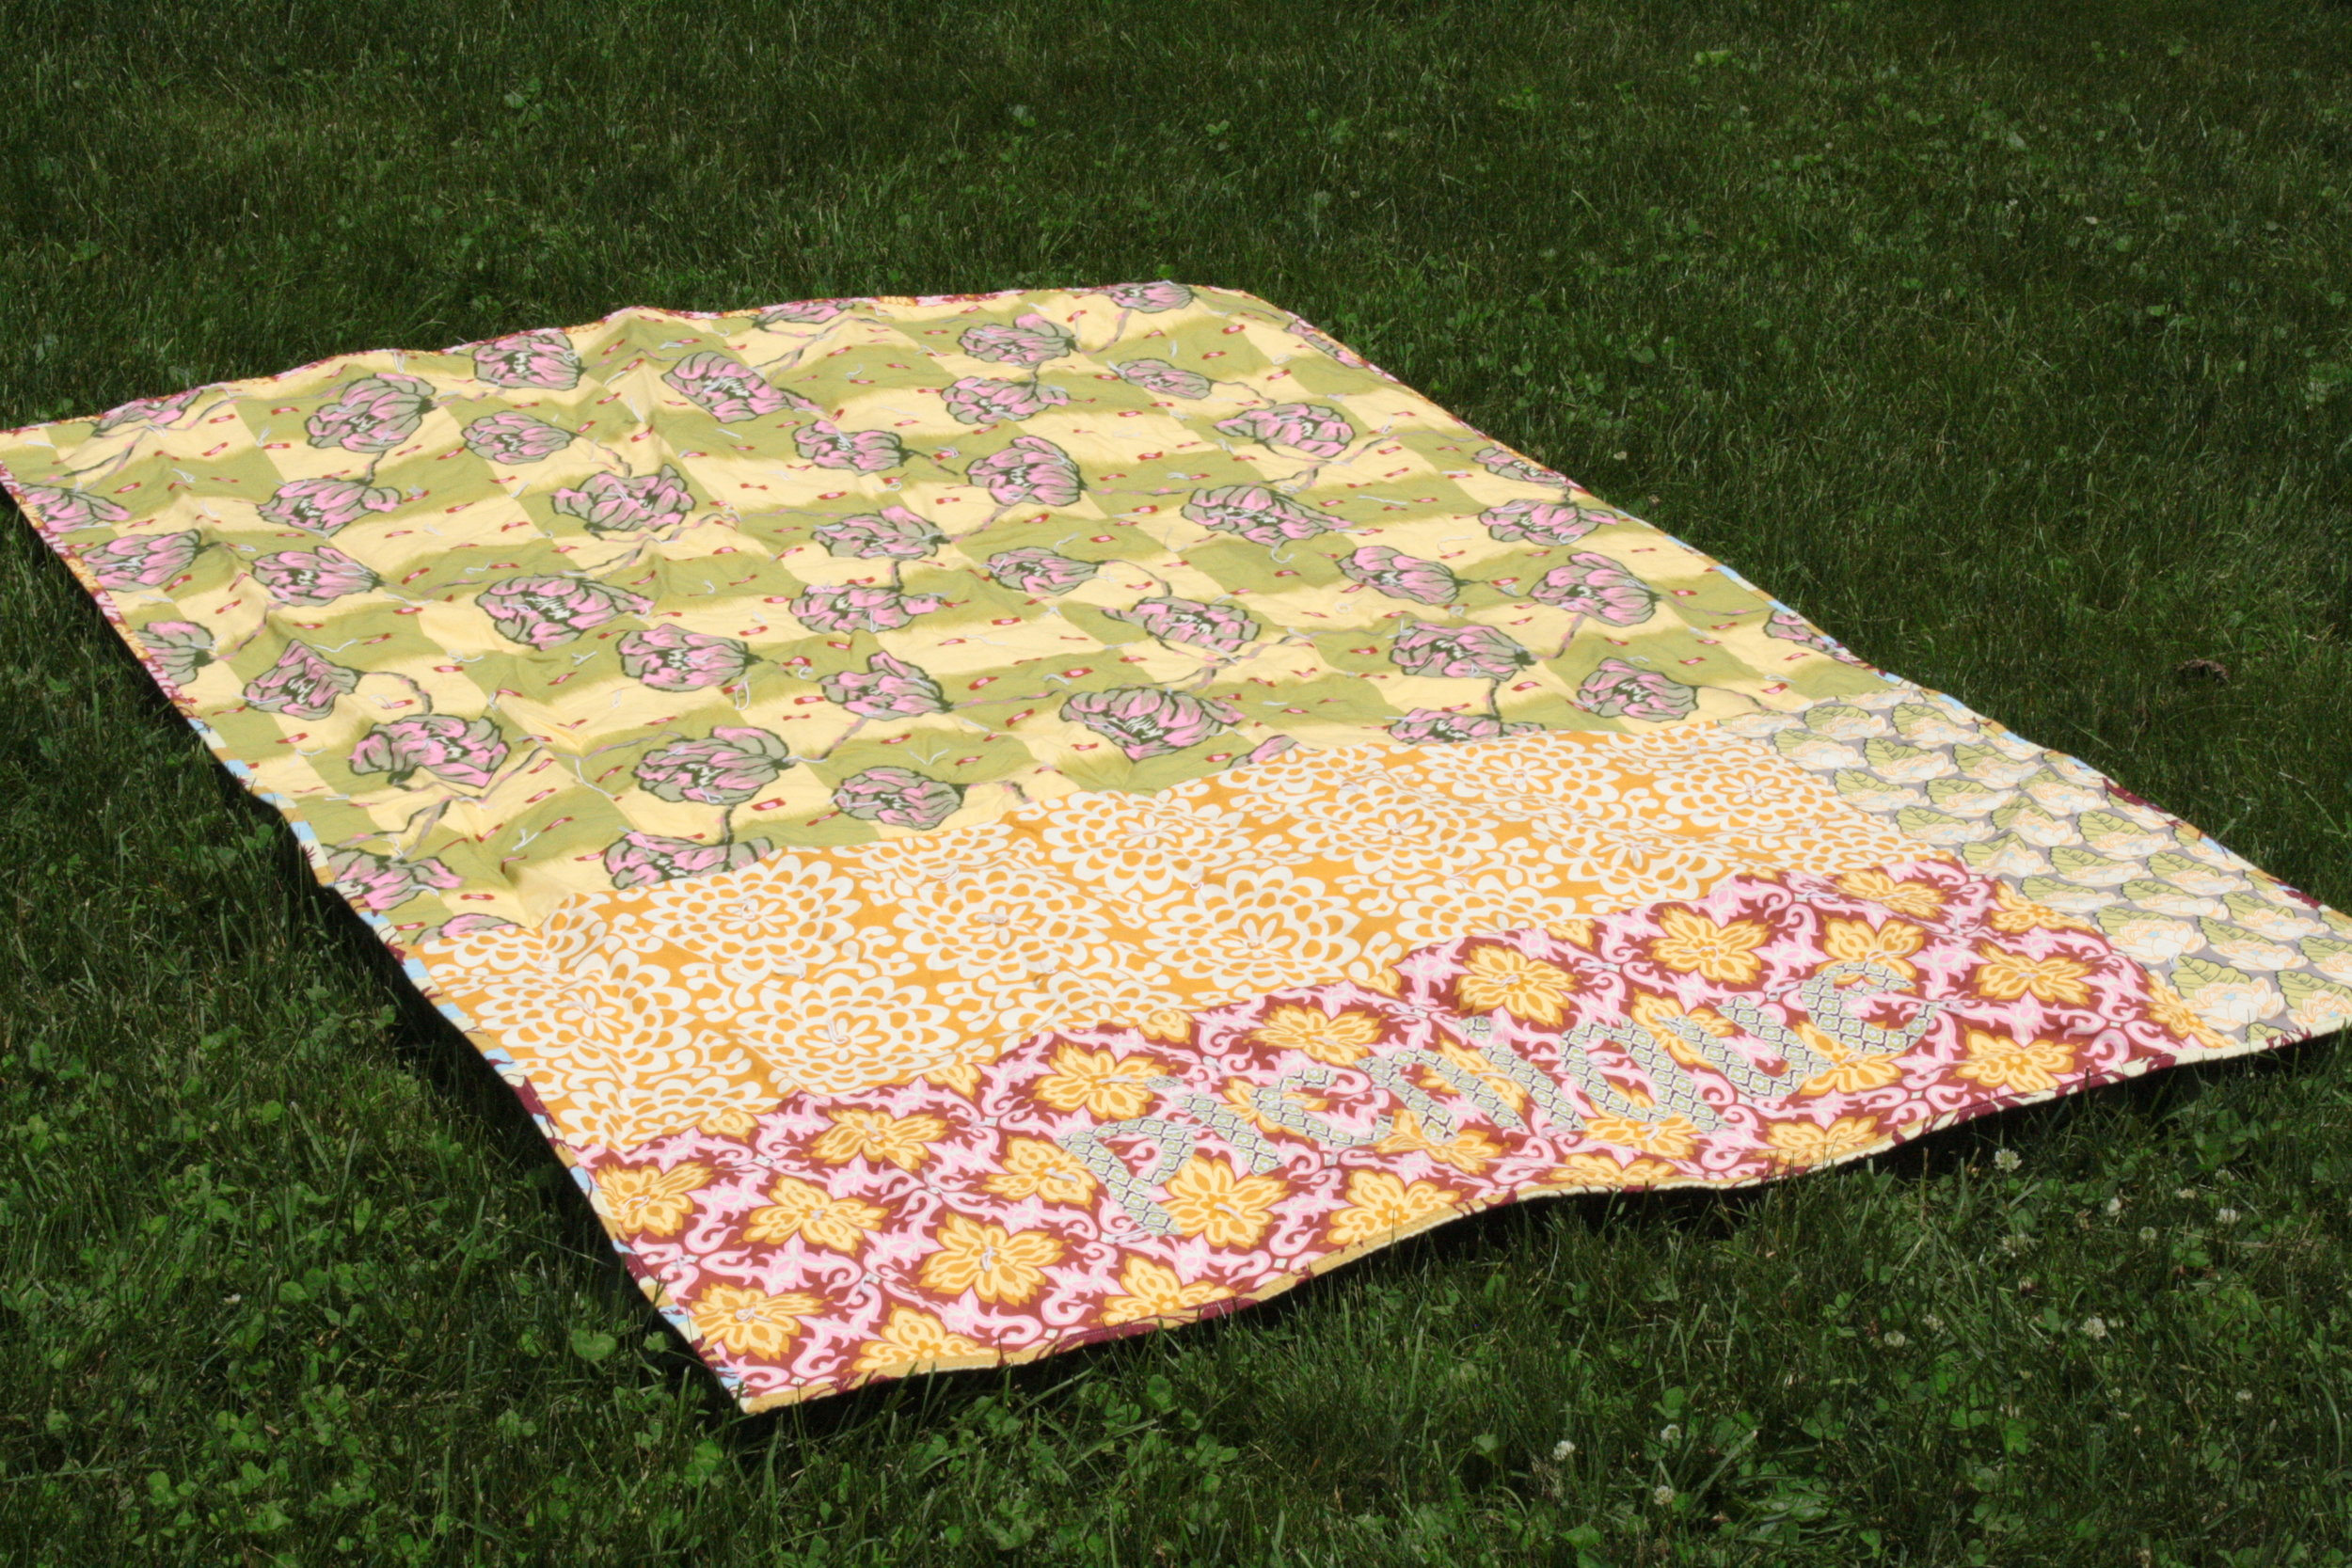
I conducted a little picnic blanket experiment.

I got a great deal on some fabric and was desperate to make something loaded with pattern.

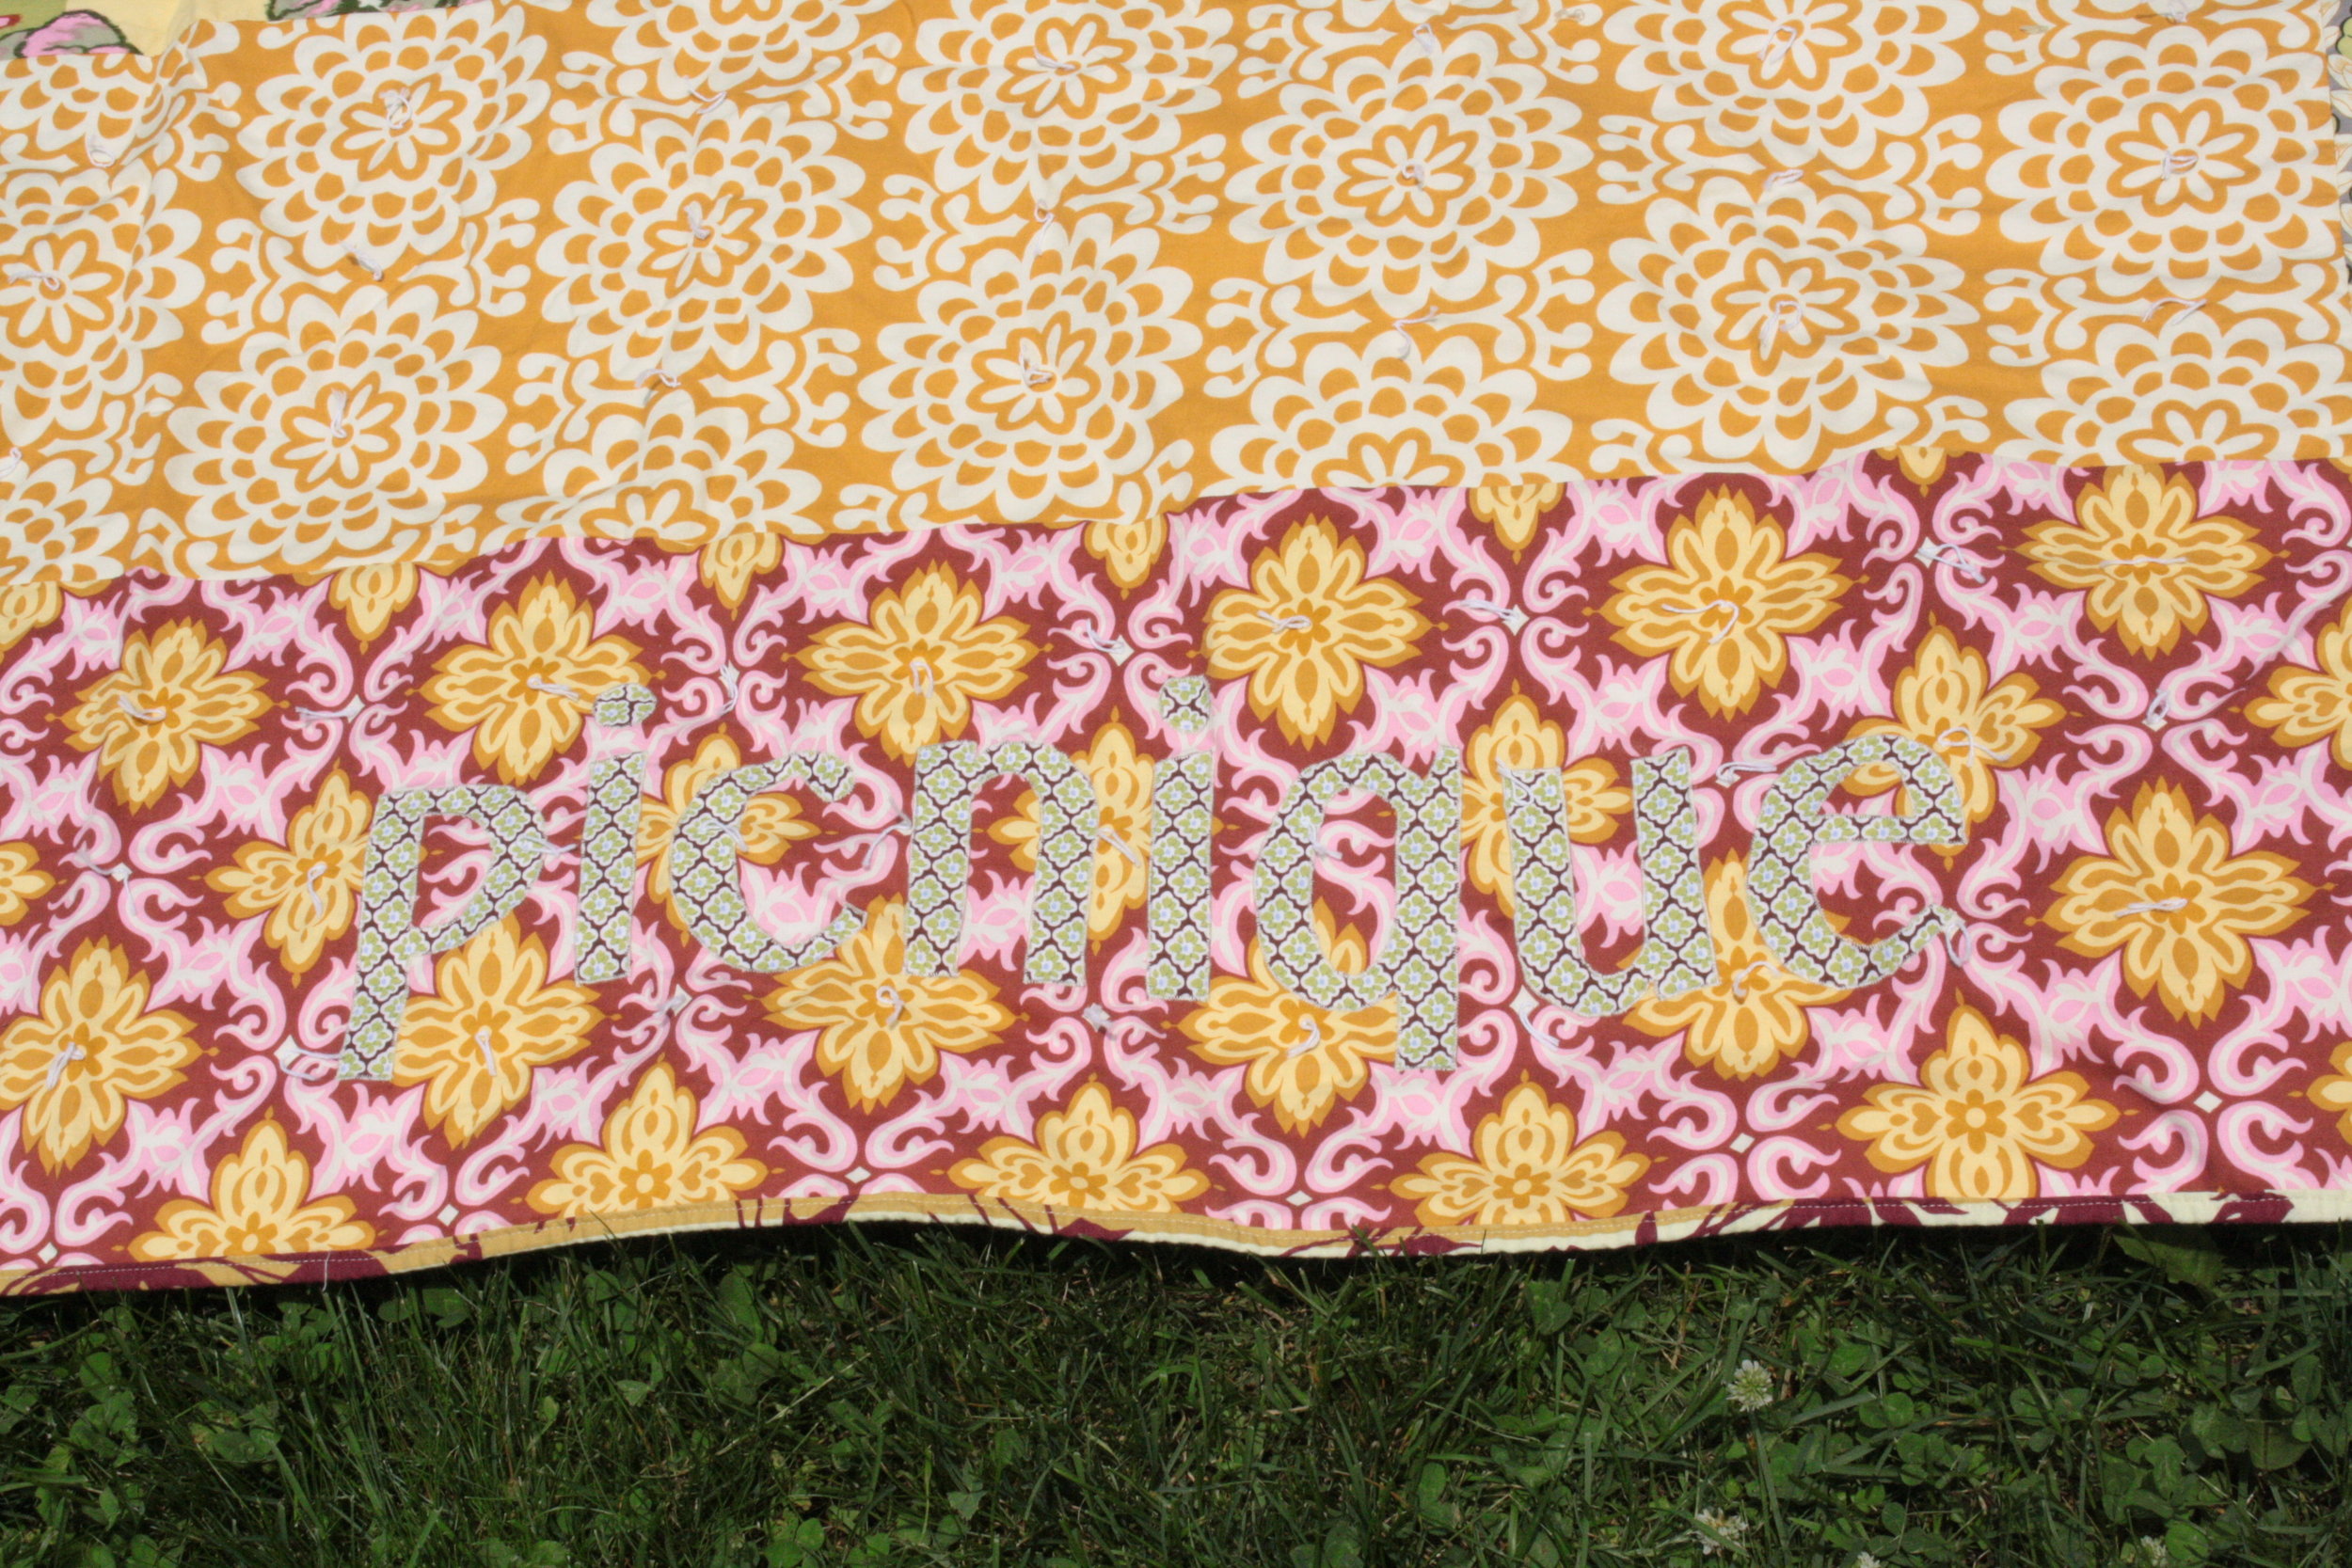
I also tried out some applique with satin stitch.

I frenchified picnic to picnique which was not without incident.  After I had everything fused AND stitched down I realized my u was upside down.  After a few choice sewing words, I had it the right way.

It has flannel instead of batting so it's lightweight.  I used crochet thread to tie it.  Instead of making a binding I left the backing 1 3/4" wider, folded it over onto the front, and machine stitched it.

Here's the back.

We are in the midst of planning for next week's big event.

Someone here is turning 7!

how to make a broken fence block

I always forget all the little short cuts that can make patchwork go more smoothly. I think about strip sets only after I've individually stitched an entire postage stamp style quilt.

So, when it came to making a non-traditional rail fence block I put extra thought into what I could do to make the piecing part go a little more smoothly.

Here's how I make the blocks for my broken fence quilt.

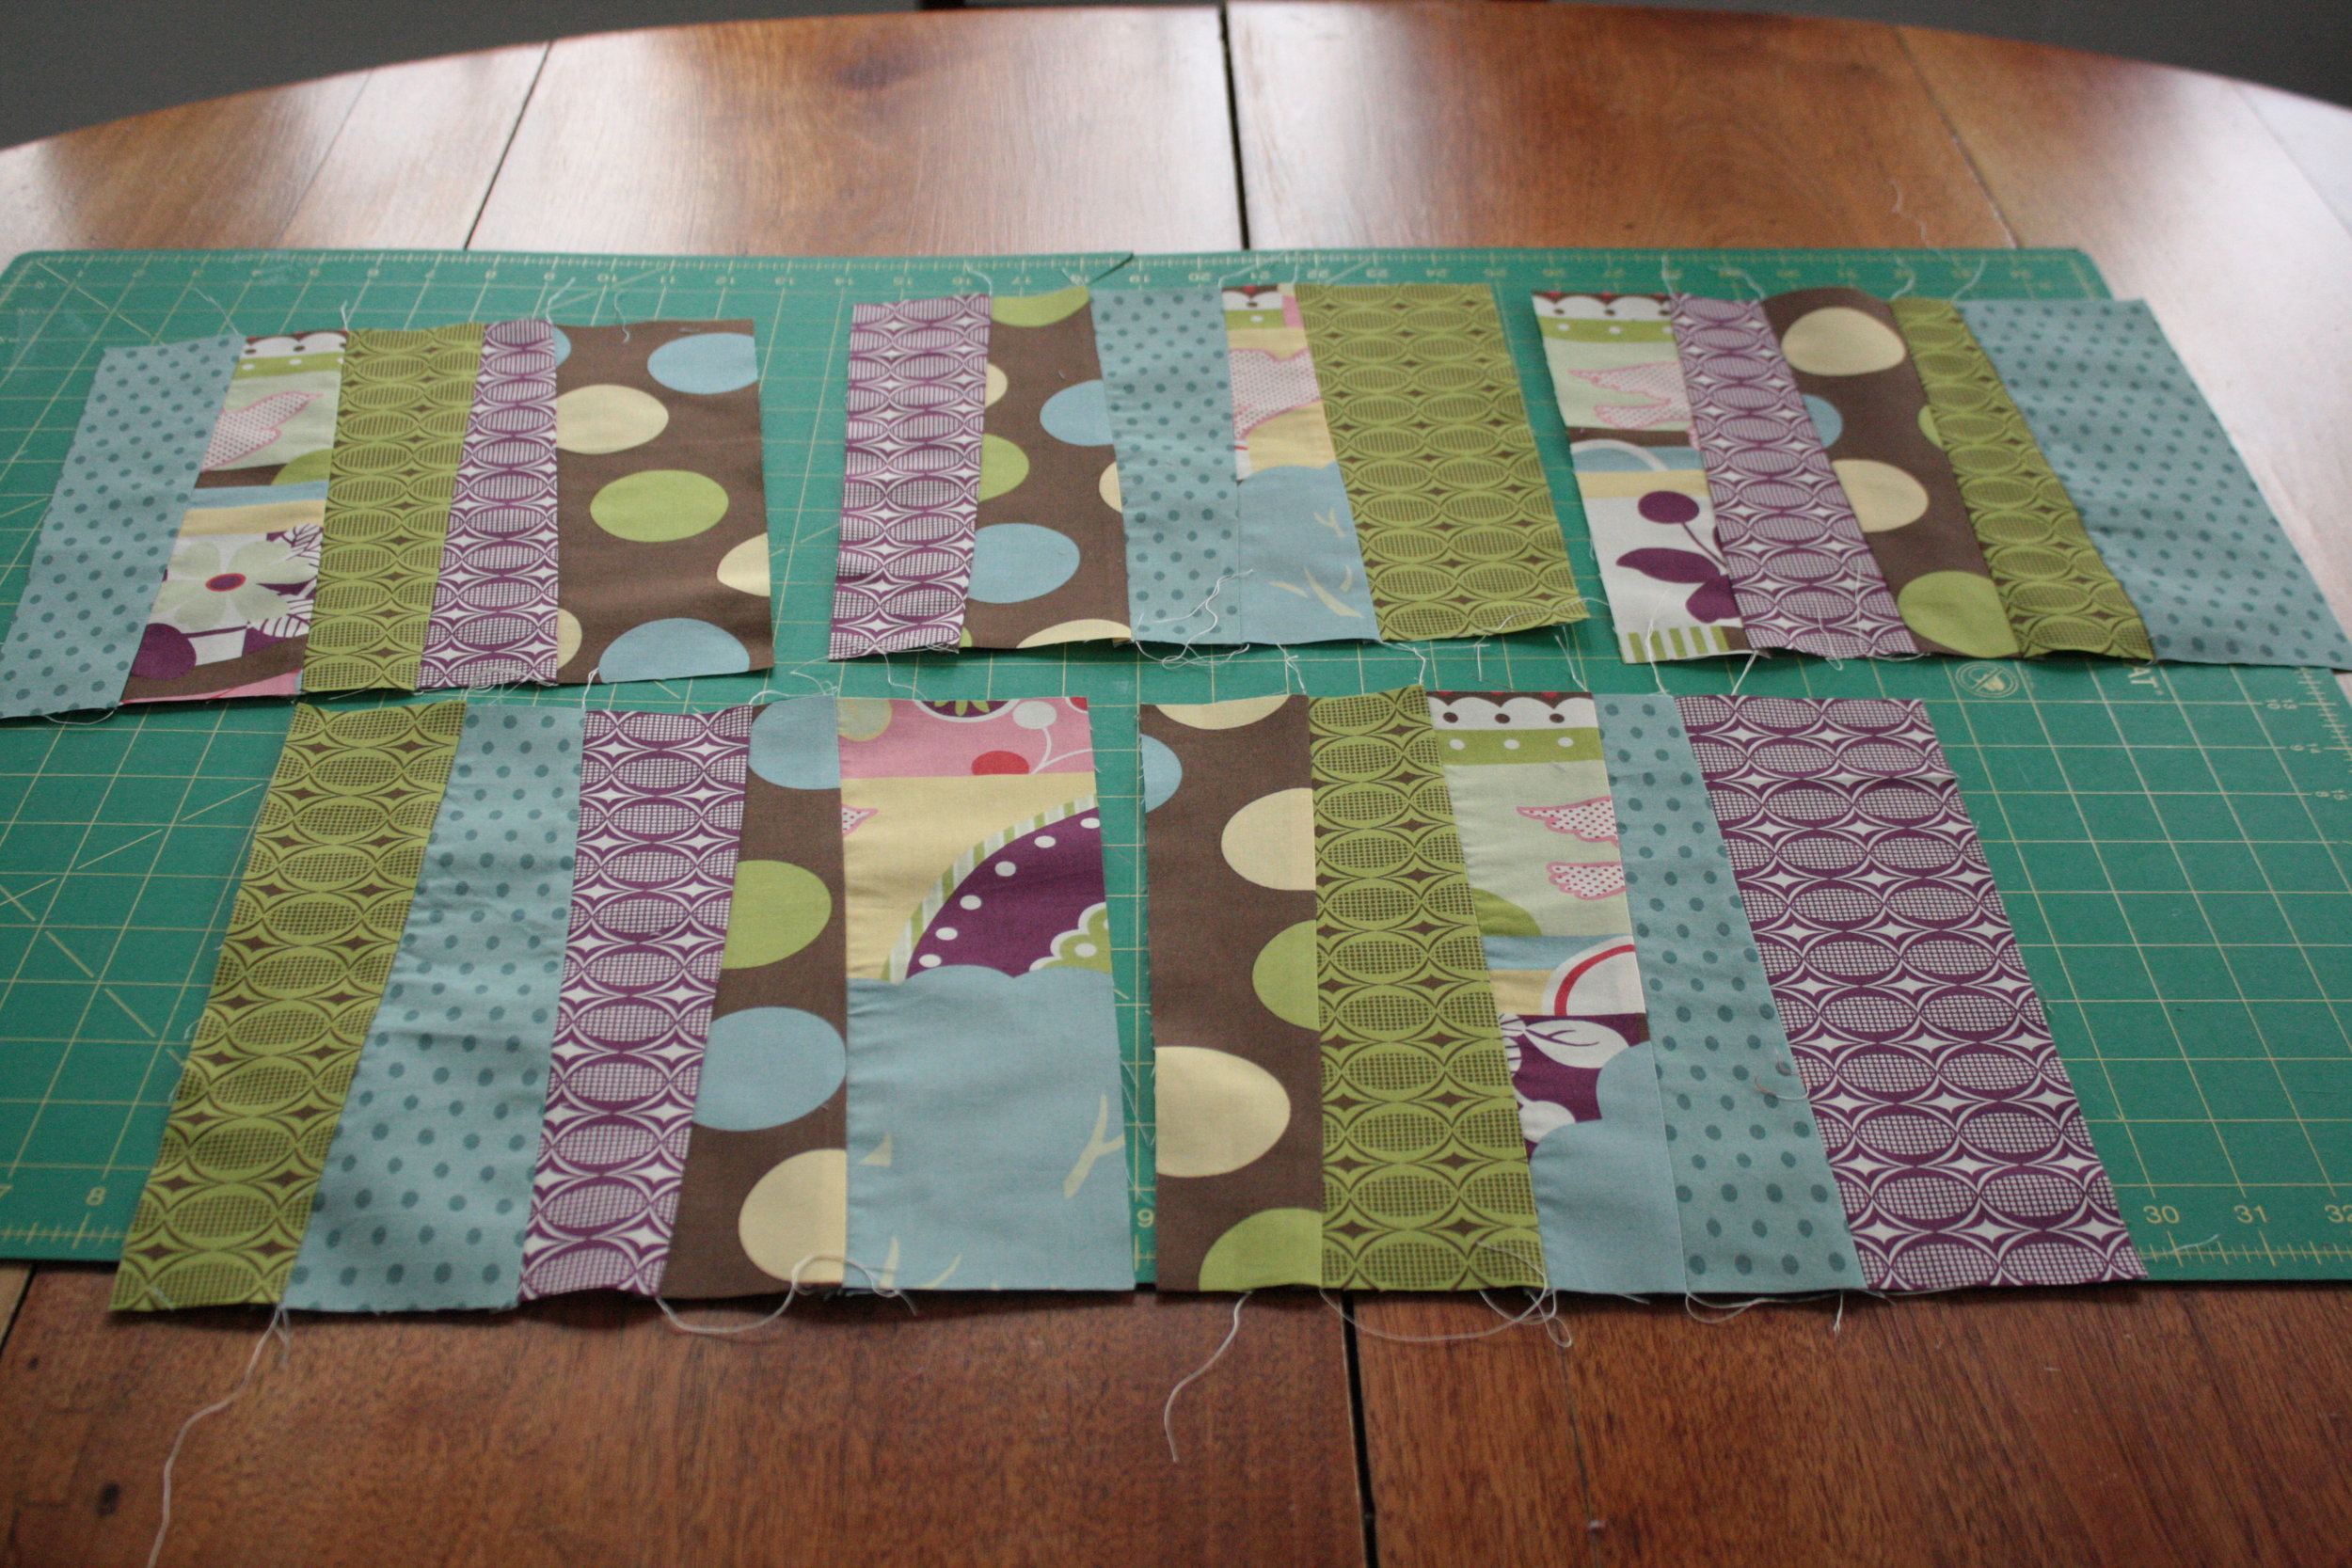
I cut 12 1/2" squares of fabric.  (a total of 36 for my lap quilt)

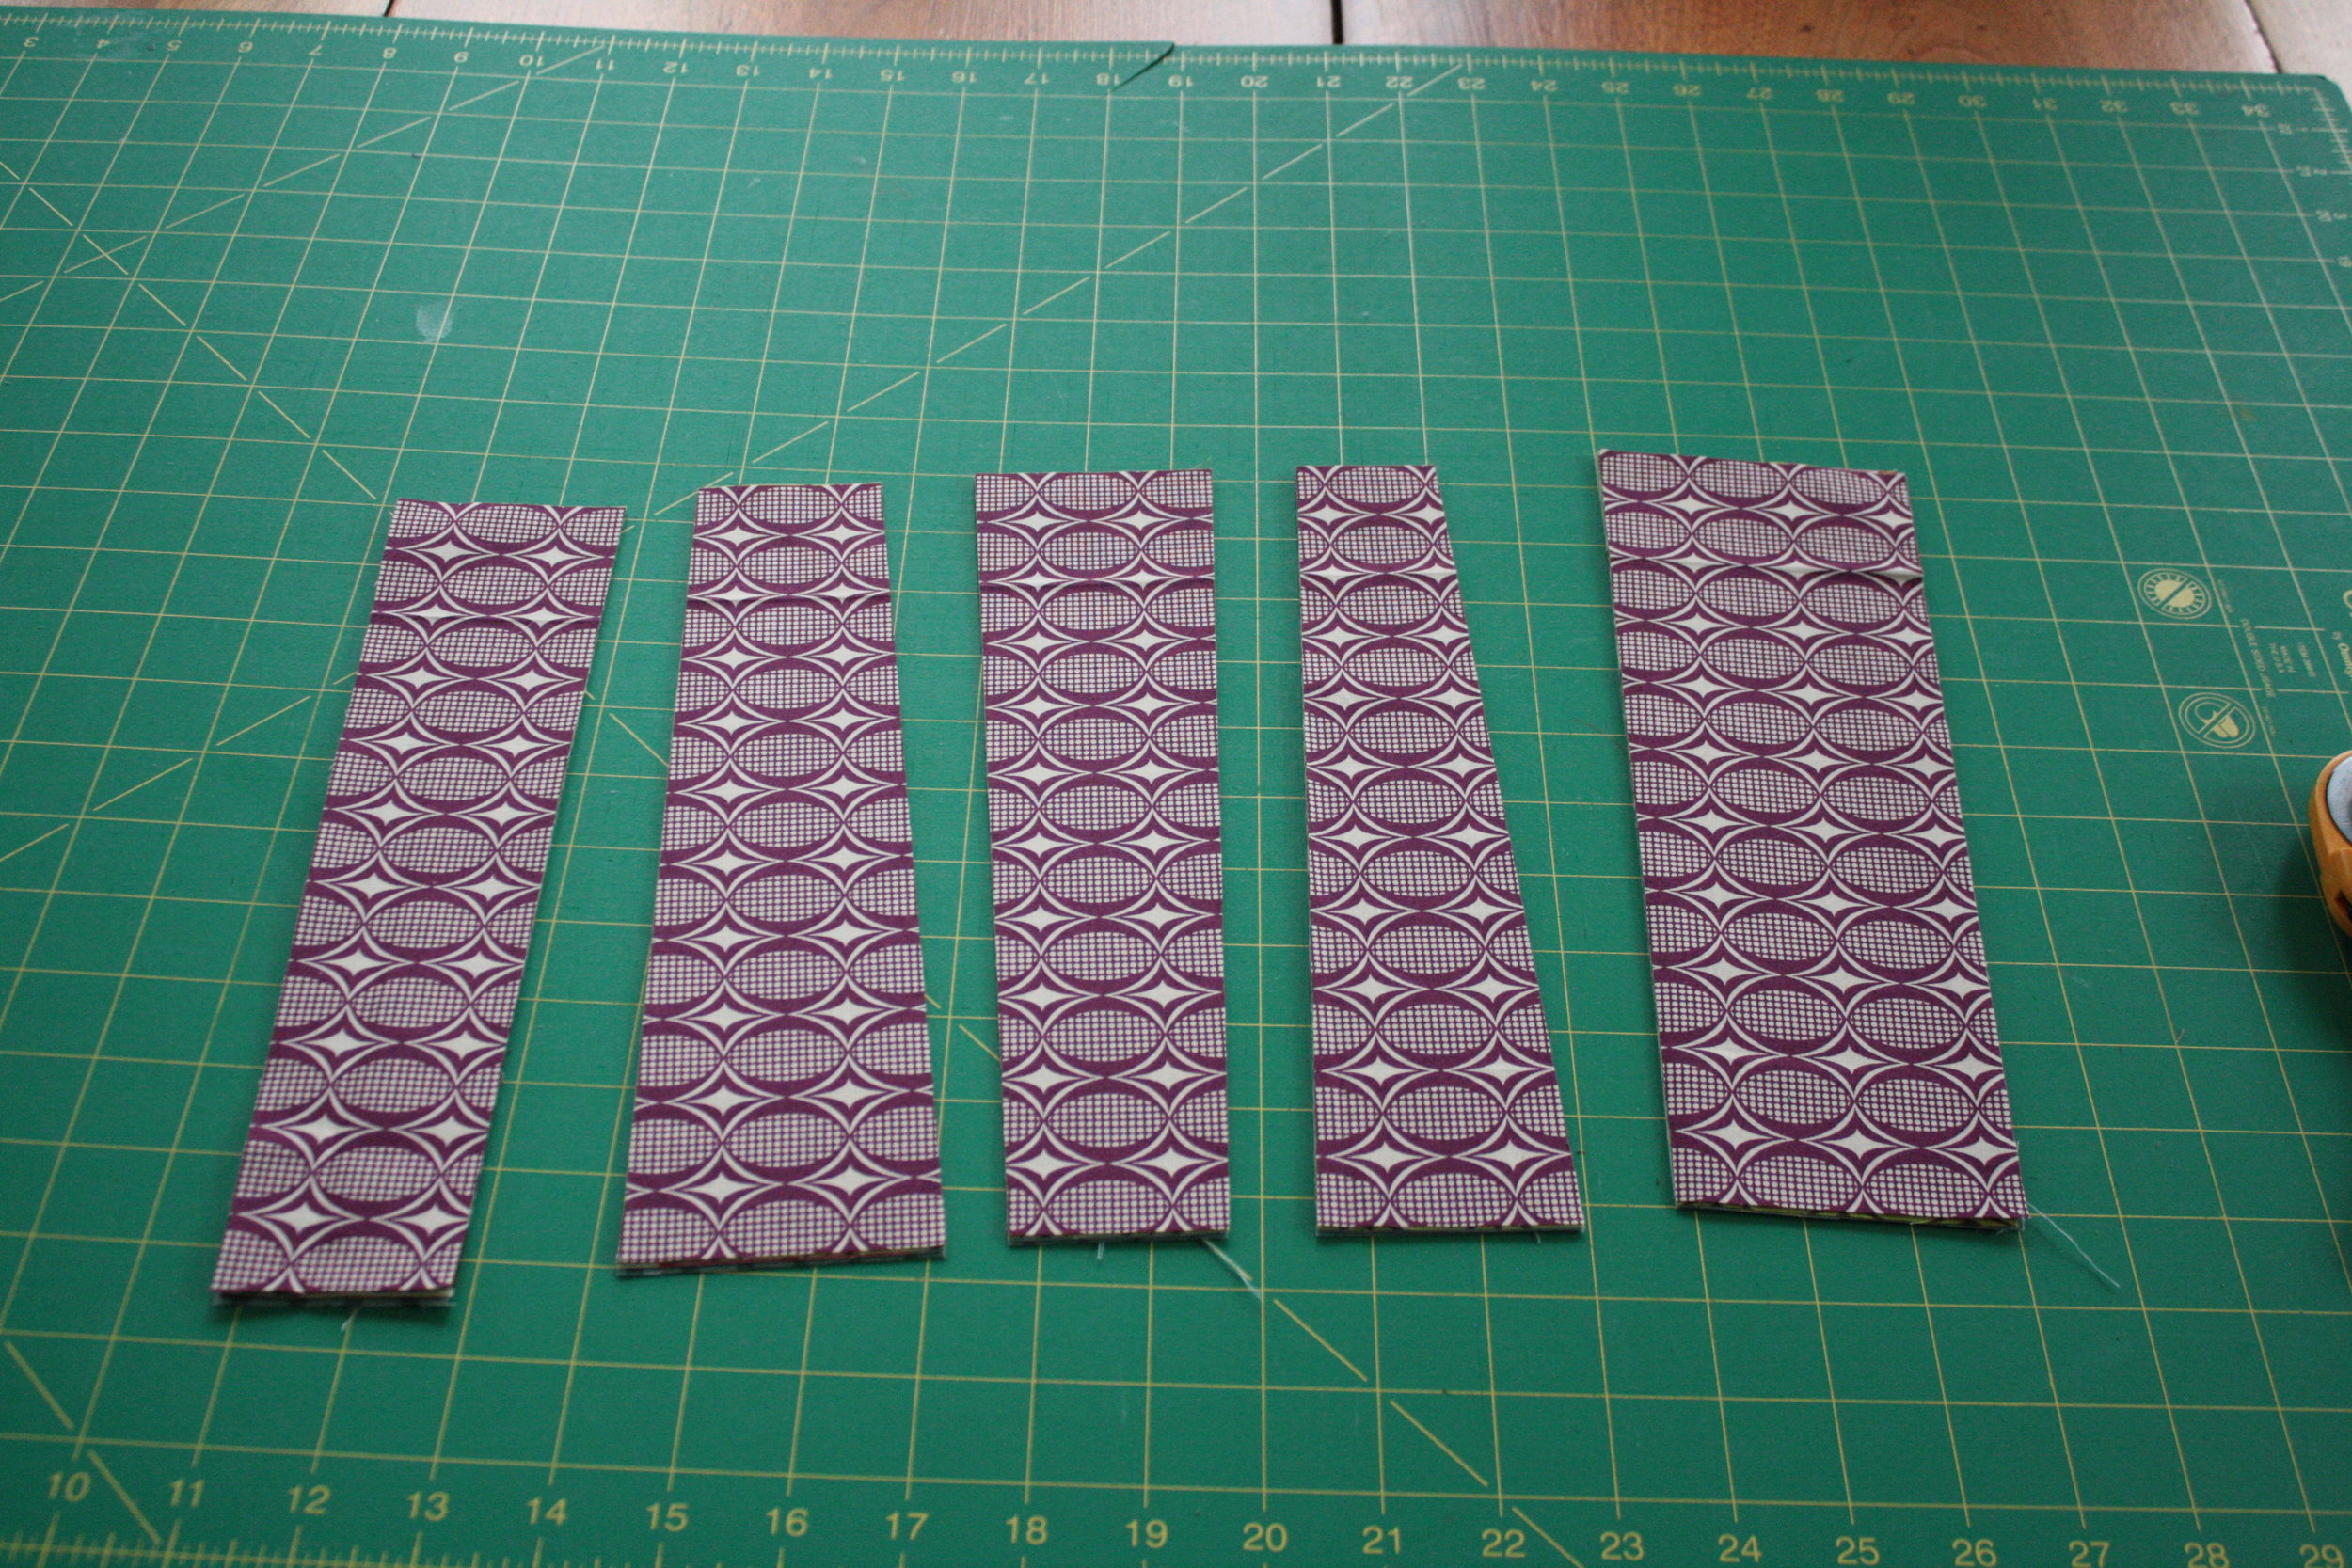
I want 5 bars in each block so I work with 5 pieces of fabric at a time.

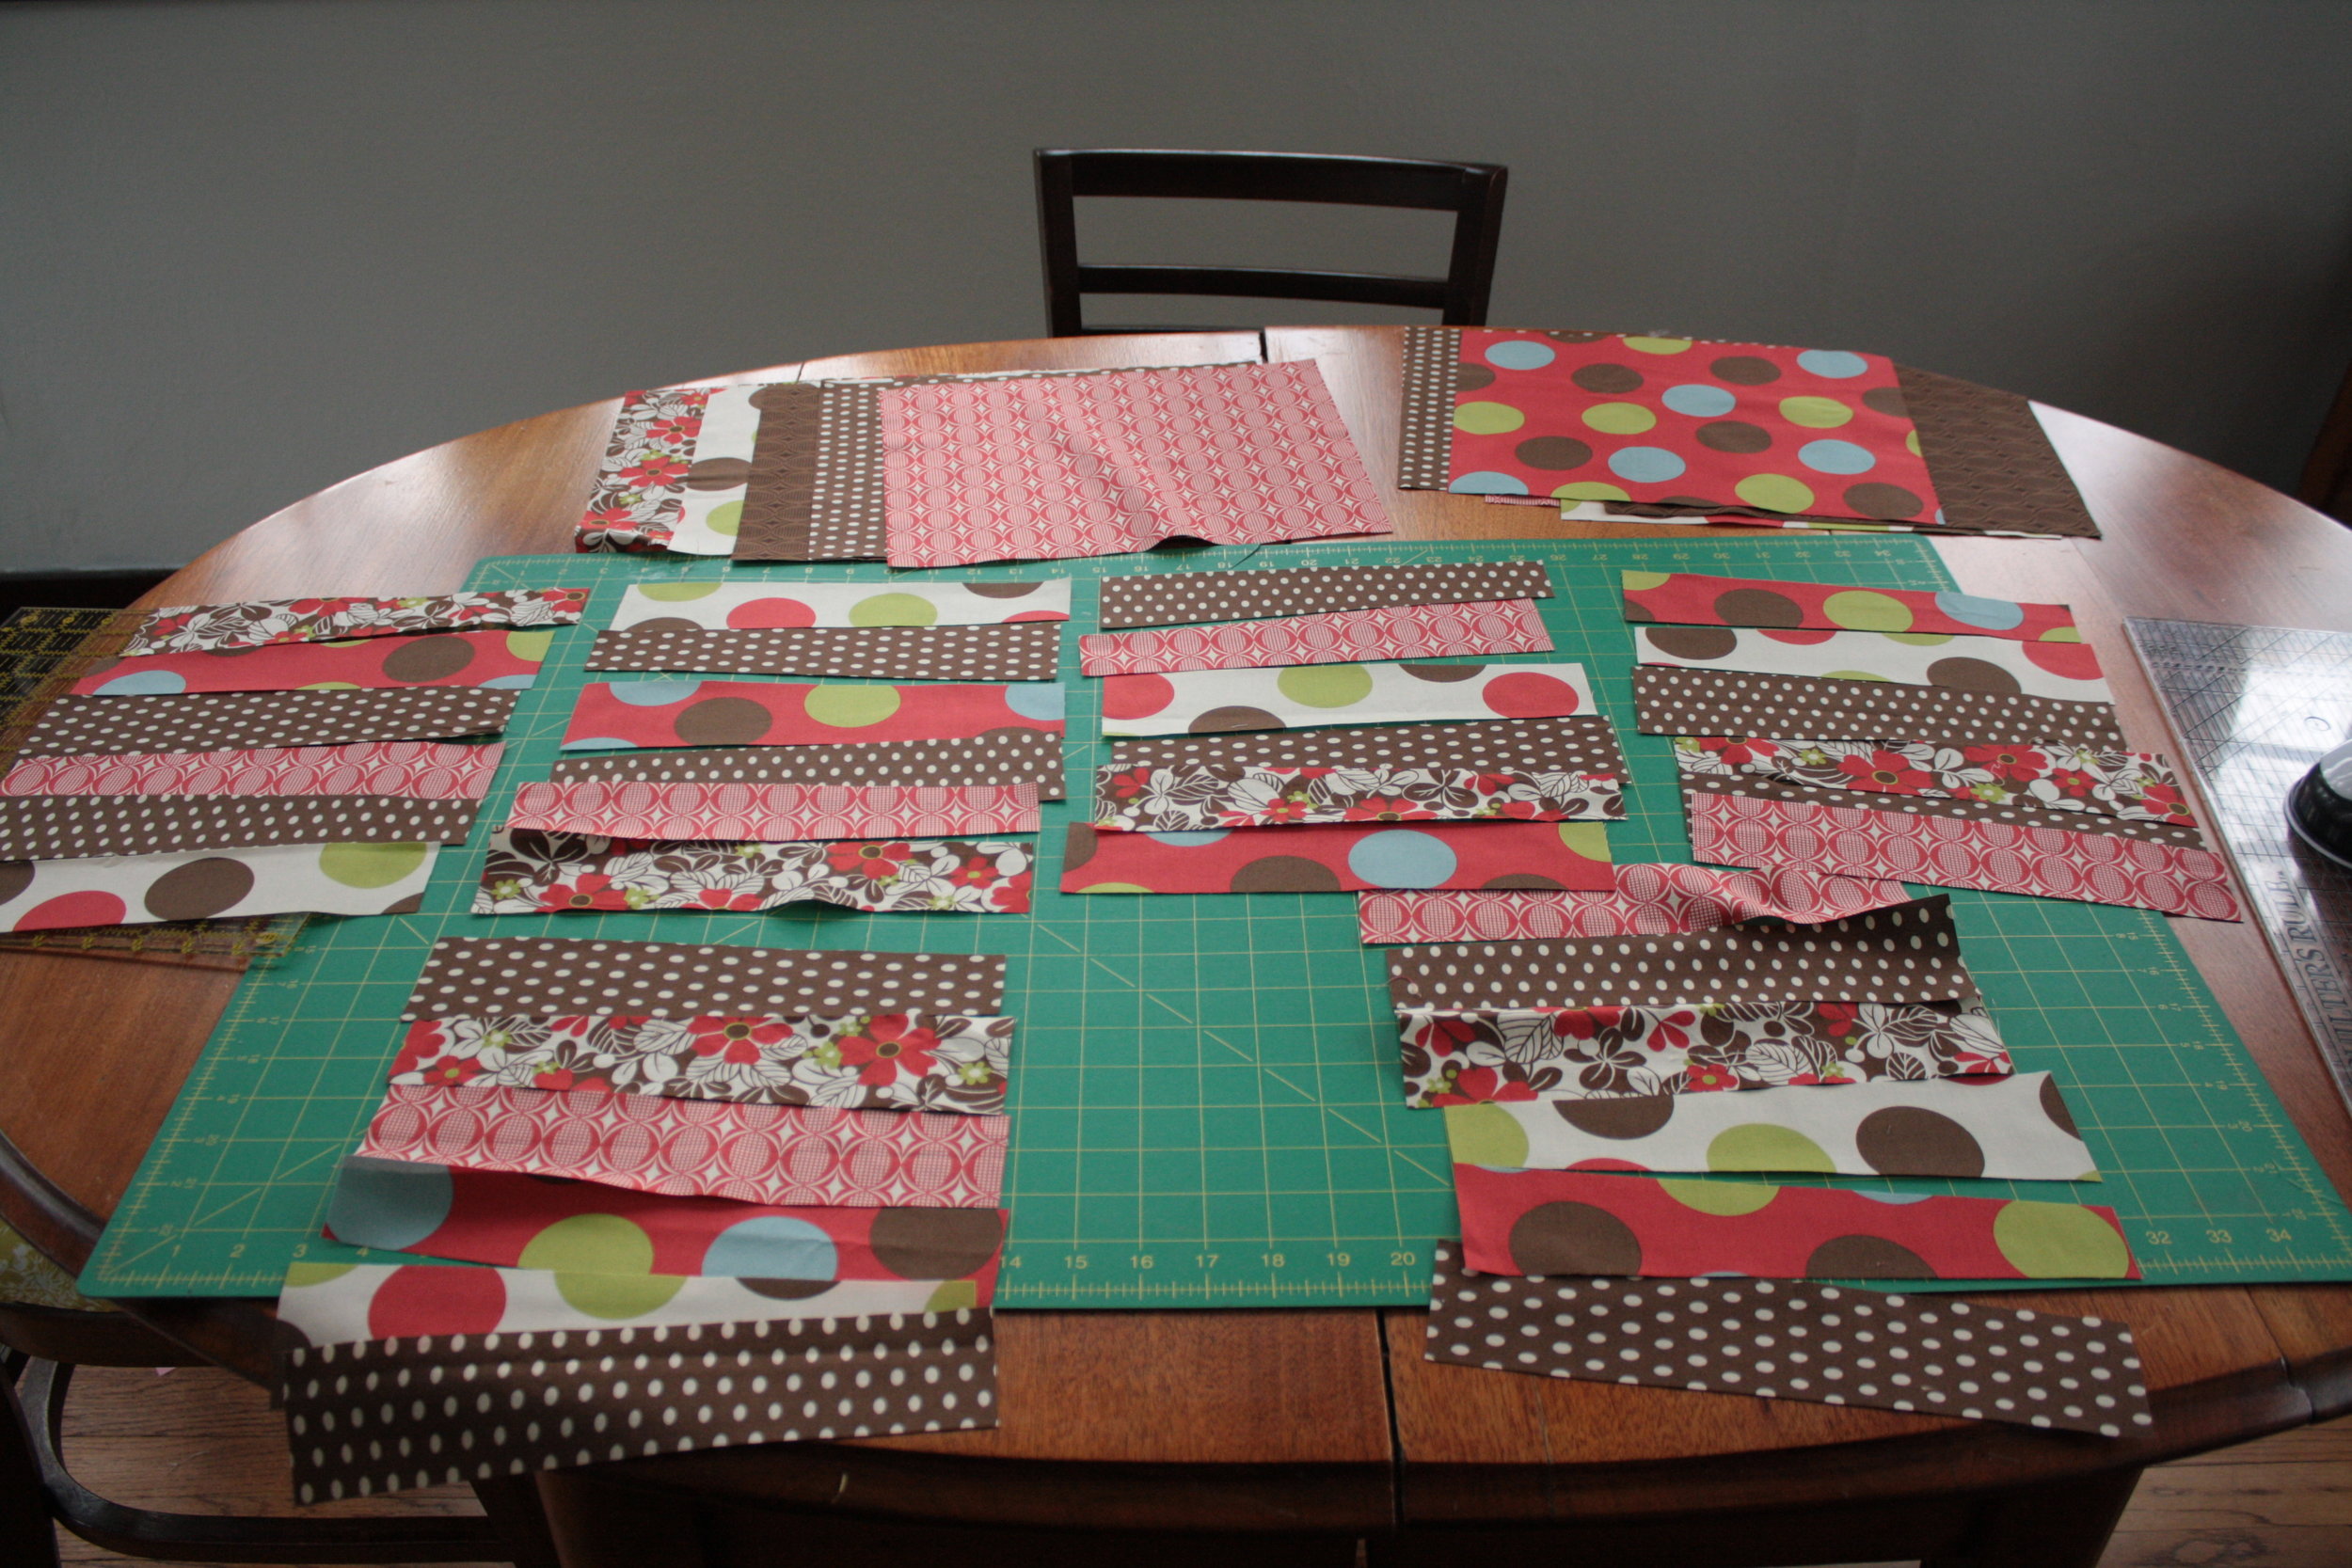
I stack the five pieces on top of each other and make 4 random cuts with my rotary cutter.

Then divide the pieces so that each block had a slice from each fabric.

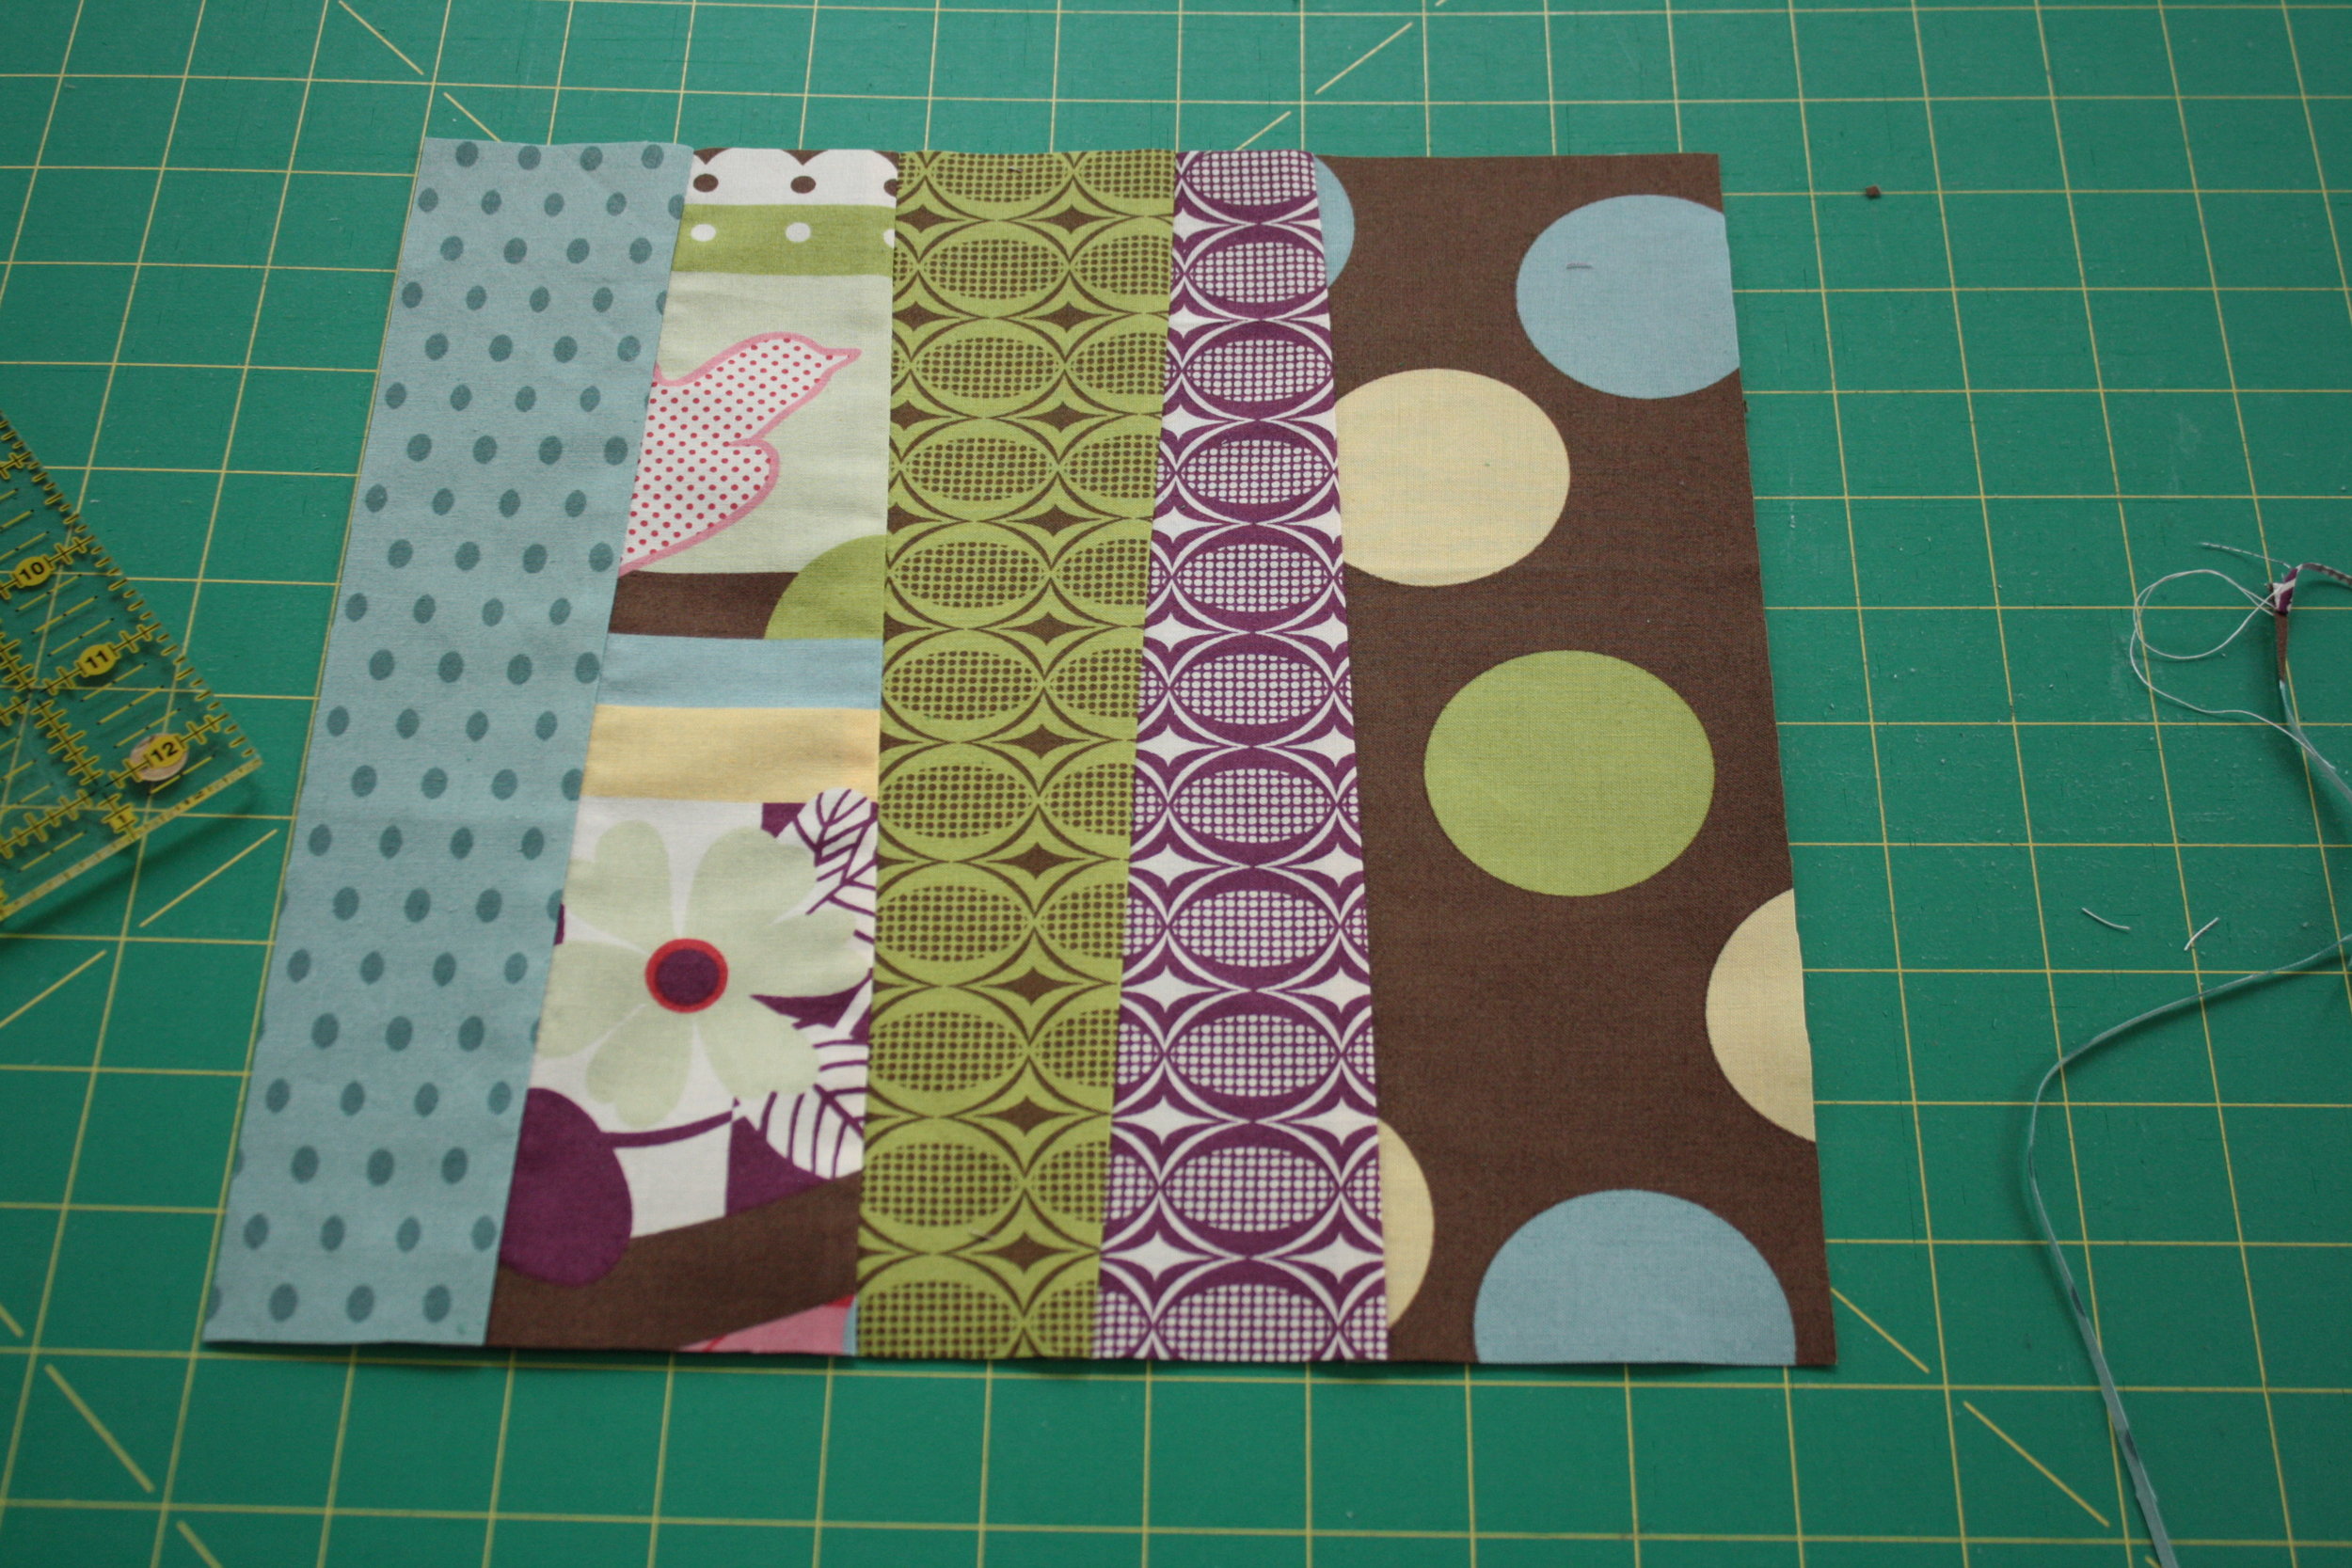
I stitch the pieces together with a 1/4" seam and press.

After pressing, I trim each block to 10 1/4 " square.

This method gives you 5 blocks at a time, but my quilt is made of 36 blocks.  For the last block you can just make one block with individually cut strips, you can make an extra set of five (use extras on back or in another project), or you can do one set of six.  I will warn you (because I didn't think this all way through when I chose this option) if you do six cuts, your block will be shorter than 10 1/4" .  I simply add an extra strip on those blocks.

For this quilt I cut the bluish blocks vertically and the reddish blocks horizontally.

happy piecing

angelfood primer

My grandpa took a piece of this angel food cake, wrapped in waxed paper, in his lunch box every day he went to work. This means my grandma had to have a cake on hand every week.  It's a good thing they raised their own chickens, because that's a lot of egg whites.

She usually left it unfrosted and when we were at her house she would pull the aluminum cake carrier down from on top of the fridge and we would all get a slice.  Only once, do I remember the carrier open to show a frosted cake.  She used a seven minute icing.  So fluffy and swirly, I always thought it was one of the most beautiful things, and sooooo delicious.

Sometime after I was married, I asked her for the recipe.  She pulled out her Betty Crocker cookbook and found the recipe and gave me a few hints to help it turn out just right.

Her first suggestion was to throw away the non-stick coated tube pan I had at home.  She quickly found this extra pan hidden away on a shelf in her basement and gave it to me.  Angelfood cakes need to climb to the top of the pan and if you don't give them a good surface to climb on, they will slide.  Do NOT prep the pan in any way - no butter, no flour - the batter needs to be able to stick to the pan.

As for the eggs, they shouldn't be too fresh.  I don't think this is much of an issue if you are using store bought eggs, but if you pick them up at the farmer's market or raise your own, be sure to use eggs that are from last week or older.  Also, eggs that are cool separate easier, but eggs at room temperature will have more volume when whipped.  What I usually do is separate all my eggs and then let the whites set in the mixing bowl, while I get together all of the other ingredients.  Depending on how much time I have to make the cake I may let them set until they are closer to room temperature.  It's also important to measure the eggs, especially if you have farm eggs that vary in size more than store eggs.  The recipe takes 1 3/4 cups egg whites.  On average that is 12 eggs, but when I made this cake it took 14 eggs.  I freeze the yolks for another day.  I either put them in a plastic container and freeze them in groups of 6 (lemon curd takes 6 yolks) or I put each yolk in it's own compartment in an ice cube tray.  Once frozen they can go in a zip closure bag and be used as needed for things like egg noodles and puddings.

My grandmother didn't sift her cake flour for this recipe.  I'm thinking if you are making one of these cakes every week, your flour isn't setting around long enough to get too lumpy.  After some trial and error, I find it's best to  shake my flour through a sieve before I make the cake.

Over the years I've heard people mention the importance of dropping the pan on the floor or tapping in on the counter once the batter is in the pan to remove any air bubbles.  Grandma never mentioned this and I've never done it.  I have never noticed any giant air bubbles in my cakes, so I have always skipped that step.

angelfood cake

1 3/4 cup egg whites

1 1/4 teaspoon cream of tartar

2 cups sugar

1 1/4 cup cake flour (sifted)

1/4 teaspoon salt

1 1/2 teaspoon vanilla

1/4 teaspoon almond extract

Preheat oven to 375 degrees.  In a separate bowl, mix the flour and the salt, set aside.

Add the cream of tartar to the egg whites.

Beat egg whites with cream of tartar until frothy.

With the mixer on a medium speed, add the sugar 2 Tablespoons at time.  Once all the sugar has been added, turn the mixer on high and whip until soft peaks form, but are still moist and glossy.

For a soft peak, it should turn like the top of a dairy queen cone when you turn the whisk upside down.

Add vanilla, and almond extract.

Dust about 1/4 of the flour mixture over the whites.

Using the biggest rubber spatula you can find, gently fold the flour into the egg whites.

To fold you bring the blade of your spatula down through the middle of the bowl, once at the edge closest to you, pull along the bottom and up the side to turn the whites over on top of the flour, then turn the bowl a quarter turn and repeat until the flour is incorporated.  Then sprinkle with another 1/4 of the flour mixture and fold.  Repeat until all the flour is added to the egg whites.

Scoop mixture in tube pan.  Try not to get it on the upper part of the pan.  If some gets on the top, just wipe it clean with a damp cloth.  (you can see here where I swiped a bit away on this one)

Bake for 35-40 minutes.

Remove from oven and invert to cool.

Some pans have little legs on the side, but this pan has a tall center to balance on.  Once the cake is cool, run a knife of offset spatula around the outside edge and also around the center tube.

Then run the knife under the cake and turn out onto a plate.  You can use an angelfood cake cutter (because it looks cool) or even two forks (held back to back and used to split pieces) to cut the cake, but I find a serrated bread knife works best.

If you have the patience to frost it, here's a cheat version of 7 minute frosting.  I should warn you though that if you frost it, it severely hampers your ability to sneak pieces of cake because it is a mess of gooey sticky goodness and having that on your fingers will surely be admission of guilt.  You can see it here on some angelfood cupcakes.

cheaters 7 minute icing

3 egg whites

pinch of salt

1/2 cup sugar

1/4 cup light corn syrup

1/2 teaspoon vanilla

Combine egg whites,salt, sugar, and corn syrup on bowl and whisk together.  Place bowl over pan of simmering water.  Gently whisk until mixture reaches temperature of 130 degrees and sugar is dissolved.  Remove from heat and beat with hand mixer until the icing is cooled, white, and fluffy.  Beat in vanilla.

Save

sometimes friends move away

Lulu is losing three classmates to moves this summer. One is a close friend who is moving several states away.

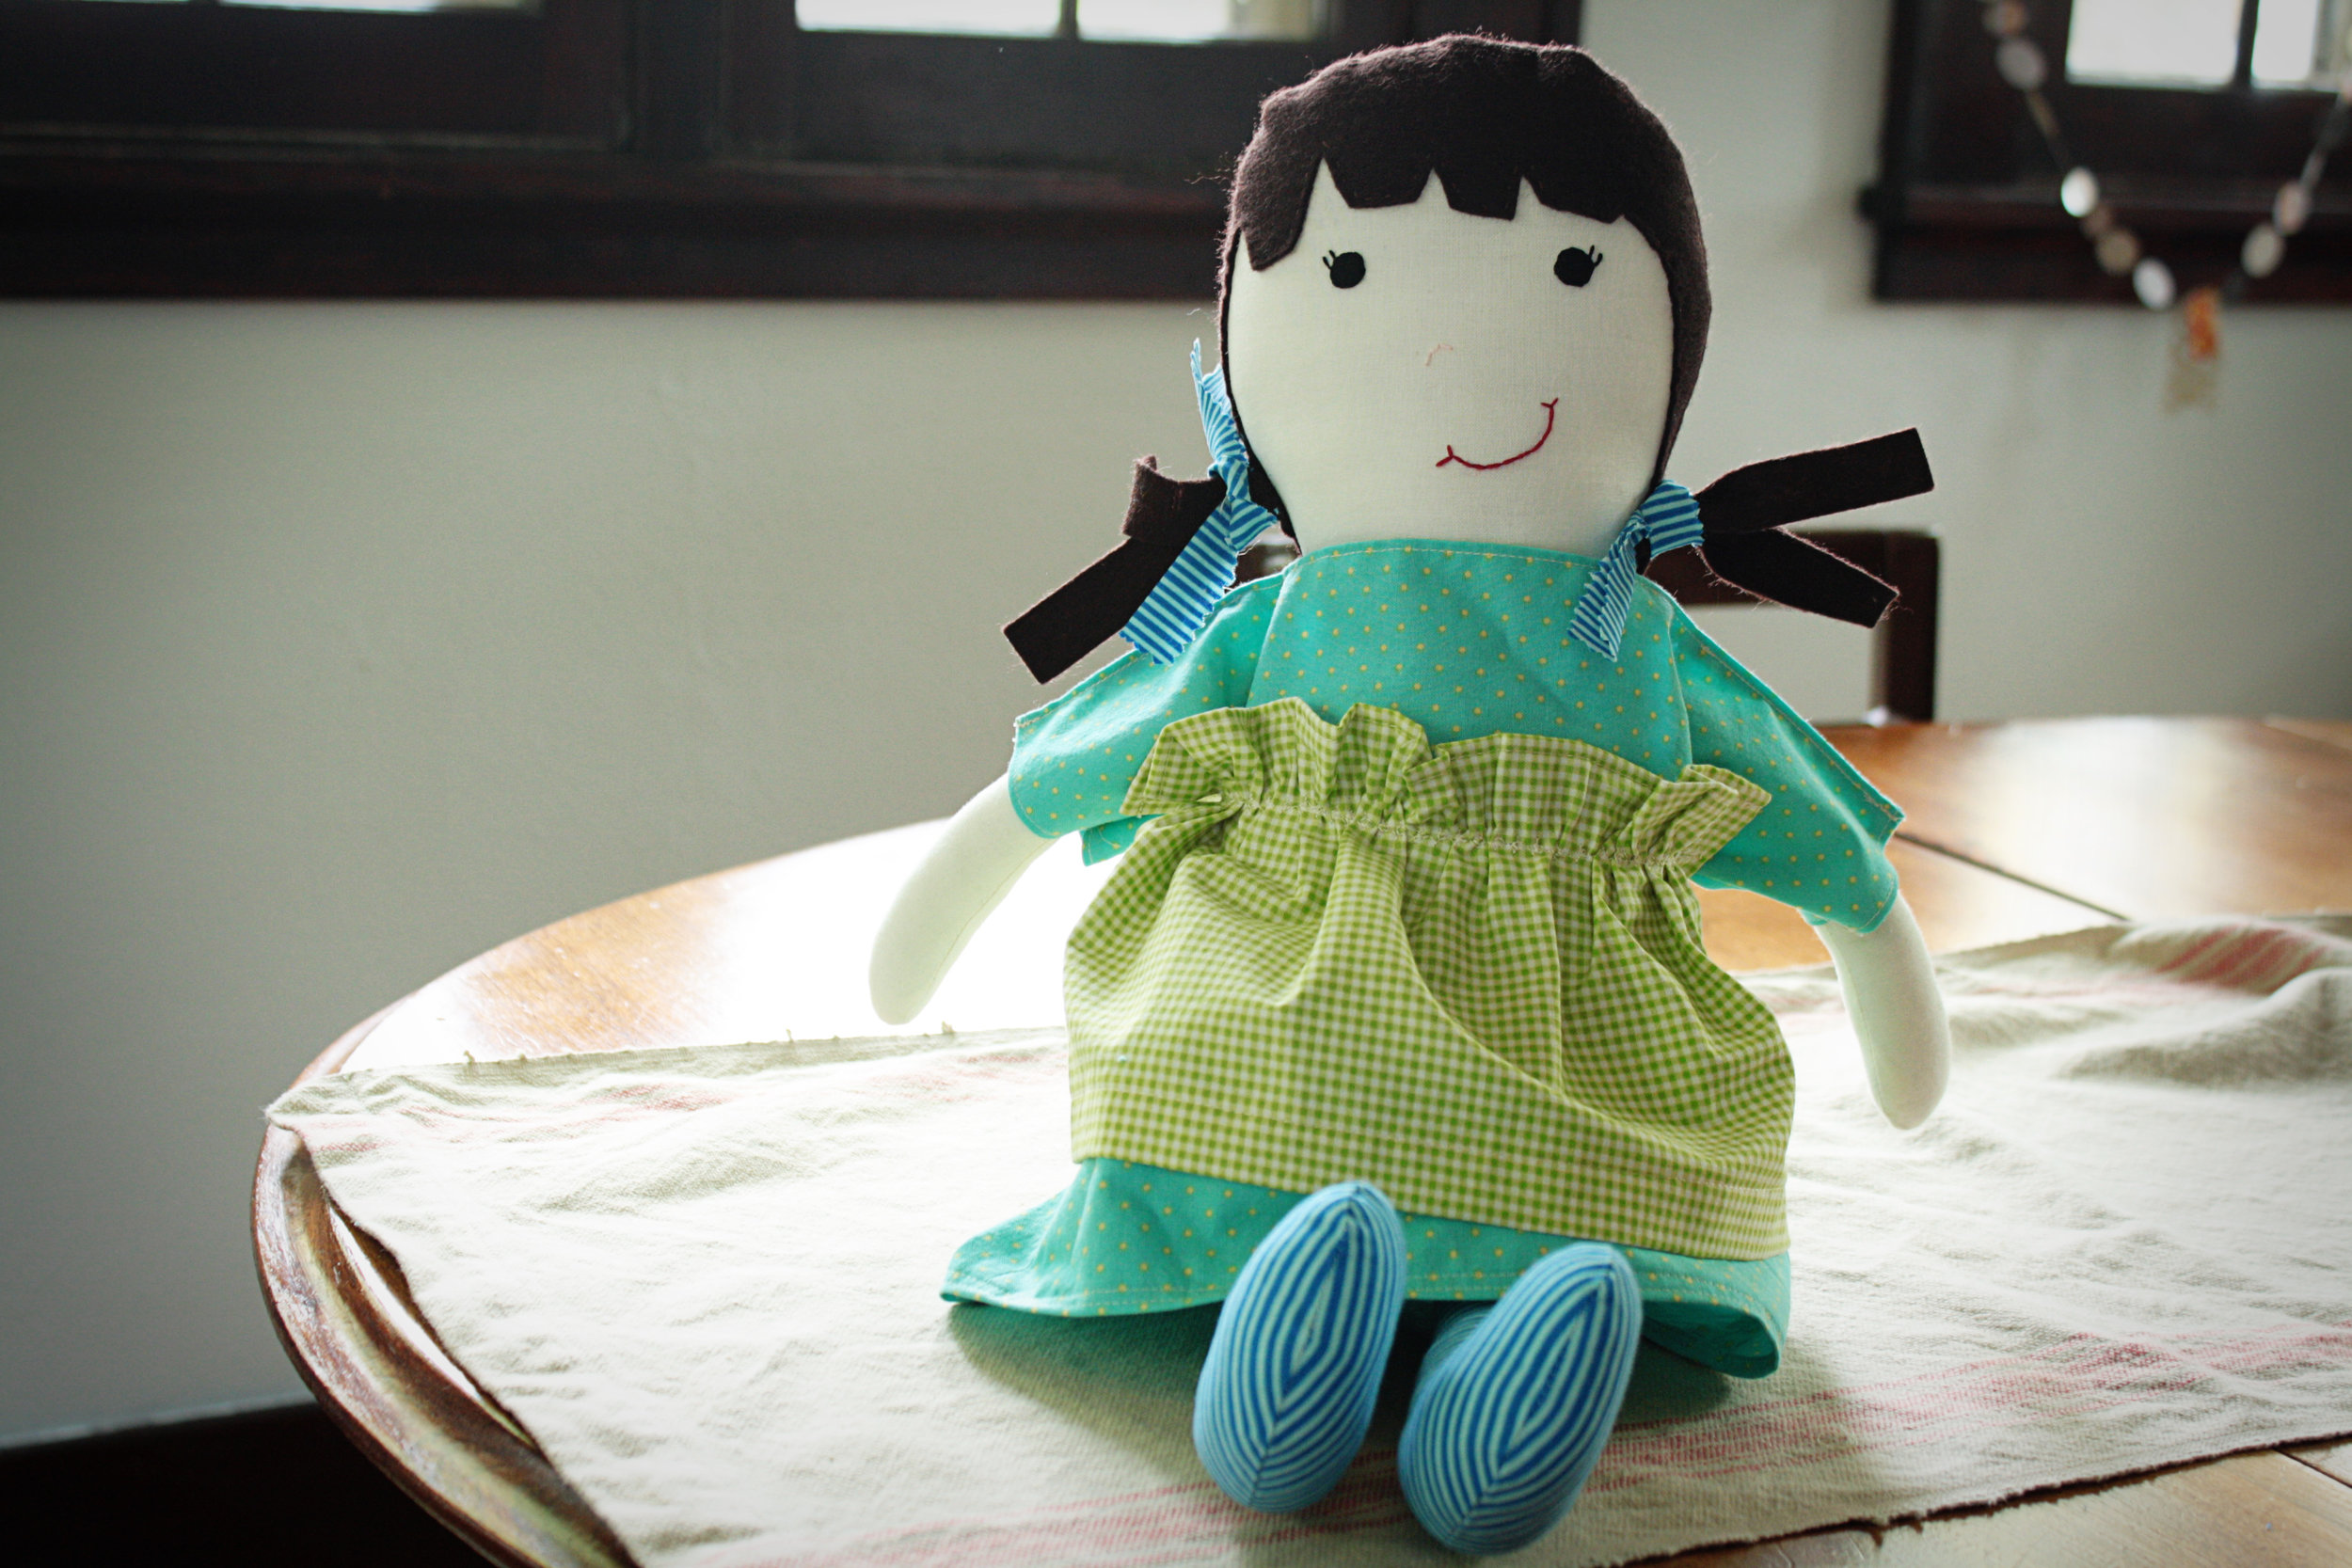
Lulu asked that I make a sister doll (like this one  here and this one too) for her friend before she moved.
It's extra sweet because her friend named it after her so she would always remember her.

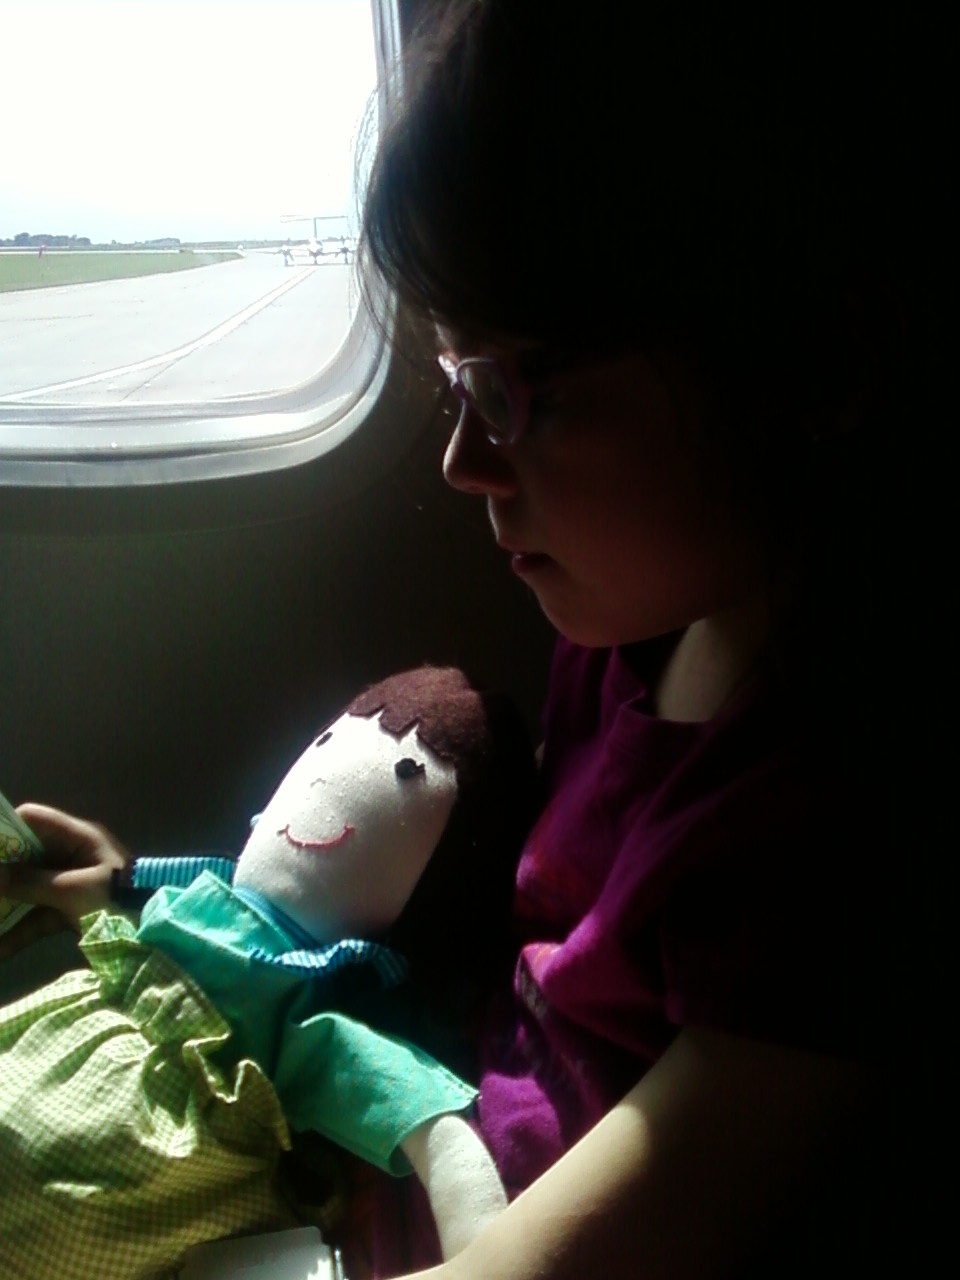
They flew to their new home right after school was out for the summer.  Her mom was kind enough to text this photo of her on the airplane.

How sweet is she?

sewingmybricoledoll