sketch to stitches

About a year ago, Lulu came to me with this drawing she had just finished.  She thought it would make a great design for a quilt. lulu's sketch for quilt top

I agreed and shortly after that we pulled the fabrics we needed.  I took care of the rotary cutting and she took care of the stitching.

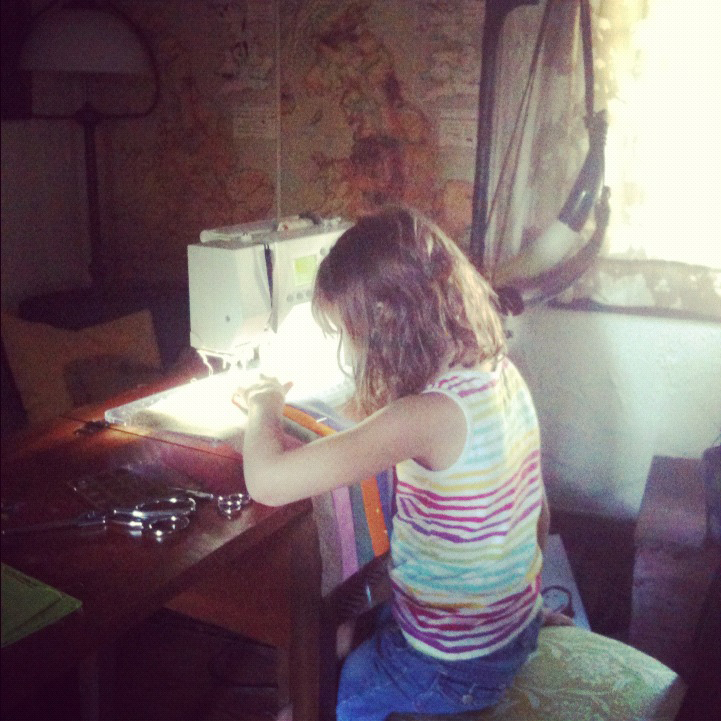
lulu sewing her quilt top

Last June she finished the quilt top.

lulu's sketch and quilt top

Then like most of us, she was distracted by something else, likely swimming lessons, then the start of school, then tumbling classes, and the next thing you know it's 2013 and her quilt top still didn't have a quilt back.  She chose a great blue print from a local designer and now it's done.

back of lulu's quilt

From sketch to reality...

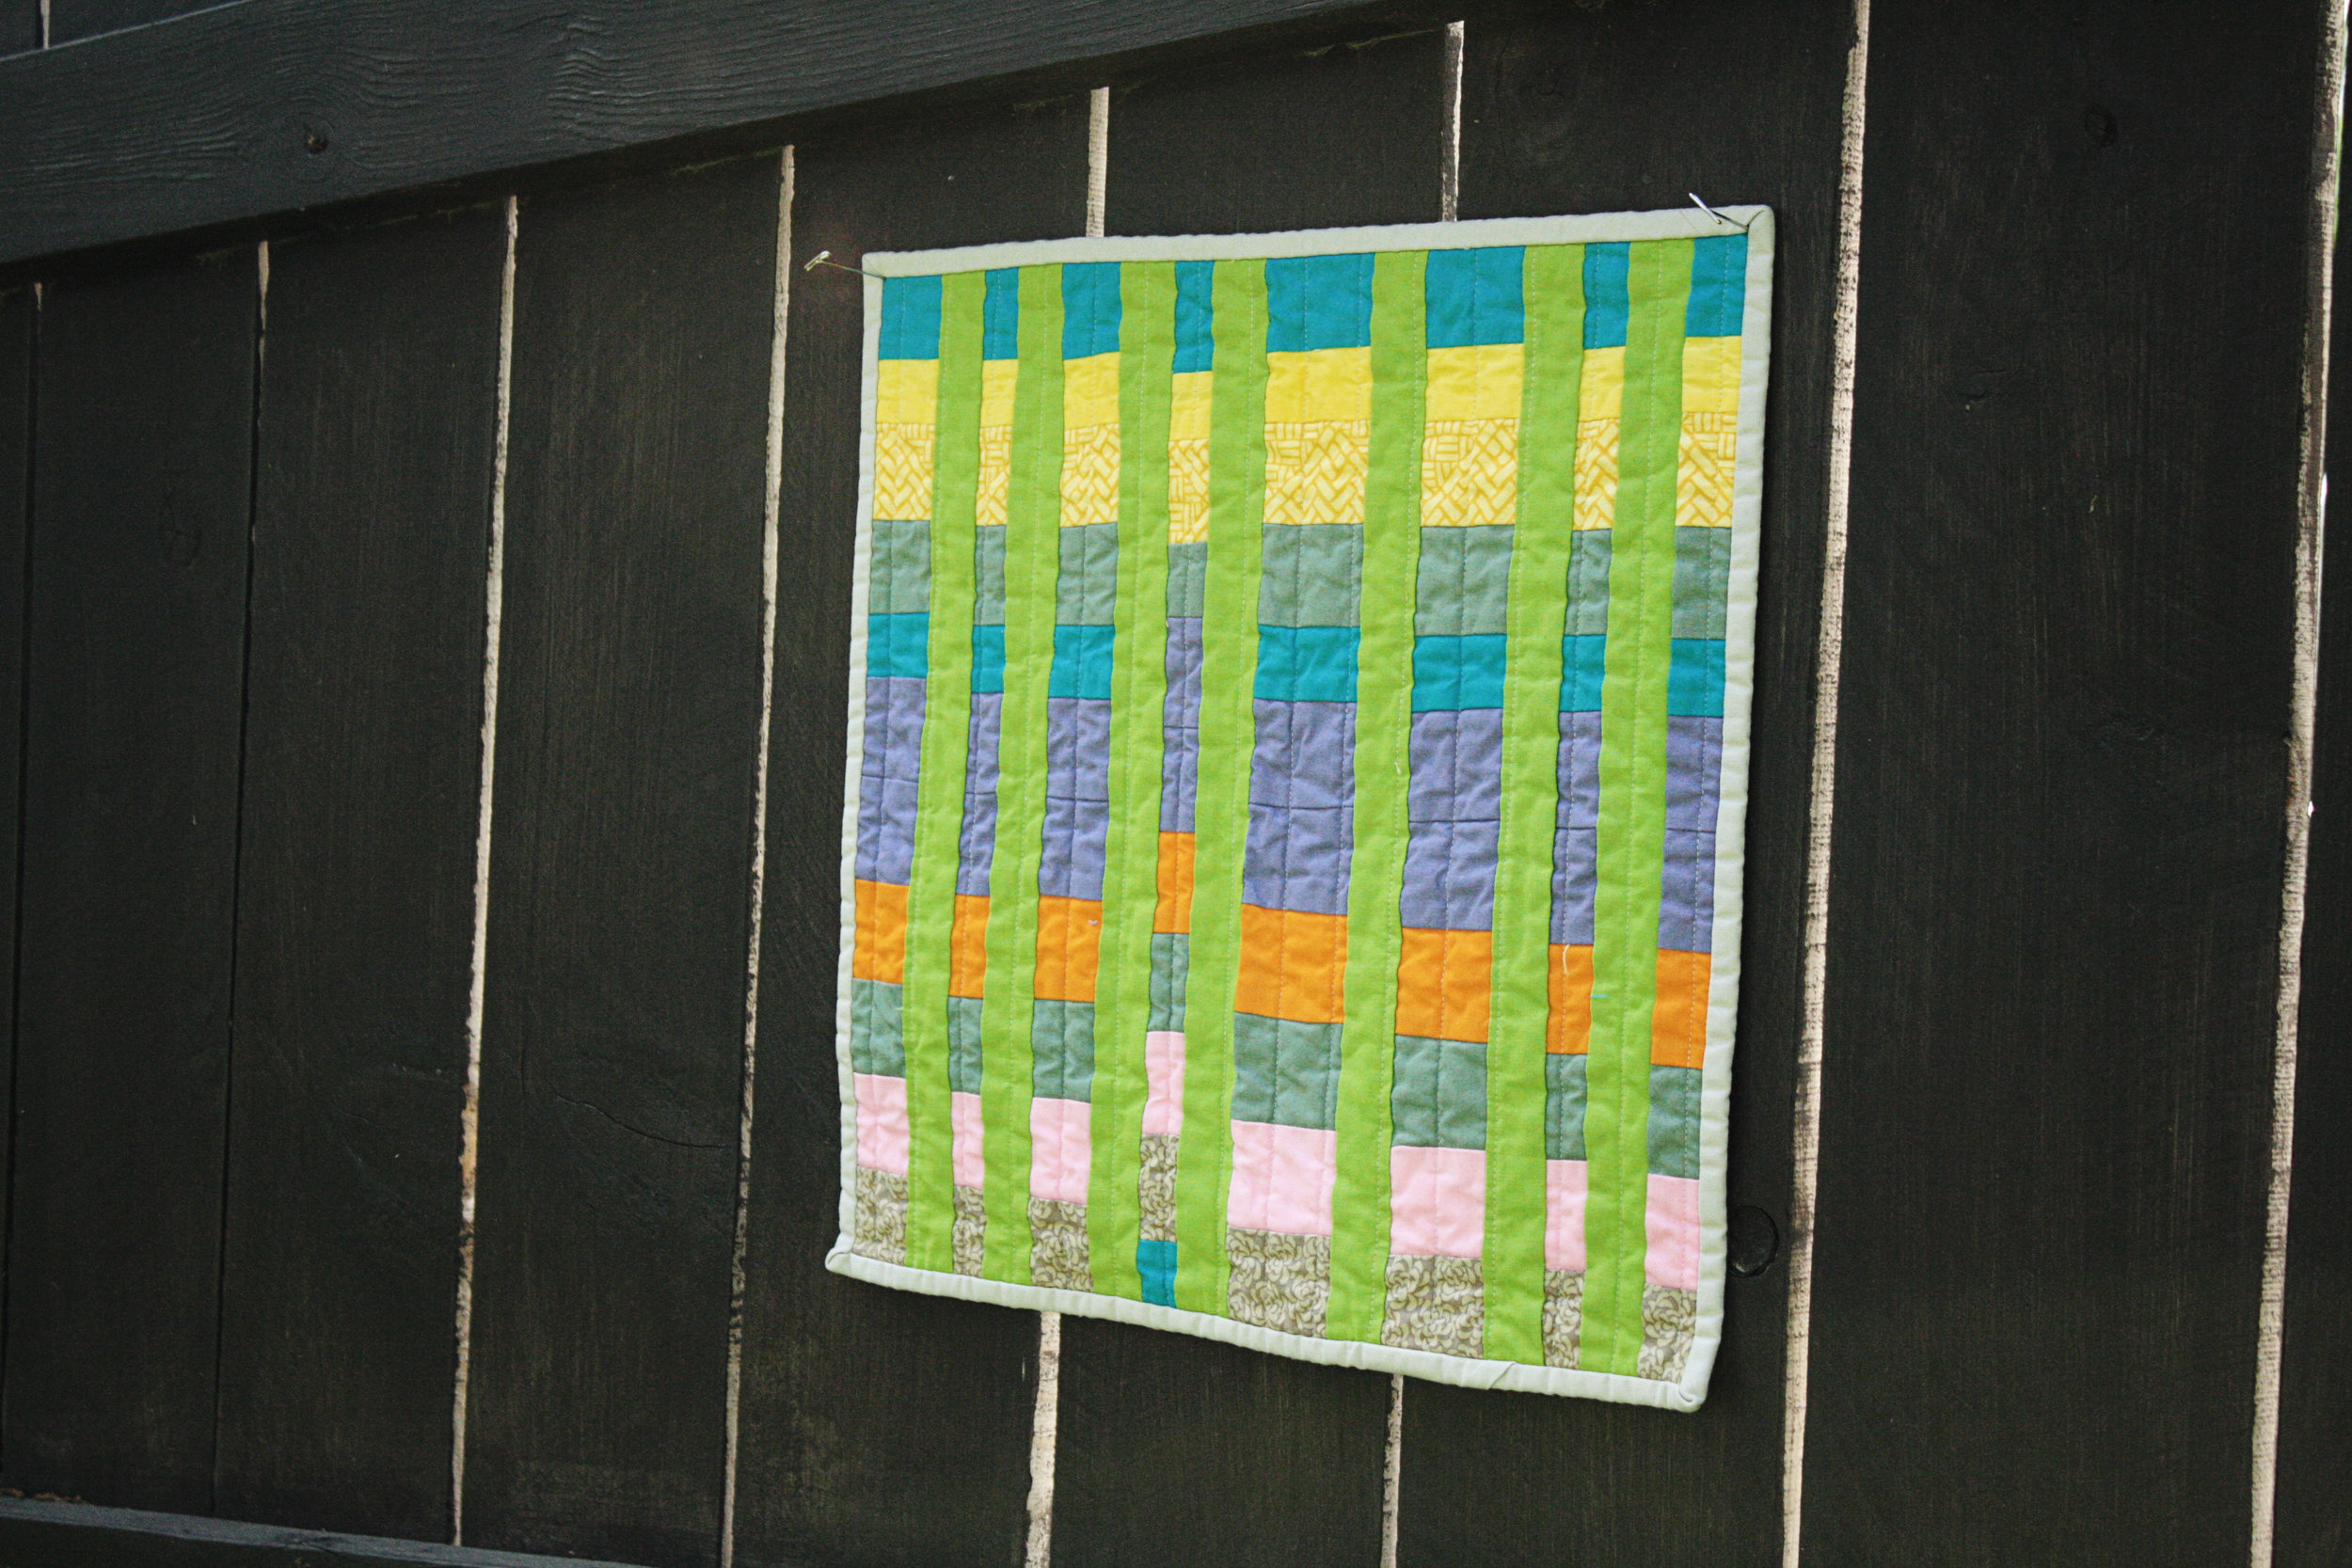
lulu's quilt on fence

her first finished quilt.

a mini quilt for the dining table

Megan is hosting the Fresh Mini Quilt Club.  It's a 6 month series, so at the end of six months you will have made six super cute mini quilts.  I had never made a mini quilt before this one, but they are a great way to build your skill set.  You can try different piecing techniques without being overwhelmed and they are perfect for testing out your free motion quilting skills without wrestling an entire quilt through your machine. 03-13 mini quilt

I used a layer of Insul-Bright along with a layer of warm & white for the batting so I could use this as a trivet on the dining table.

03-13 mini quilt on tableIt was so satisfying to make this complete project in one day.  I know I'll be making more minis in the future.

And just a bit of housekeeping...

Google reader is shutting down on July 1 so I thought I would suggest bloglovin' as a replacement.  It looks great, is easy to use, and has an app so you can catch up on your favorite blogs where ever you are.

risotto rice pudding

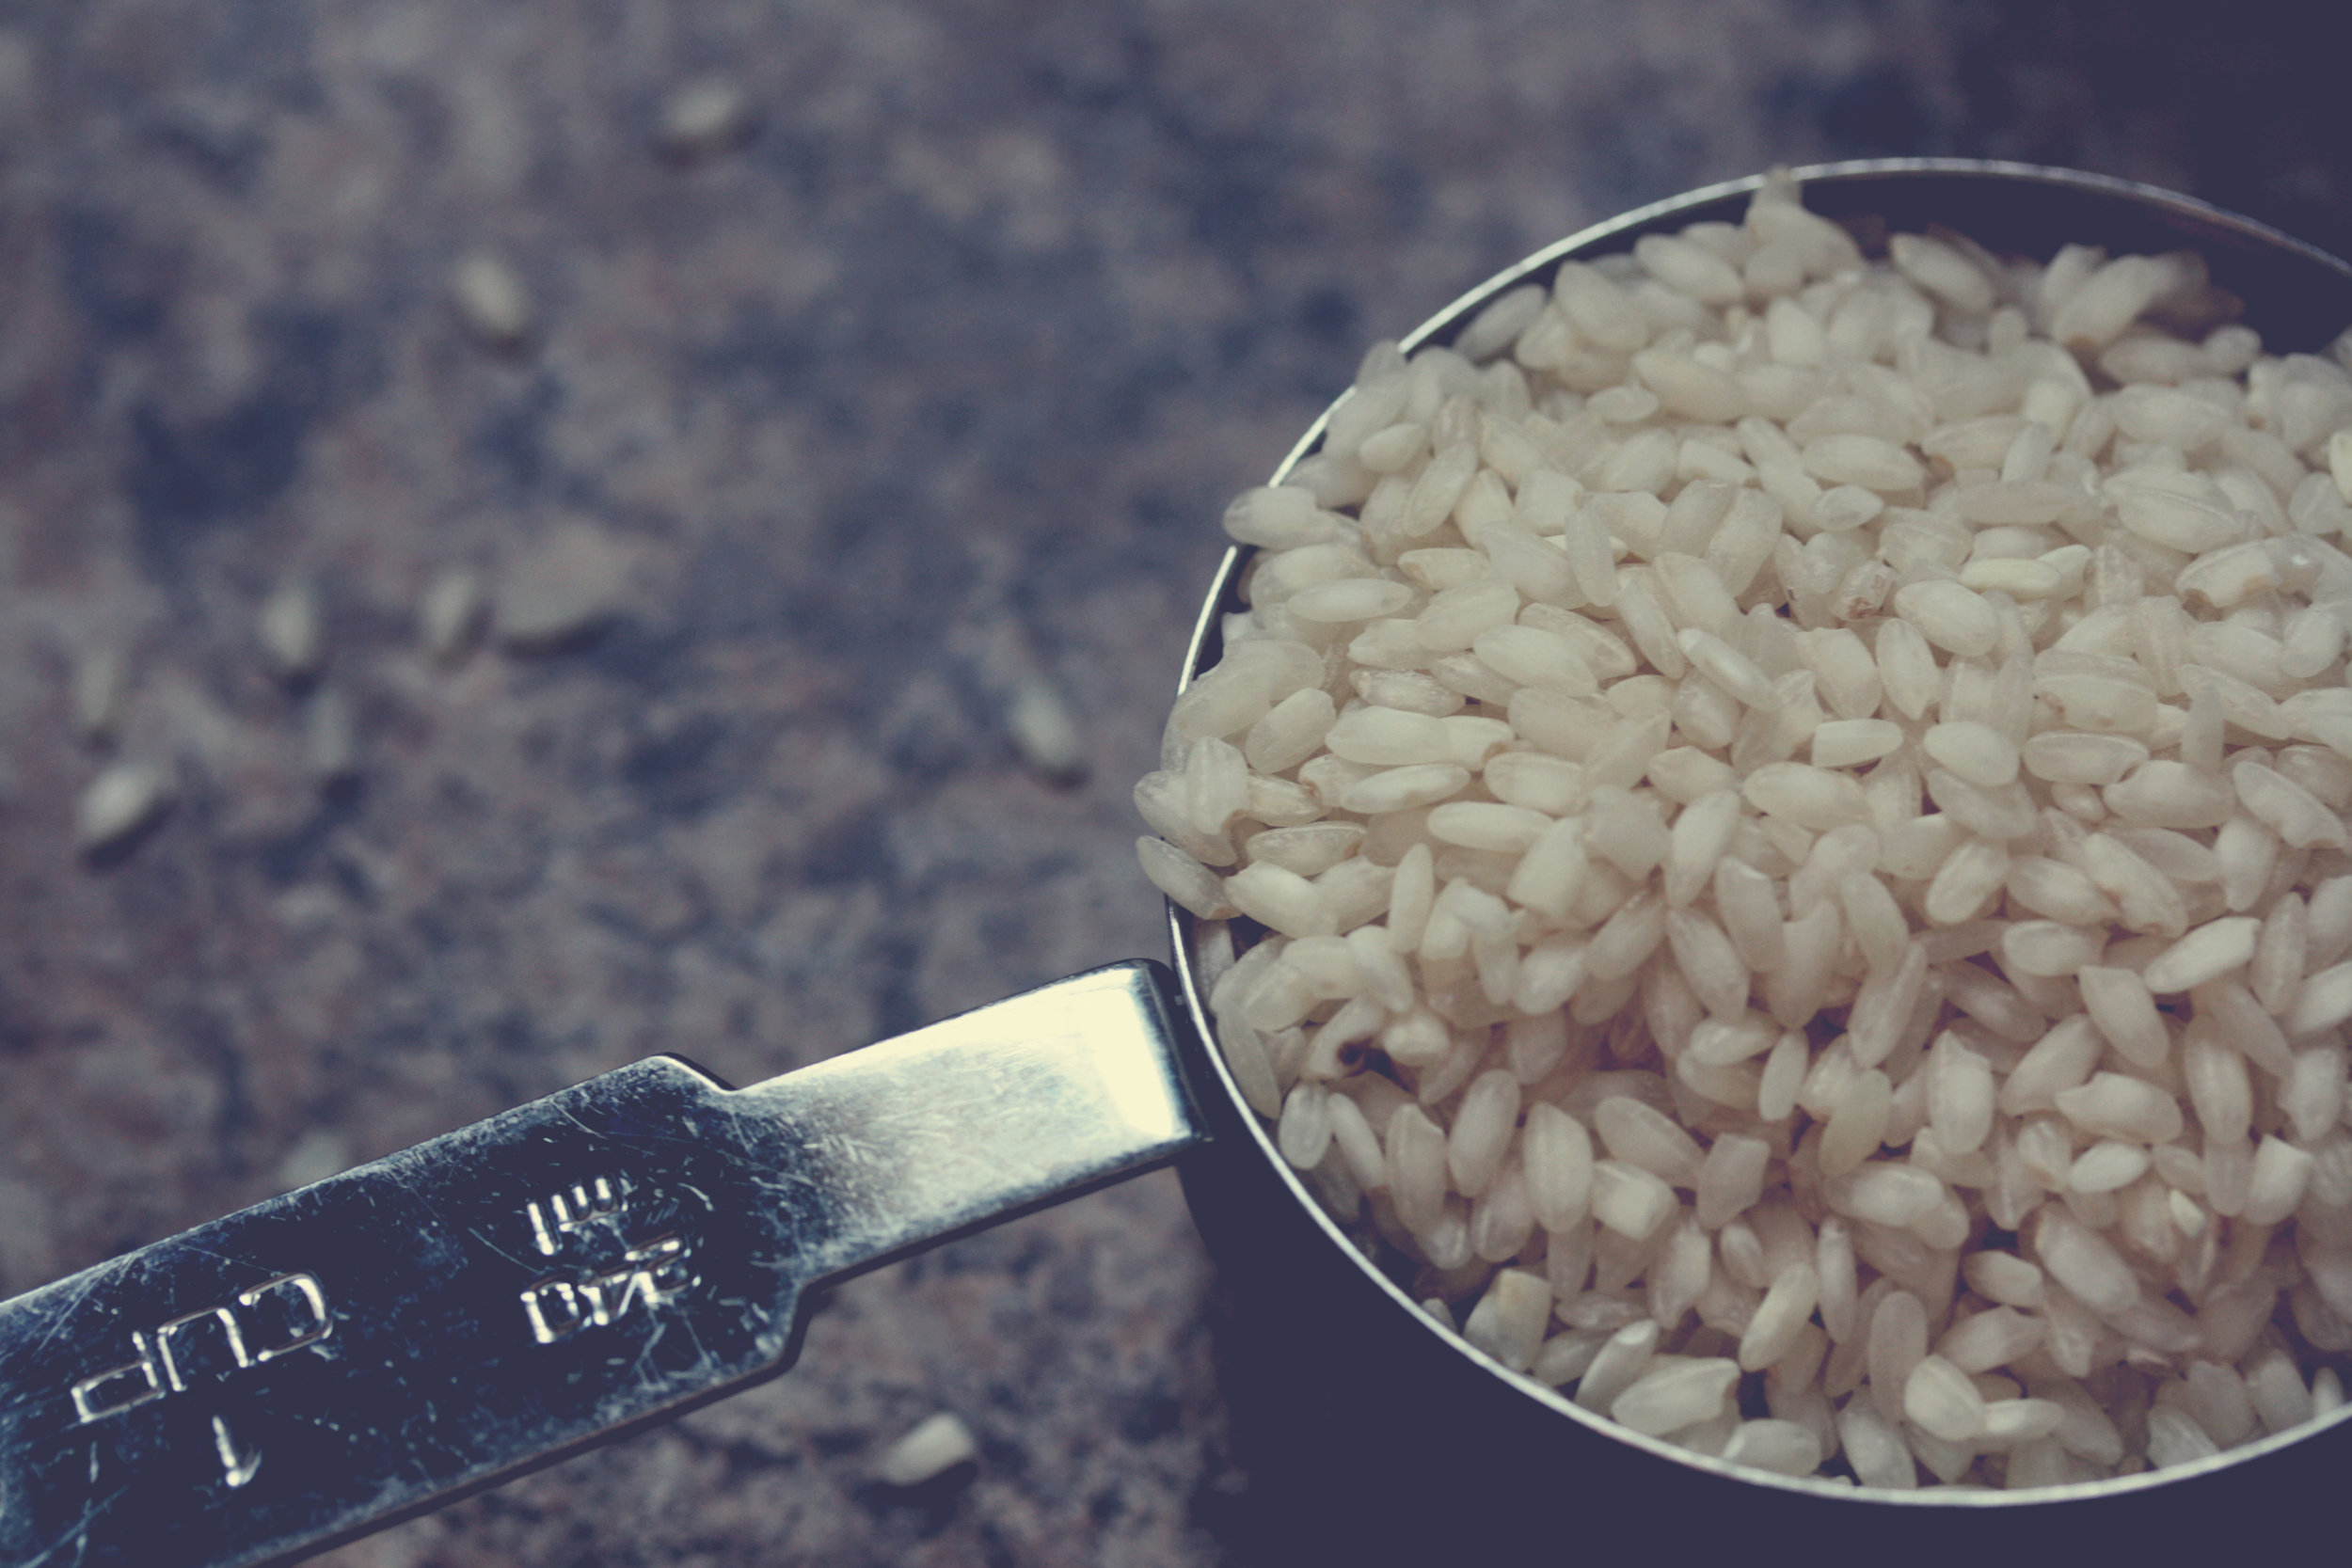
Our weather seems to have fallen into a routine of blizzard one week and thunderstorms the next.  It has made for a strange February that has left me with a touch of cabin fever.  The past couple of days have been grey and windy and I thought a bit of comfort food might be in order. arborio rice

This is an adaptation of my maternal grandmother's recipe.  She made it with standard rice, but it is cooked like a risotto so I usually use arborio rice for mine.

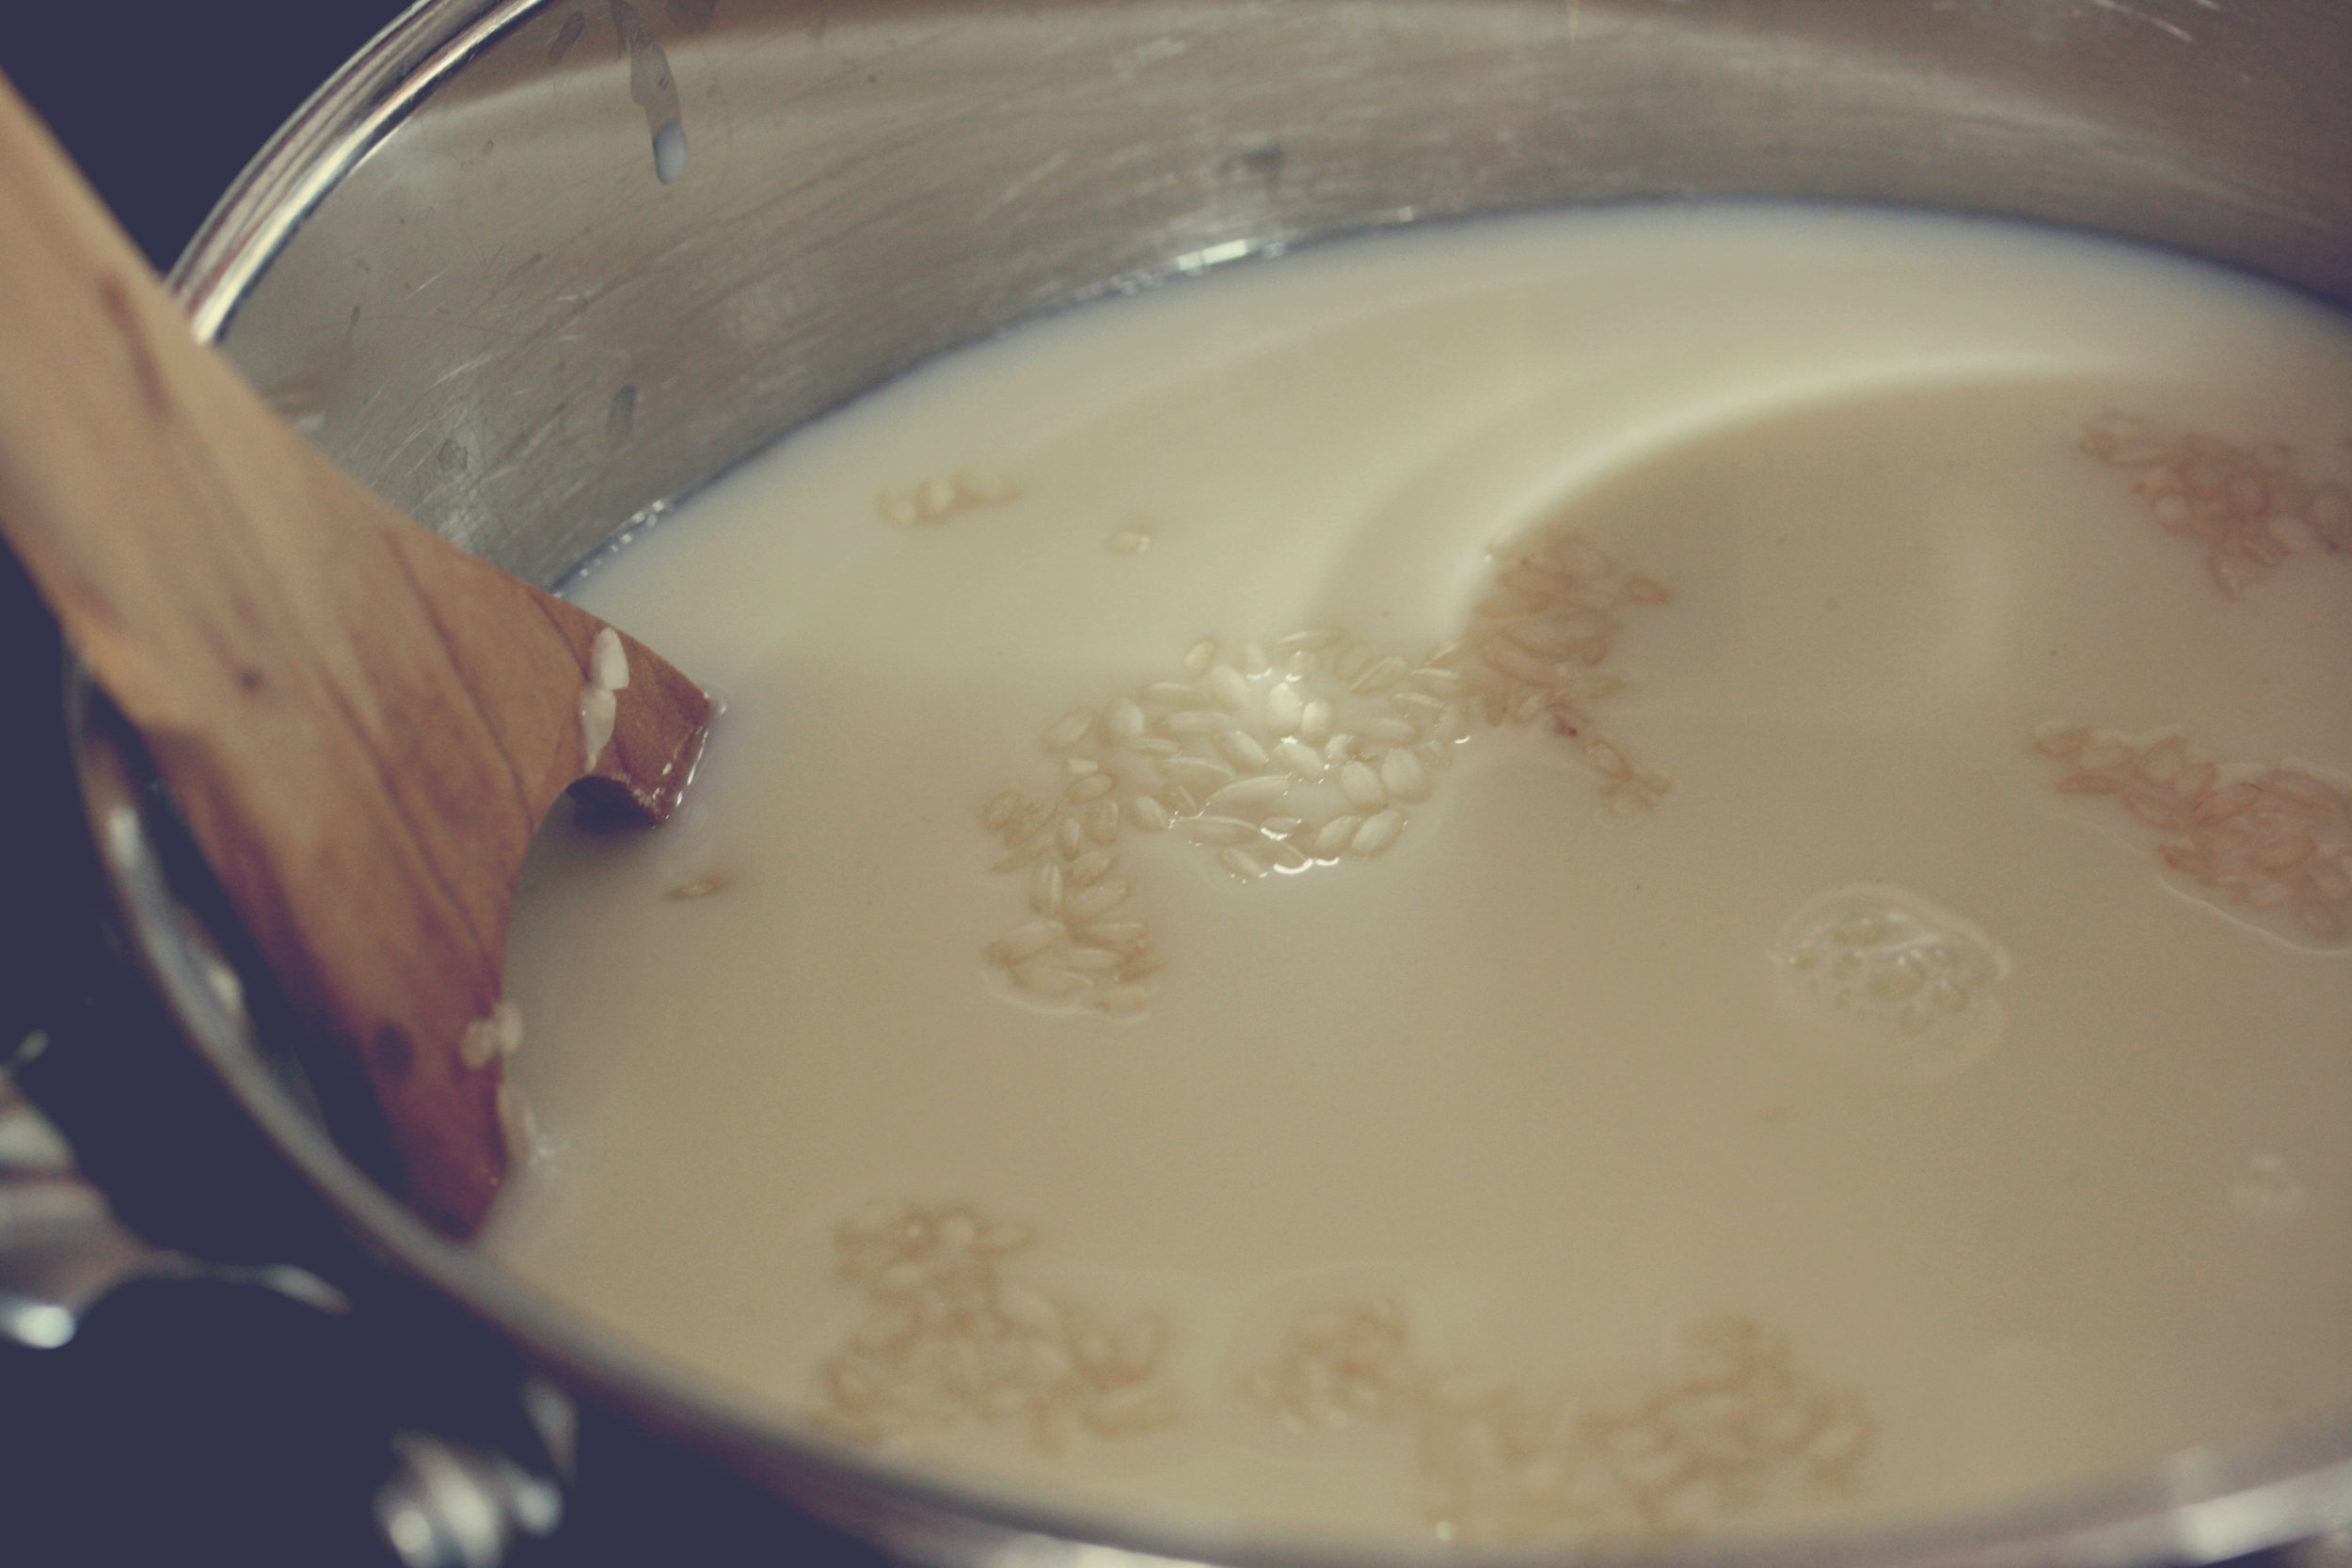
simmering rice in milk for rice pudding

risotto rice pudding

1 cup uncooked arborio rice

milk

1/2 cup sugar

1 Tablespoon vanilla

Place rice in large heavy bottomed saucepan and cover with 2" of milk (2% works best)

Bring to a boil and simmer for 30 minutes, stirring regularly to keep it from scorching on the bottom.  Keep adding milk as necessary to keep the mixture loose and easy to stir.  After simmering for 30 minutes, taste to be sure the rice is cooked.  Once the rice is cooked, add the sugar and vanilla.

I sometimes serve it with gingersnap cookies for dessert.  You can add 1/4 - 1/2 teaspoon of cinnamon when you add the vanilla, if you like a little spice.  If you are a raisin fan, you can also add 1/4 cup of raisins.

risotto rice pudding in bowl

snow day and a quilt

It's looking more like January at the cottage today. IMG_3196

Schools are closed and the spouse is working from home so it's a full house. In between knocking down icicles and sledding I caught a few shots of the quilt I finished last night.

IMG_8025

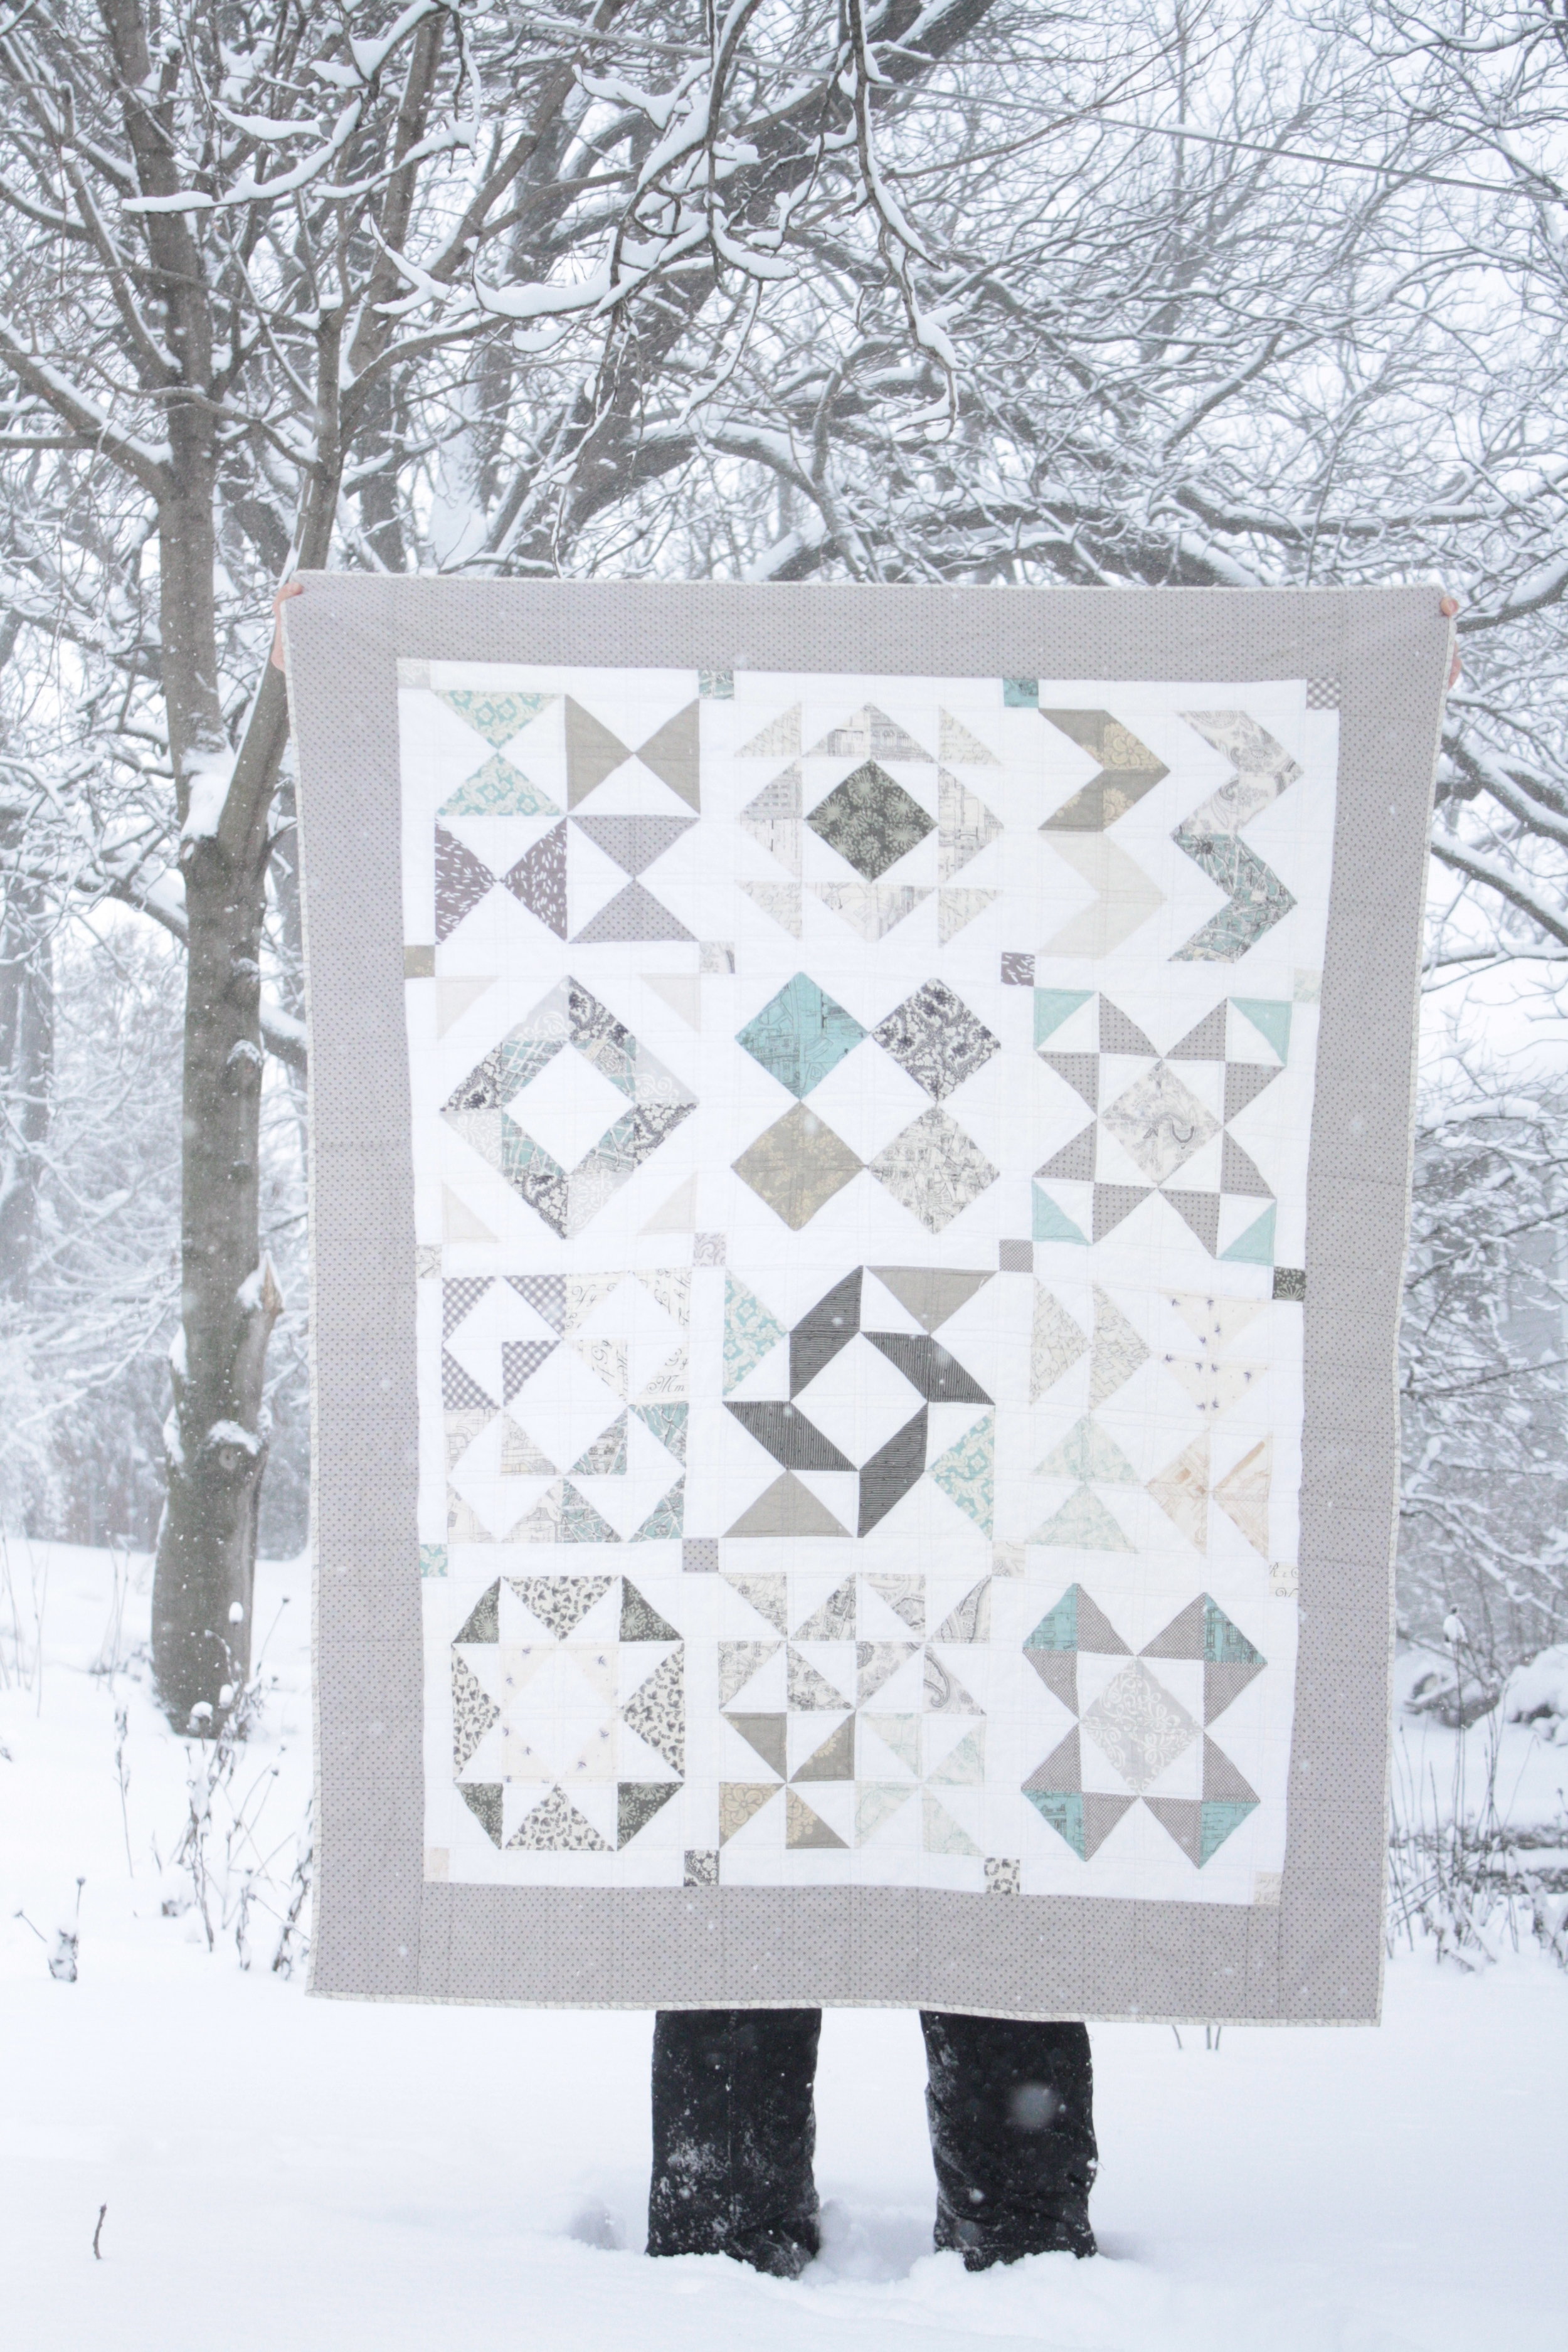
It's been a year in the making. It's made from the Half Square Triangle Block of the Month that Jeni shared on her blog last year.

IMG_8018

Most of the fabrics I used are from Moda's etchings line by 3 sisters.

01-13 hst quilt

There is also good selection from Bunny Hill's Putting on the Ritz along with some bits from my stash including some French General and some repro prints. It's bound with a cursive print from etchings.

01-12 block in hst quiltThe back is a mix of grey prints.

grey stripe back of HST BOM quilt

Thankfully the wind didn't blow the quilt away, but it tried.

IMG_8023

bear paw

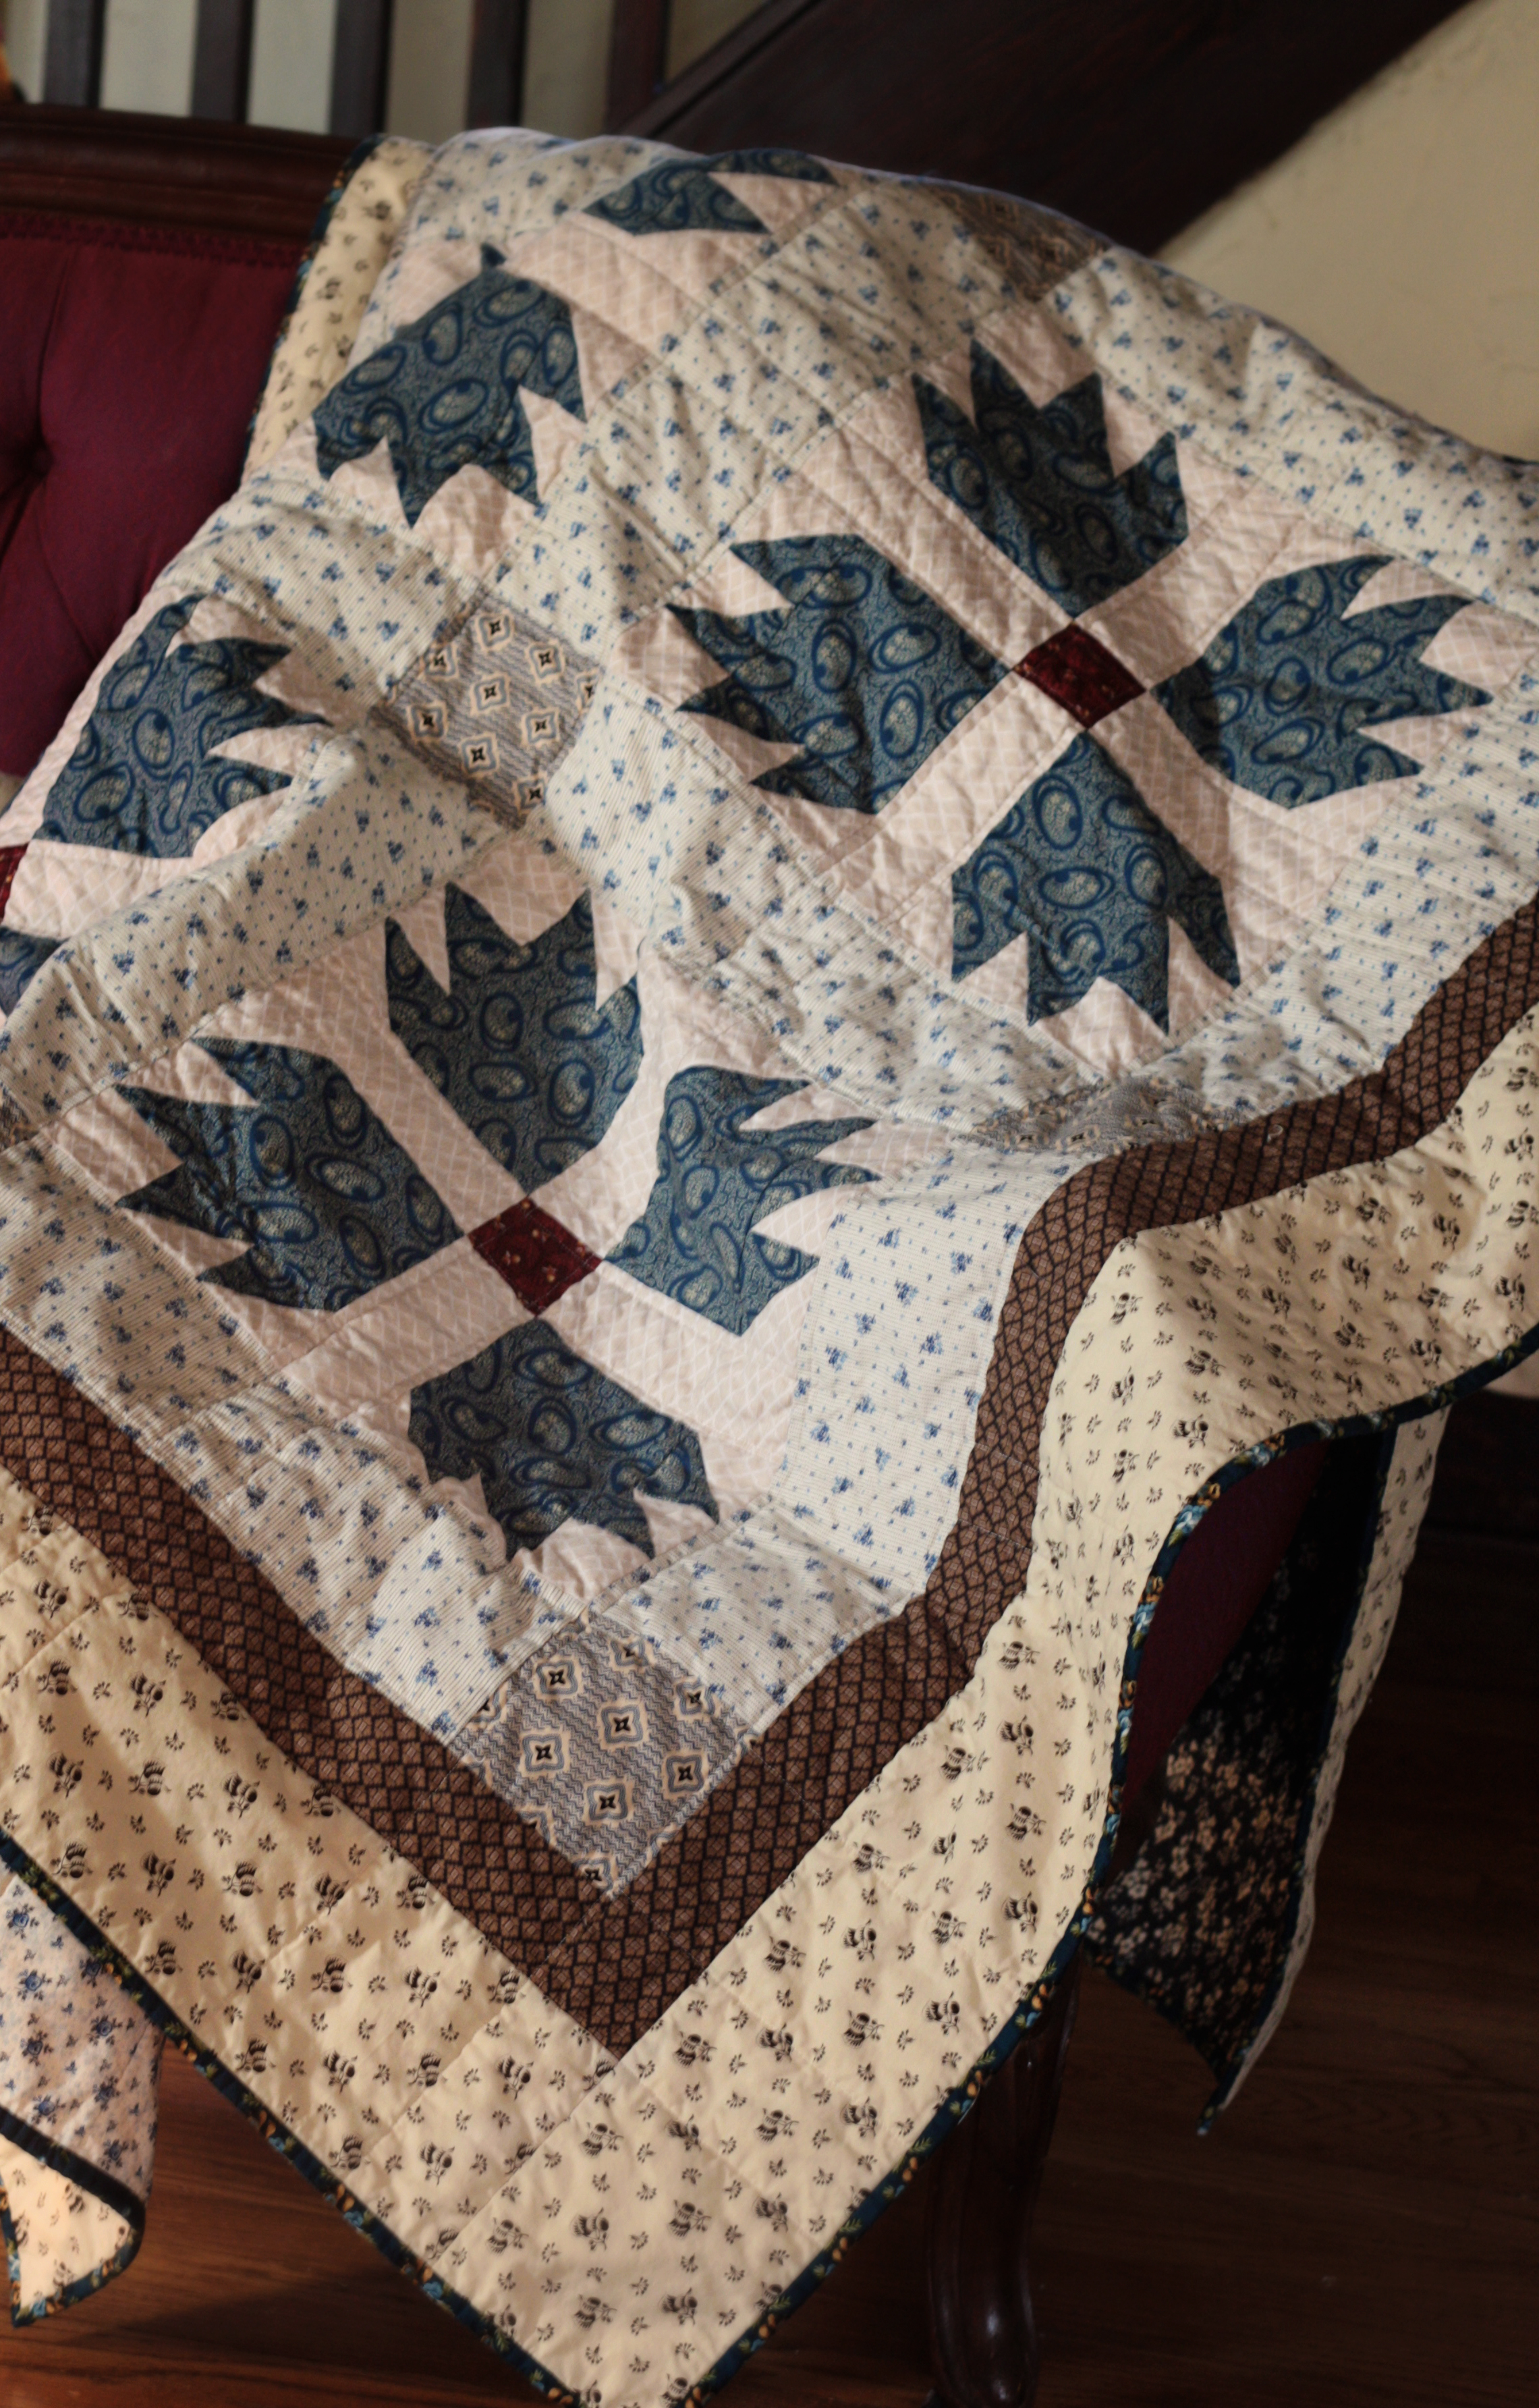
Here is my last finish of 2012. 12-12 bear paw quilt

A twin size bear paw made at my brother's request to be given as a Christmas gift.

The only direction I was given was to use fabrics that a little old lady would like.  I chose mostly reproduction prints from various Windham collections.  I love repro prints for their intricate patterns and details.  I like making quilts that can be appreciated from a distance, and then with a closer look you get a chance to admire the more delicate aspects of the print.  Most of all, I love mixing all those intricate prints together.

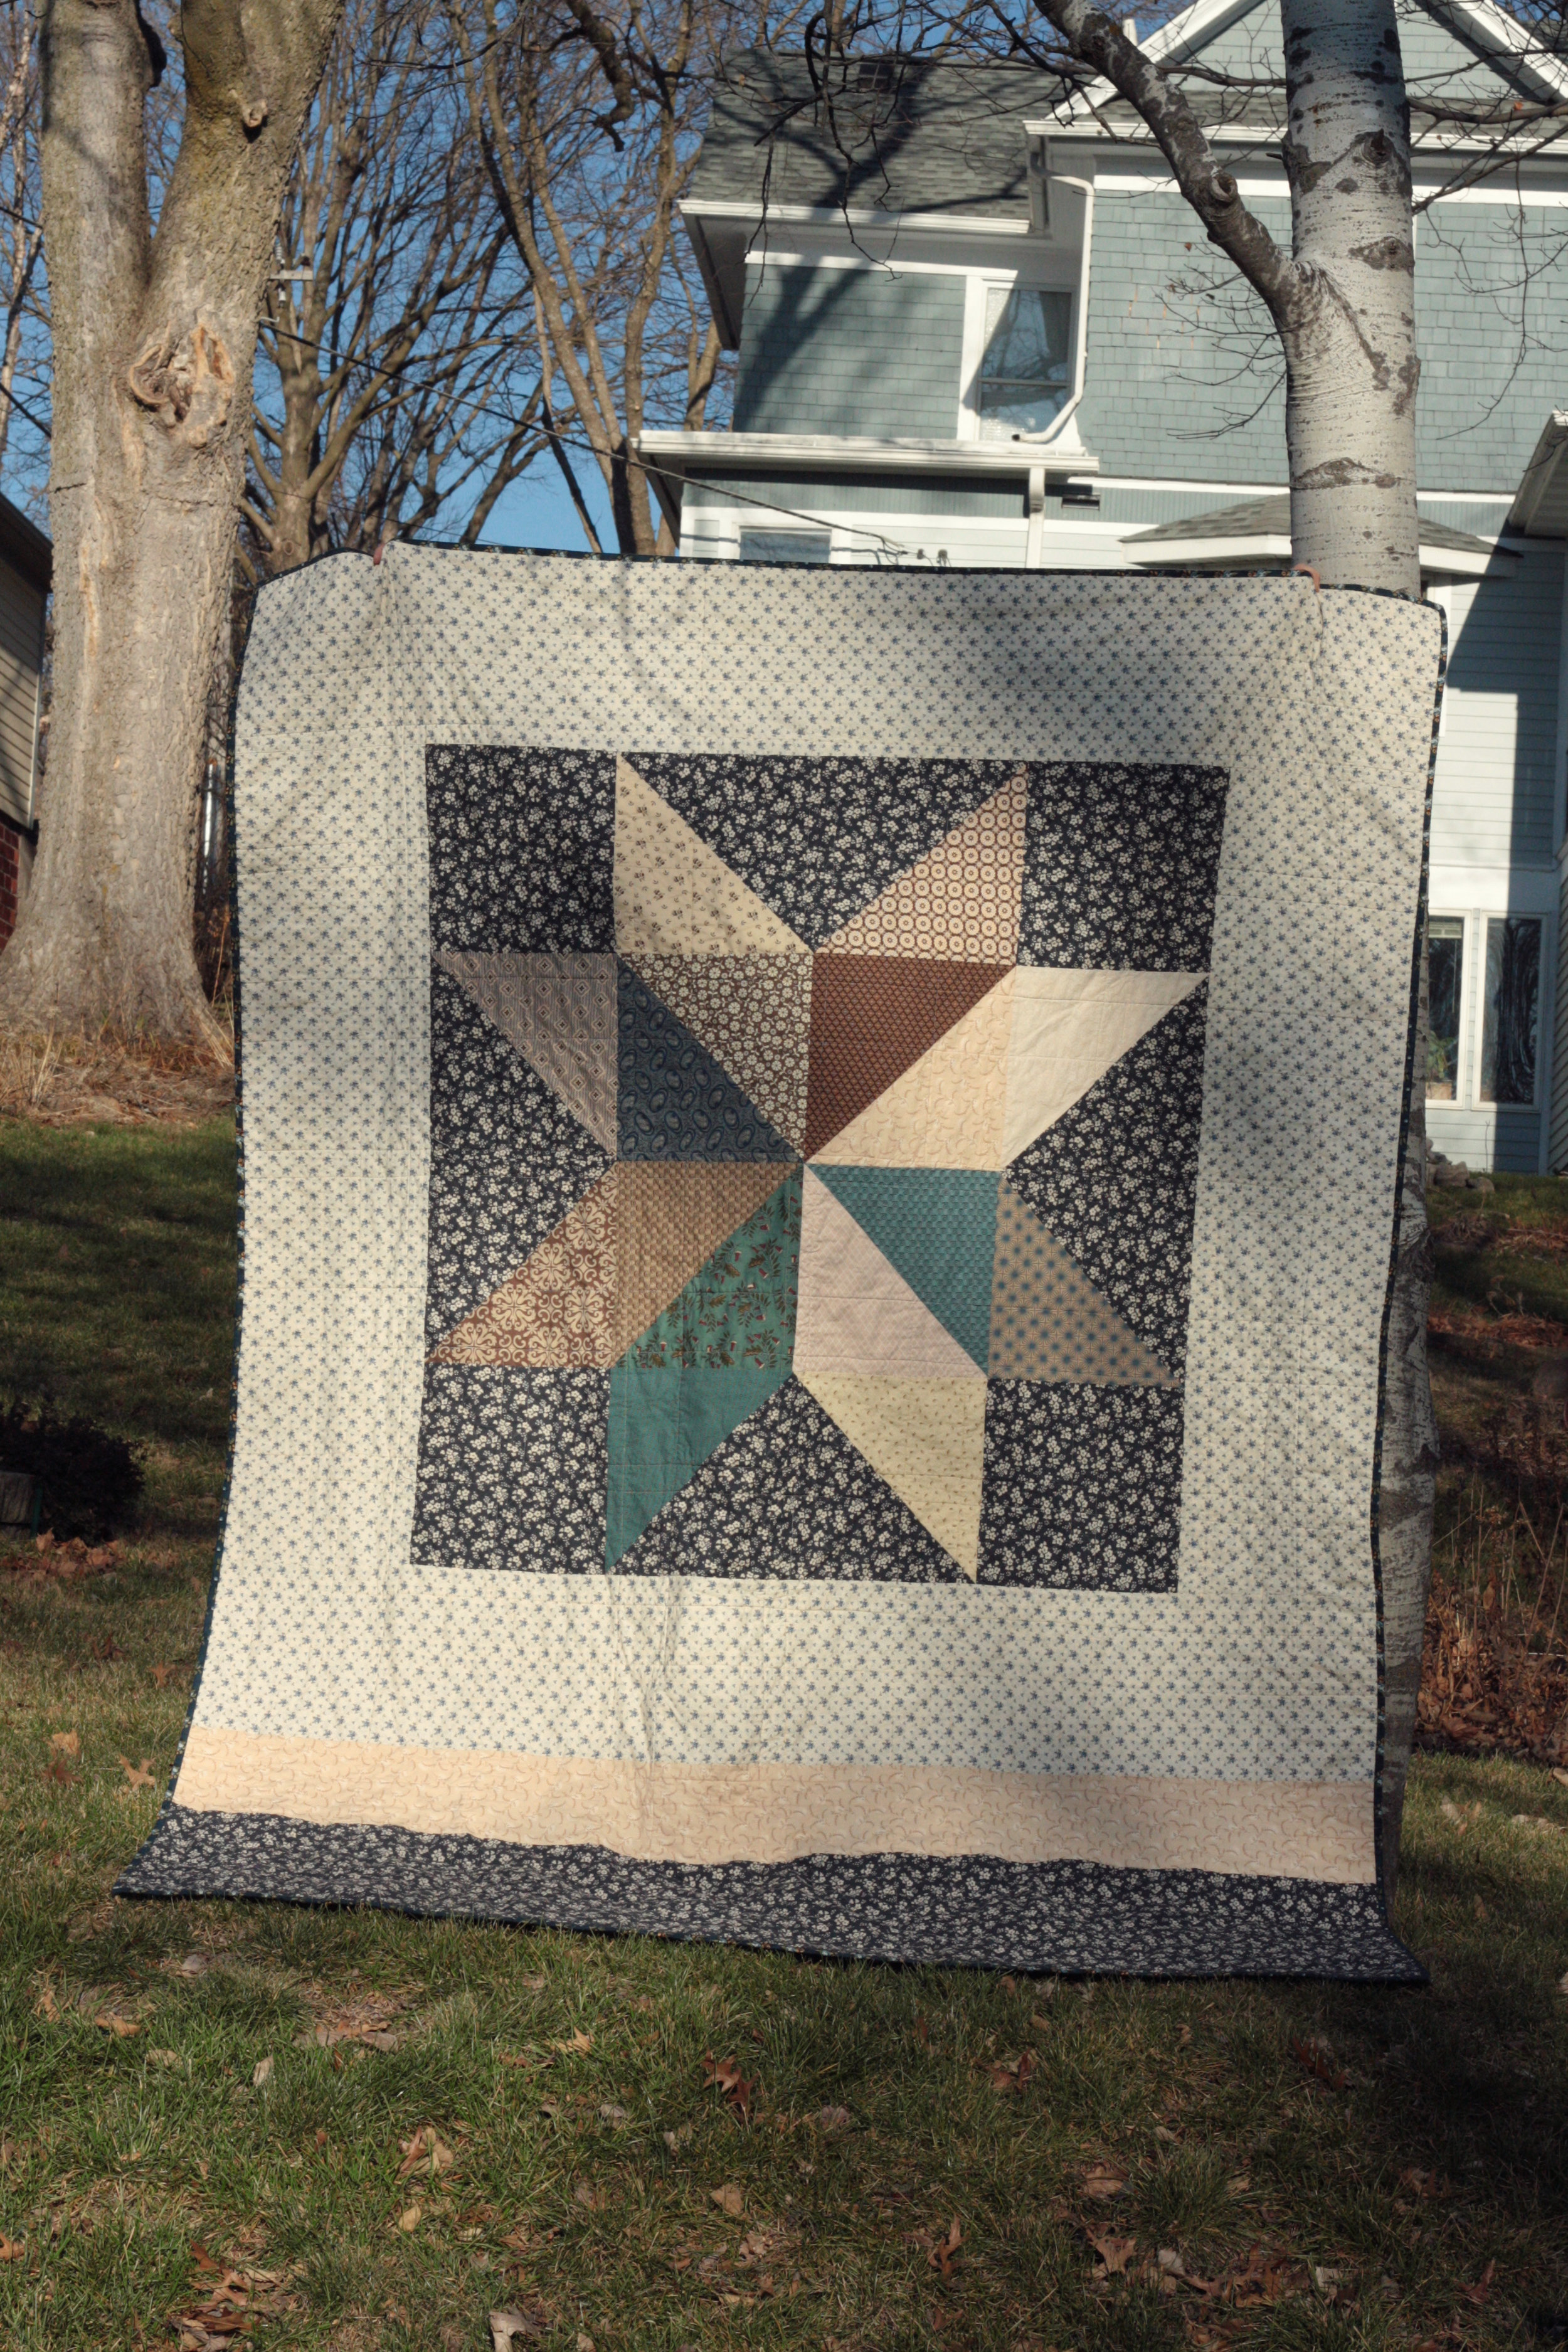
12-12 bear paw quilt frontThe back is a large star inspired by one of Jeni's tutorials.  I based the size of my star on the smallest piece of fabric I was using, so it's smaller than the tutorial, but I think it has impact and is a great surprise for a quilt back.

12-12 bear paw quilt backI'm in the middle of three quilt tops now, so with any luck I will be back soon with my first finish of 2013.


his helicopter quilt

My sewing machine (Pearl) sits behind our front door.  I realize this sounds crazy, but generally, the only people who come to our front door are the types who want to talk politics, or sell me cookies so it isn't as much of a pain as it sounds. So I have my little corner of the cottage to set up my ironing board next to my machine and stitch.  Sometimes when Cj is bored, because he's used up all of his computer time, he comes and sits across from me and asks things like...

"Hey Mom, how's Pearl doing?"

"What are you making today?"

"Who is it for?"

"What's for supper?"

"When are you going to make my quilt?"

Almost two years ago now, he sat down with me at the computer to pick out fabric for bed quilt.  He loves helicopters and cameras so this echino line was the perfect place to start.  He asked for school busses too and I had to add the frames because he has a sneaky habit of watching his reflection in people's glasses.

A year ago, I pieced the top. It's made up of 30 wonky improve court house step blocks and framed with grey sashing.  But then I was distracted by life and even with the occasional reminder of "when are you going to make my quilt?", it sat in a pile.

Finally this October I got my act together and here it is.

I love it and even more important, he loves it!

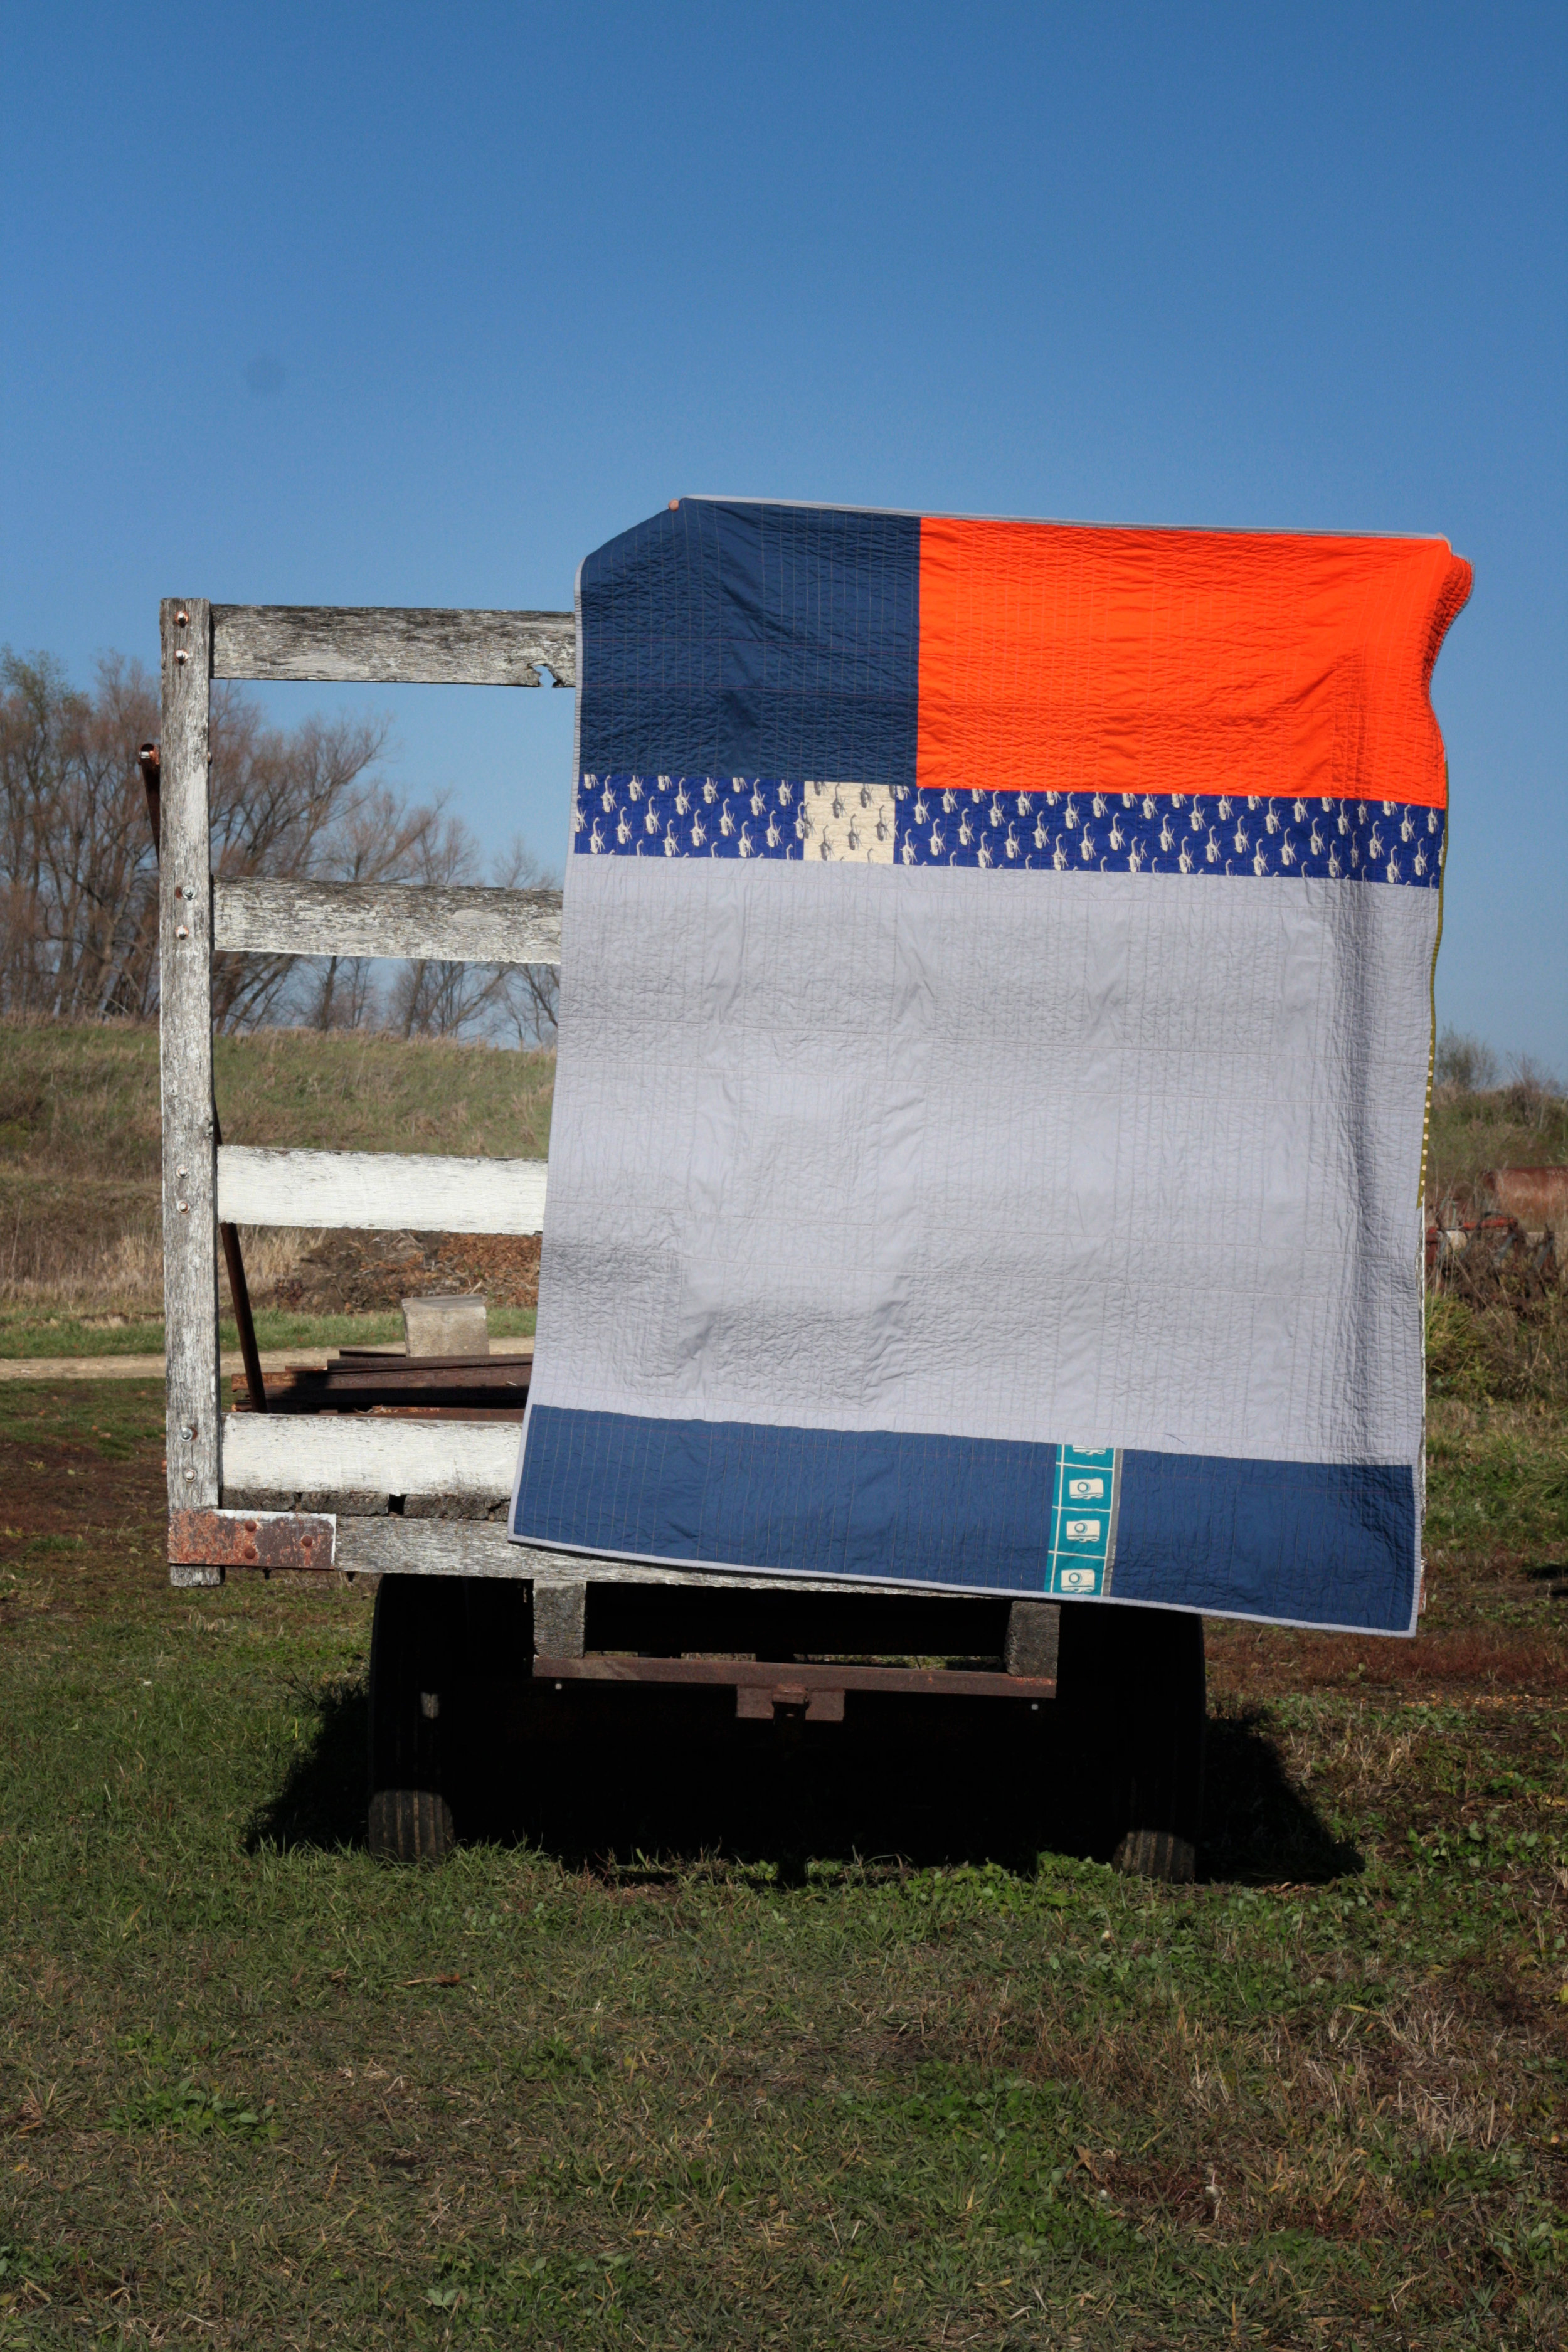
It is quilted with grey lines 1 inch apart through the print blocks on the vertical and with accents of orange quilting on the horizontals.

The back is pieces with a mix of solids and some bits of left over echino.

He is thrilled to finally have his very own handmade by Mom quilt on his bed.  I'm left with feelings of satisfaction until the question "what's for supper?" pops up again.

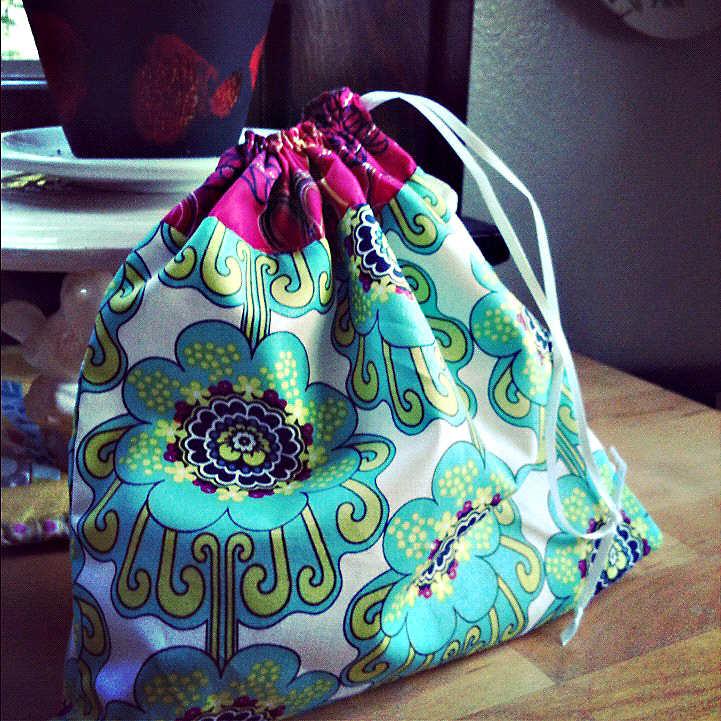
basic drawstring bag

I use these little bags for all sorts of things.  They are great for travel, keeping dresser drawers organized, but most often I use them as gift bags.  The only thing better than a wrapped present is when the wrapping is part of the present too.  They are quick and easy to make, especially when you assembly line the process to make multiple bags.

These bags use two different fabrics, one for the main panel and one for the accent band.

For the main panels cut a rectangle that is 9 1/2" by 14".  Cut that in half for two pieces that are 9 1/2" by 7".

For the accent band, start with a 9 1/2" by 6" rectangle and cut in half to get two 9 1/2" by 3" strips.

Attach the accent strips right sides together to the main panel with a 1/4" seam.  I serged the raw edges, but it's not necessary.  They could be zig-zagged, pinked, or left raw.  After stitching, press the seam allowance towards the main panel.

With right sides together, stitch the two pieced panels together, keeping in mind how you will insert the drawstring.  You could stitch it and then pick the stitches out for the ribbon.  I usually leave an opening in my stitched seam.  Using a 1/4" seam allowance, I stitch 2" down, back stitch to reinforce, leave a 1/2" space before I continue the seam around the rest of the bag.

To finish the top, fold over and press, 1/4" of the accent strip to the wrong side

Fold over the accent strip again to cover the accent seam.  Be sure to cover the seam completely because the stitching will go on the main panel side of the seam.

To create the channel for the drawstring, stitch 1/4" below the seam where the accent band and main panel meet.  Top stitch 3/4" from the top of the accent band.


Press.  Cut a length of ribbon 24"-36".  Using a safety pin, run ribbon through channel and knot the ends of the ribbon so they don't fray.

Fill bags with brownies and you have a great gift to share with your friends.

handmade wardrobe

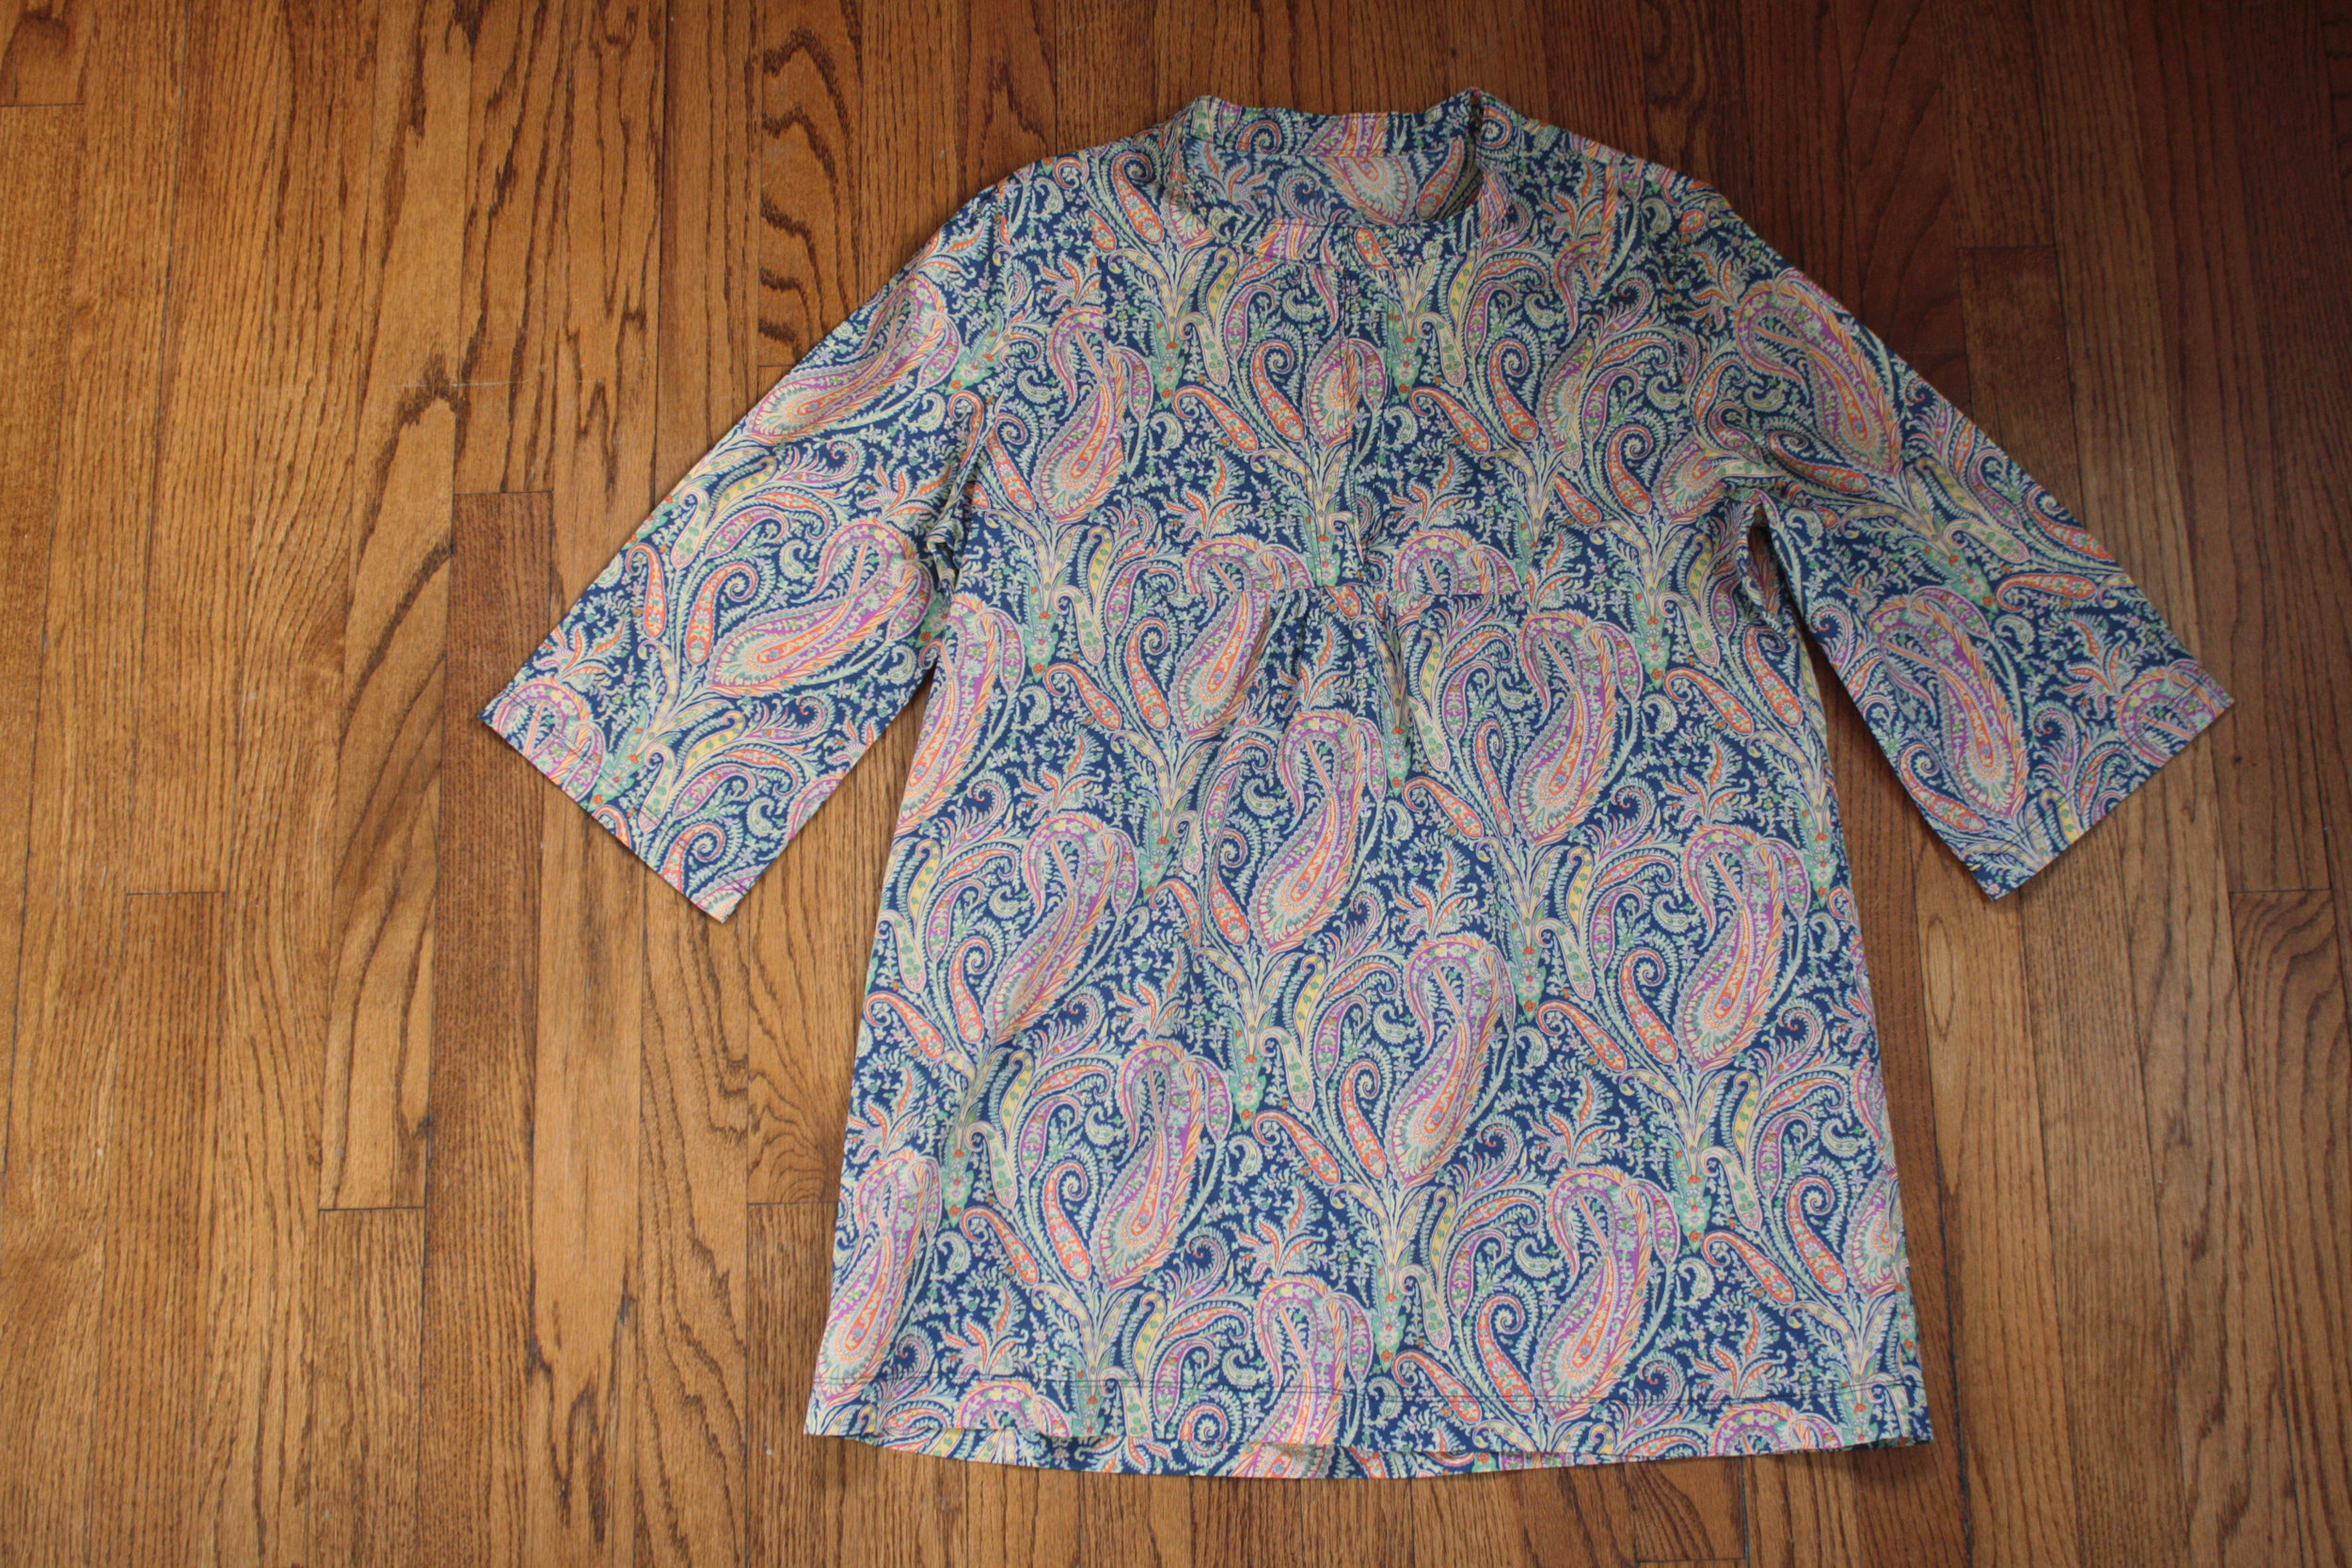
I'm busy packing for Sewing Summit, but just wanted to share some of the garments I've made this year. This tunic (I call it my rice pudding shirt) is Simplicity 2447 and is made with Ironwood Aneta from Lotta Jansdotter.

Here is my etchings Tova.

I knit this tea leaves cardigan with Manos del Uruguay extra fine merino.

I love my liberty Tova.  I simply hemmed the cuffs instead of banding them and added two inches to the length.

This one is the long sleeved shirt with Chinese collar from Simple Modern Sewing.

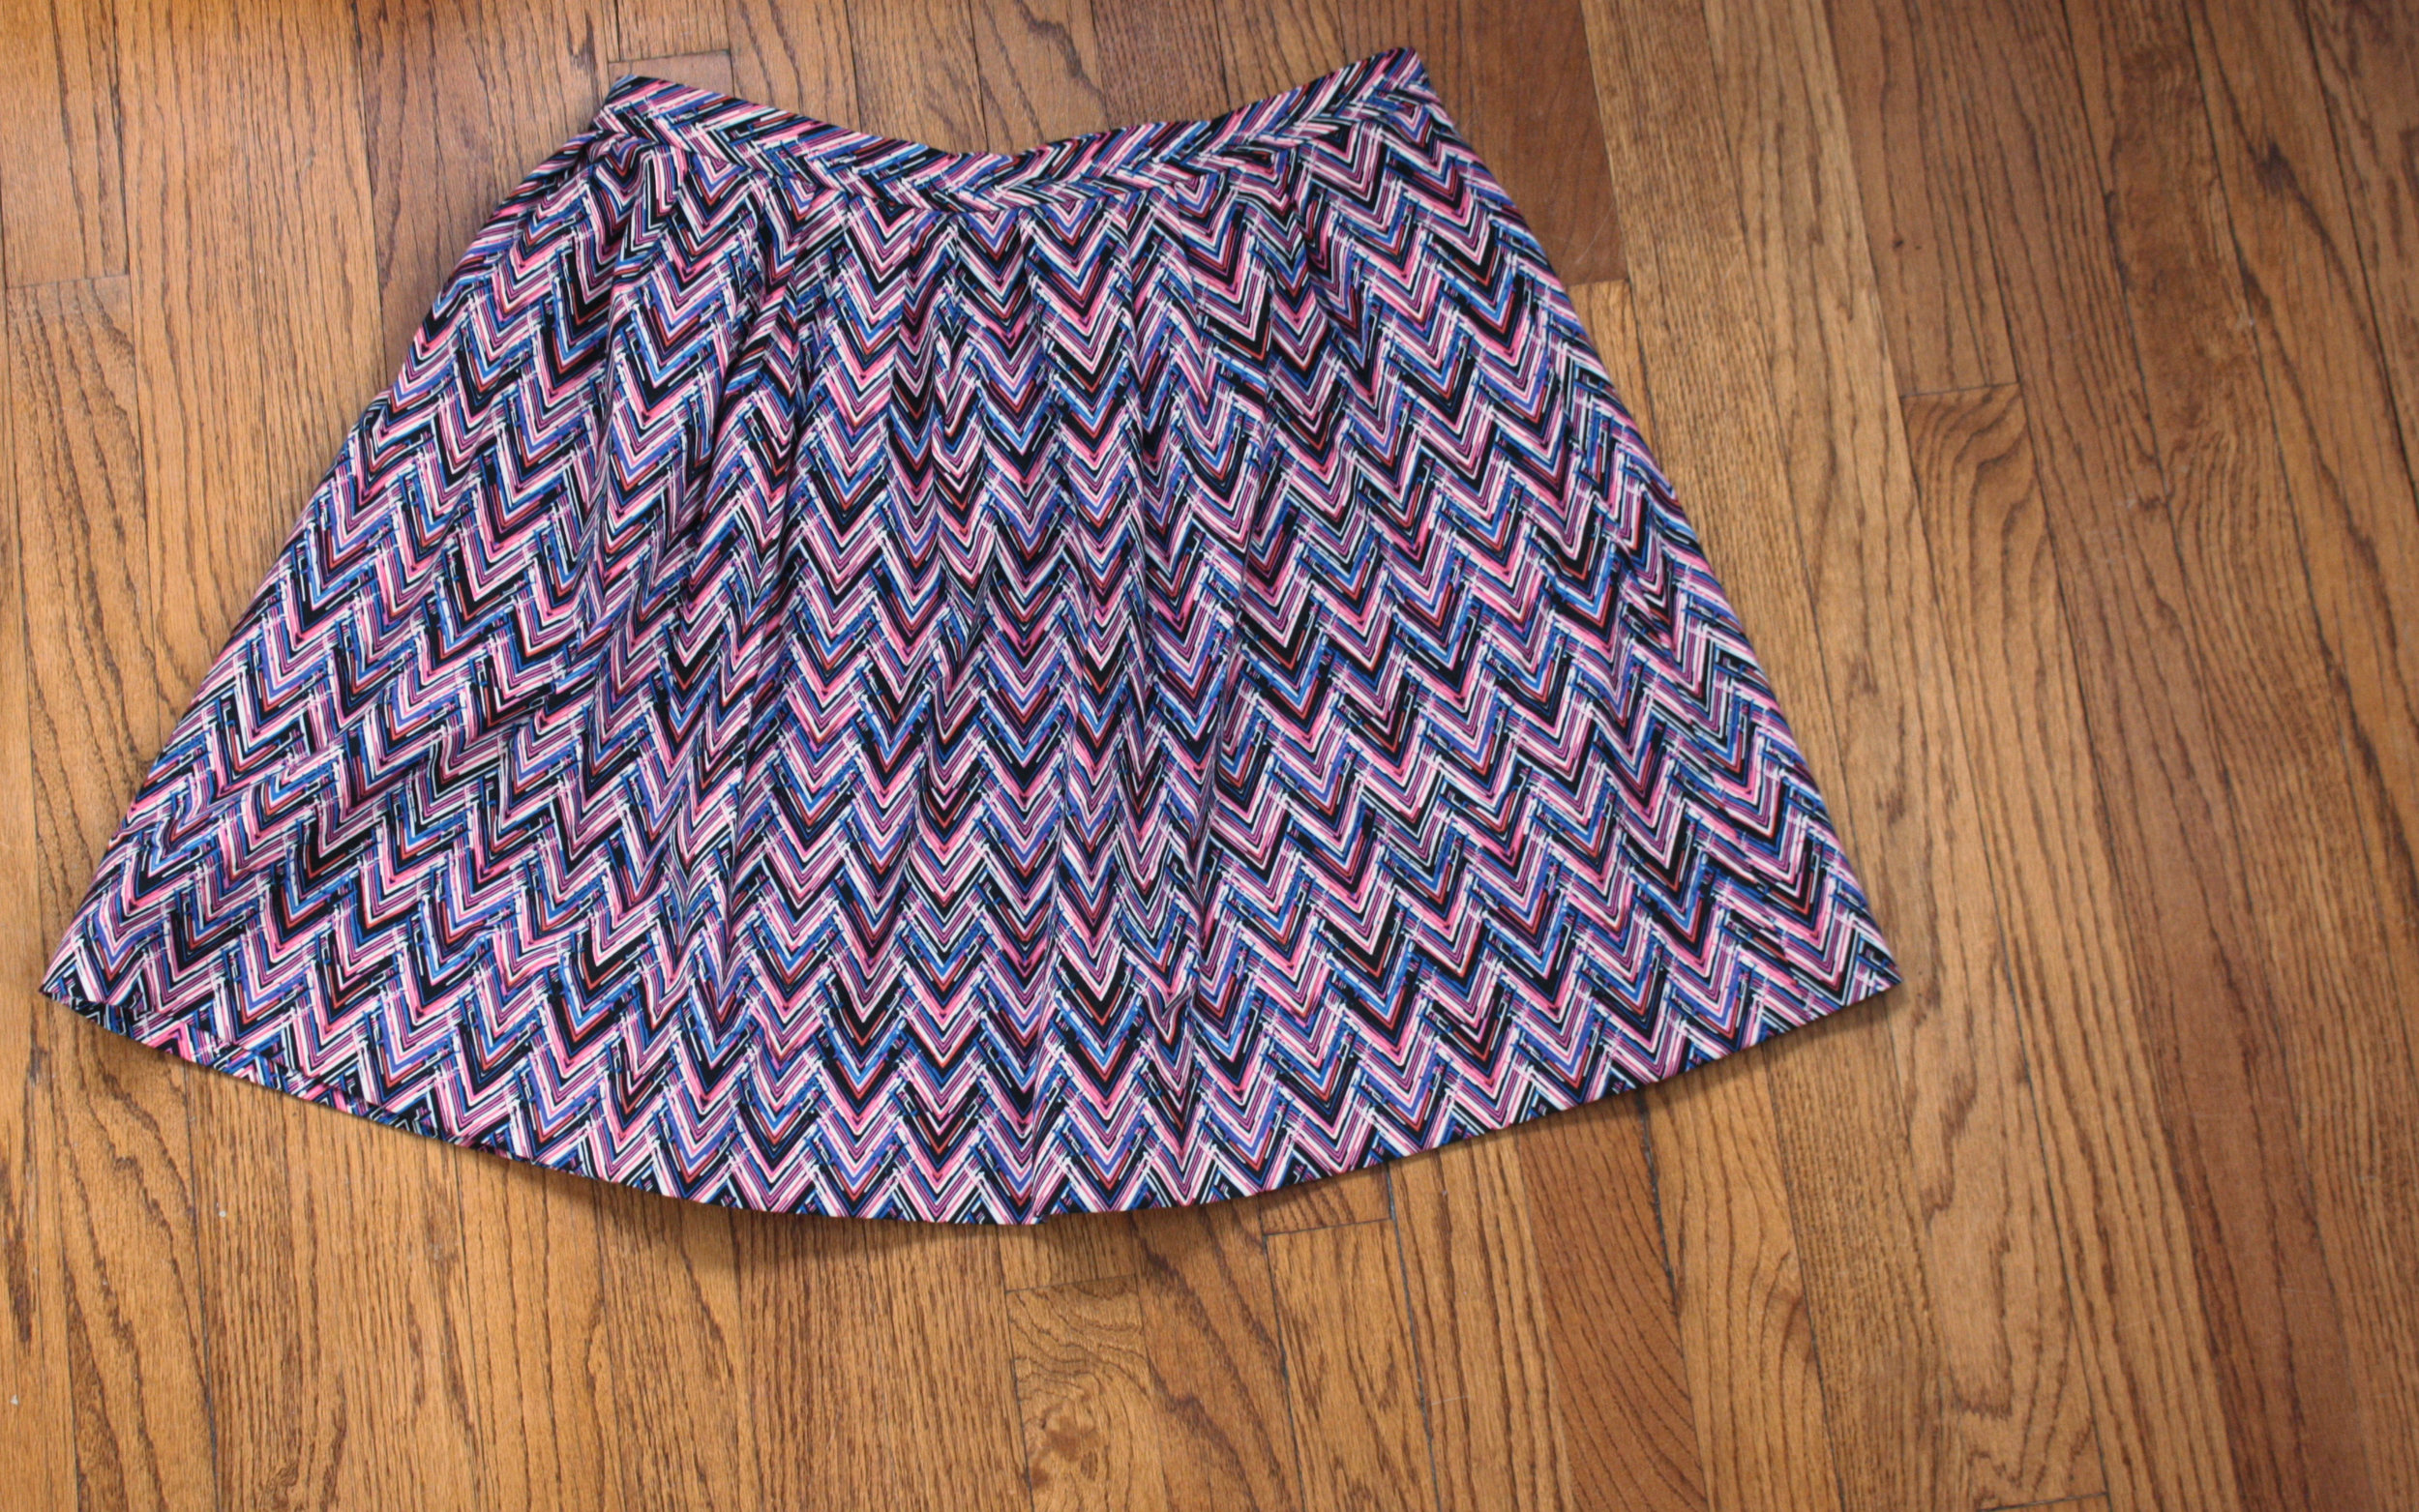
This skirt is made from Jay McCarroll's new Center City line.  I used Simplicity 2215.

Now I'm off to pack and clean and check off all my lists so I'm all ready to head to Salt Lake tomorrow.

fall sewing

I'm working like a madman to make a deadline, because next week is my stop in Sew Sweetness's Tula Pink Sew along. I'm also getting ready for my trip to Sewing Summit.  I've managed to finish some travel handmade projects.

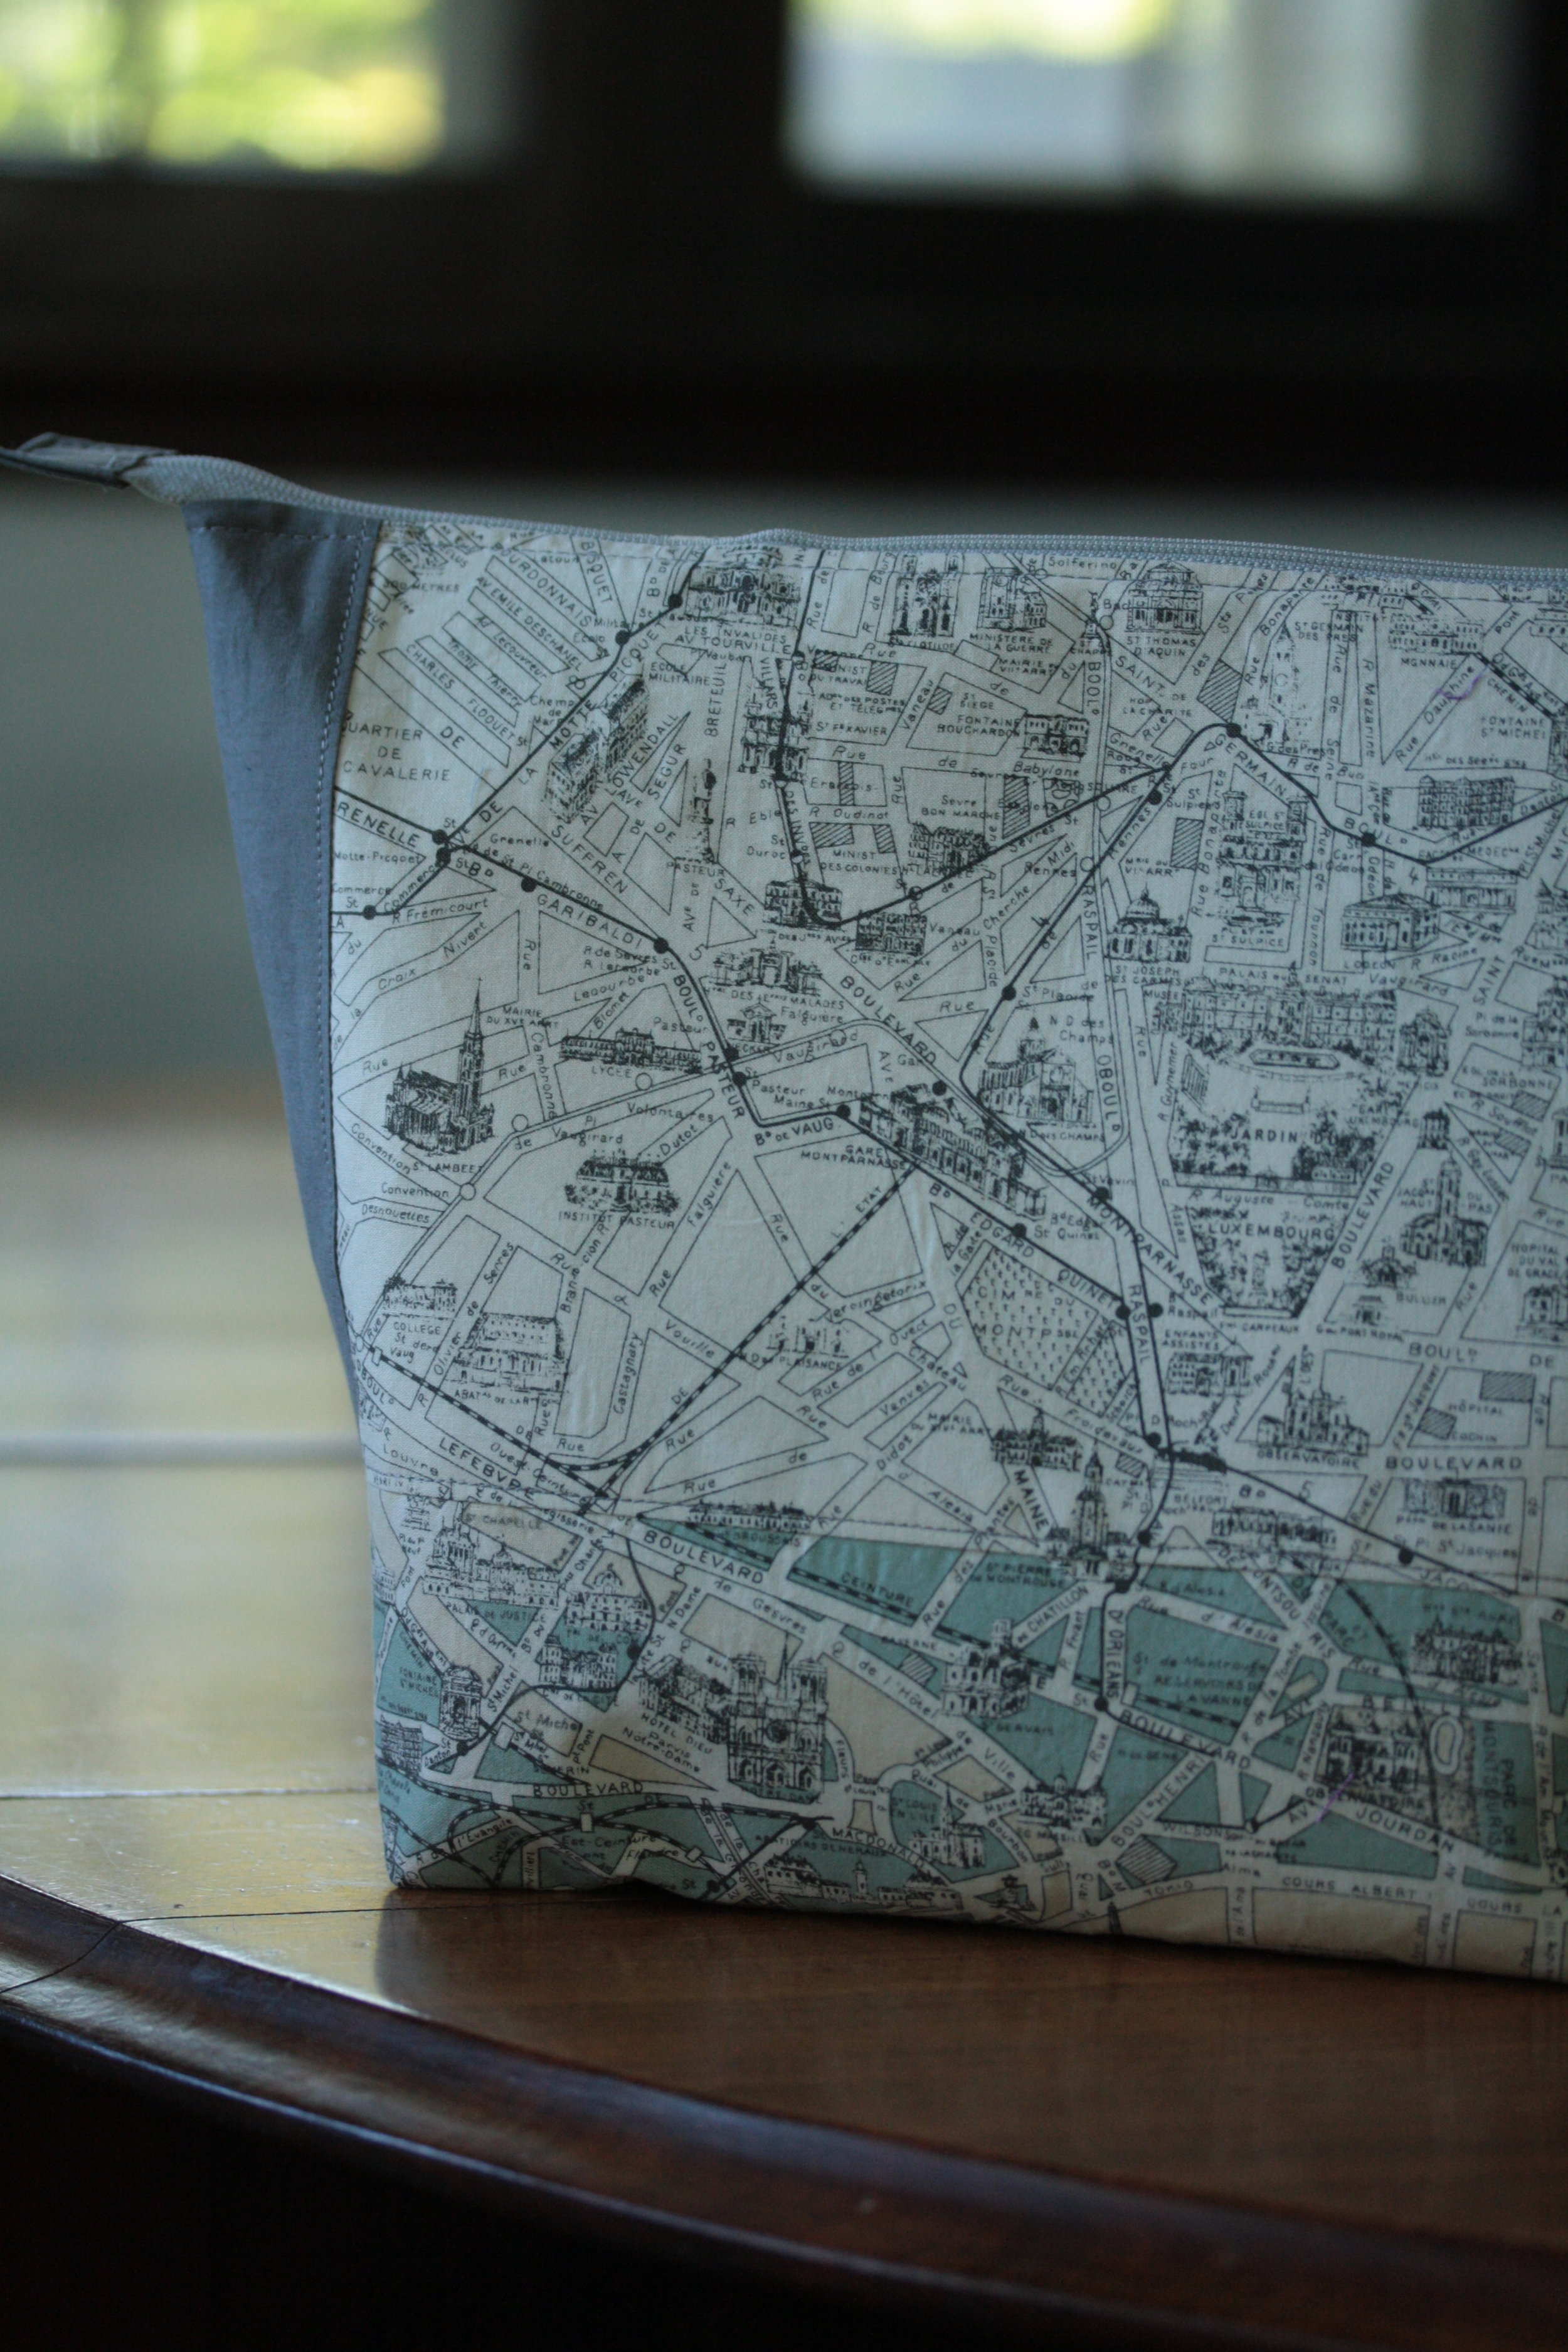
I've made a few of these Noodlehead zipper pouches.

Lulu promptly stole the blue deer bag so I made another one in my favorite paris print to keep my hand sewing supplies together.

I'm especially happy with how the two different colorways matched up.

Both kids have grown out of the their pajamas.

 I made pants for Cj.  (Simplicity 2290)

lulu pjs
lulu pjs

These are the tops from Lulu's set.  (McCall's M6239)

I still need to make my skirt.  I have done a muslin of the pattern so I'm hoping the actual skirt will come together quickly.

To add to the fun, both our modem and router gave out on us this week.  I always feel a bit like I have conquered the world when I solve those sorts of techy issues, but now it's back to hand quilting.

pinned

Shortly after this pin made its way on to my Pinterest board, we were spending some family time wandering through our favorite spot for finding all the best junk.

I stopped, pointed, told the spouse, "hey, this is from my kitchen pin board!" and now it's mine.

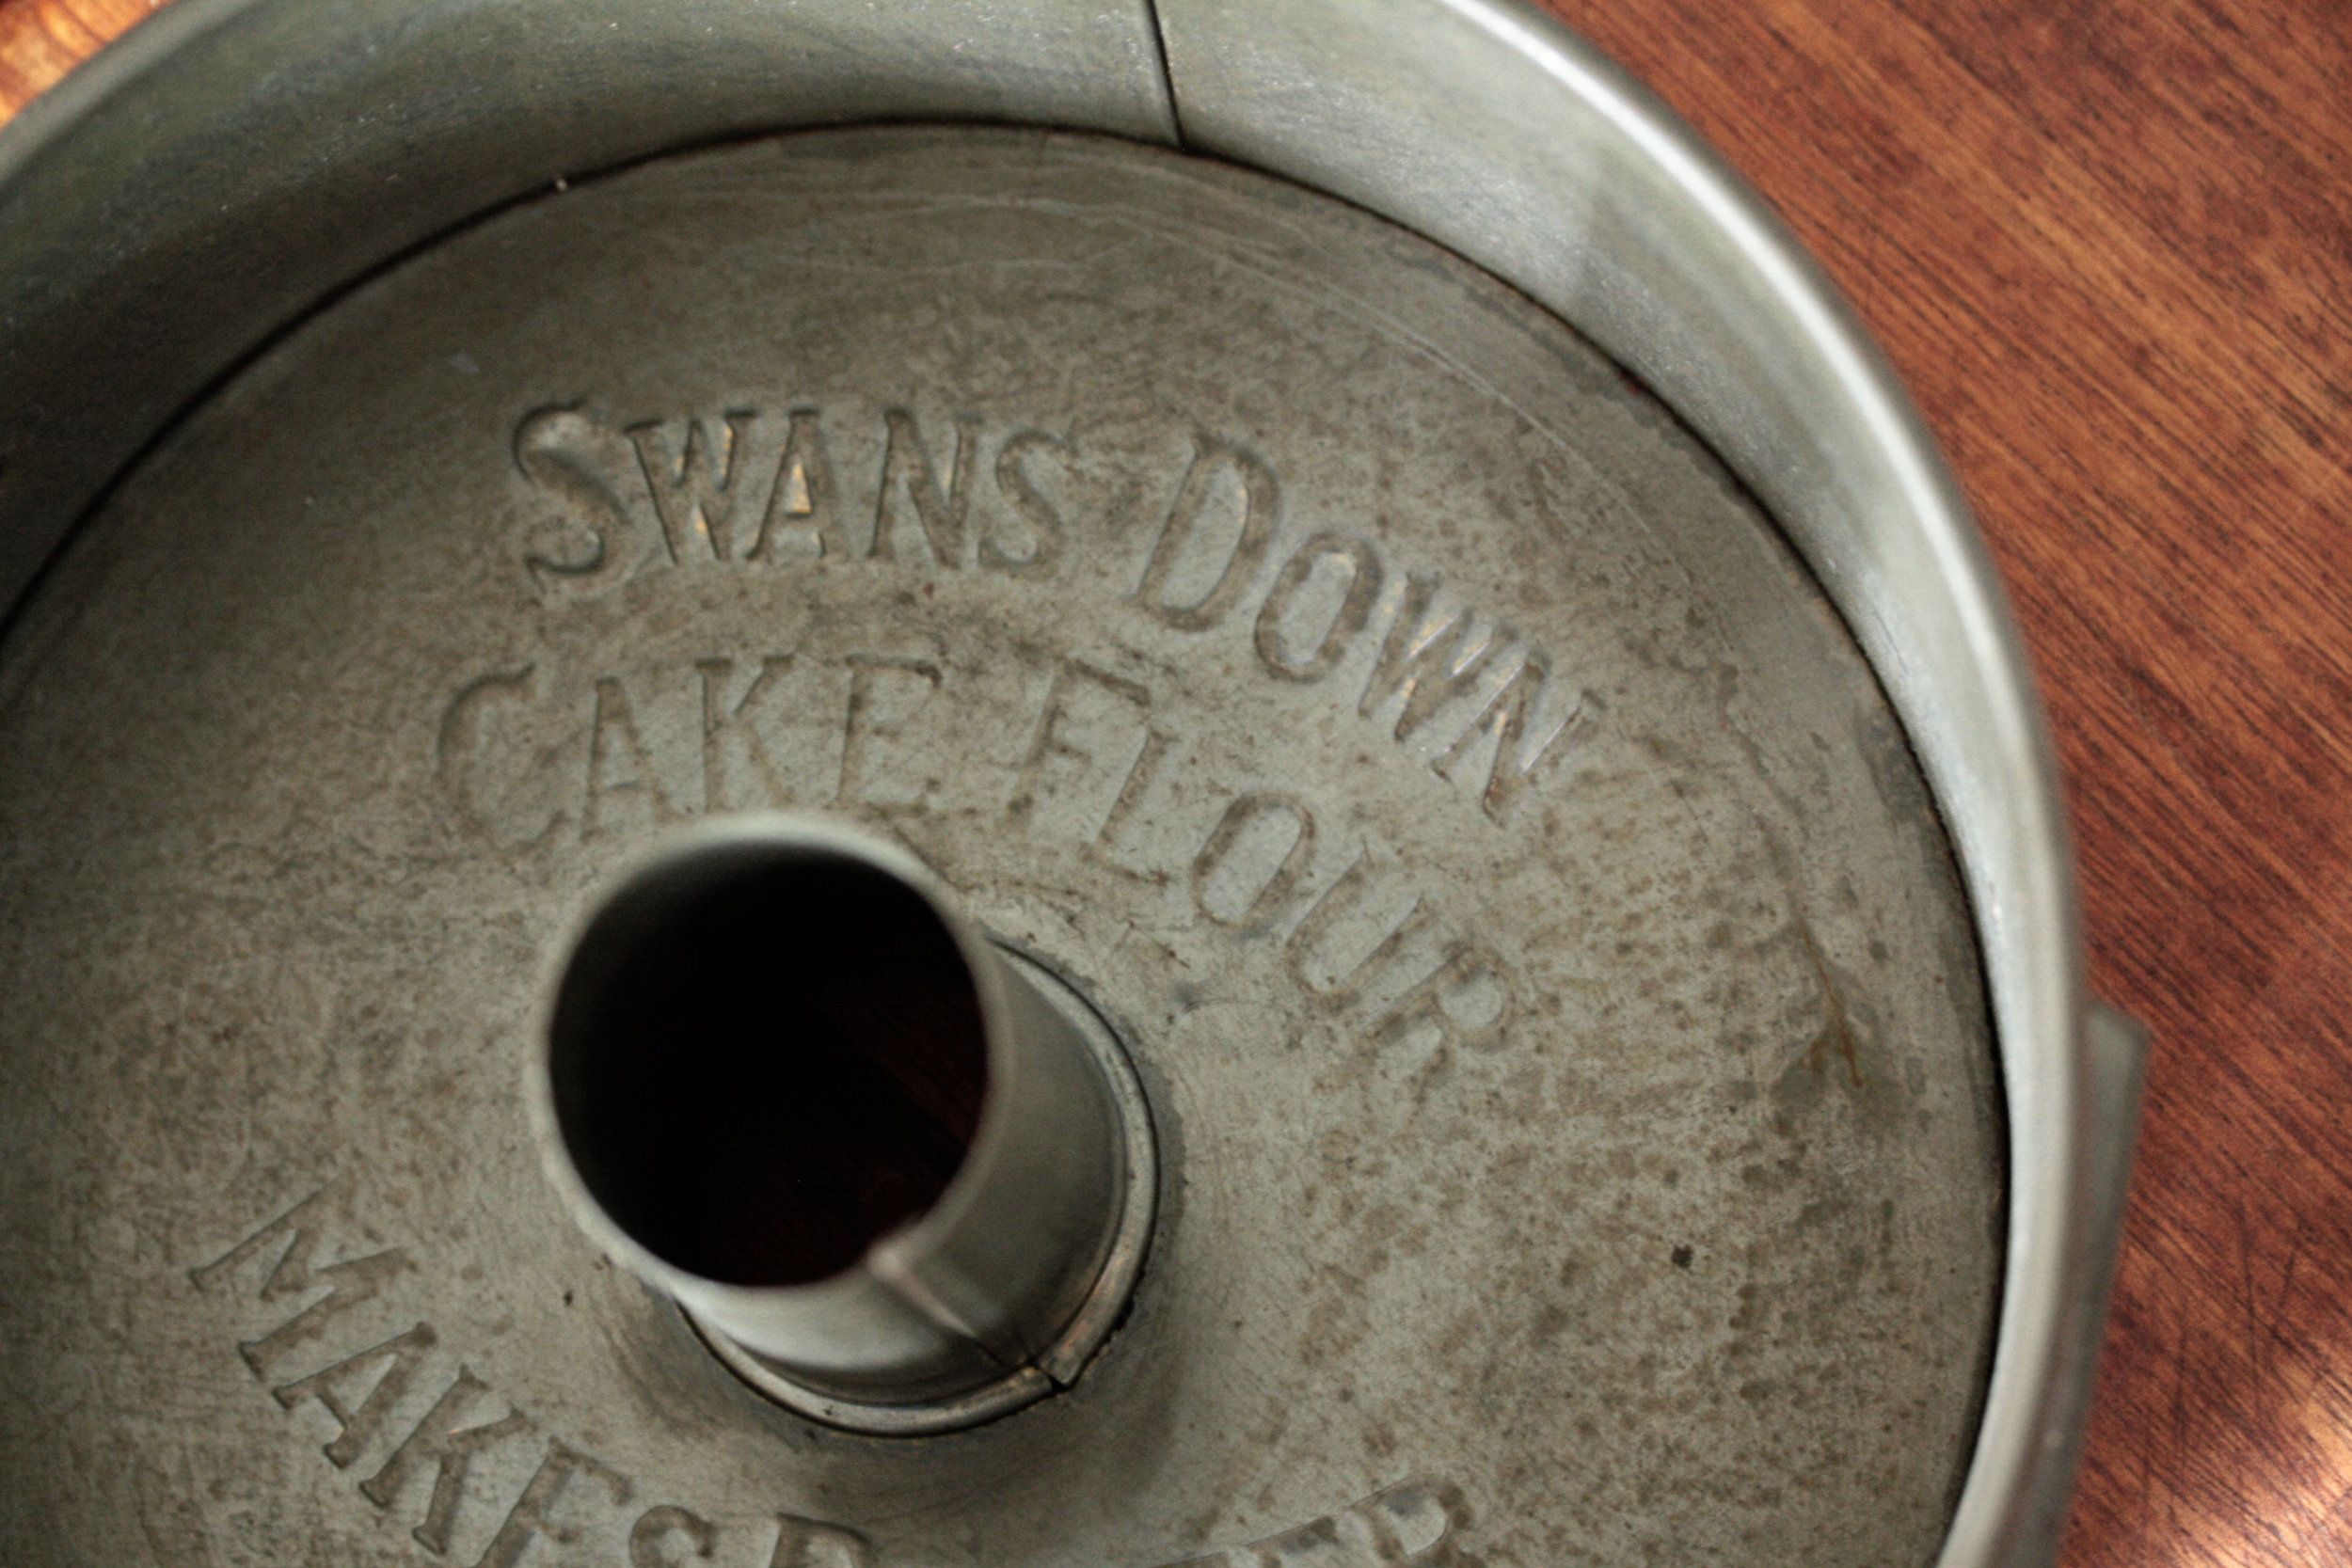
My chiffon cake almost became the cake that exploded in the oven, but thankfully disaster was averted and the cake was over the top amazingly delicious instead.


a wedding gift

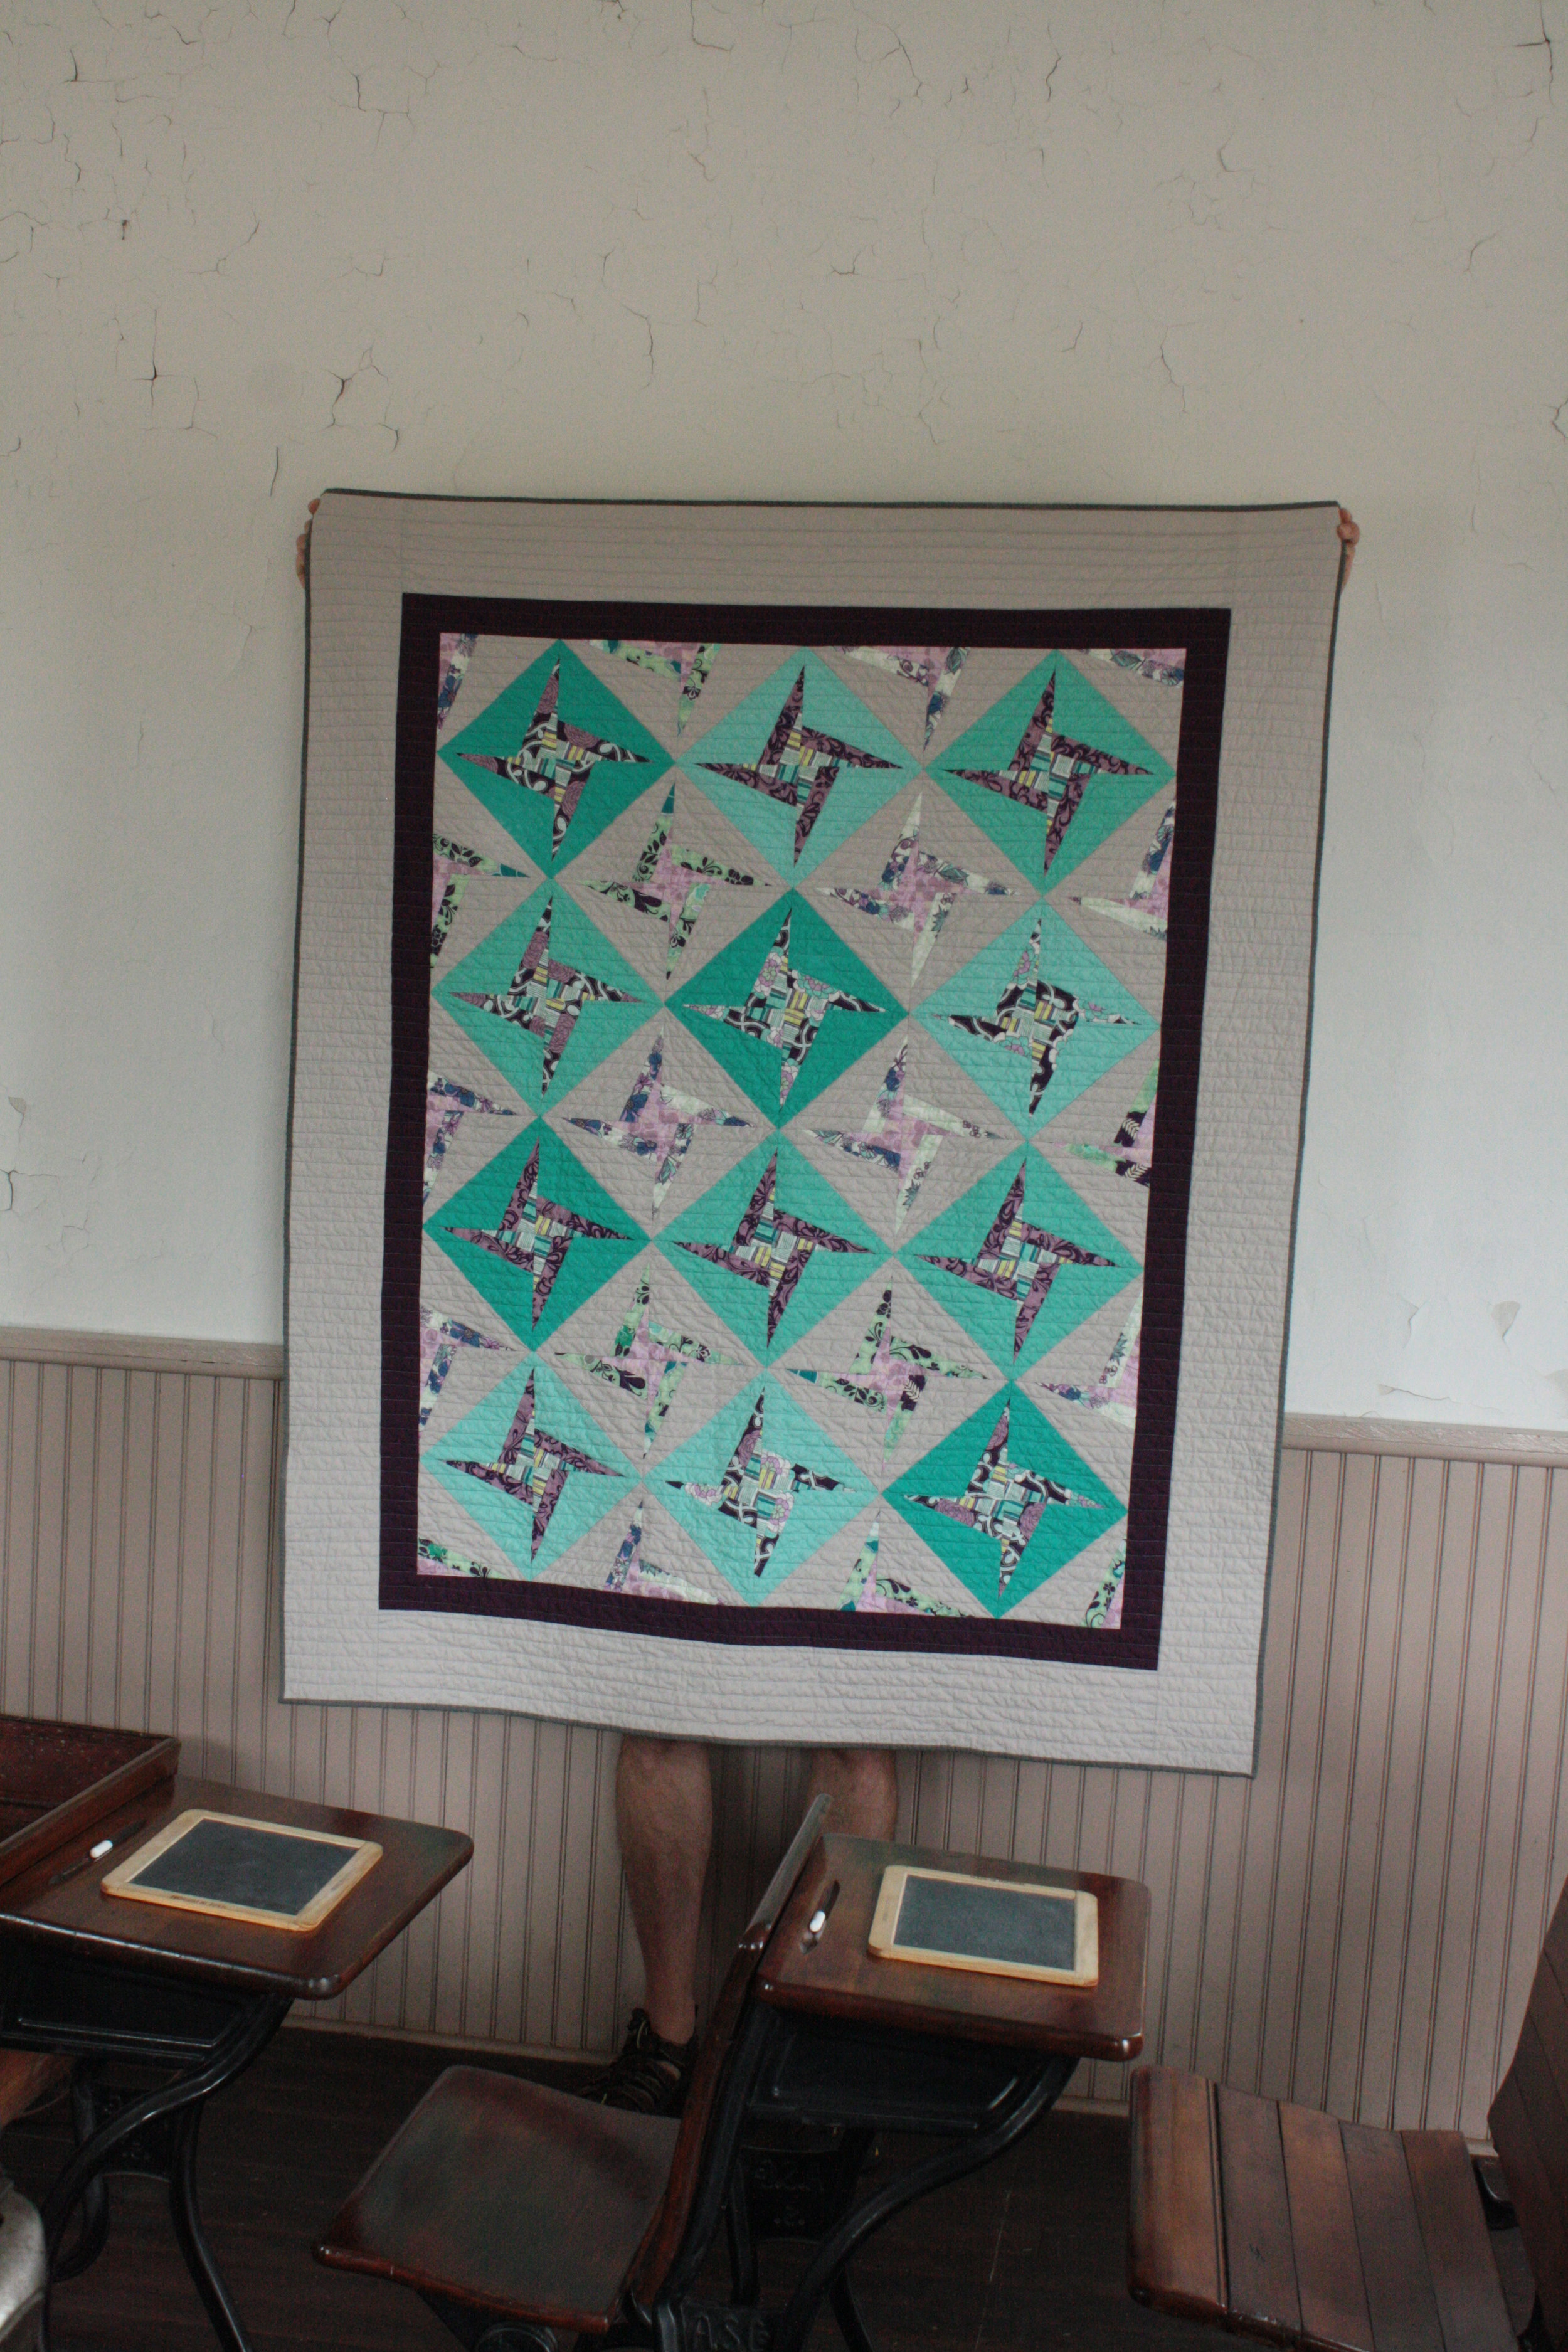
I like to take quilt pictures at the one room school-house site just outside of town.  It's usually closed but on this day they were open for visitors so we were finally able to see the inside.

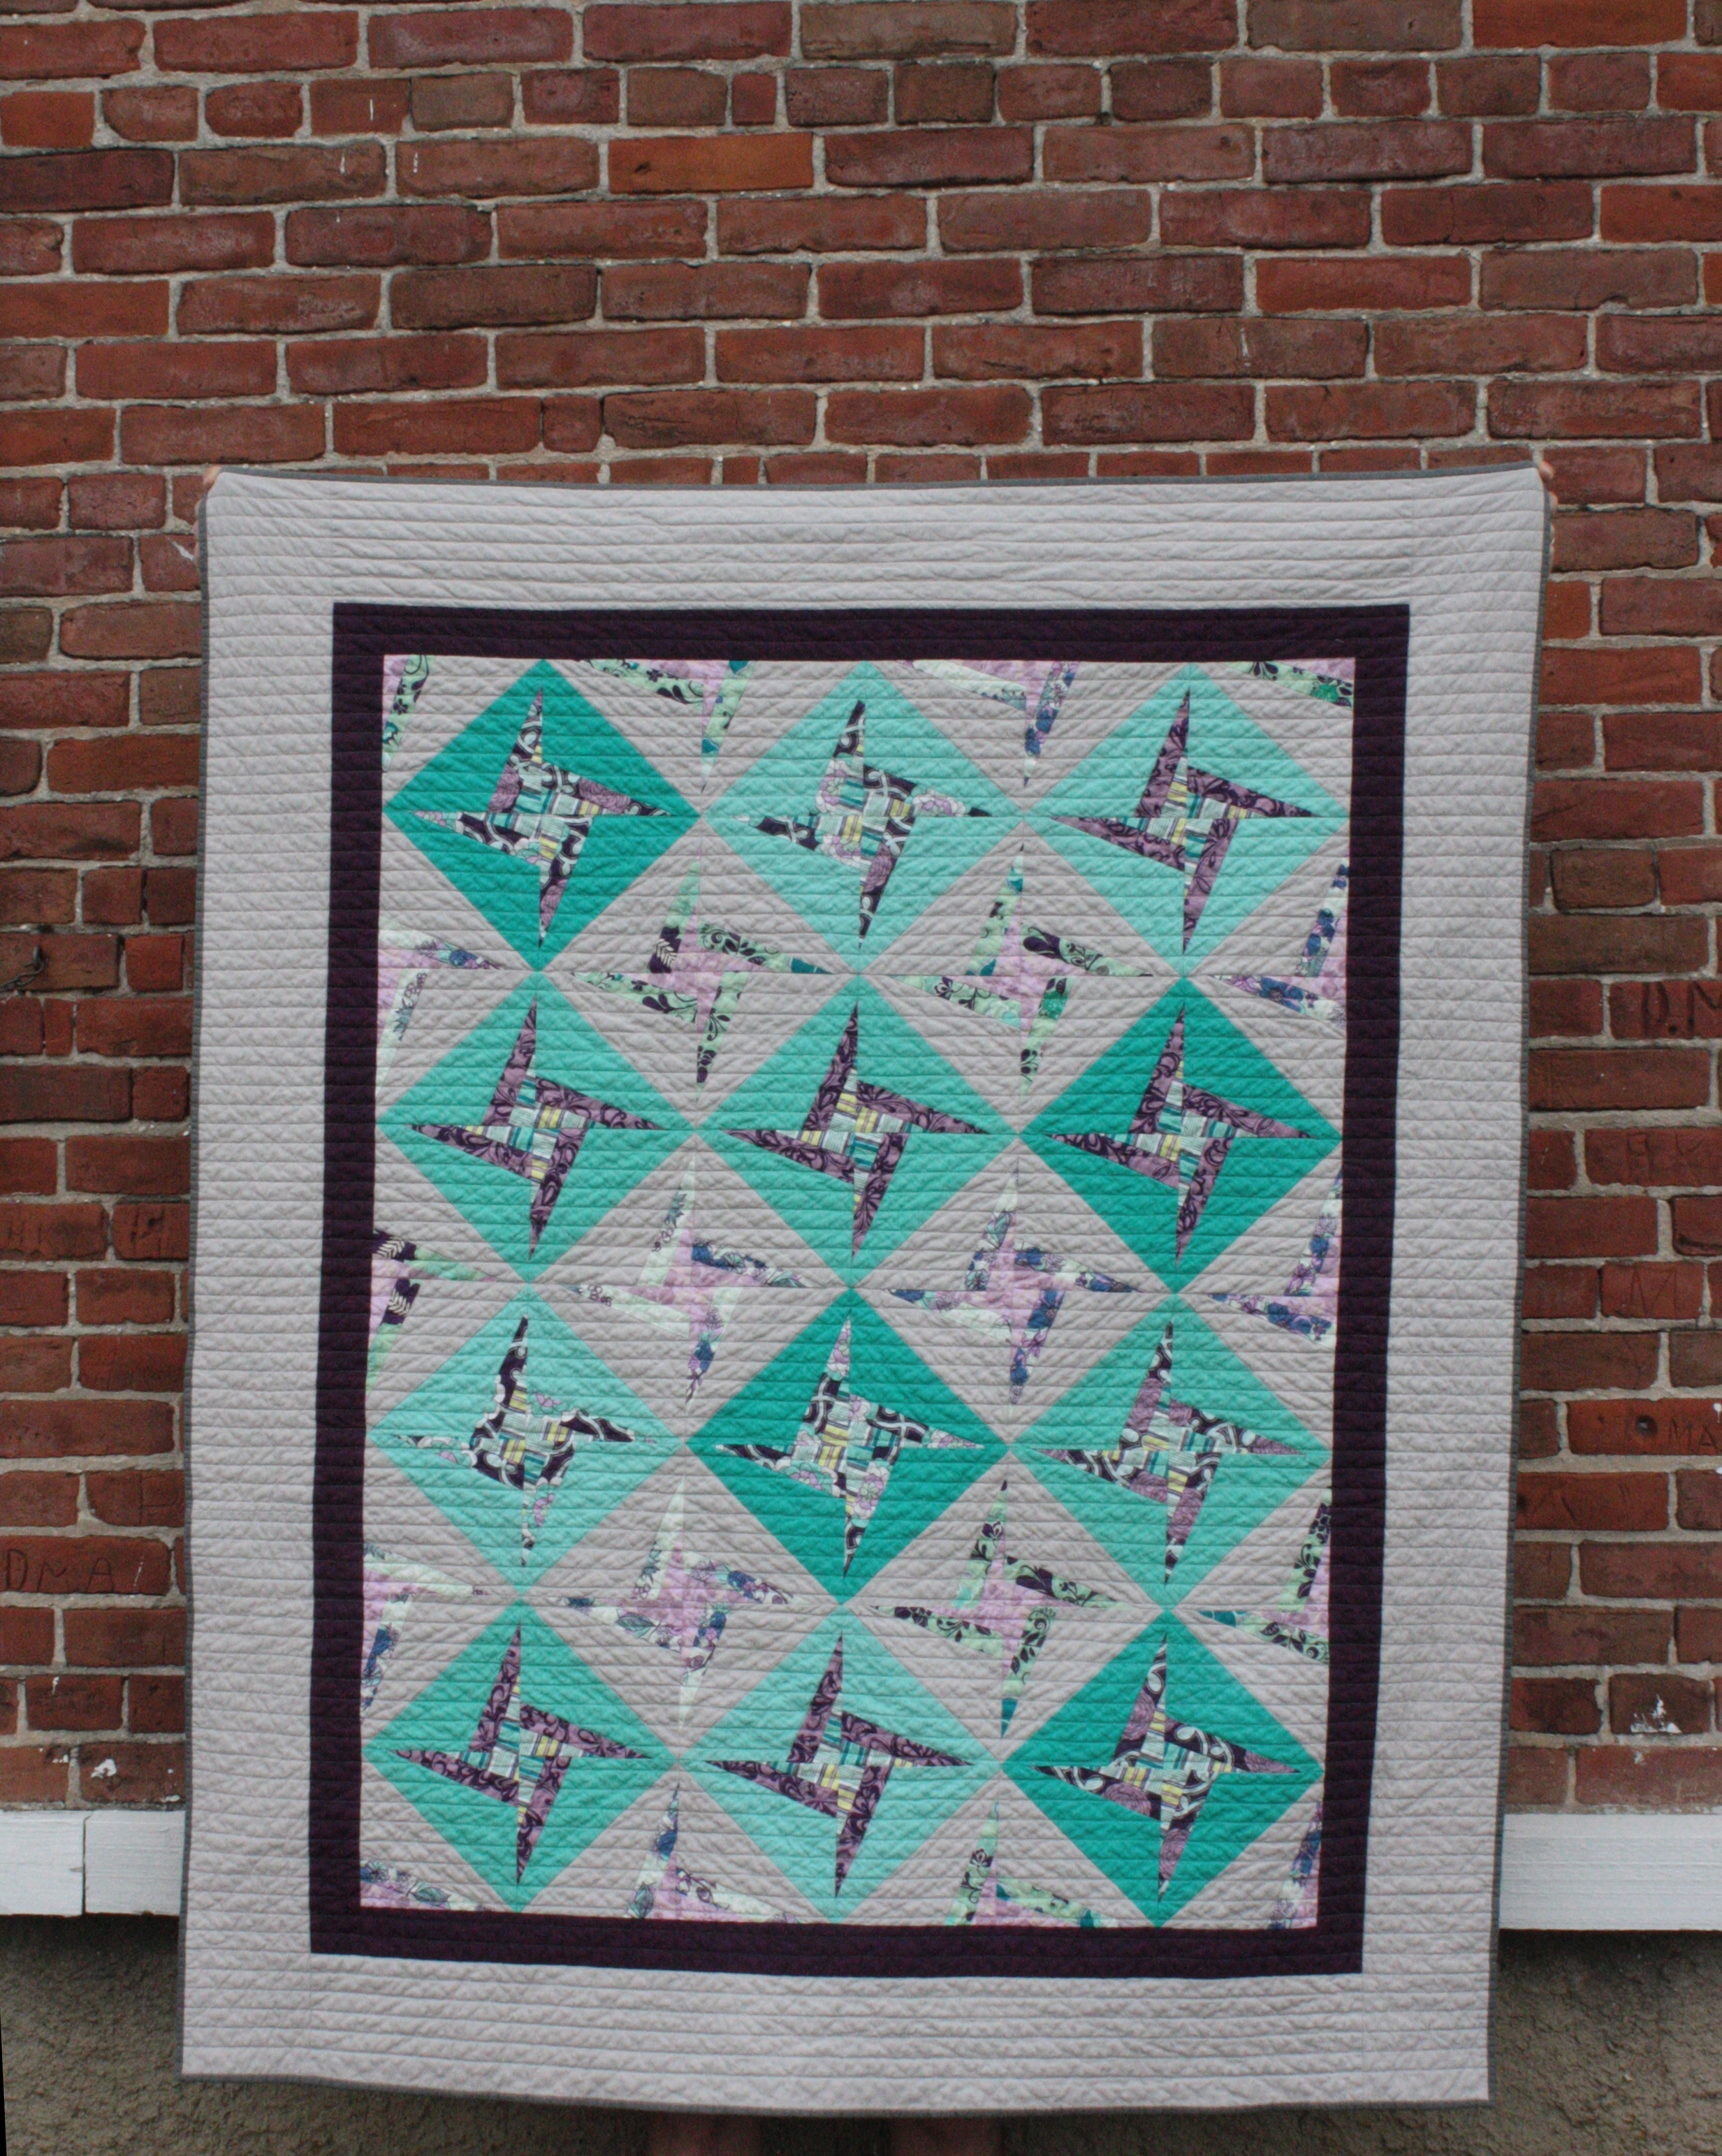
One of my cousins was married this past summer.  I wavered back and forth about what type of quilt to make and finally landed on this pattern from a craftsy class I had signed up for a few months before.  The solid grey is Kona ash and the rest of the fabrics are a mix from Art Gallery.

diy name tag

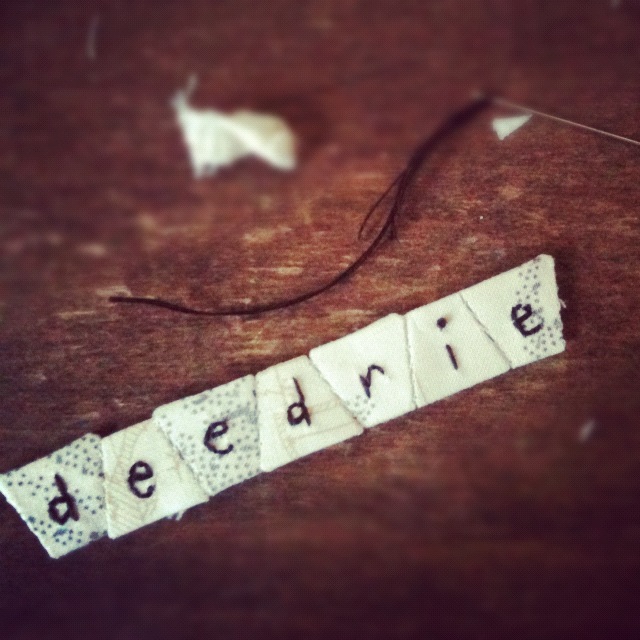
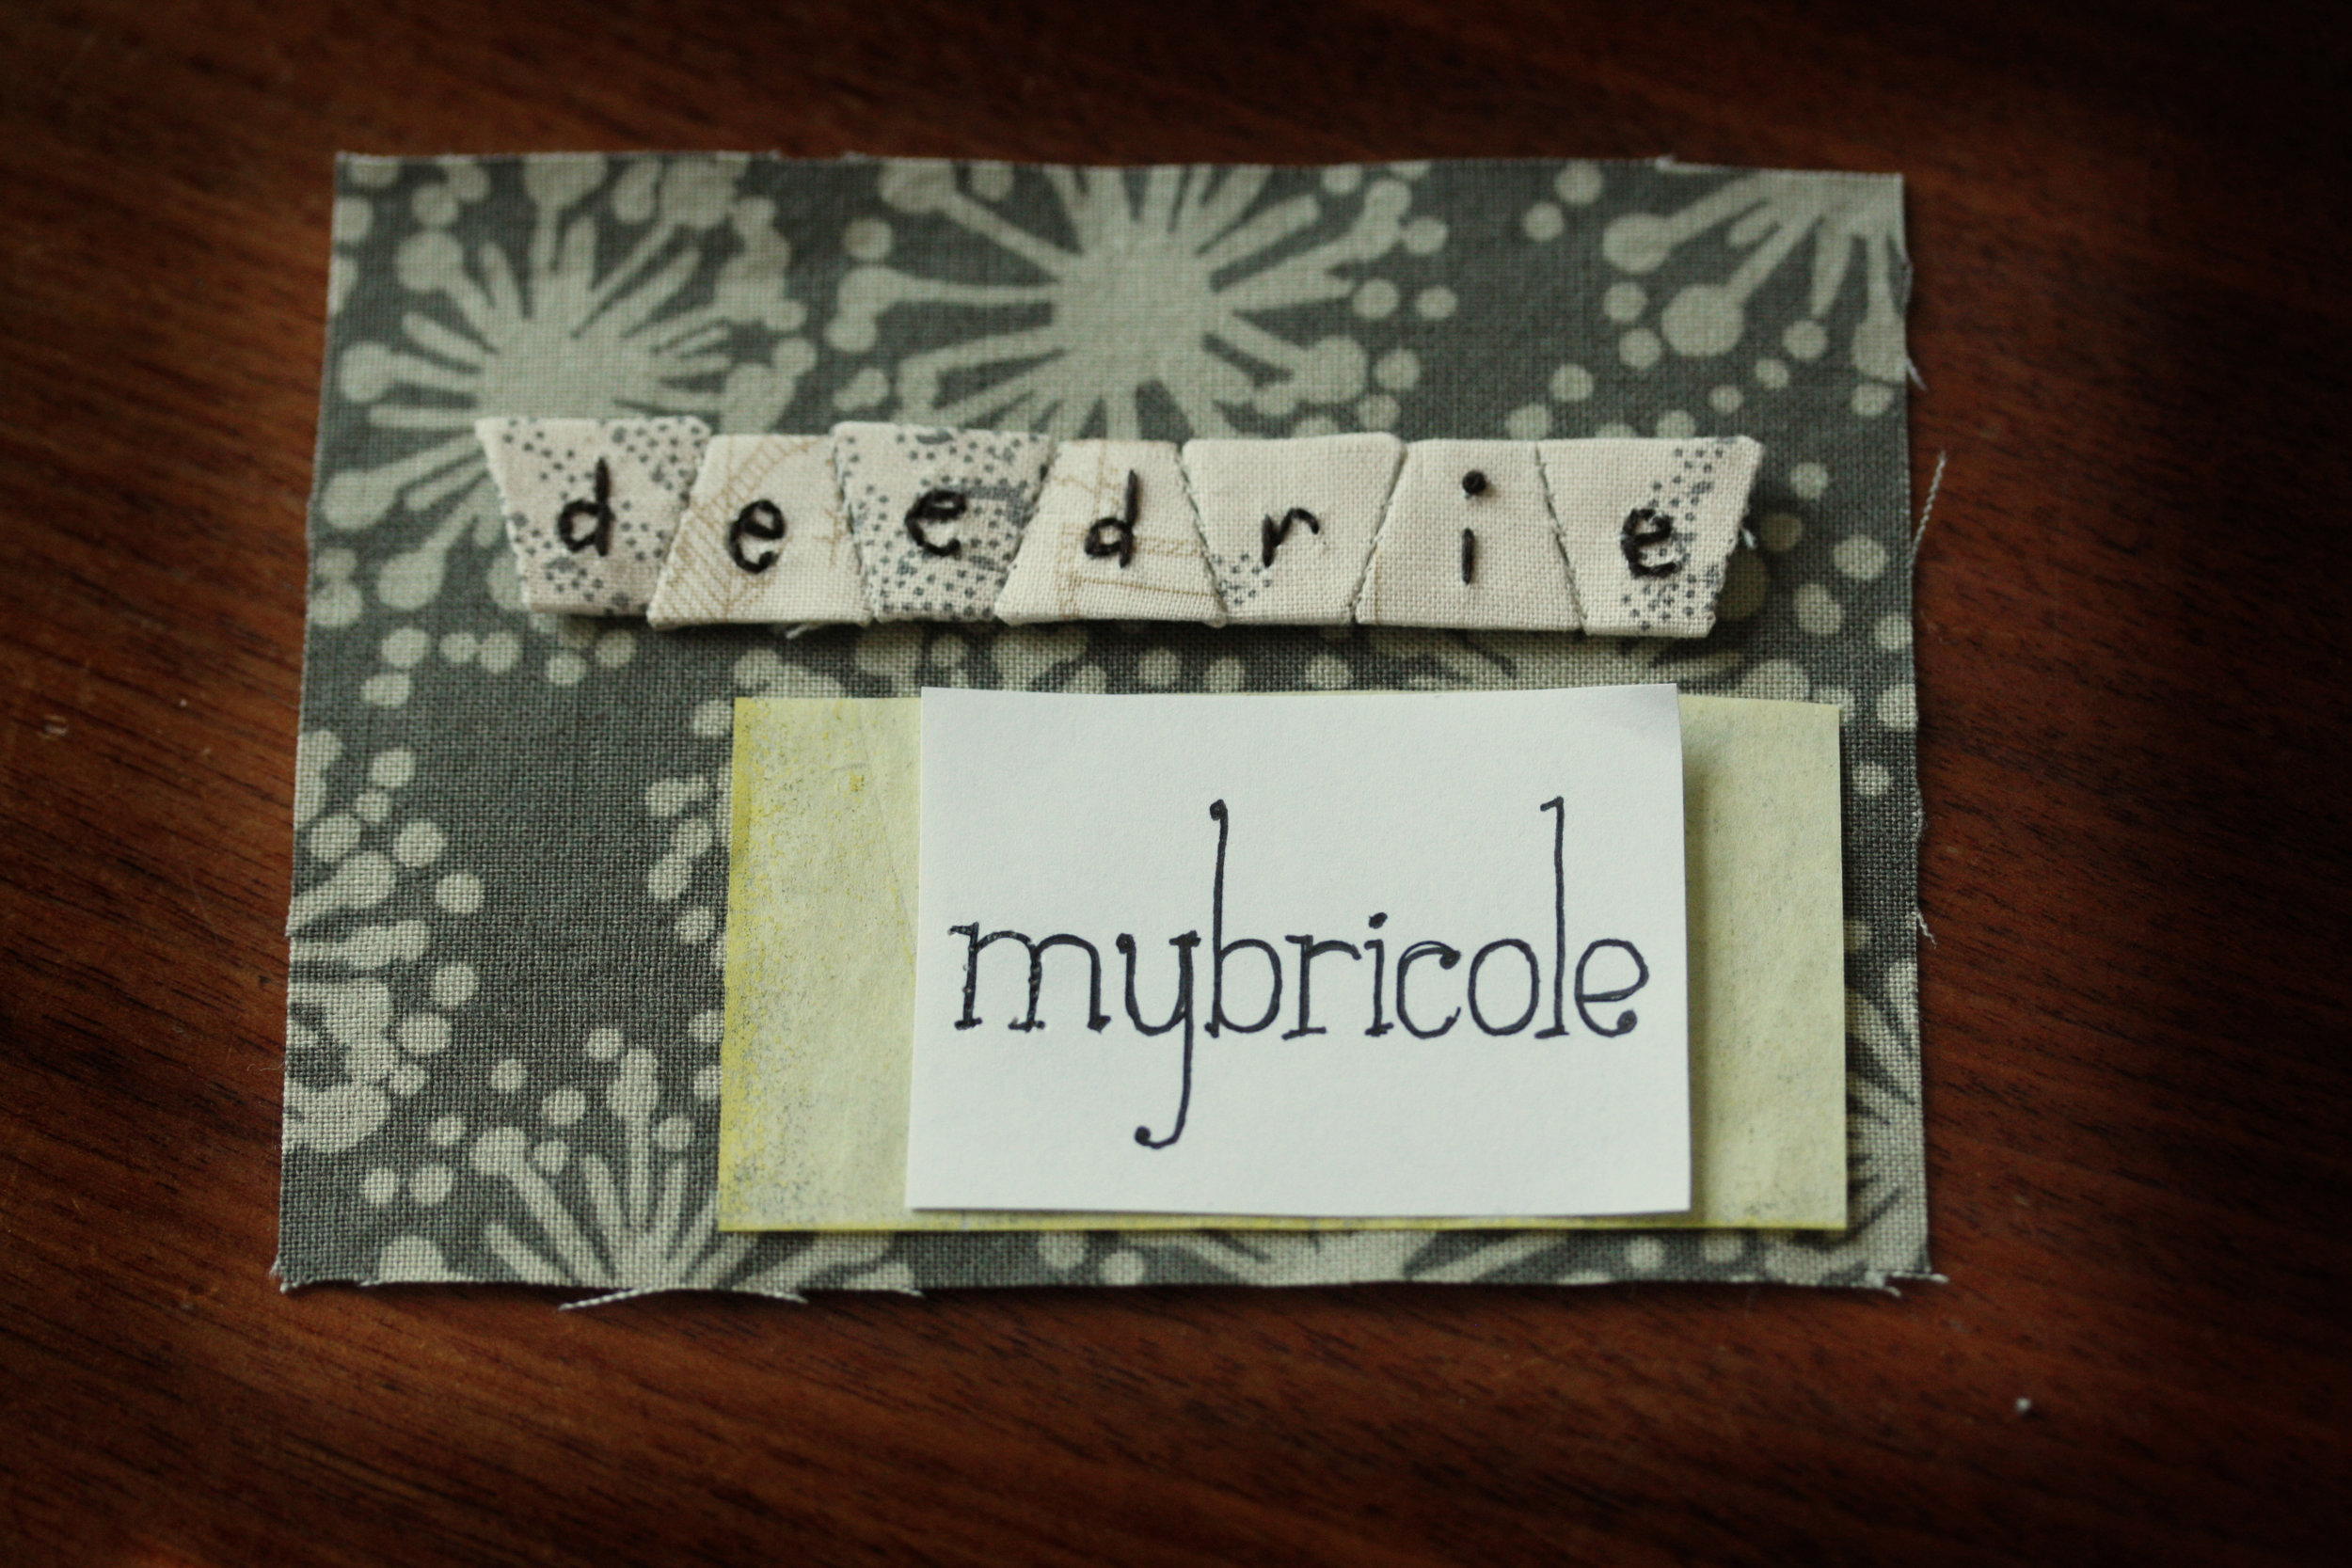
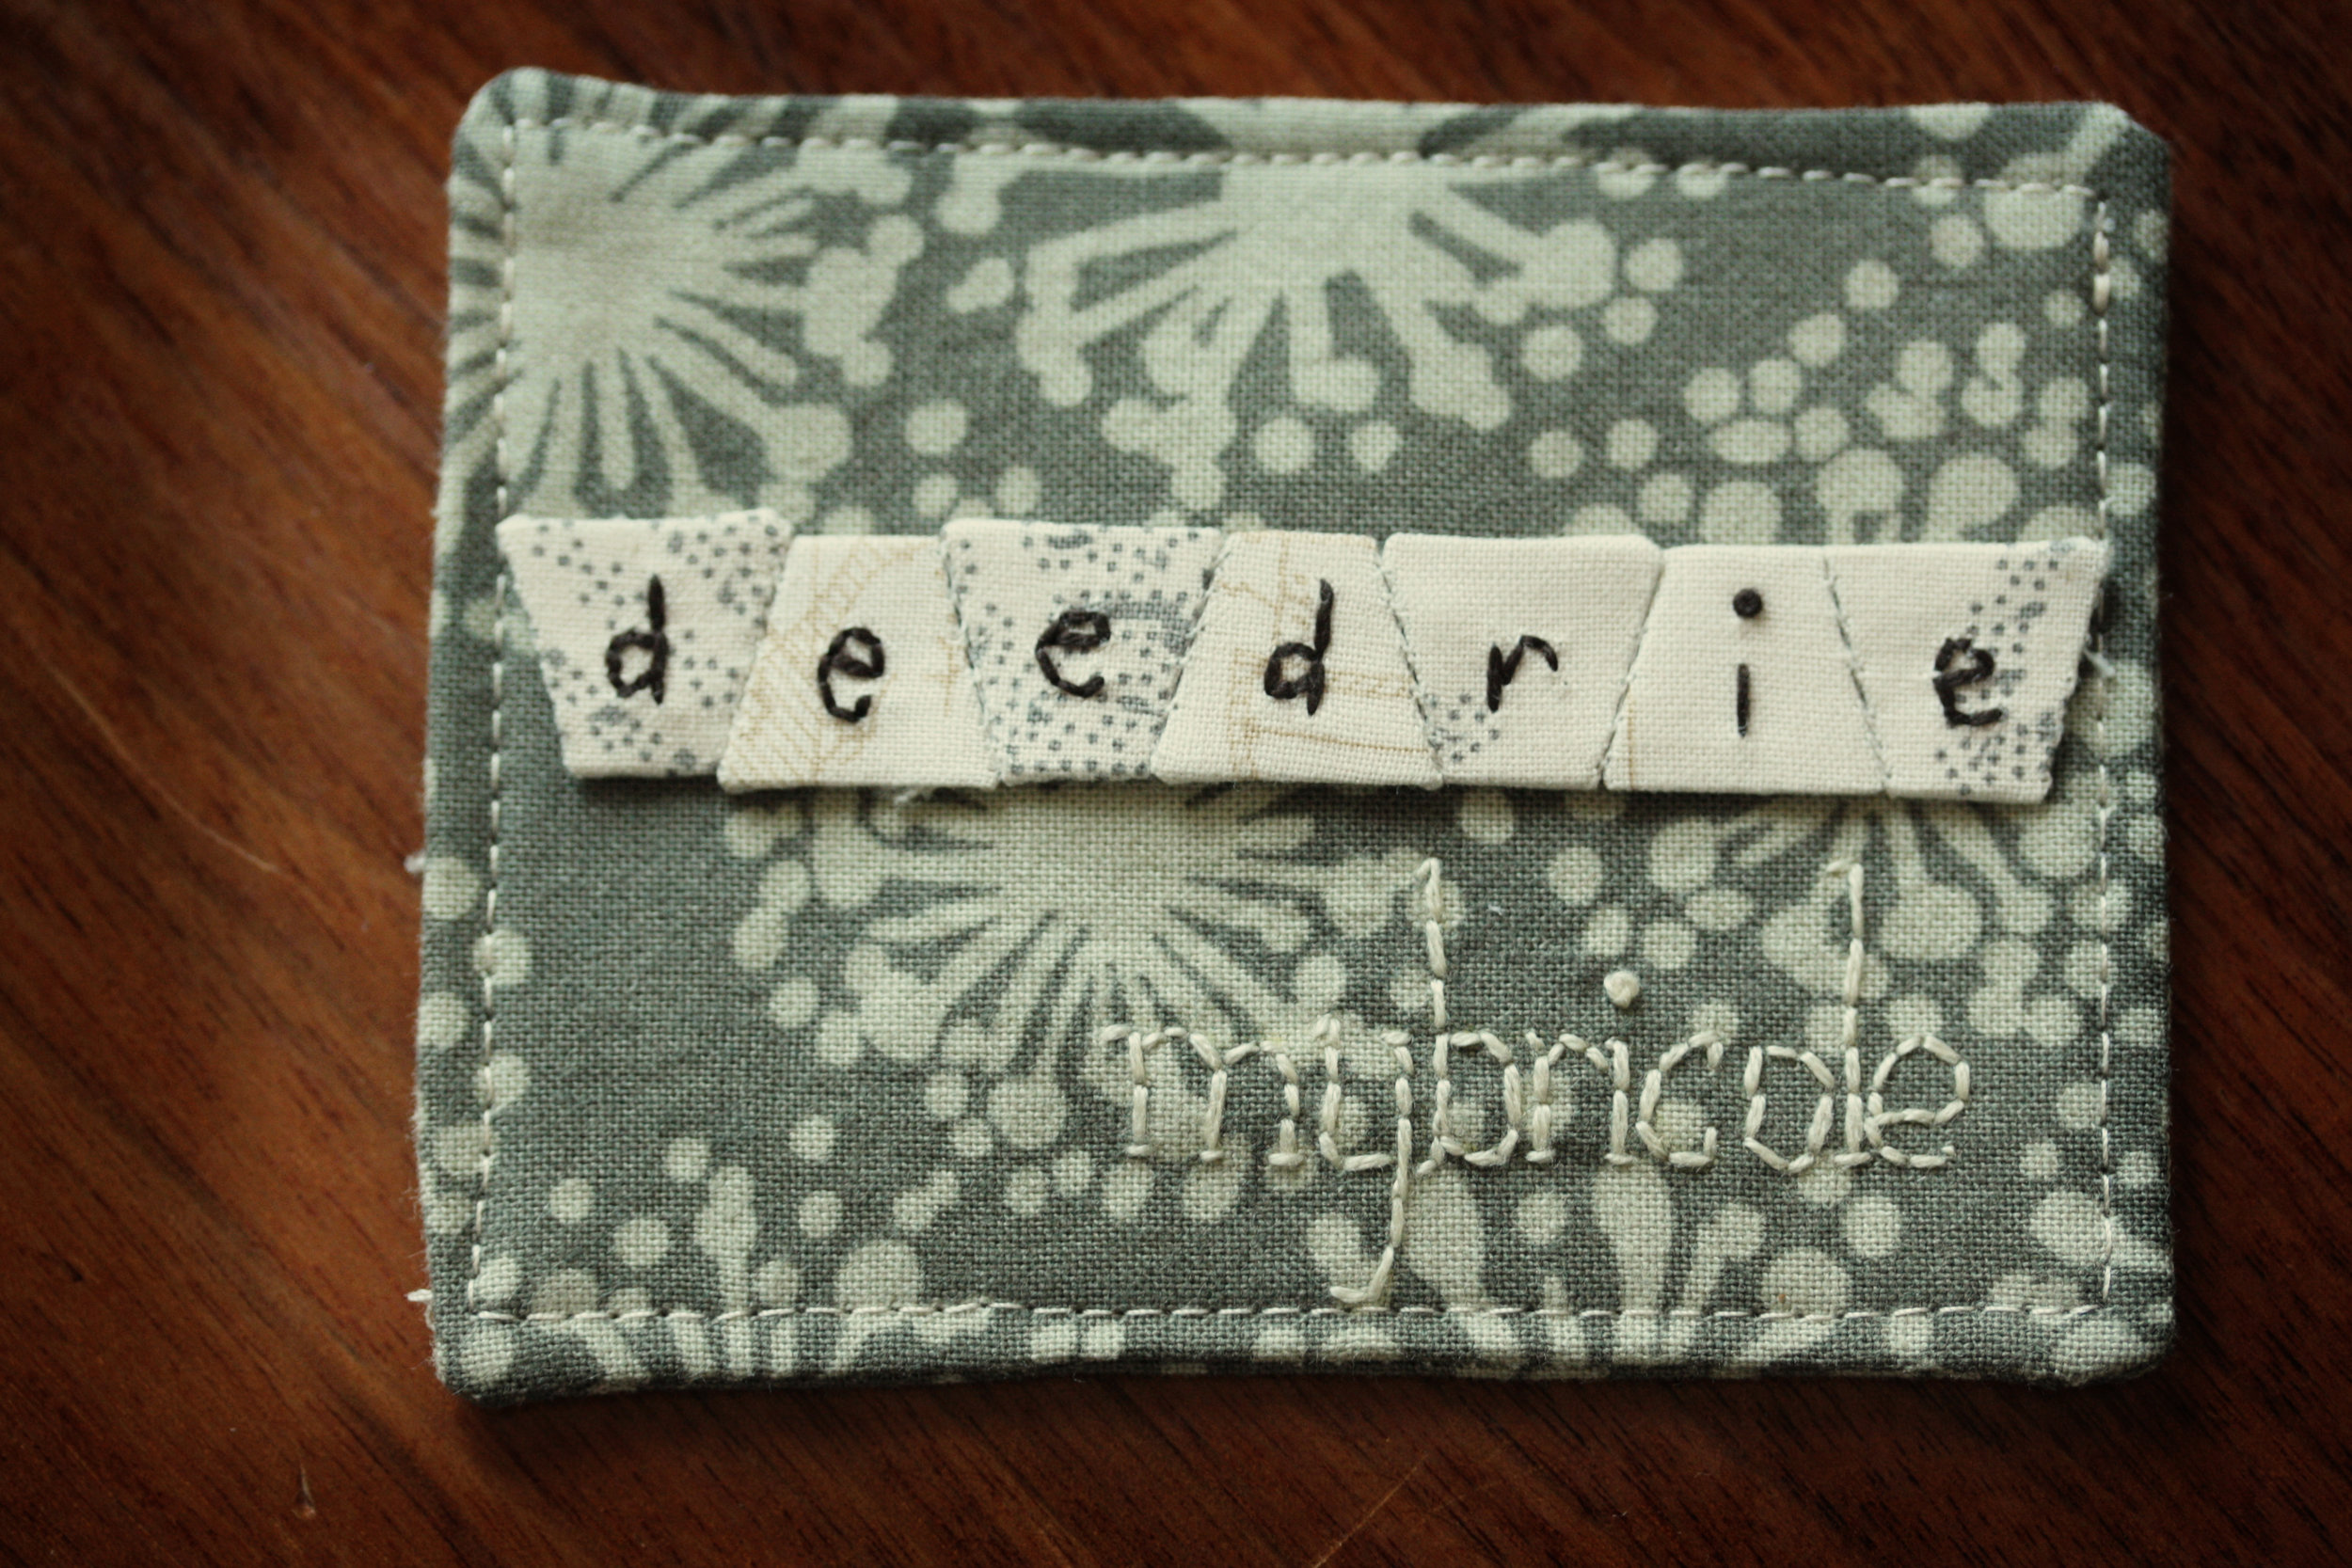
The Sewing Summit will be here before I know it.  I spent the better part of the morning trying to remember how I made my name tag last year, so this year I kept notes. To start, I took my first attempt, ever, at paper piecing.  Starting with 1/2" tumblers was probably not the best idea, but now 2" hexagons with be smooth sailing.  Once I had them stitched together I embroidered my name on them.

For the base of the tag, cut 2 rectangles for the front and back and fuse some 808 pellon on the back of  each.  Making sure to cut the pellon 1/4" smaller on each side for the seam allowance.

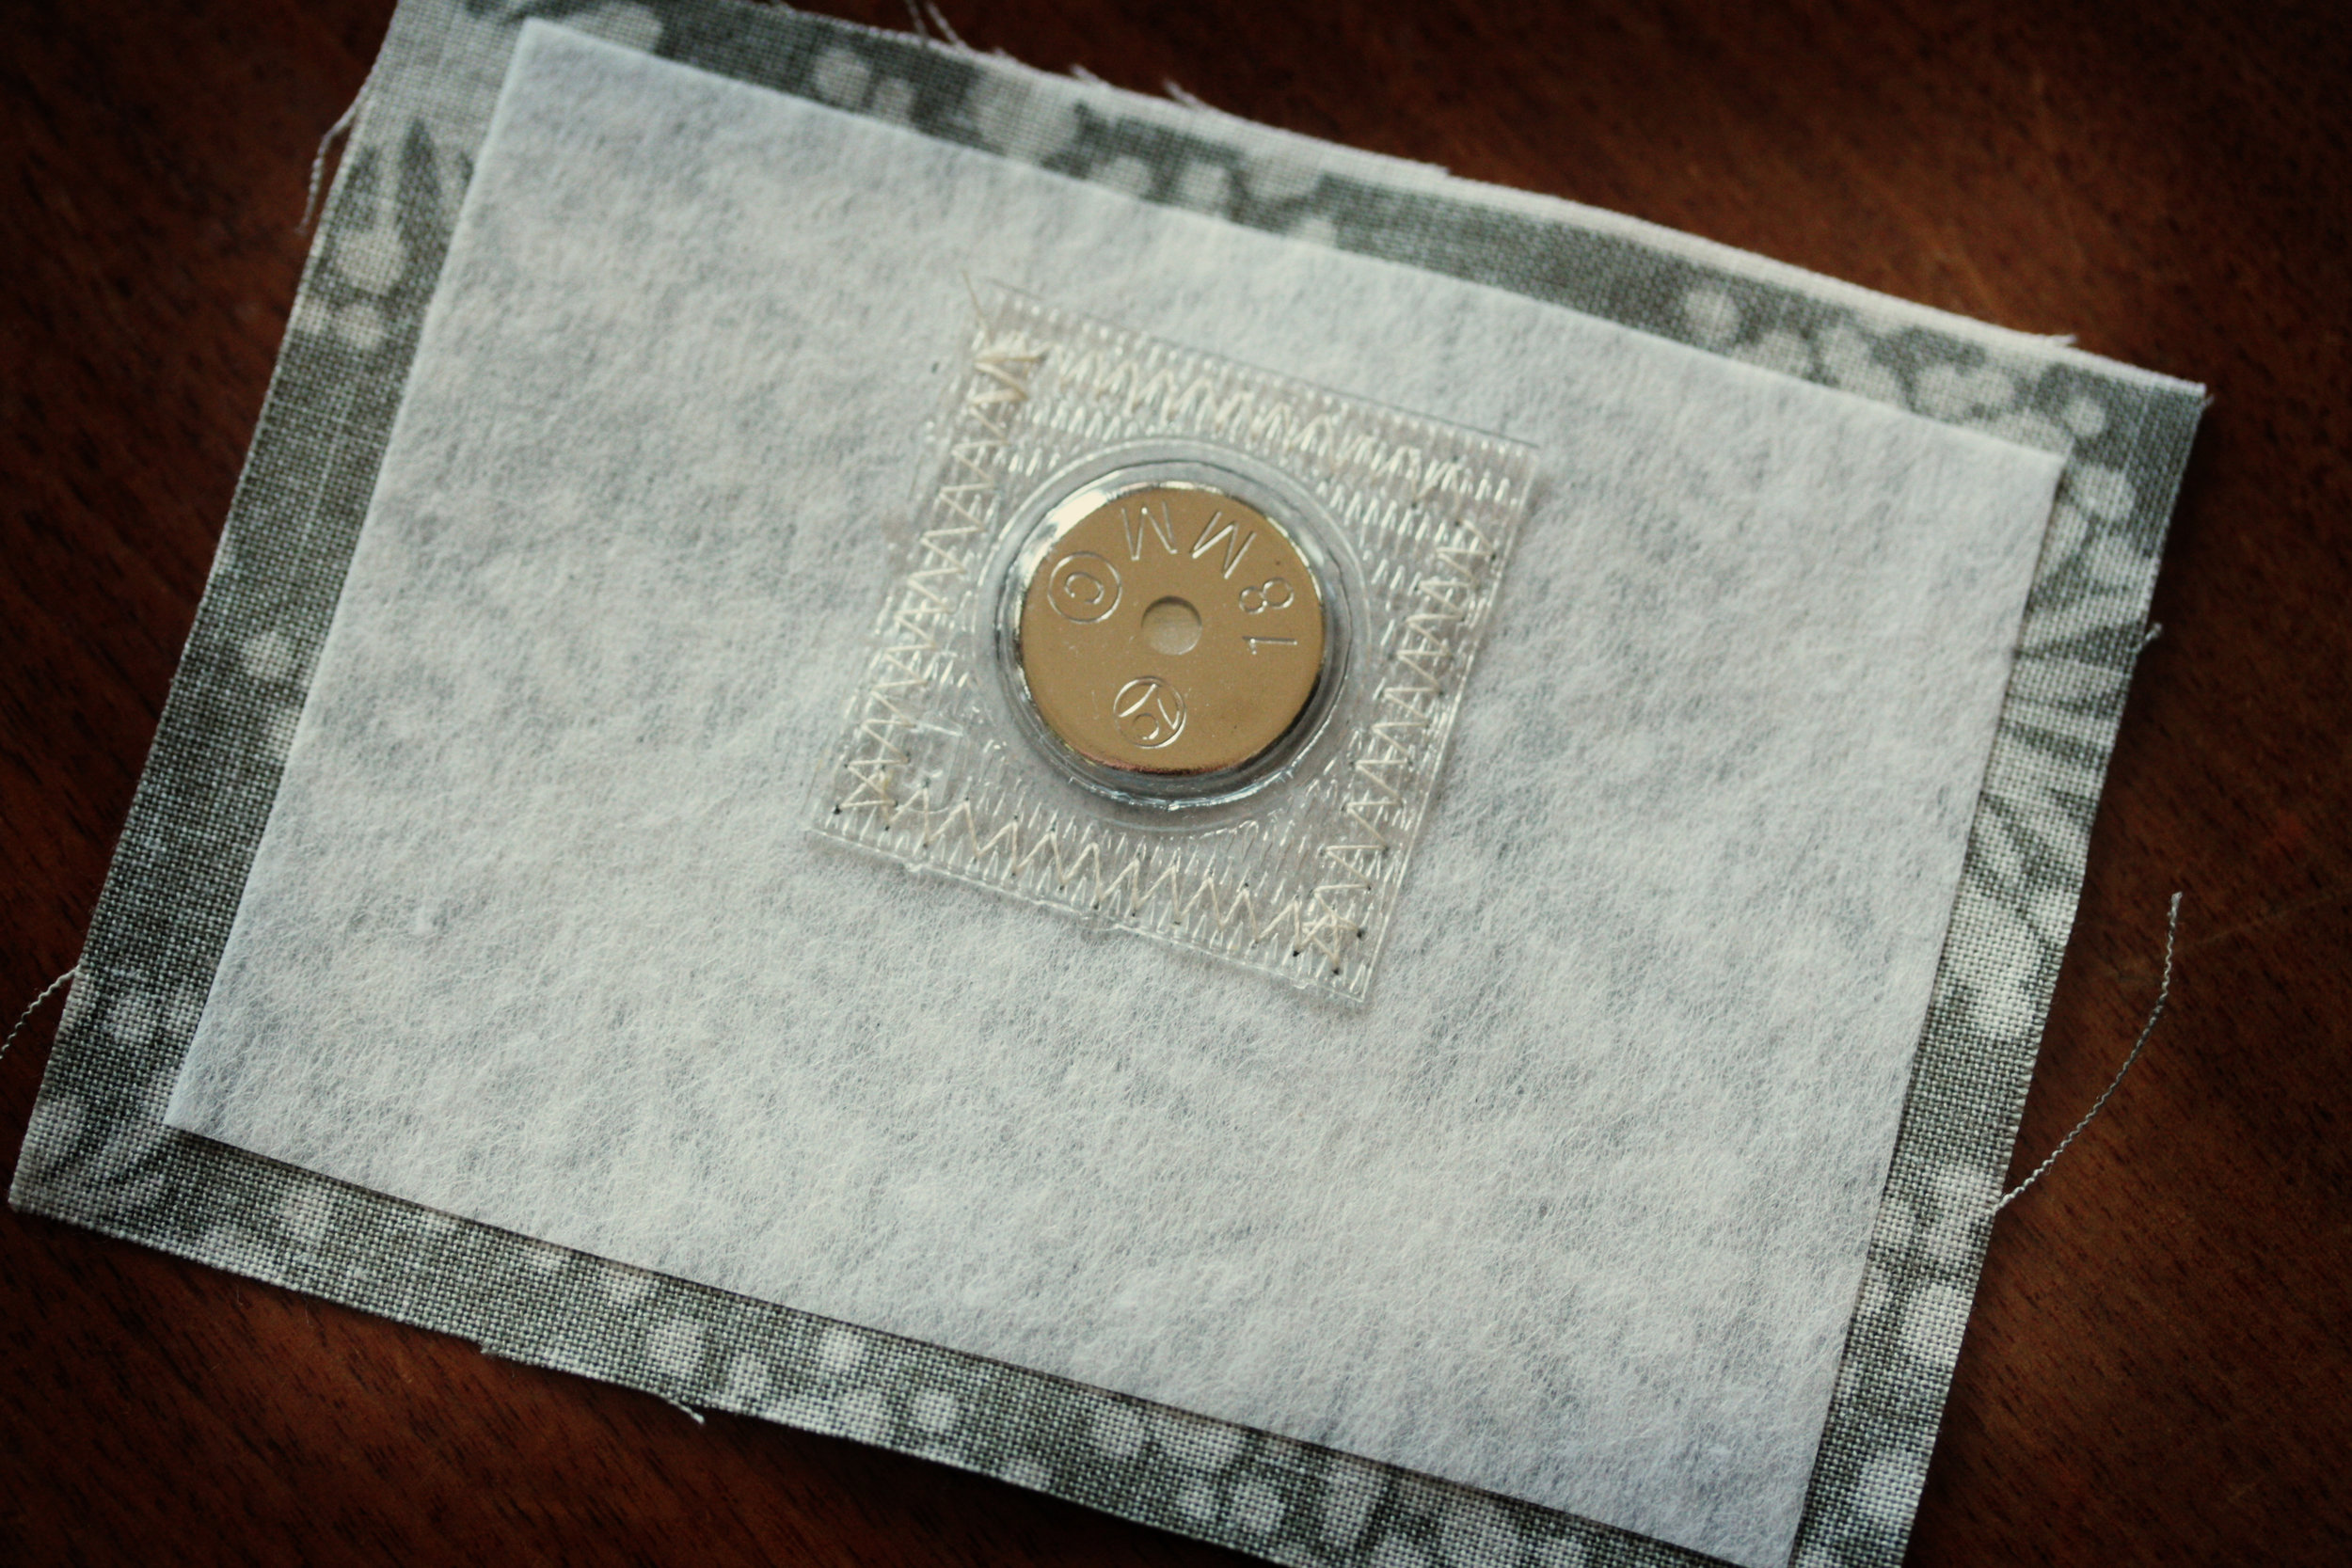
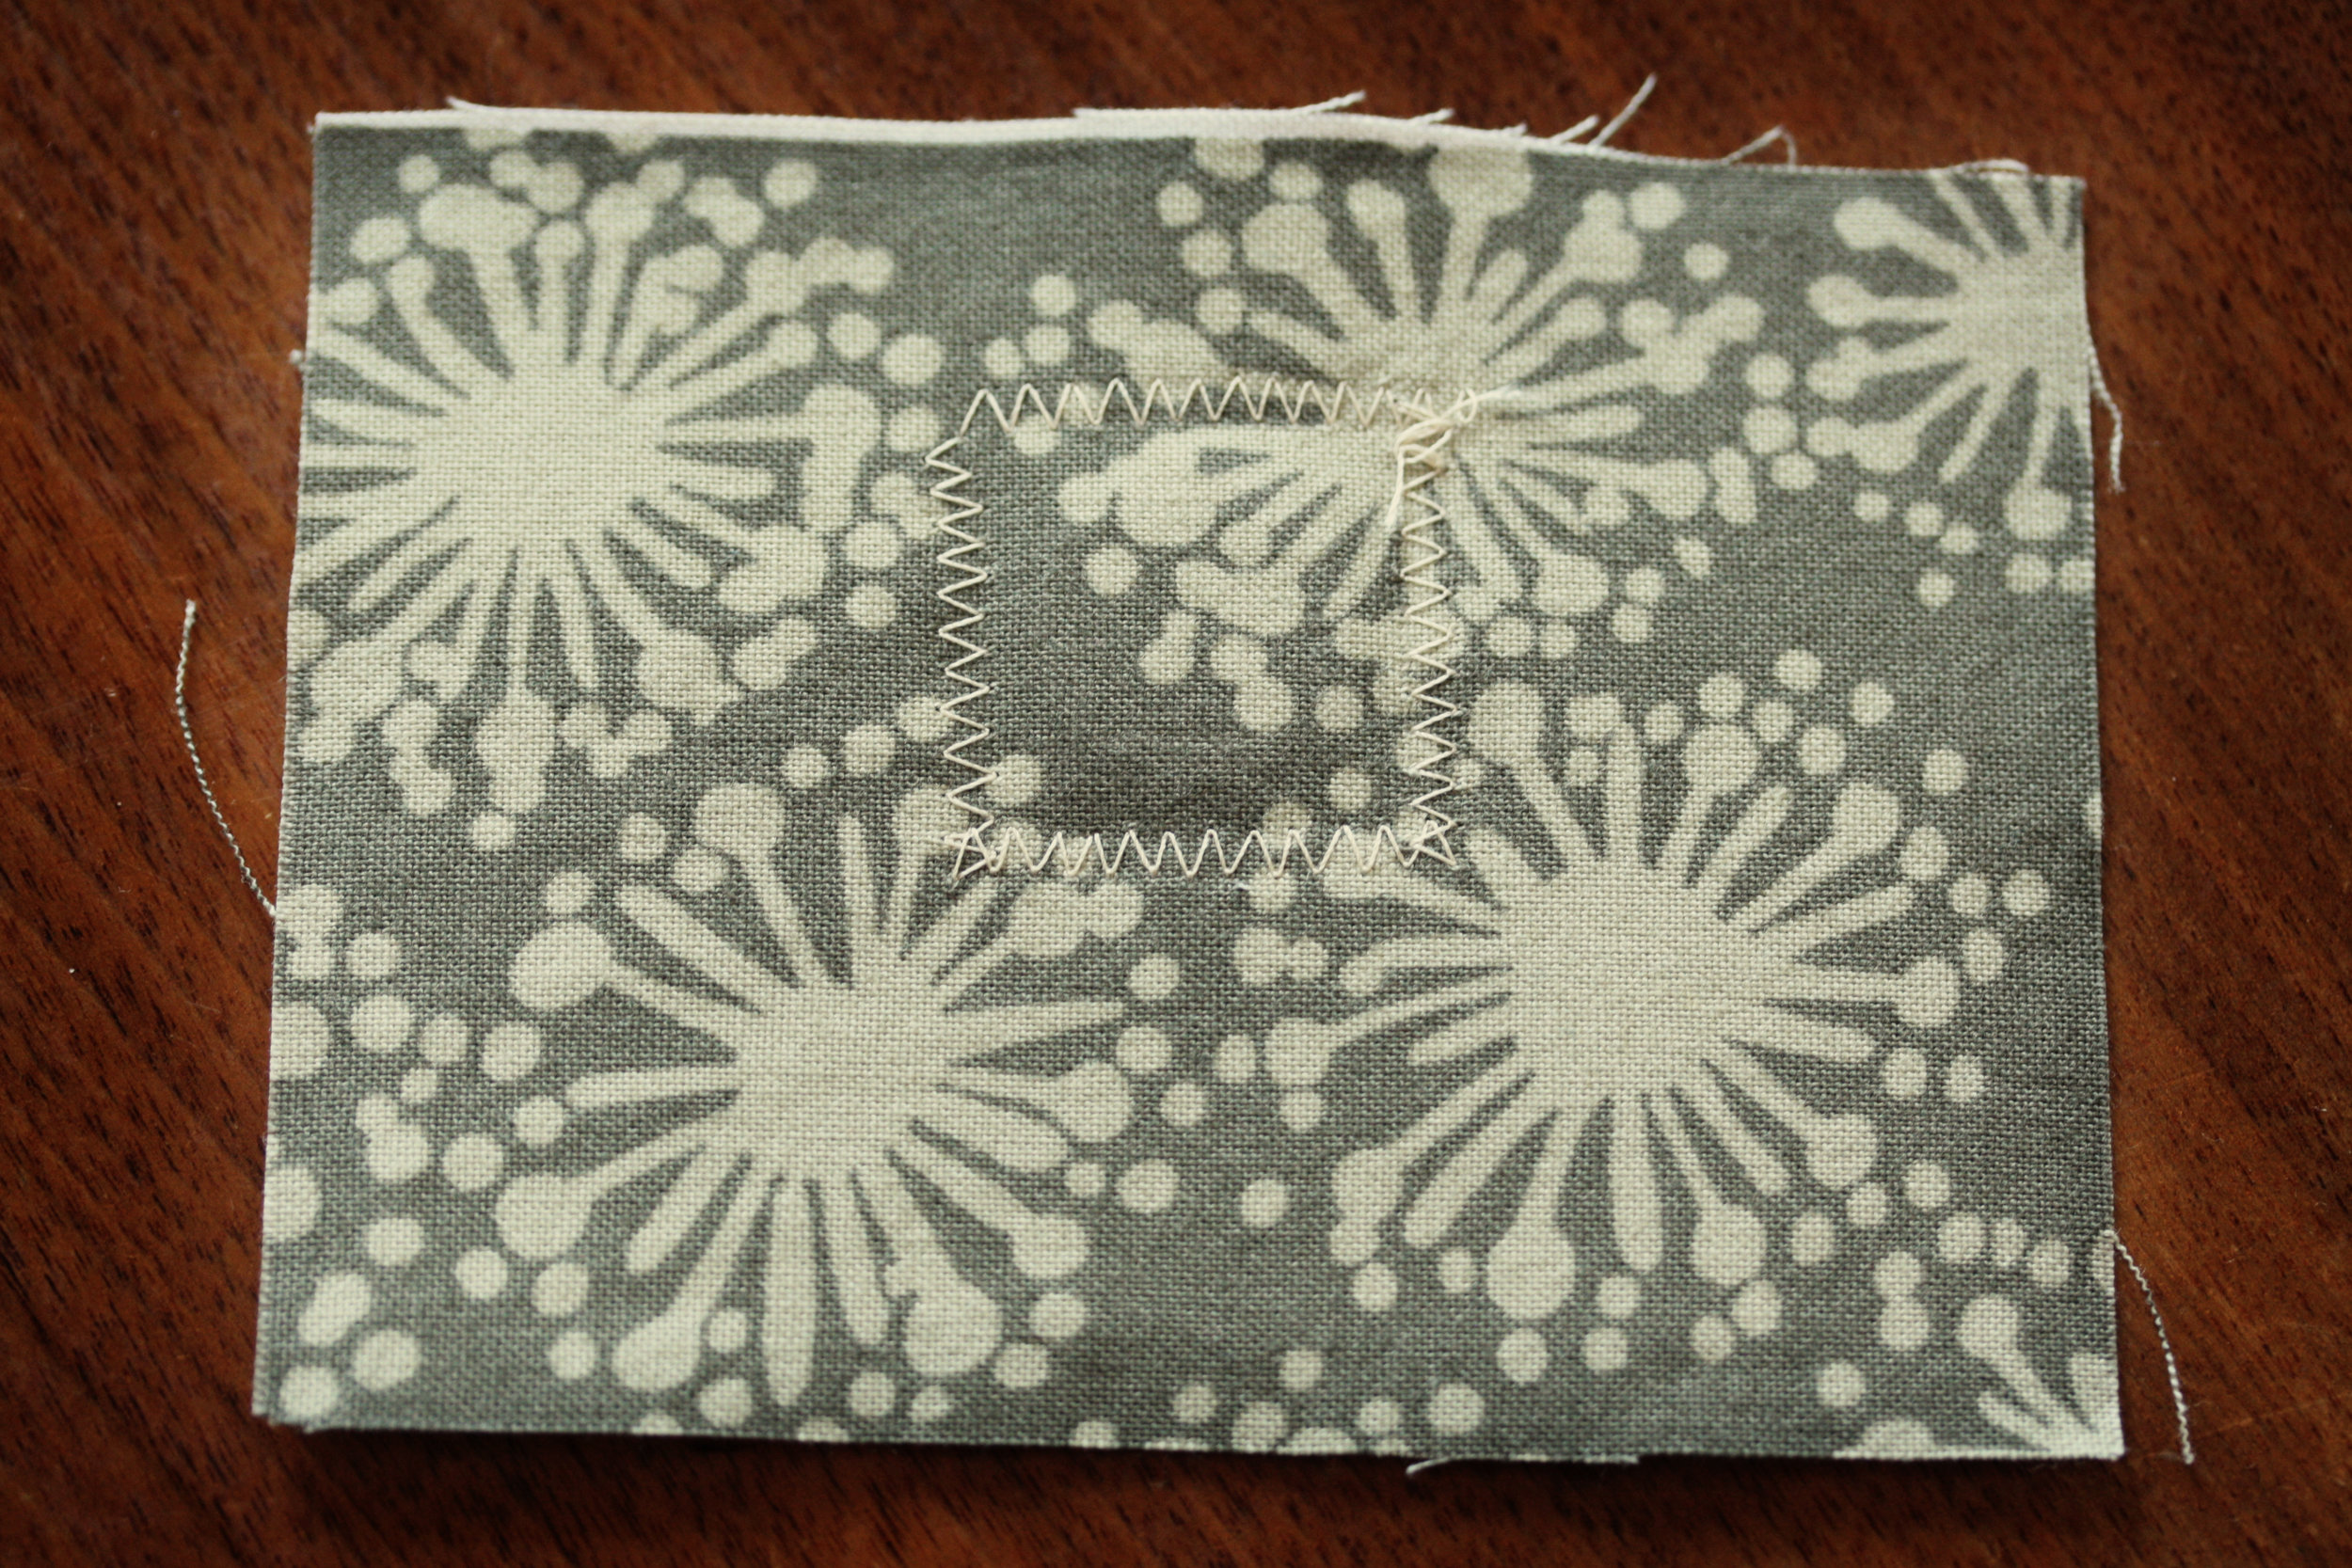
Using a zig-zag stitch attach one of the magnet clasps to one piece.  This piece is now the back.

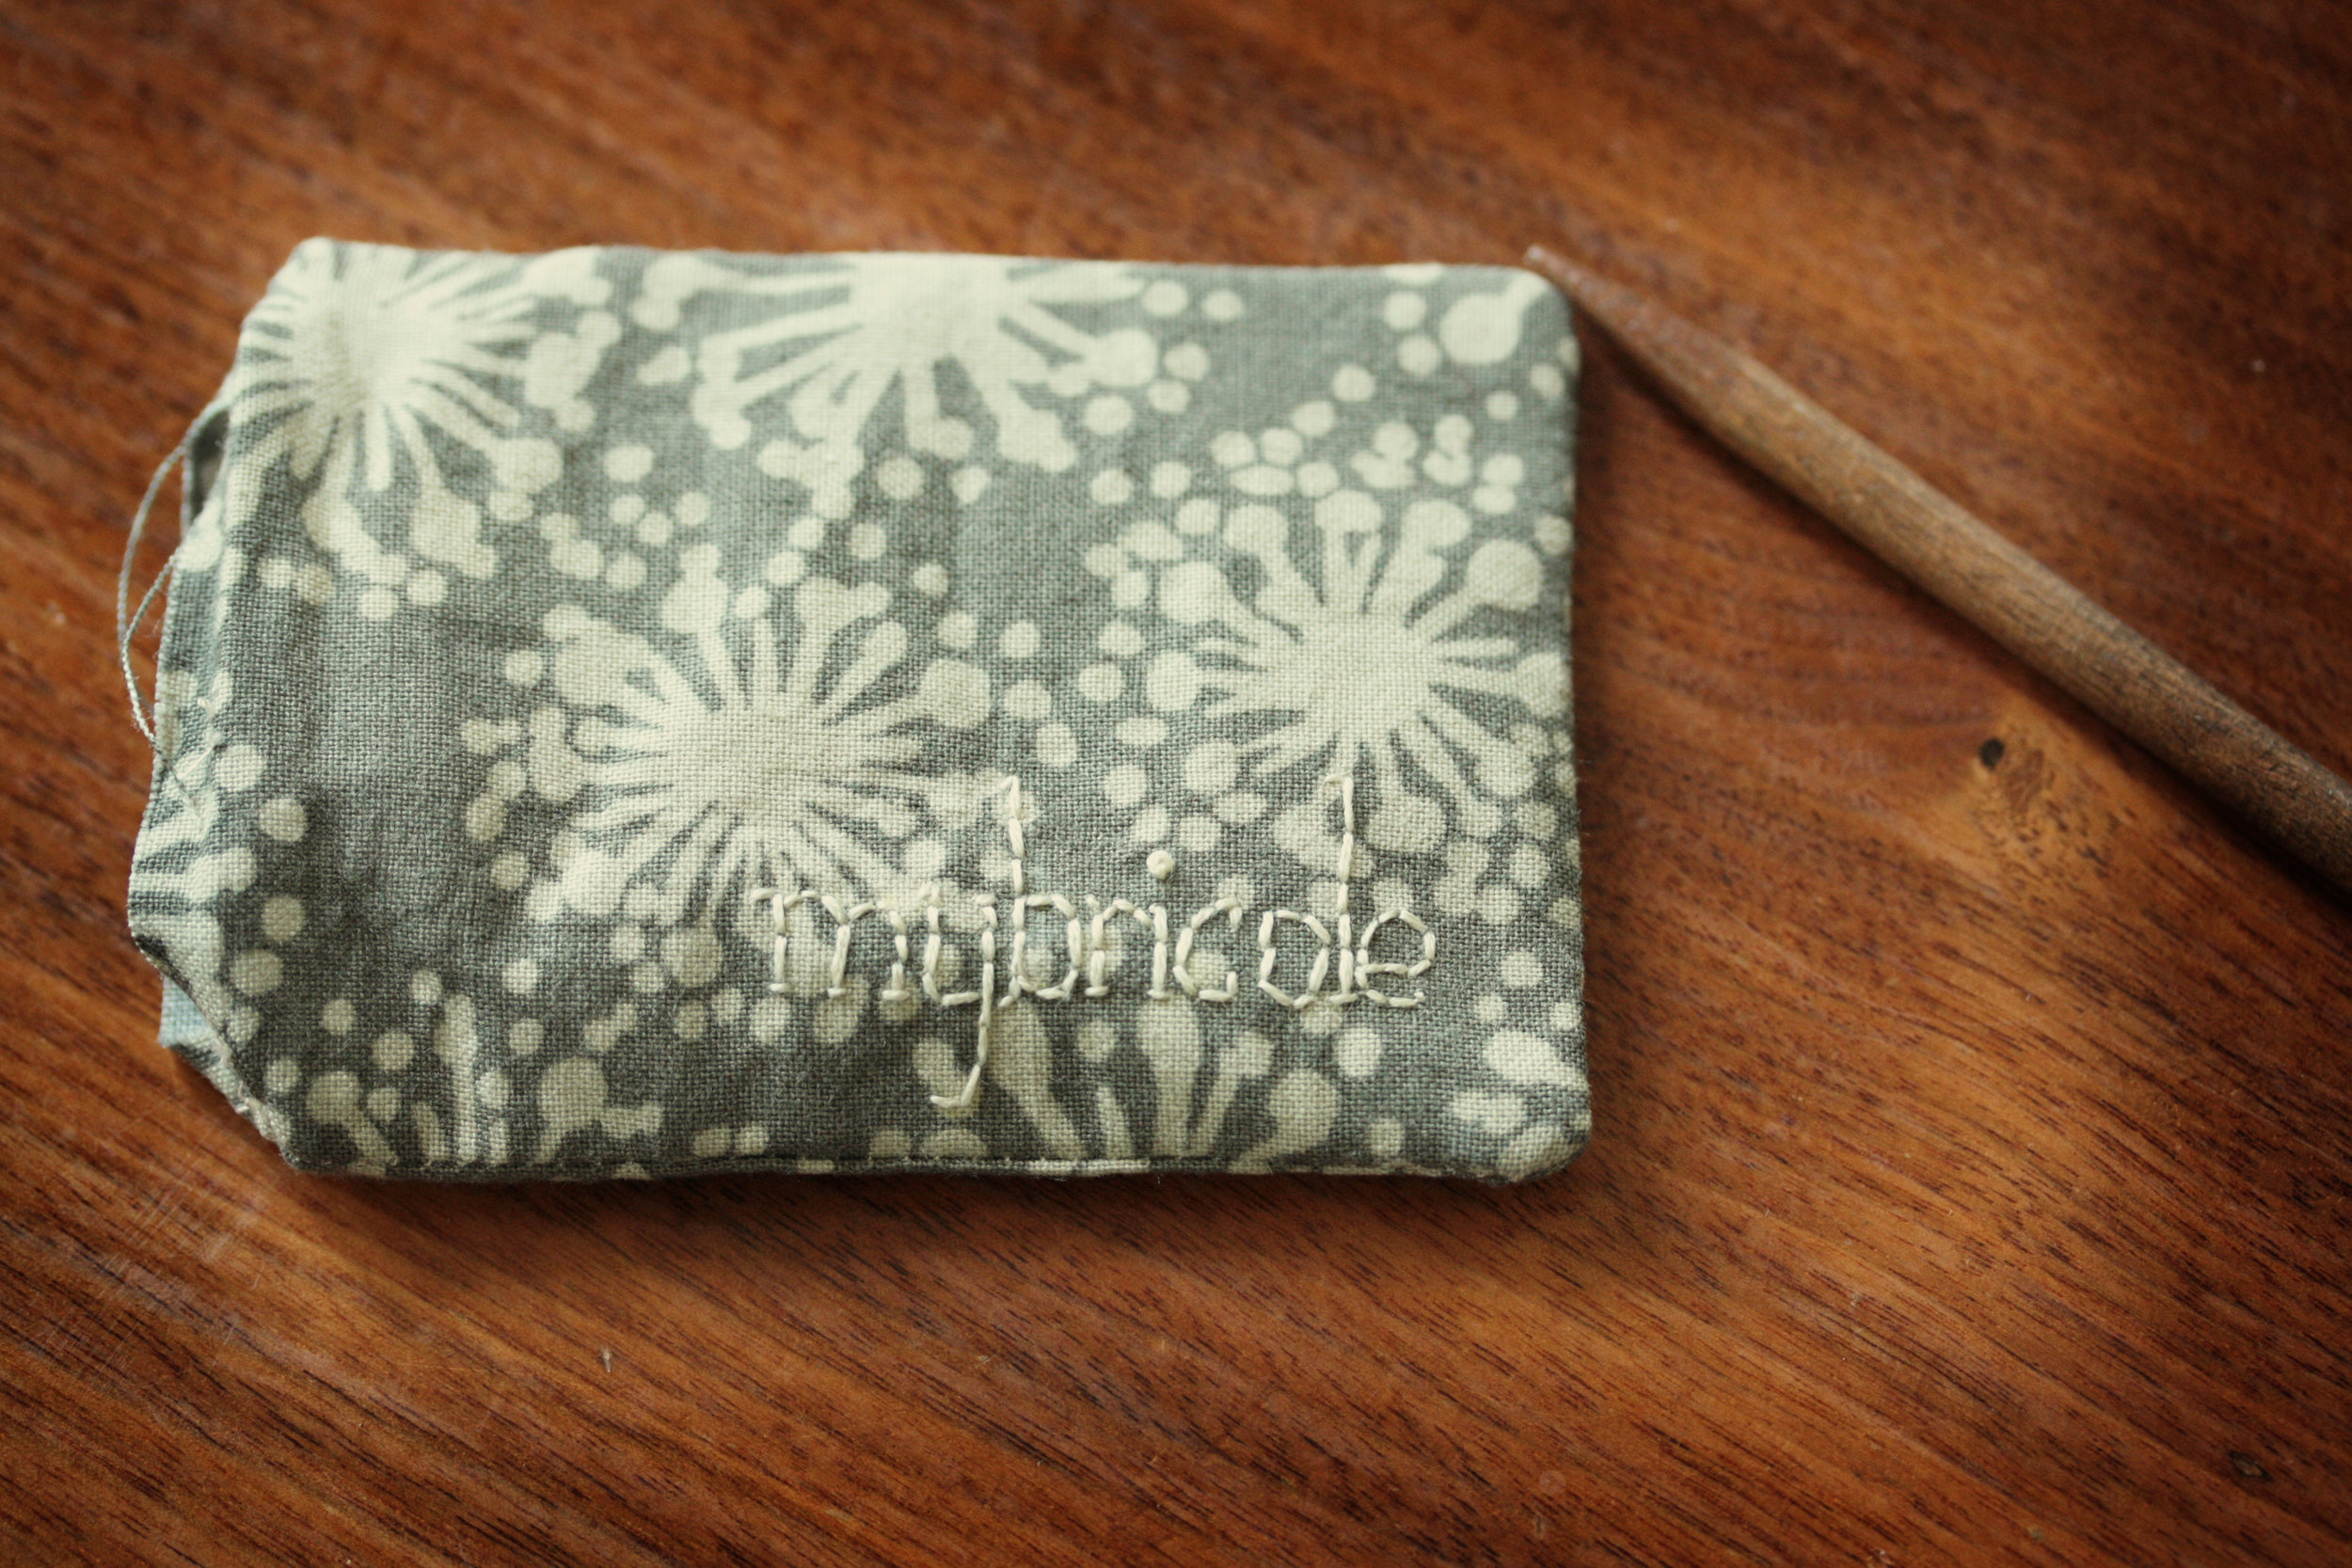
Switching to the front, using transfer paper, put my blog name on and then embroider over the transfer.

With right sides together I stitch three sides of the tag together with a 1/4'seam.  Leaving the fourth open gives enough room to turn it right side out with the bulk of the magnet and the interfacing.

Use a knitting needle to push the corners to points.  Press in the open edge and top stitched around the entire rectangle.

All that is left is attaching the tumblers.  Fuse them with a strip of steam a seam and hand stitch them around the edge they are secure.

Cross "make name tag" off of the to do list.


what i did on my summer vacation

We hit the road for Chicago a couple of weeks ago.  First stop - Museum of Science and Industry

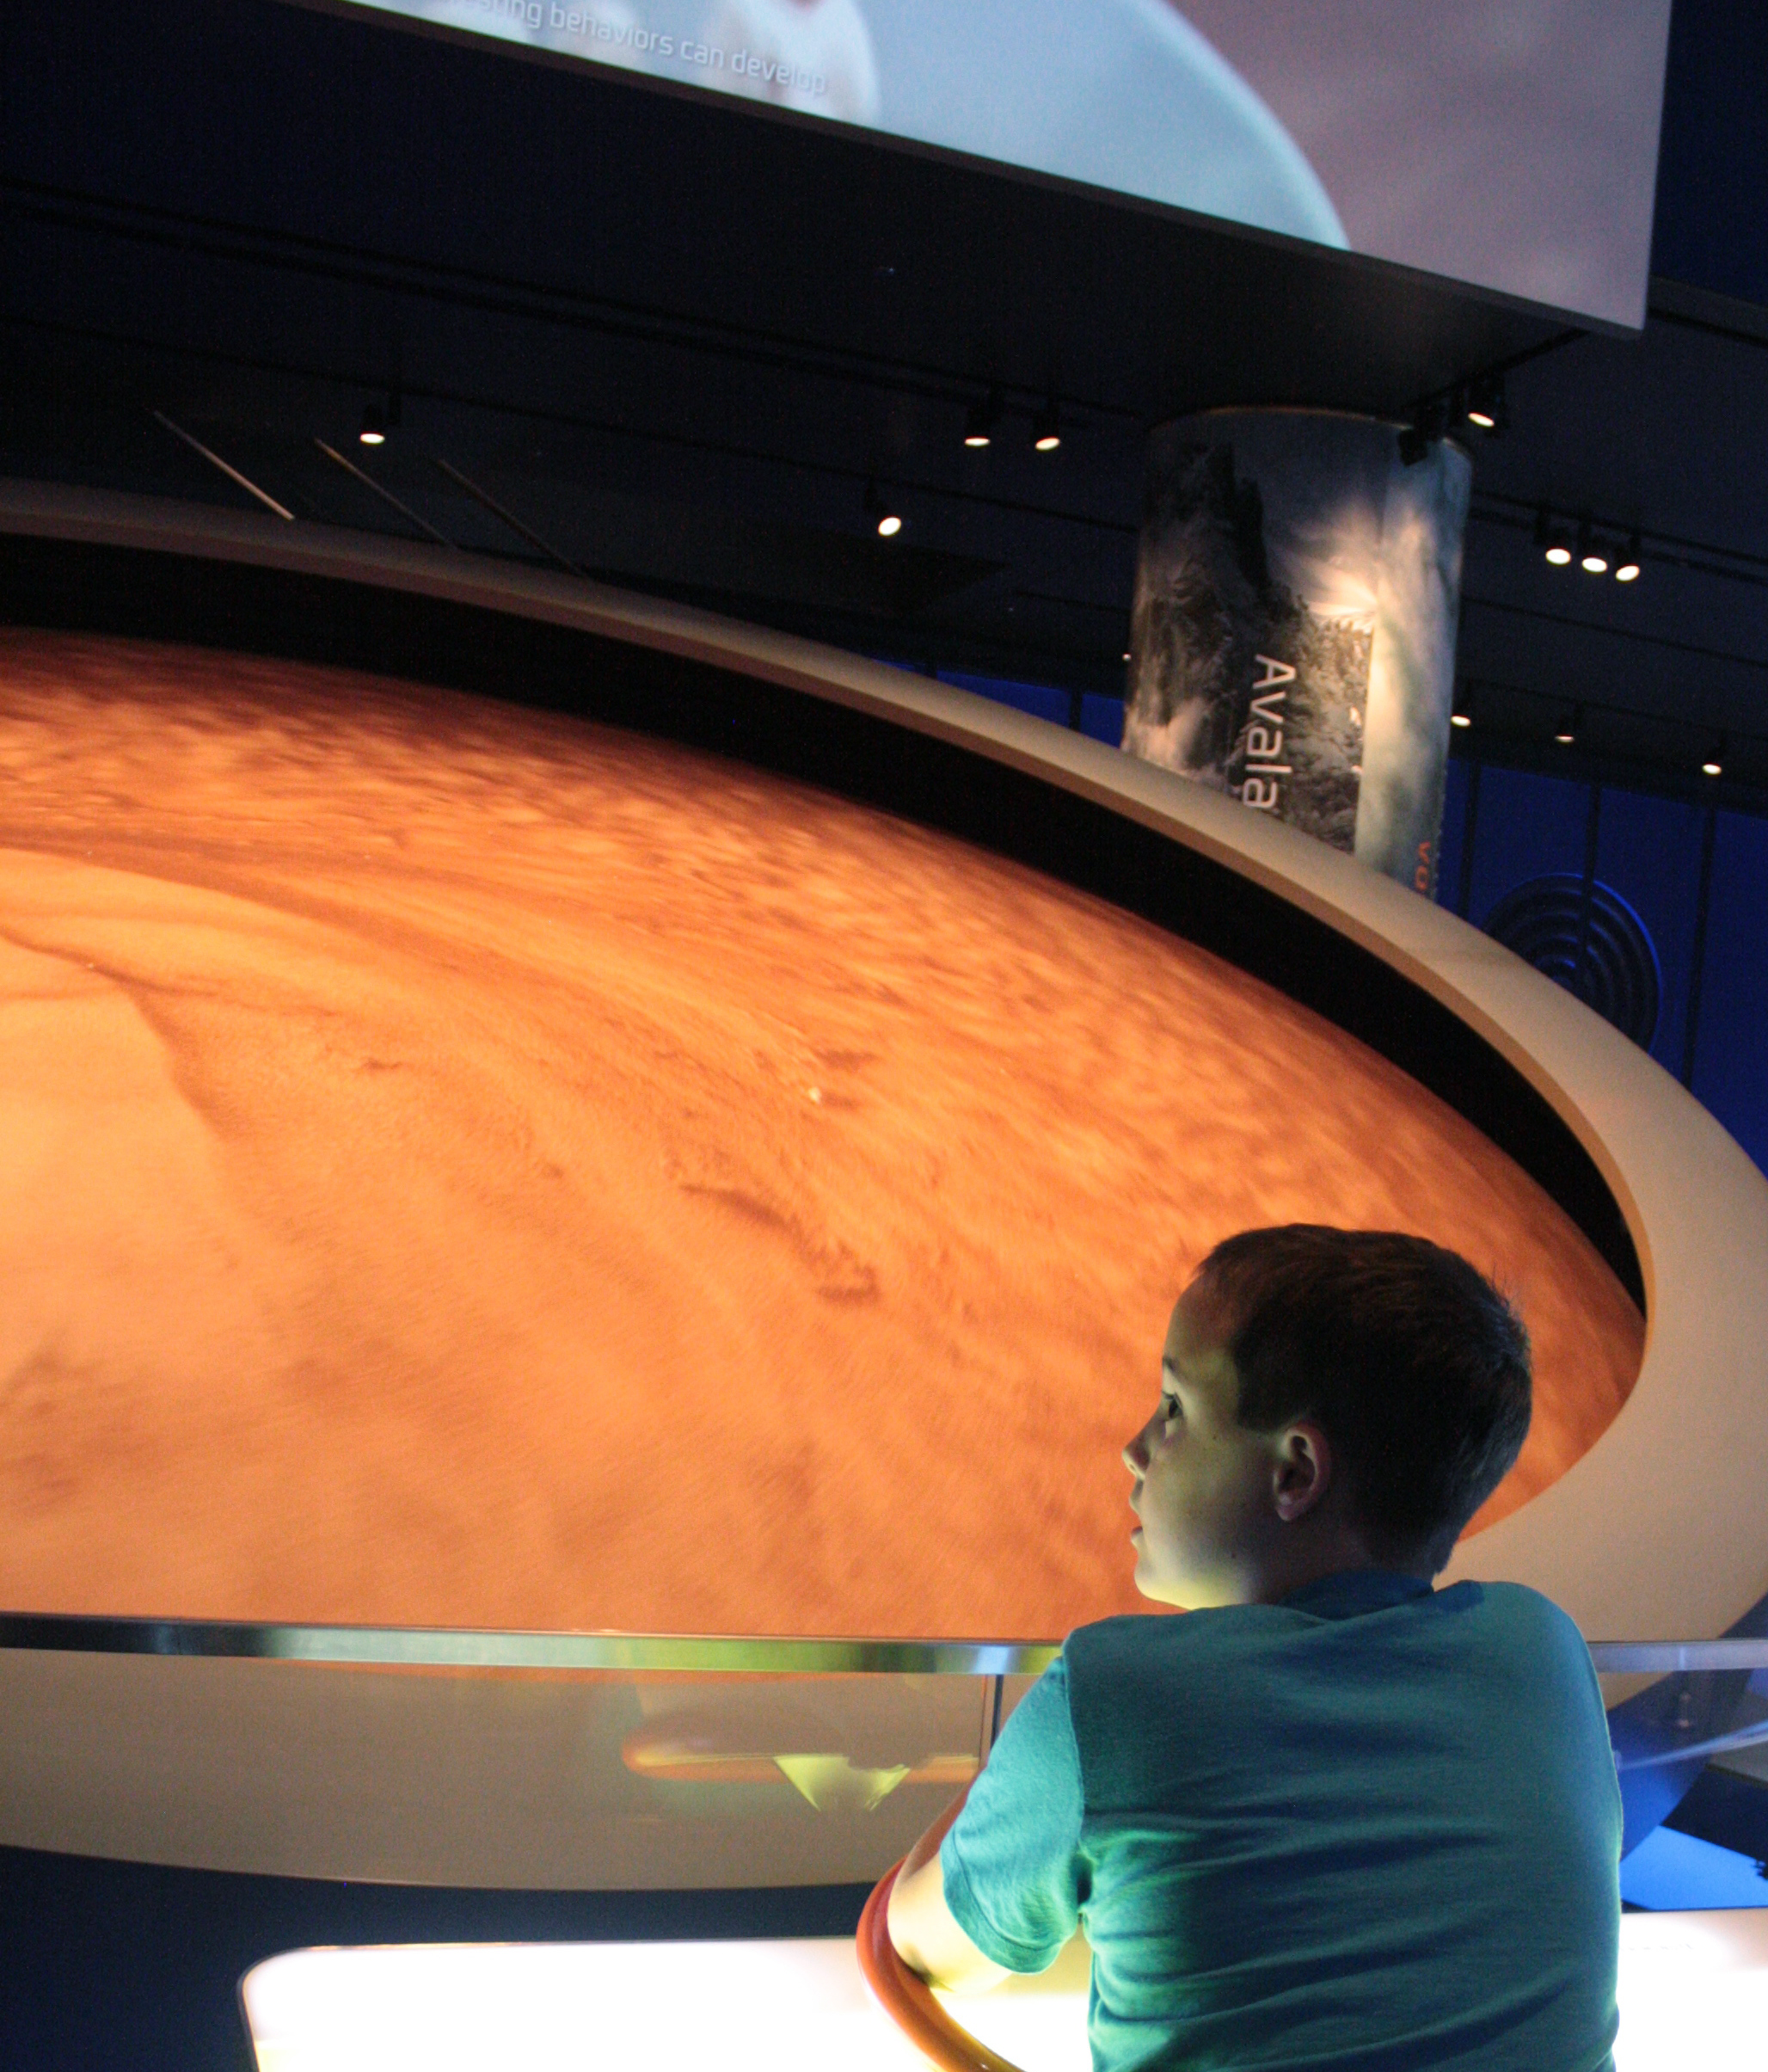
Cj spent some time manning the wheel the avalanche simulator.

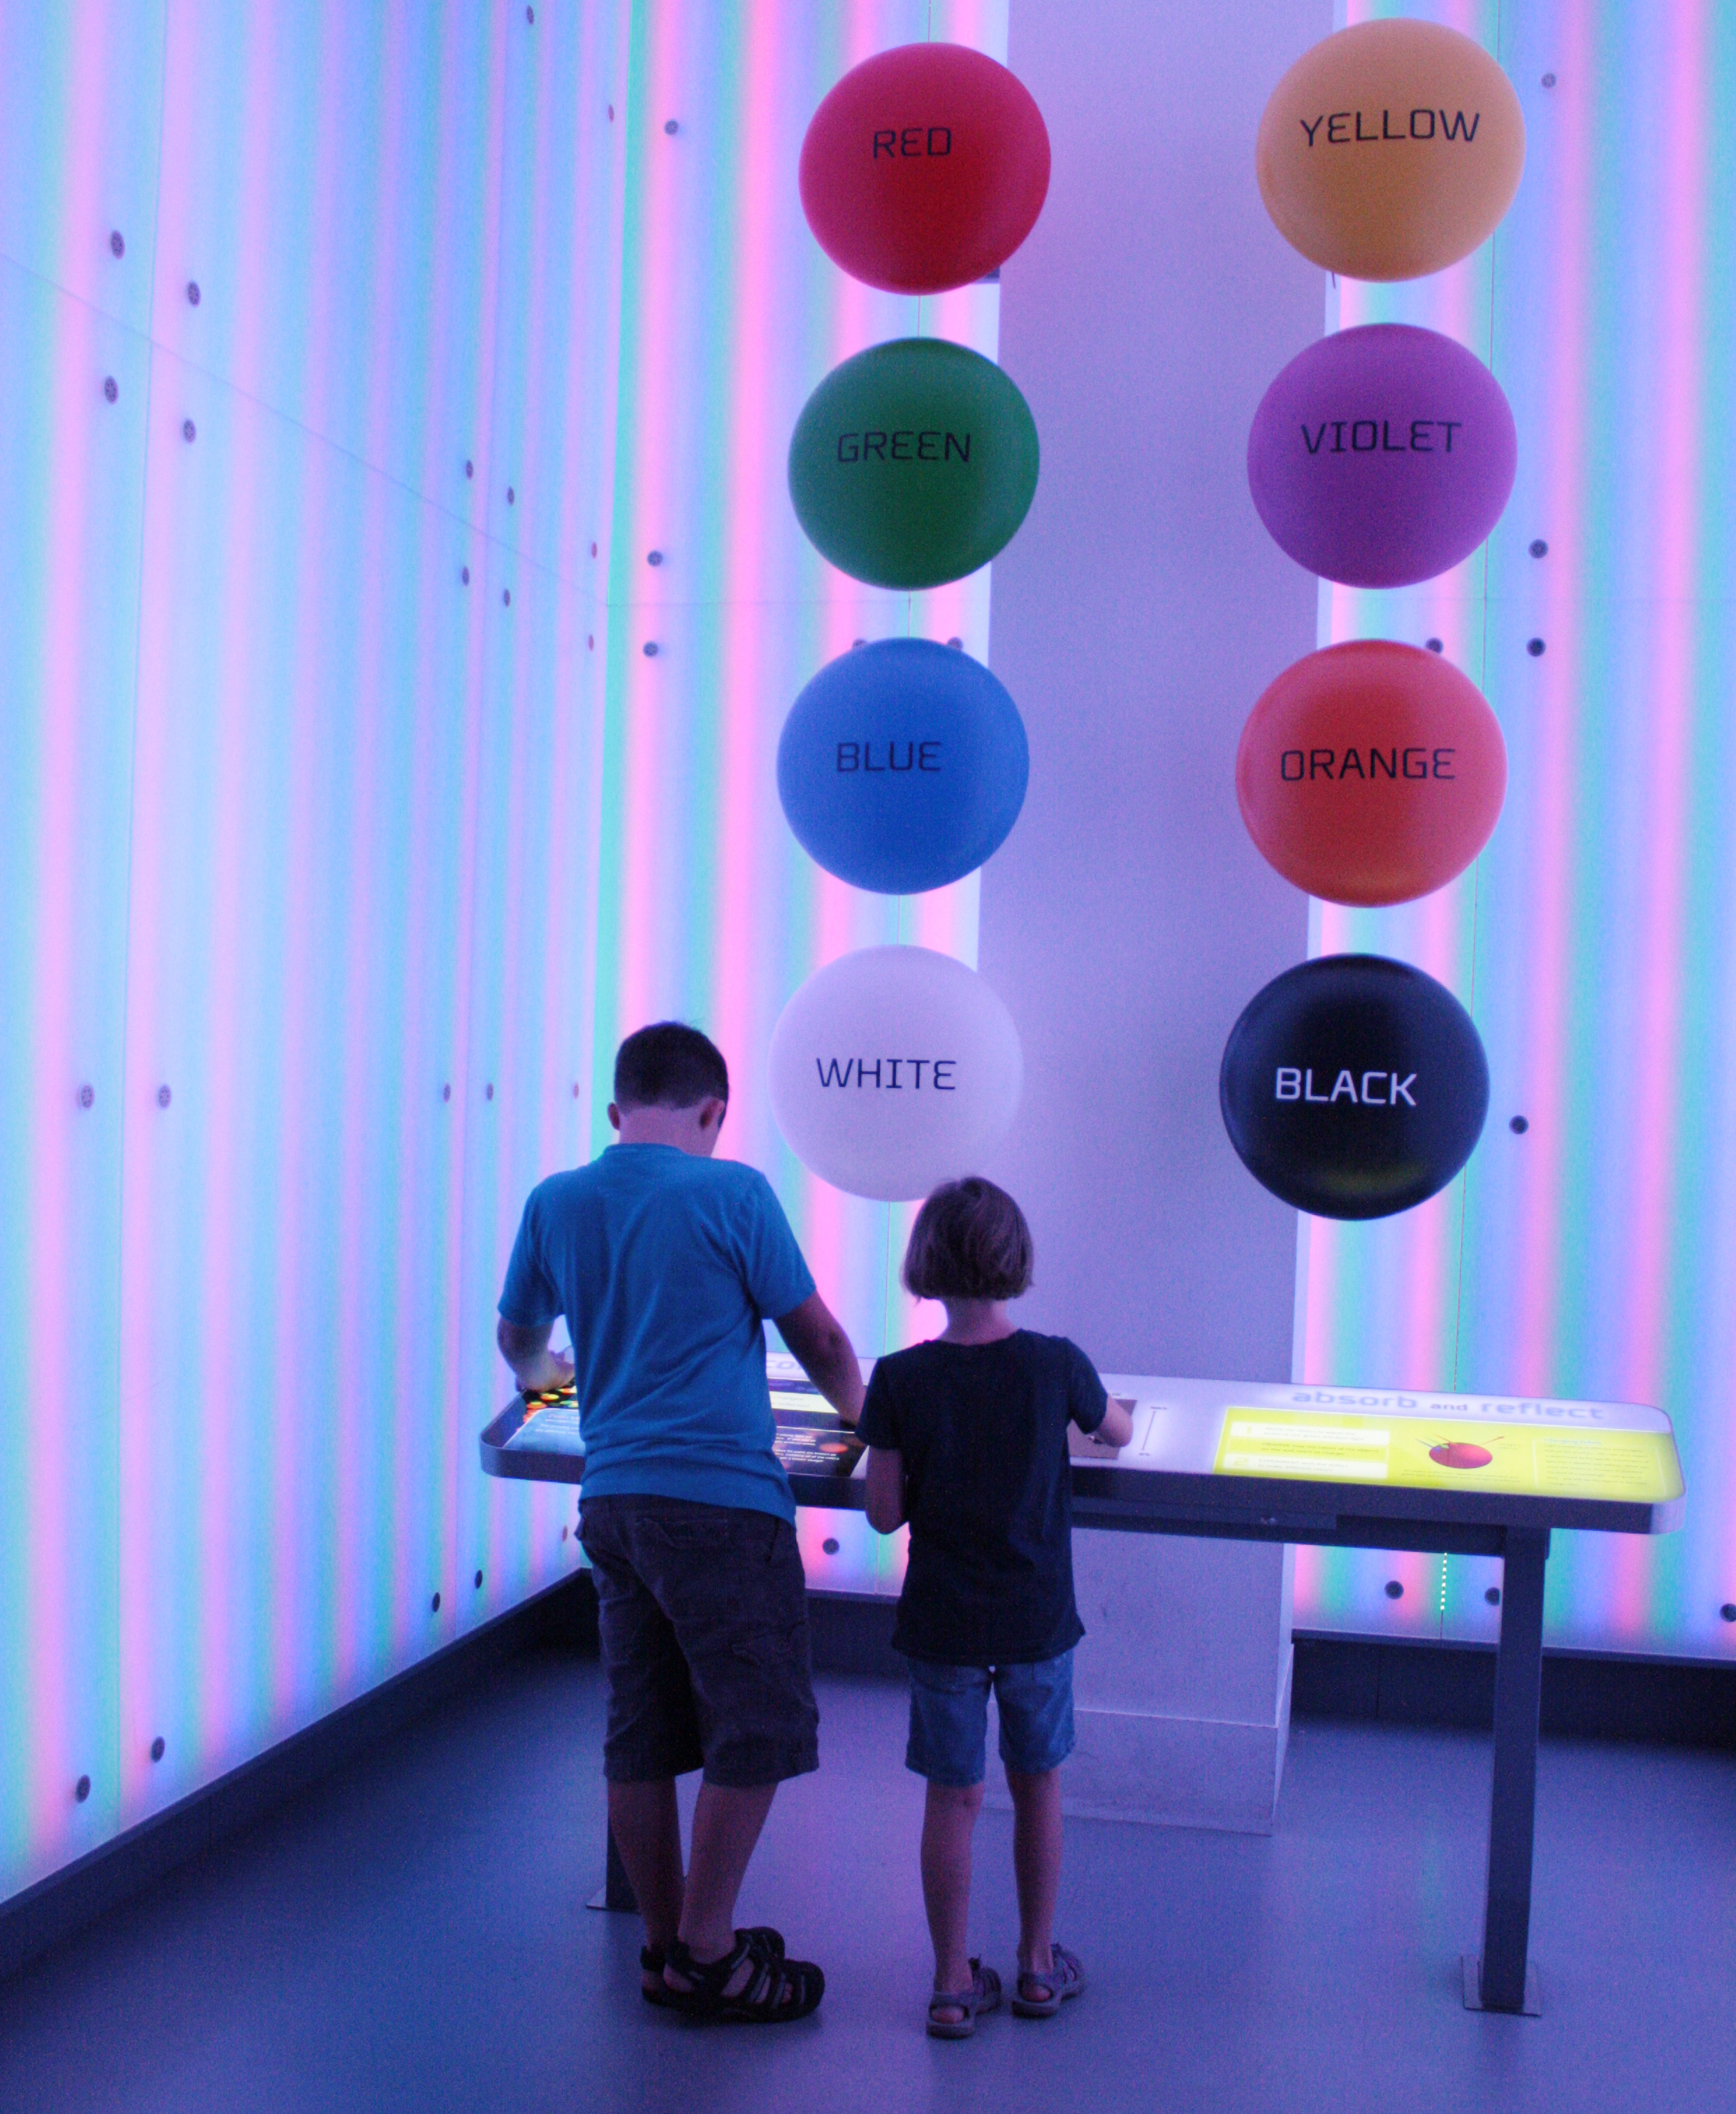
The kids playing with color...

We made it to the Shedd Aquarium.

They have some great exhibits, but don't forget to look up.  It's a beautiful building.

We had a great view of the sunrise from our hotel.

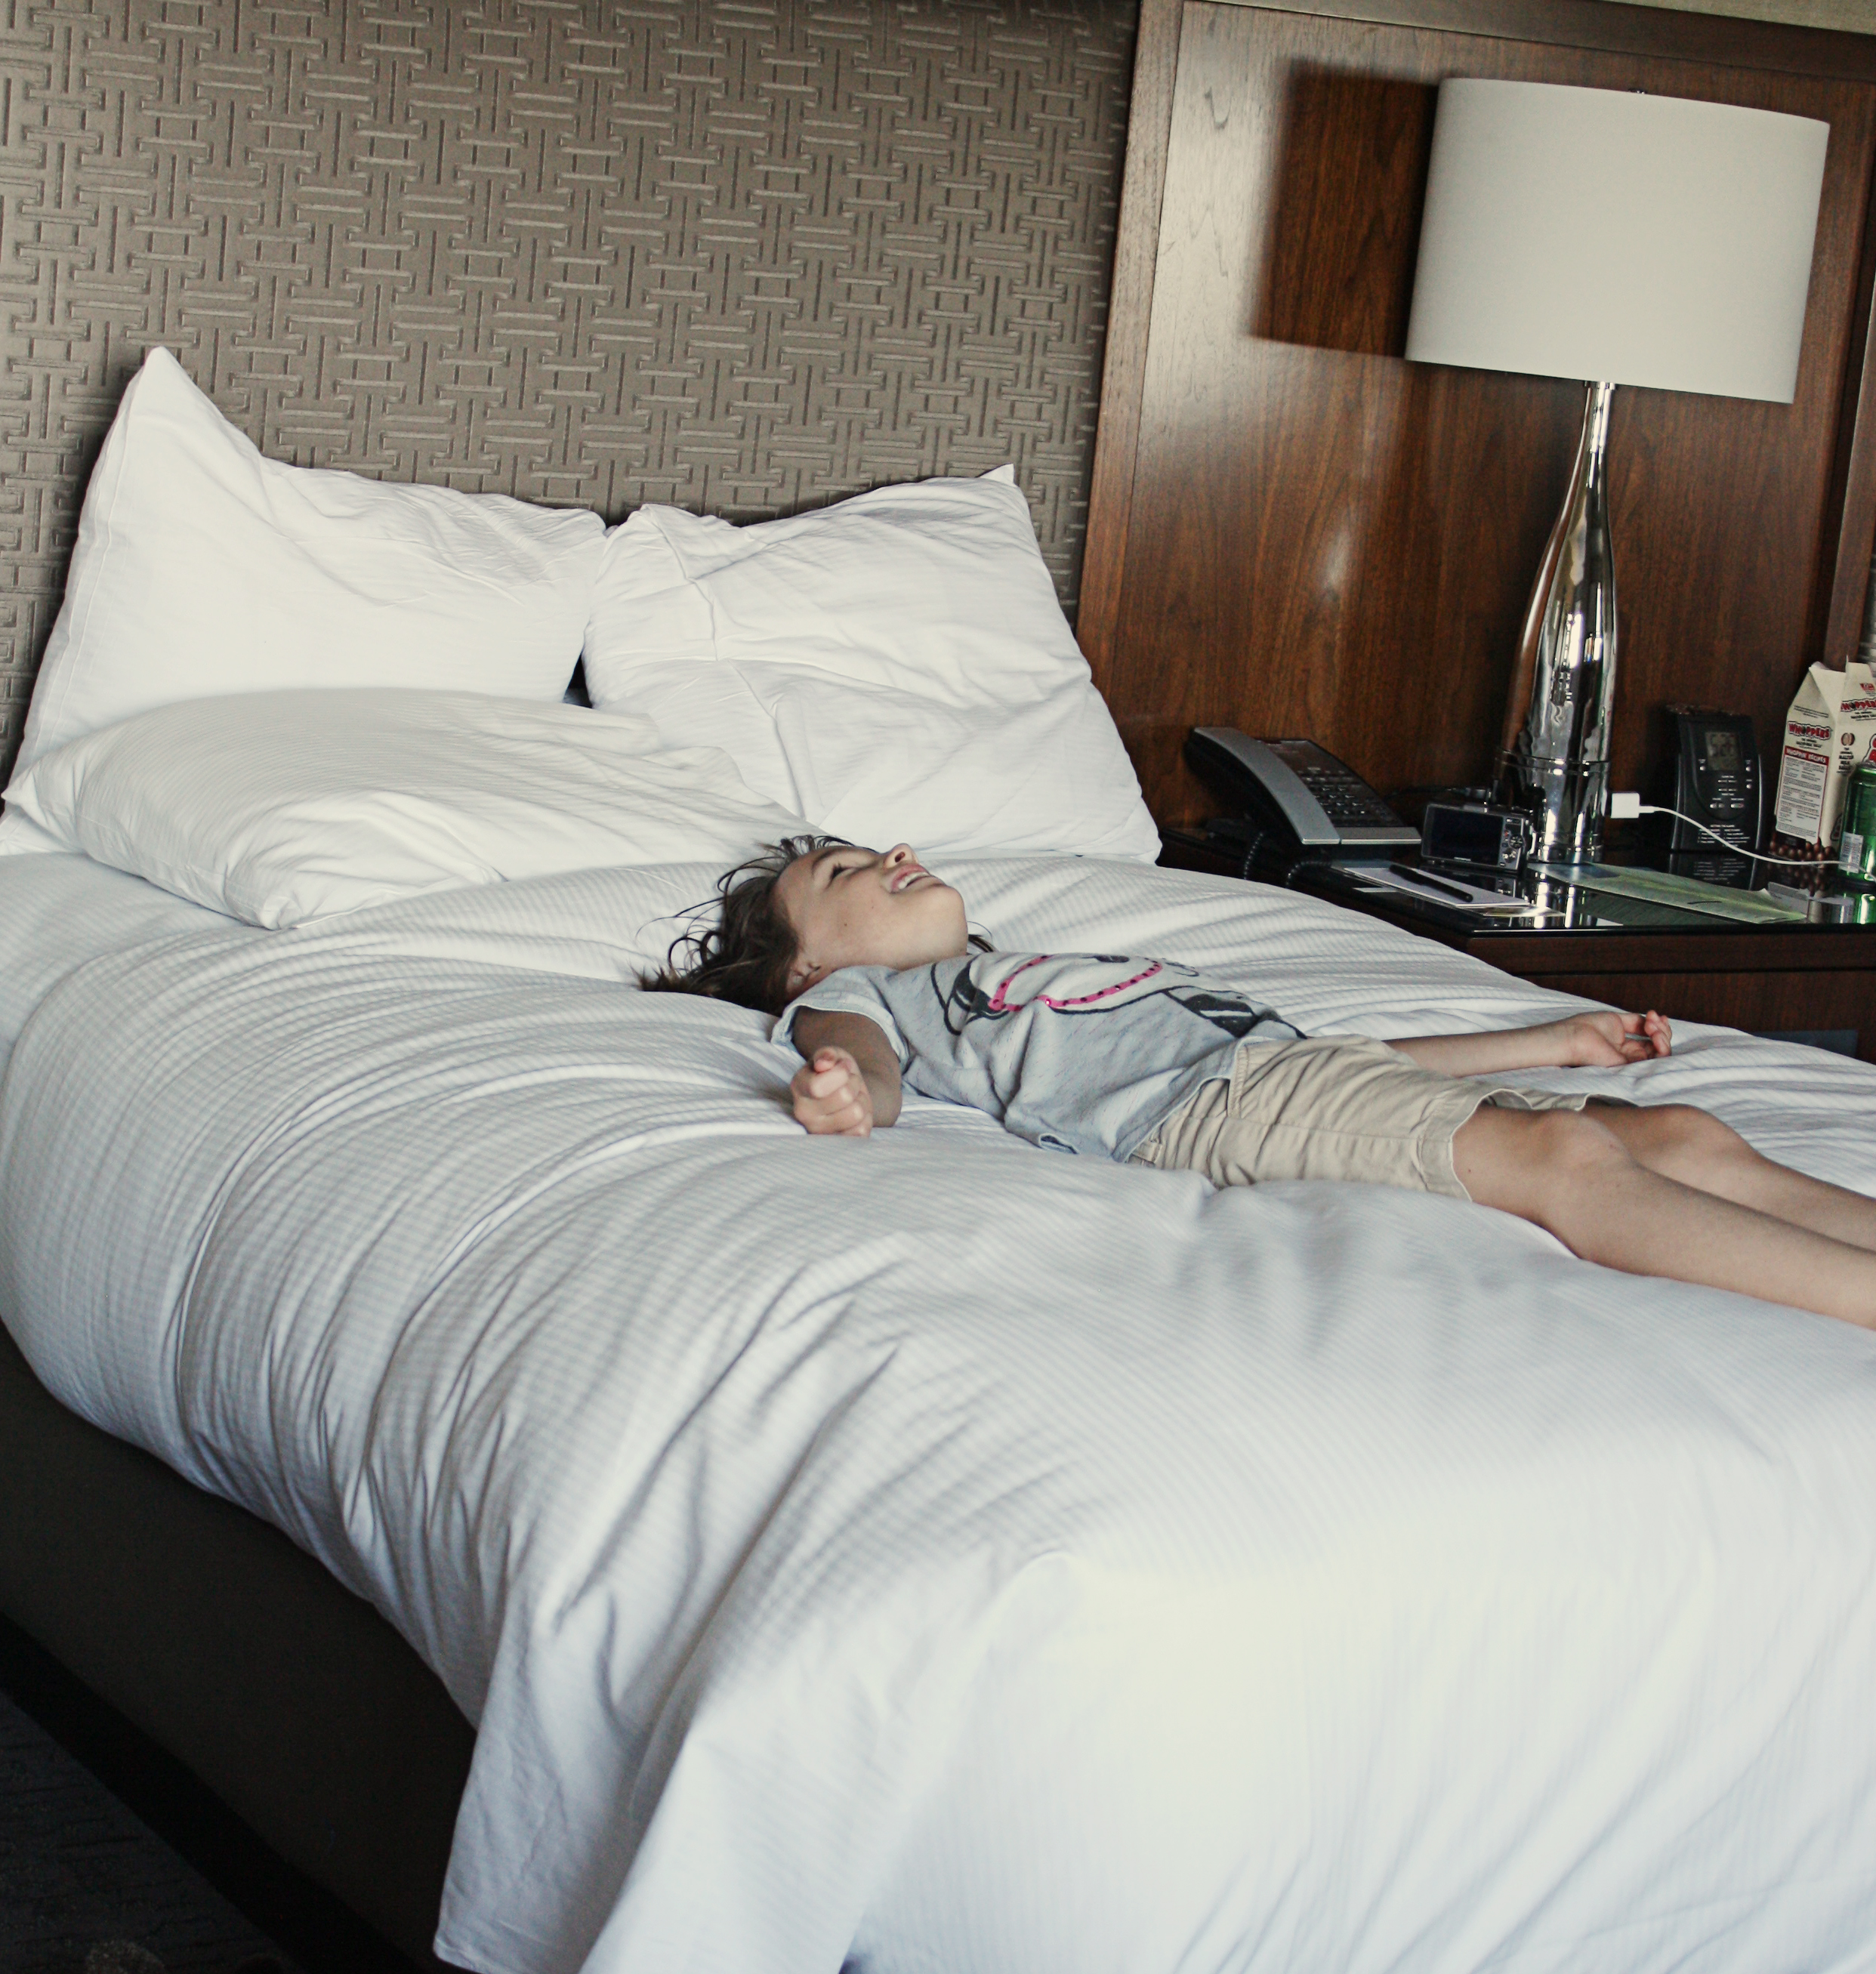
Cj continued his vacation tradition of having a snack in bed while watching tv.
Lulu suffered from too much jumping on the bed.
We checked out the hotel ballroom.
 We stopped to see Sue and all of her friends.
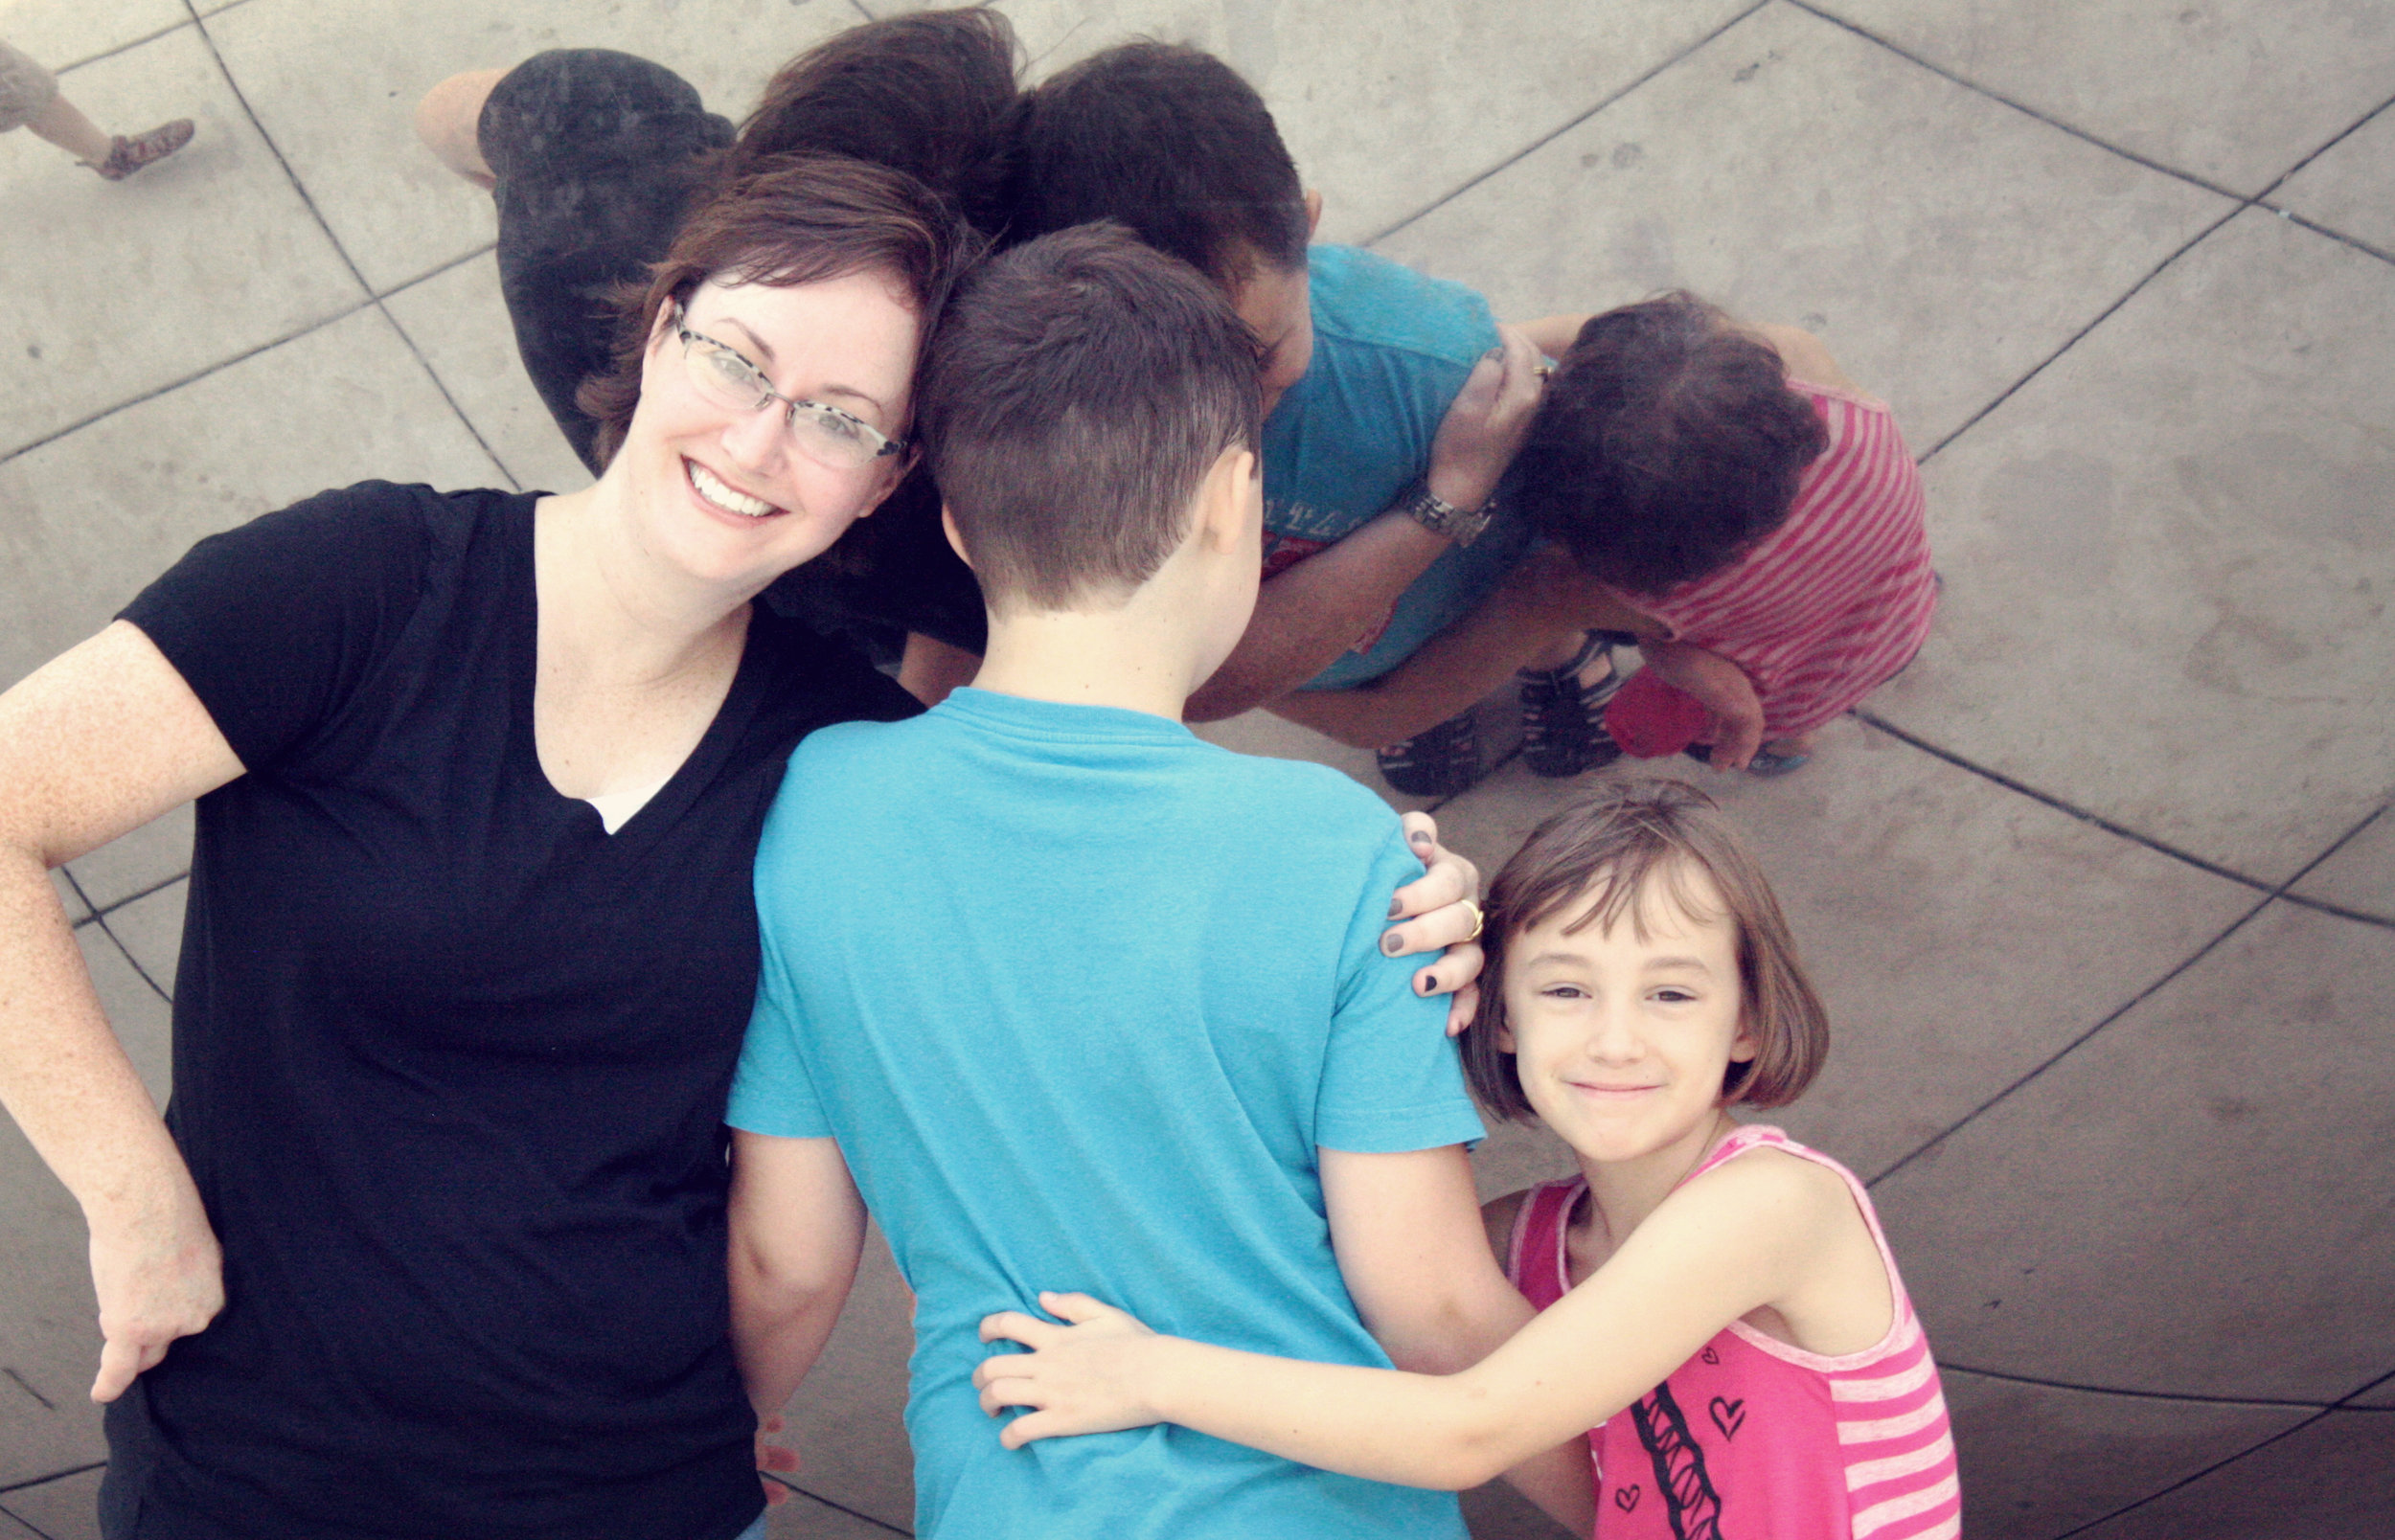
Someone refused to turn around for pictures at the bean.
I stood in awe of this beauty from 1830.
And finally,
I was able to have the Ferris Bueller moment that I have been waiting for since 1986.
welcome fall...

It's the first week of school. To be more precise, it's the second day of school which for our district is the first full day.

I'm normally the first one to cheer the first day of school.  I'm the mom who has the countdown for the first day of school started on the last day of school.  I usually host a brunch for friends on the first day of school to celebrate the quiet.

Even as a kid I looked forward to the first day of school...

...not this year.

Cj started middle school.  This means a new building, new teachers, new paras, new pick up and drop off plans.  Somewhere mid summer I started waking up in the middle of night with my heart pounding...Does he have to change for PE?  Will they continue his binder schedule system?  How will we get him to work a padlock?  When will his teacher have her baby?  Who will be his para?  Will his shoes fit?  Will he be able to open his new water bottle?  The answer to all these questions?  I could say, doesn't matter, it will all work out, but you know that's not my style.  The answers are as follows, no, yes, I found a padlock you that you turn wheels to make a word, in 8 days, two great ladies, no, yes.

From the sounds of things, both the kids had a great day and were ready to head back for more today.

I survived.  I did not cry as I left the school yesterday.  I almost did.  I was incredibly grateful for a group of friends who distracted me with eggy casserole, chocolate pecan coffee cake and lots of laughs.

Lulu has her bestie and the therapy dog in her classroom so she's set. (Her teacher is the dog's caretaker so she spends the first half of every day in their class.)

Cj woke up the night yelling about monsters, but fell back to sleep.  He woke up this morning ready for the day.  On the walk to school, he reminded me 3 times of our pick up meeting place and double checked to make sure he had chocolate chip cookies in his lunch.  Take that autism!!

Now on to something completely different.

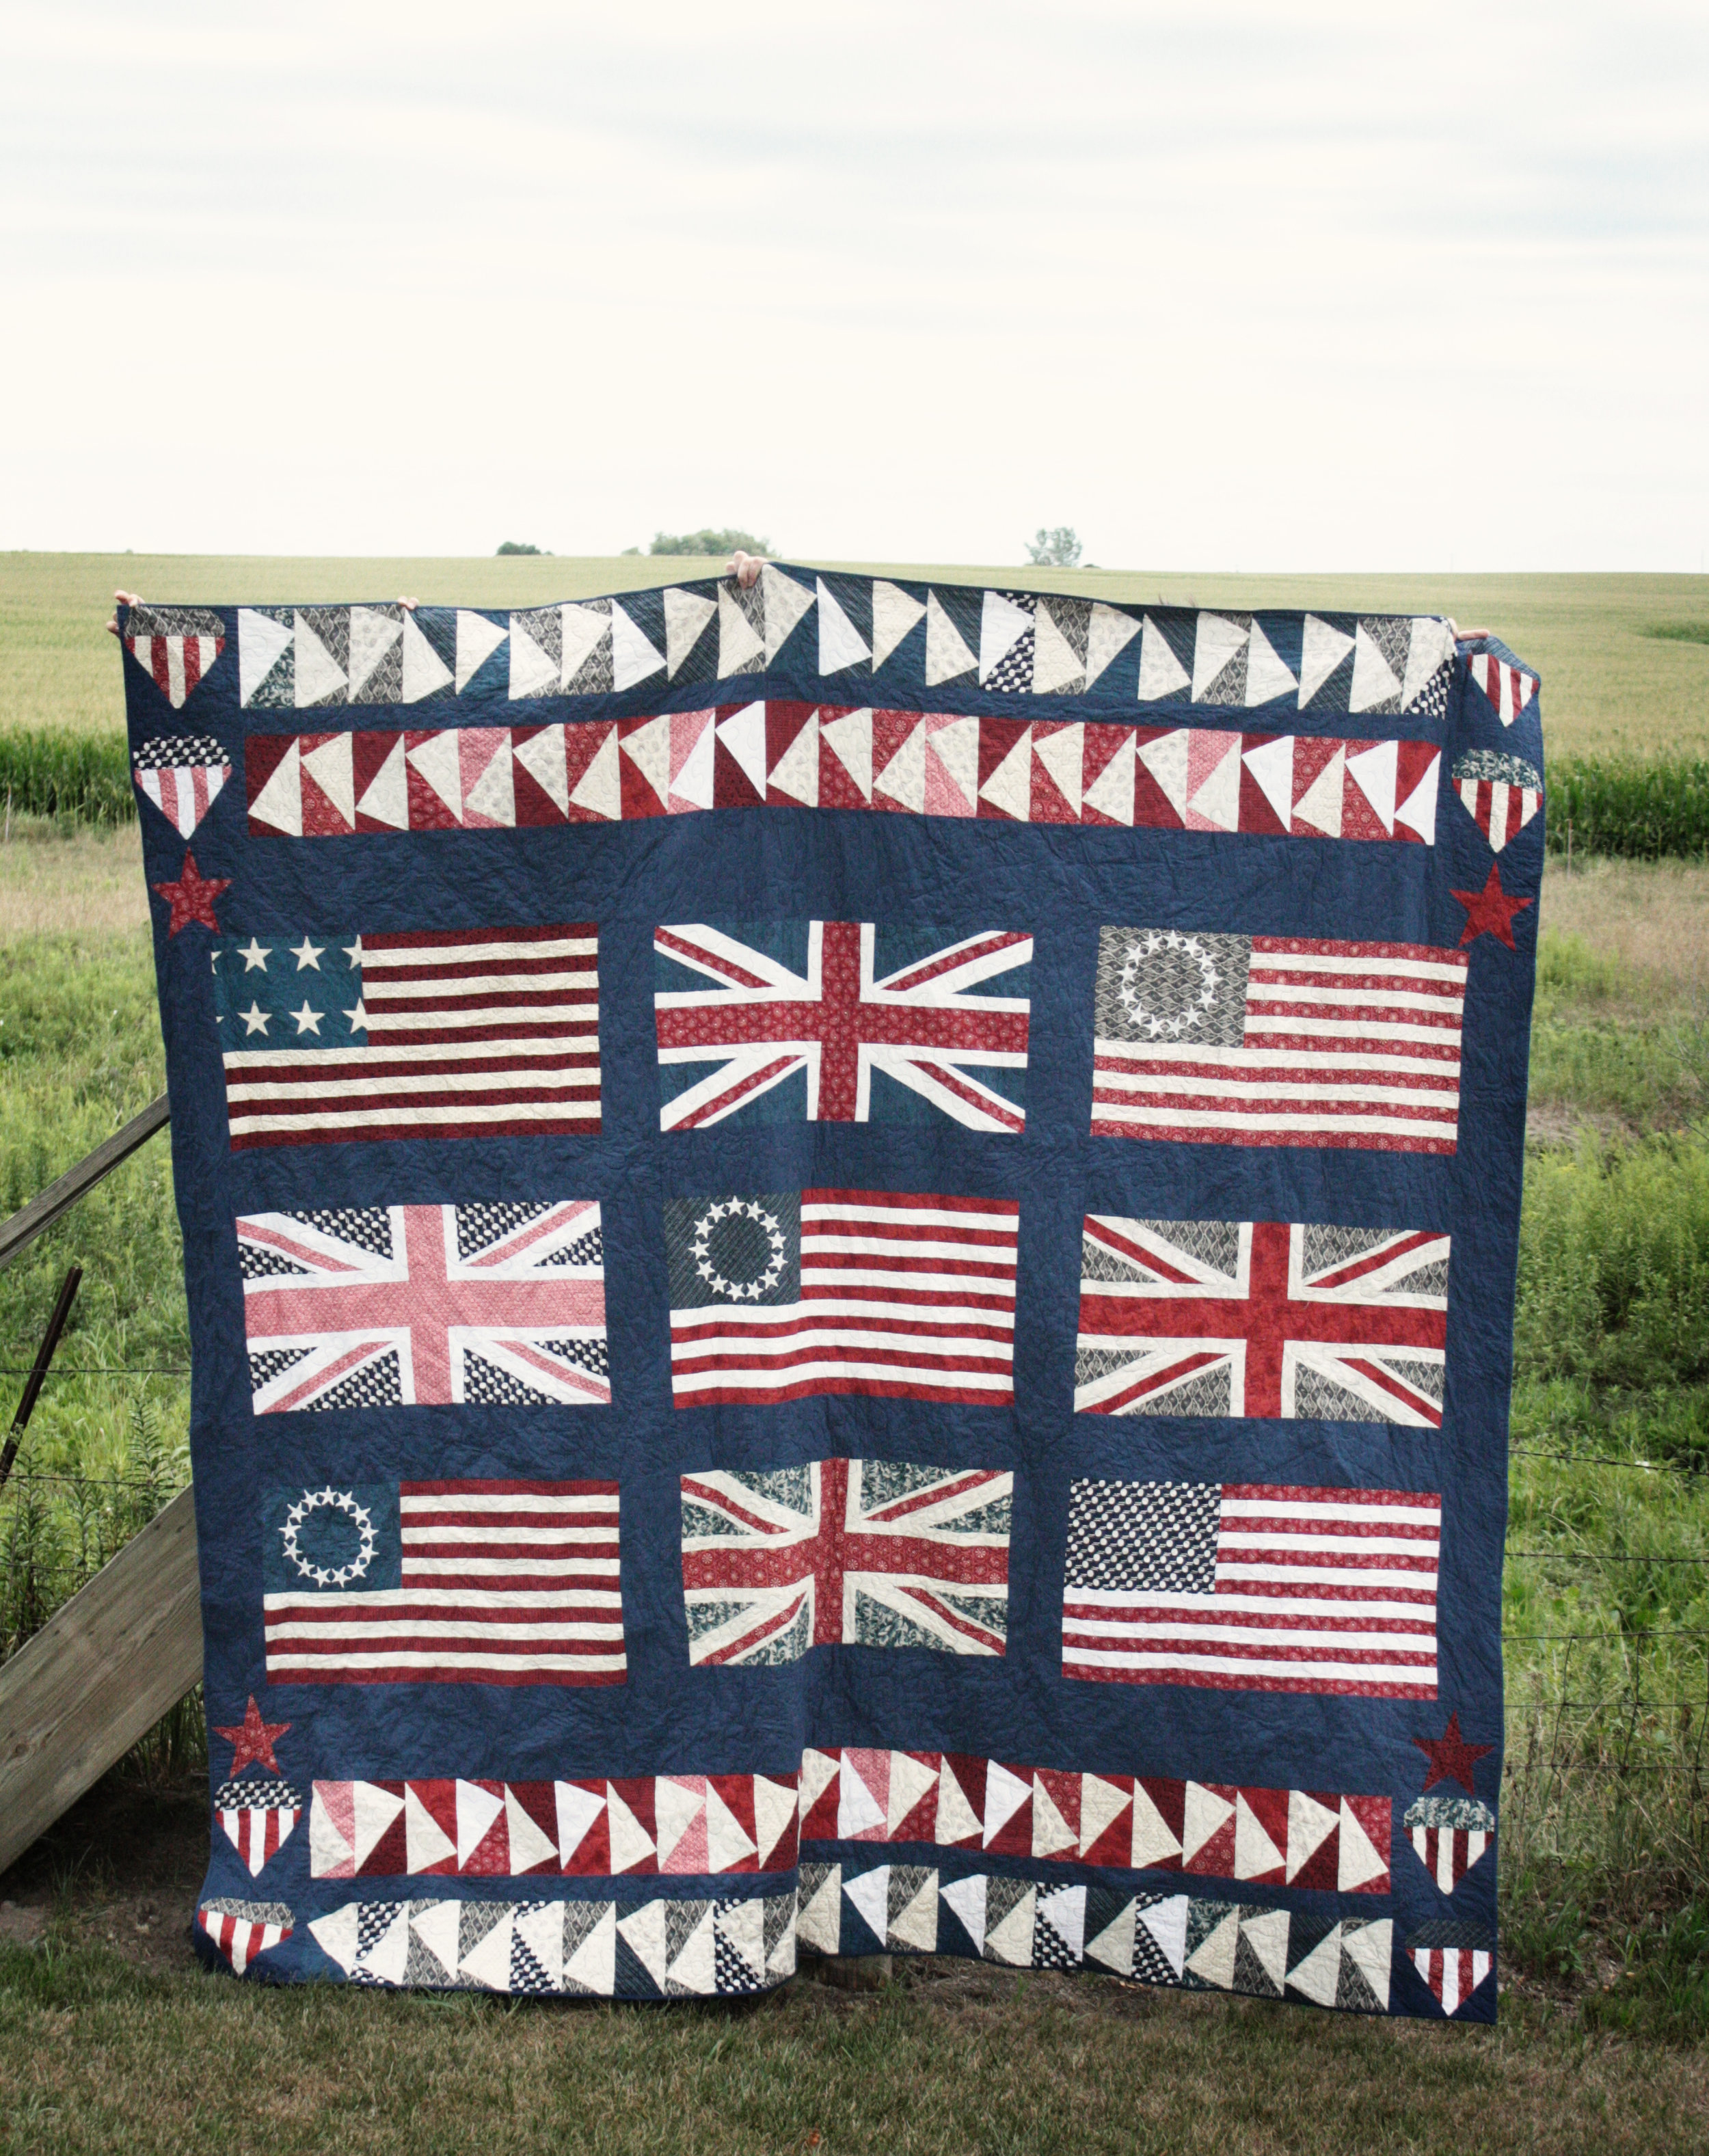
My brother's flag quilt is finished.  My aunt did a great meander on her long arm with variegated blue to grey thread.

If he doesn't like it, I'm keeping it.  Well, first I will kick him in the shin and then I will keep it.

liberty lifestyle napkins

I was lucky enough to go to quilt market this spring. Where I was also lucky enough to get to chat with the lovely people at the Liberty Art Fabrics booth, check out their new Lifestyle line, and was given a swatch pack of the new collection. Each square of fabric is about the size of a charm square. Because of the that I had to come up with something that would make the most of each piece. Also, it's such a pretty line that I wanted to come up with a project that I could look at or use on a regular basis.

I went with a set of napkins. We go through napkins like crazy, but most cloth napkins are so big that the kids end up sliding them on to their spaghetti when they try to wipe their mouth. I think these might qualify as more of a cocktail size, but they work perfect for us.

I started with a 10" square of a linen cotton blend from the yards of french general that I hoard in my stash and then trimmed that with strips of liberty lifestyle. If I would have been working with yardage, I probably would have attached the binding just like I do on a quilt. But, I was working with smaller pieces, so I tried to get as much as I could out of the strips.

First I grouped them by colorway and cut two 2" strips from each swatch.

Then I stitched each colorway end to end so I had 8 strips (2 strips of each print)

I pressed in each edge 1/4" and pressed each strip in half.

I pinned the binding around each fabric square.

When I got to a corner

I made sure the crease in the binding butted up to the fabric square.

Once the edges were lined up,

I pulled the binding down to the crease and formed the angle.

Then I pulled down the back edge,
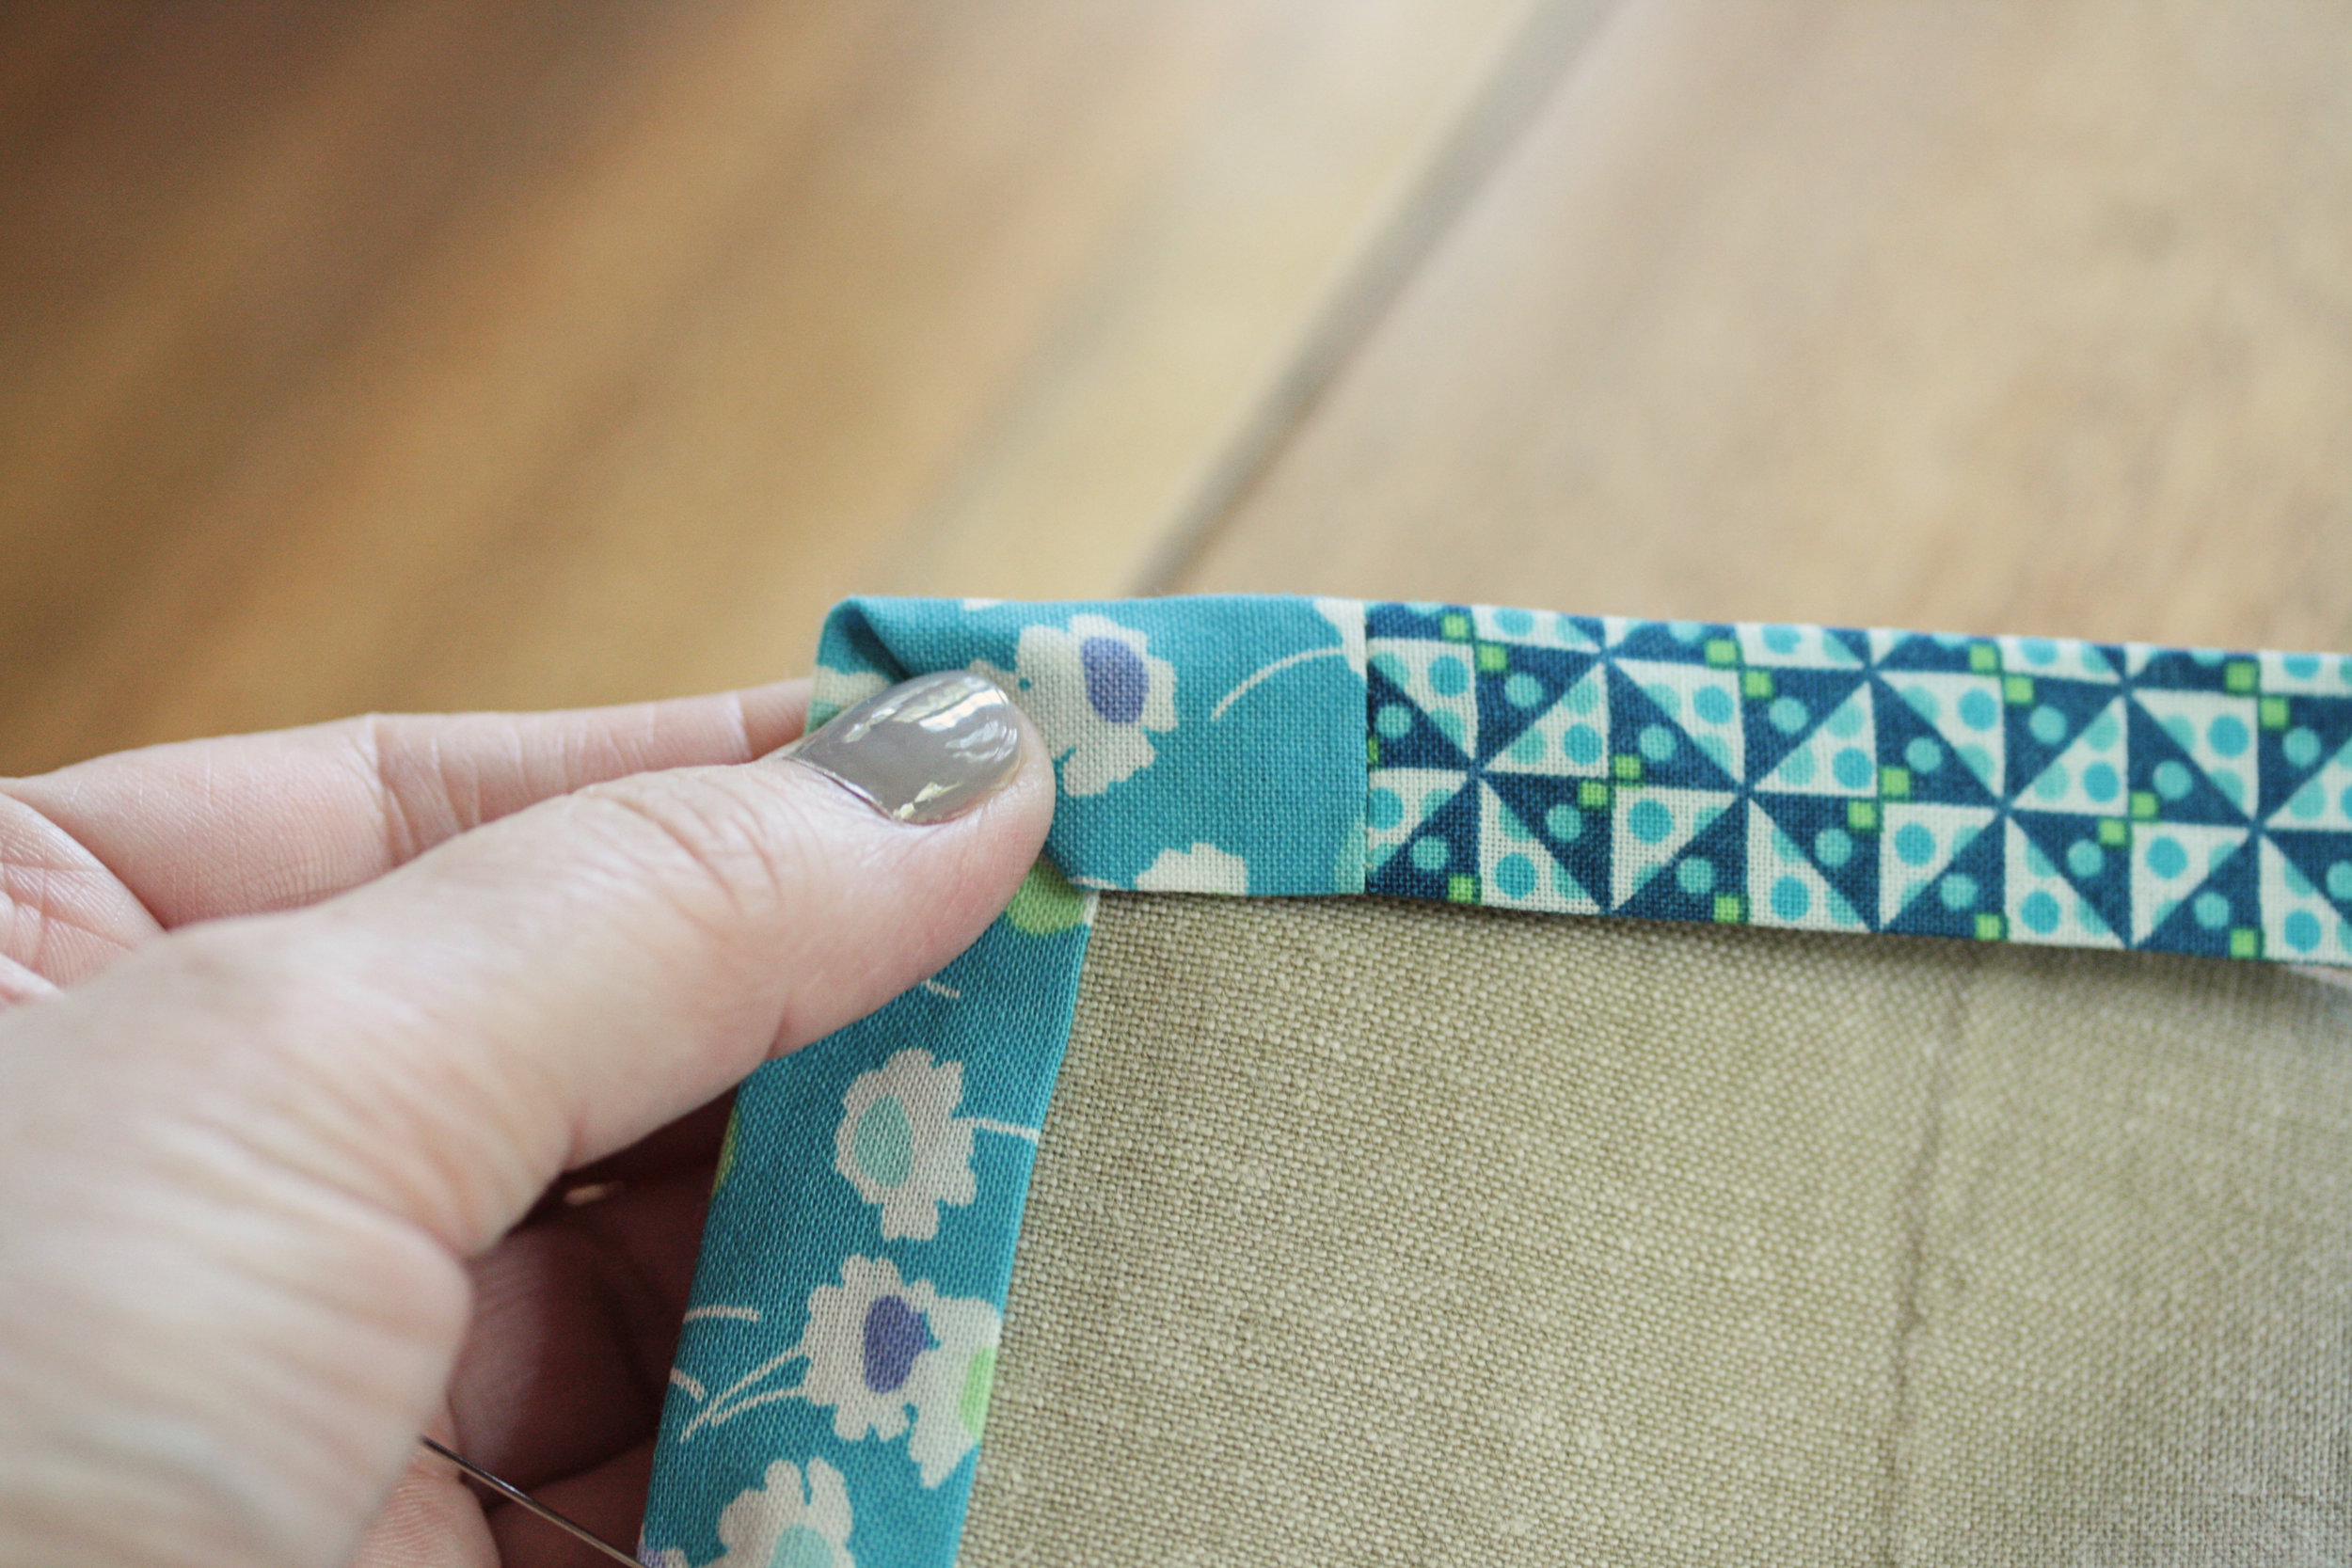
and double checked to make sure the back lined up as well.
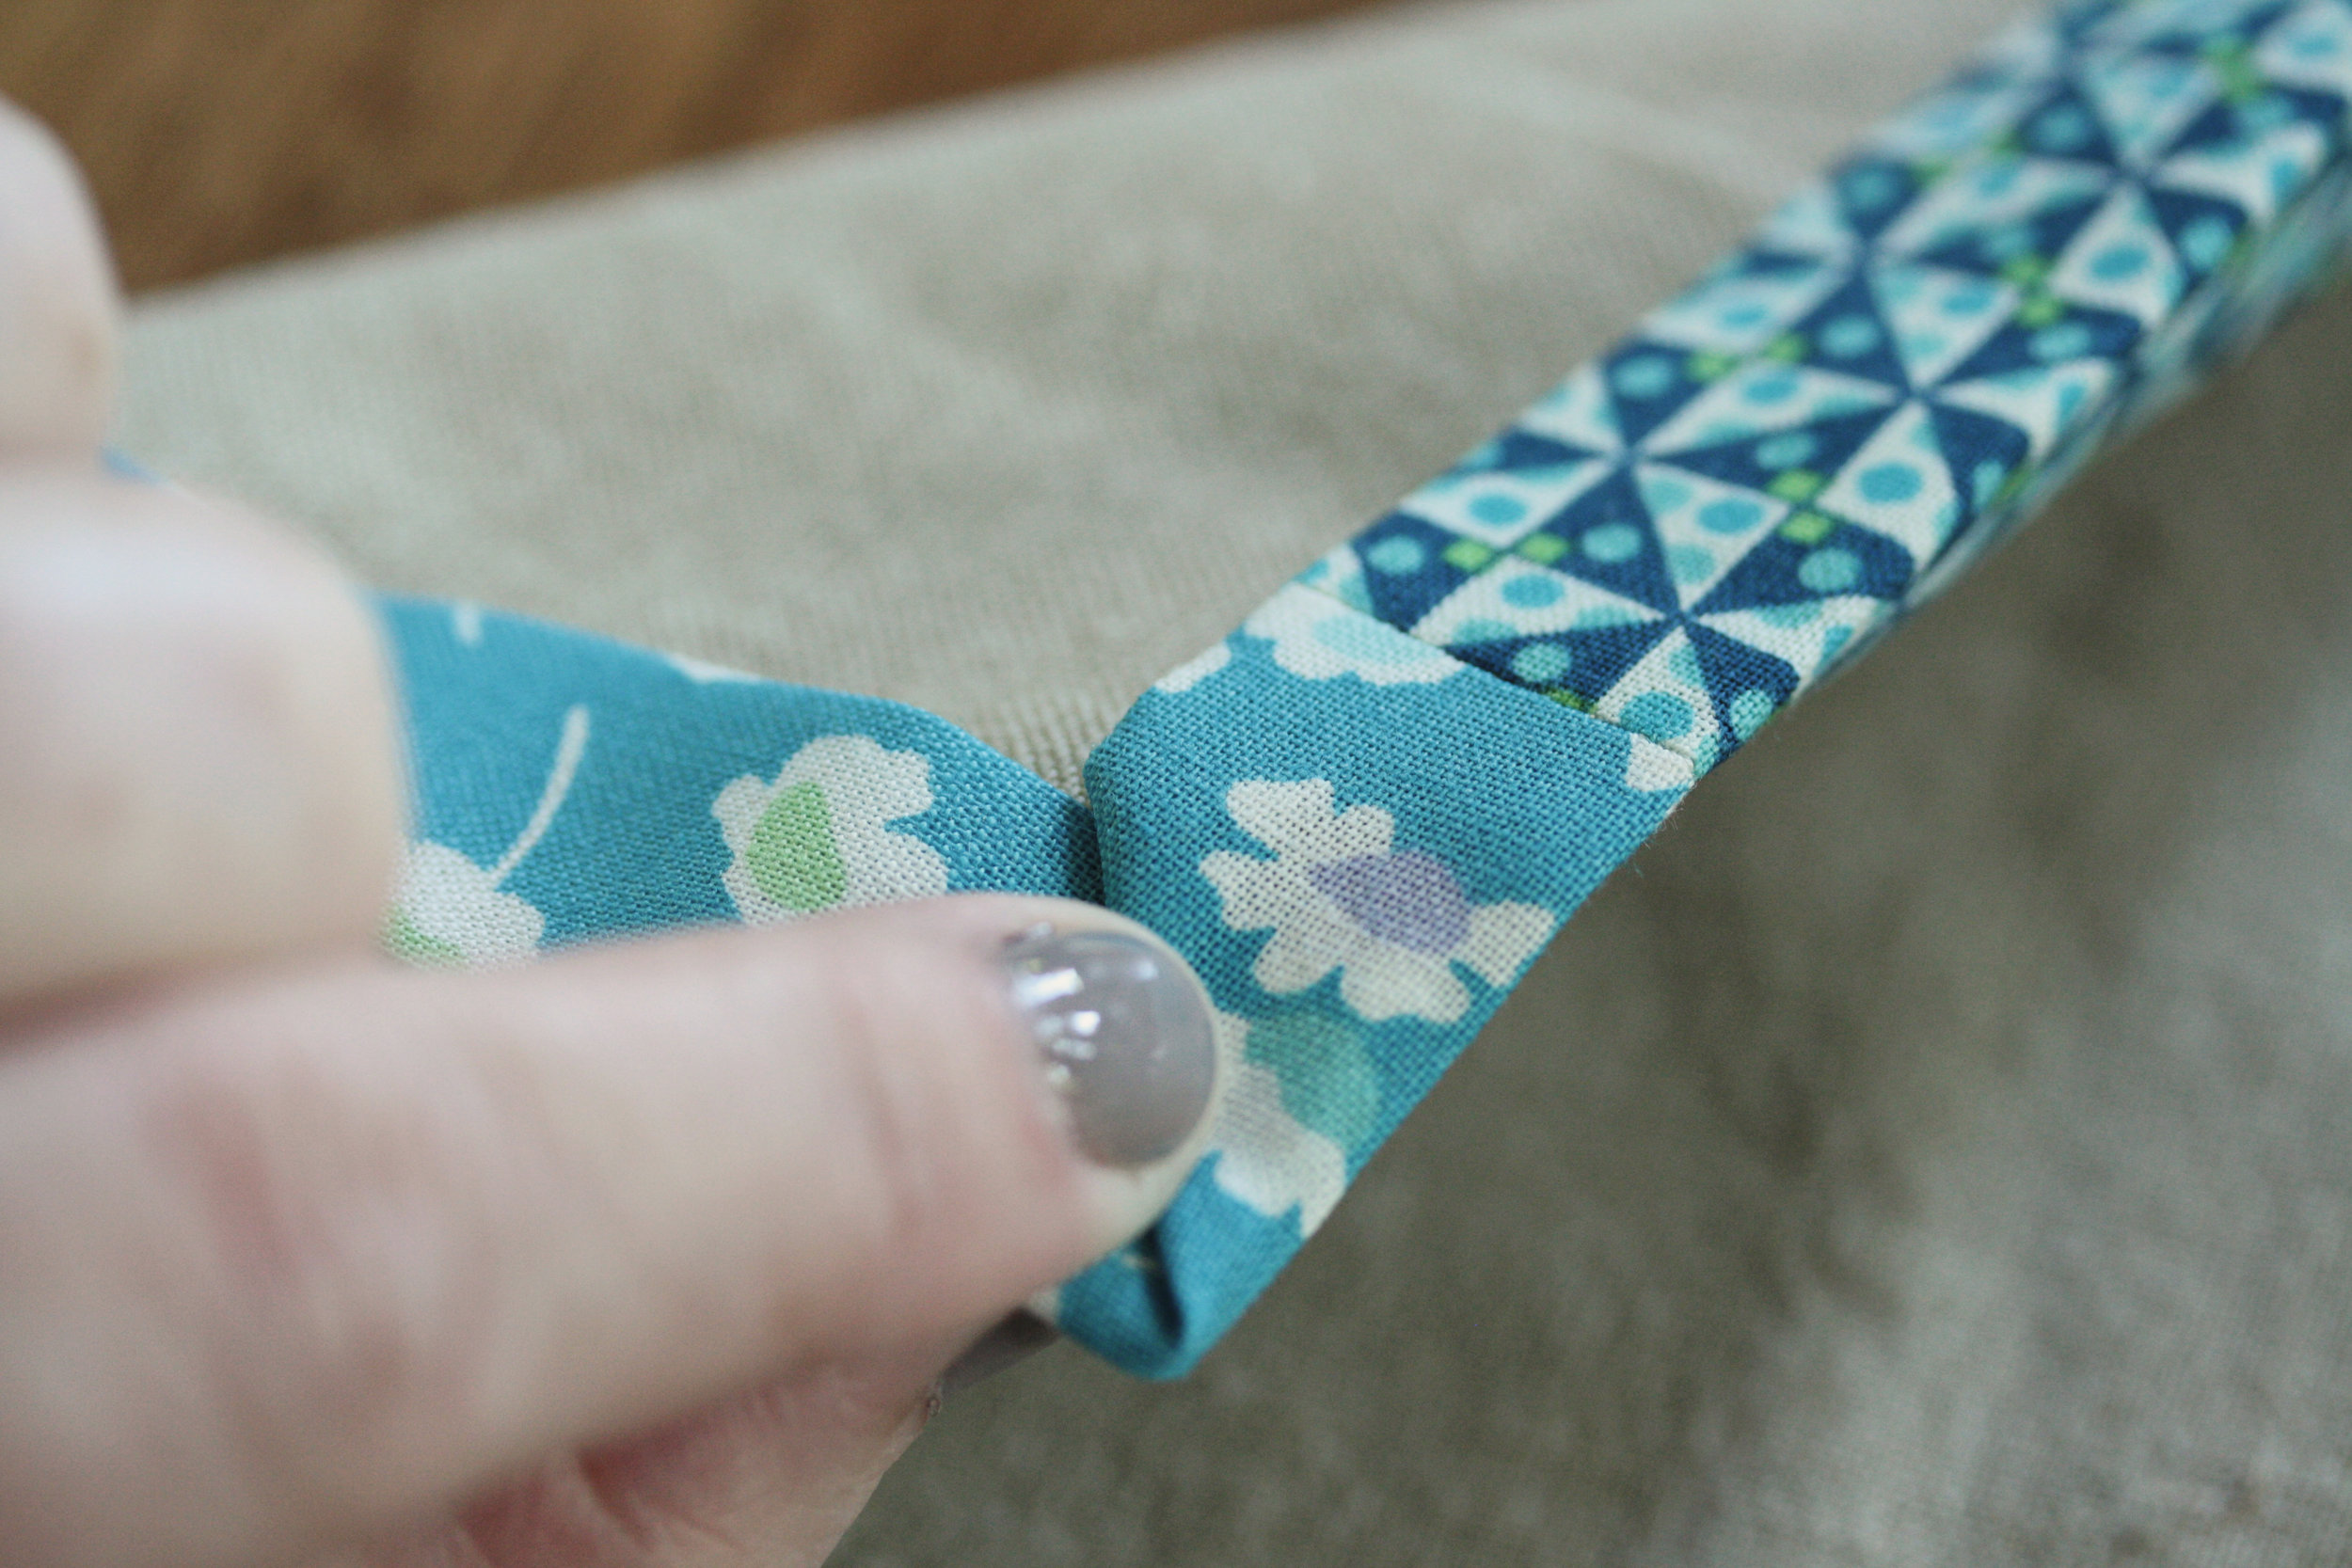
Then I pinned the corner.

When I made it around the square, I marked where I wanted seam to be with a pin in each strip.

I matched them up right sides together, being careful not to twist the strips. Once the seam was stitched,
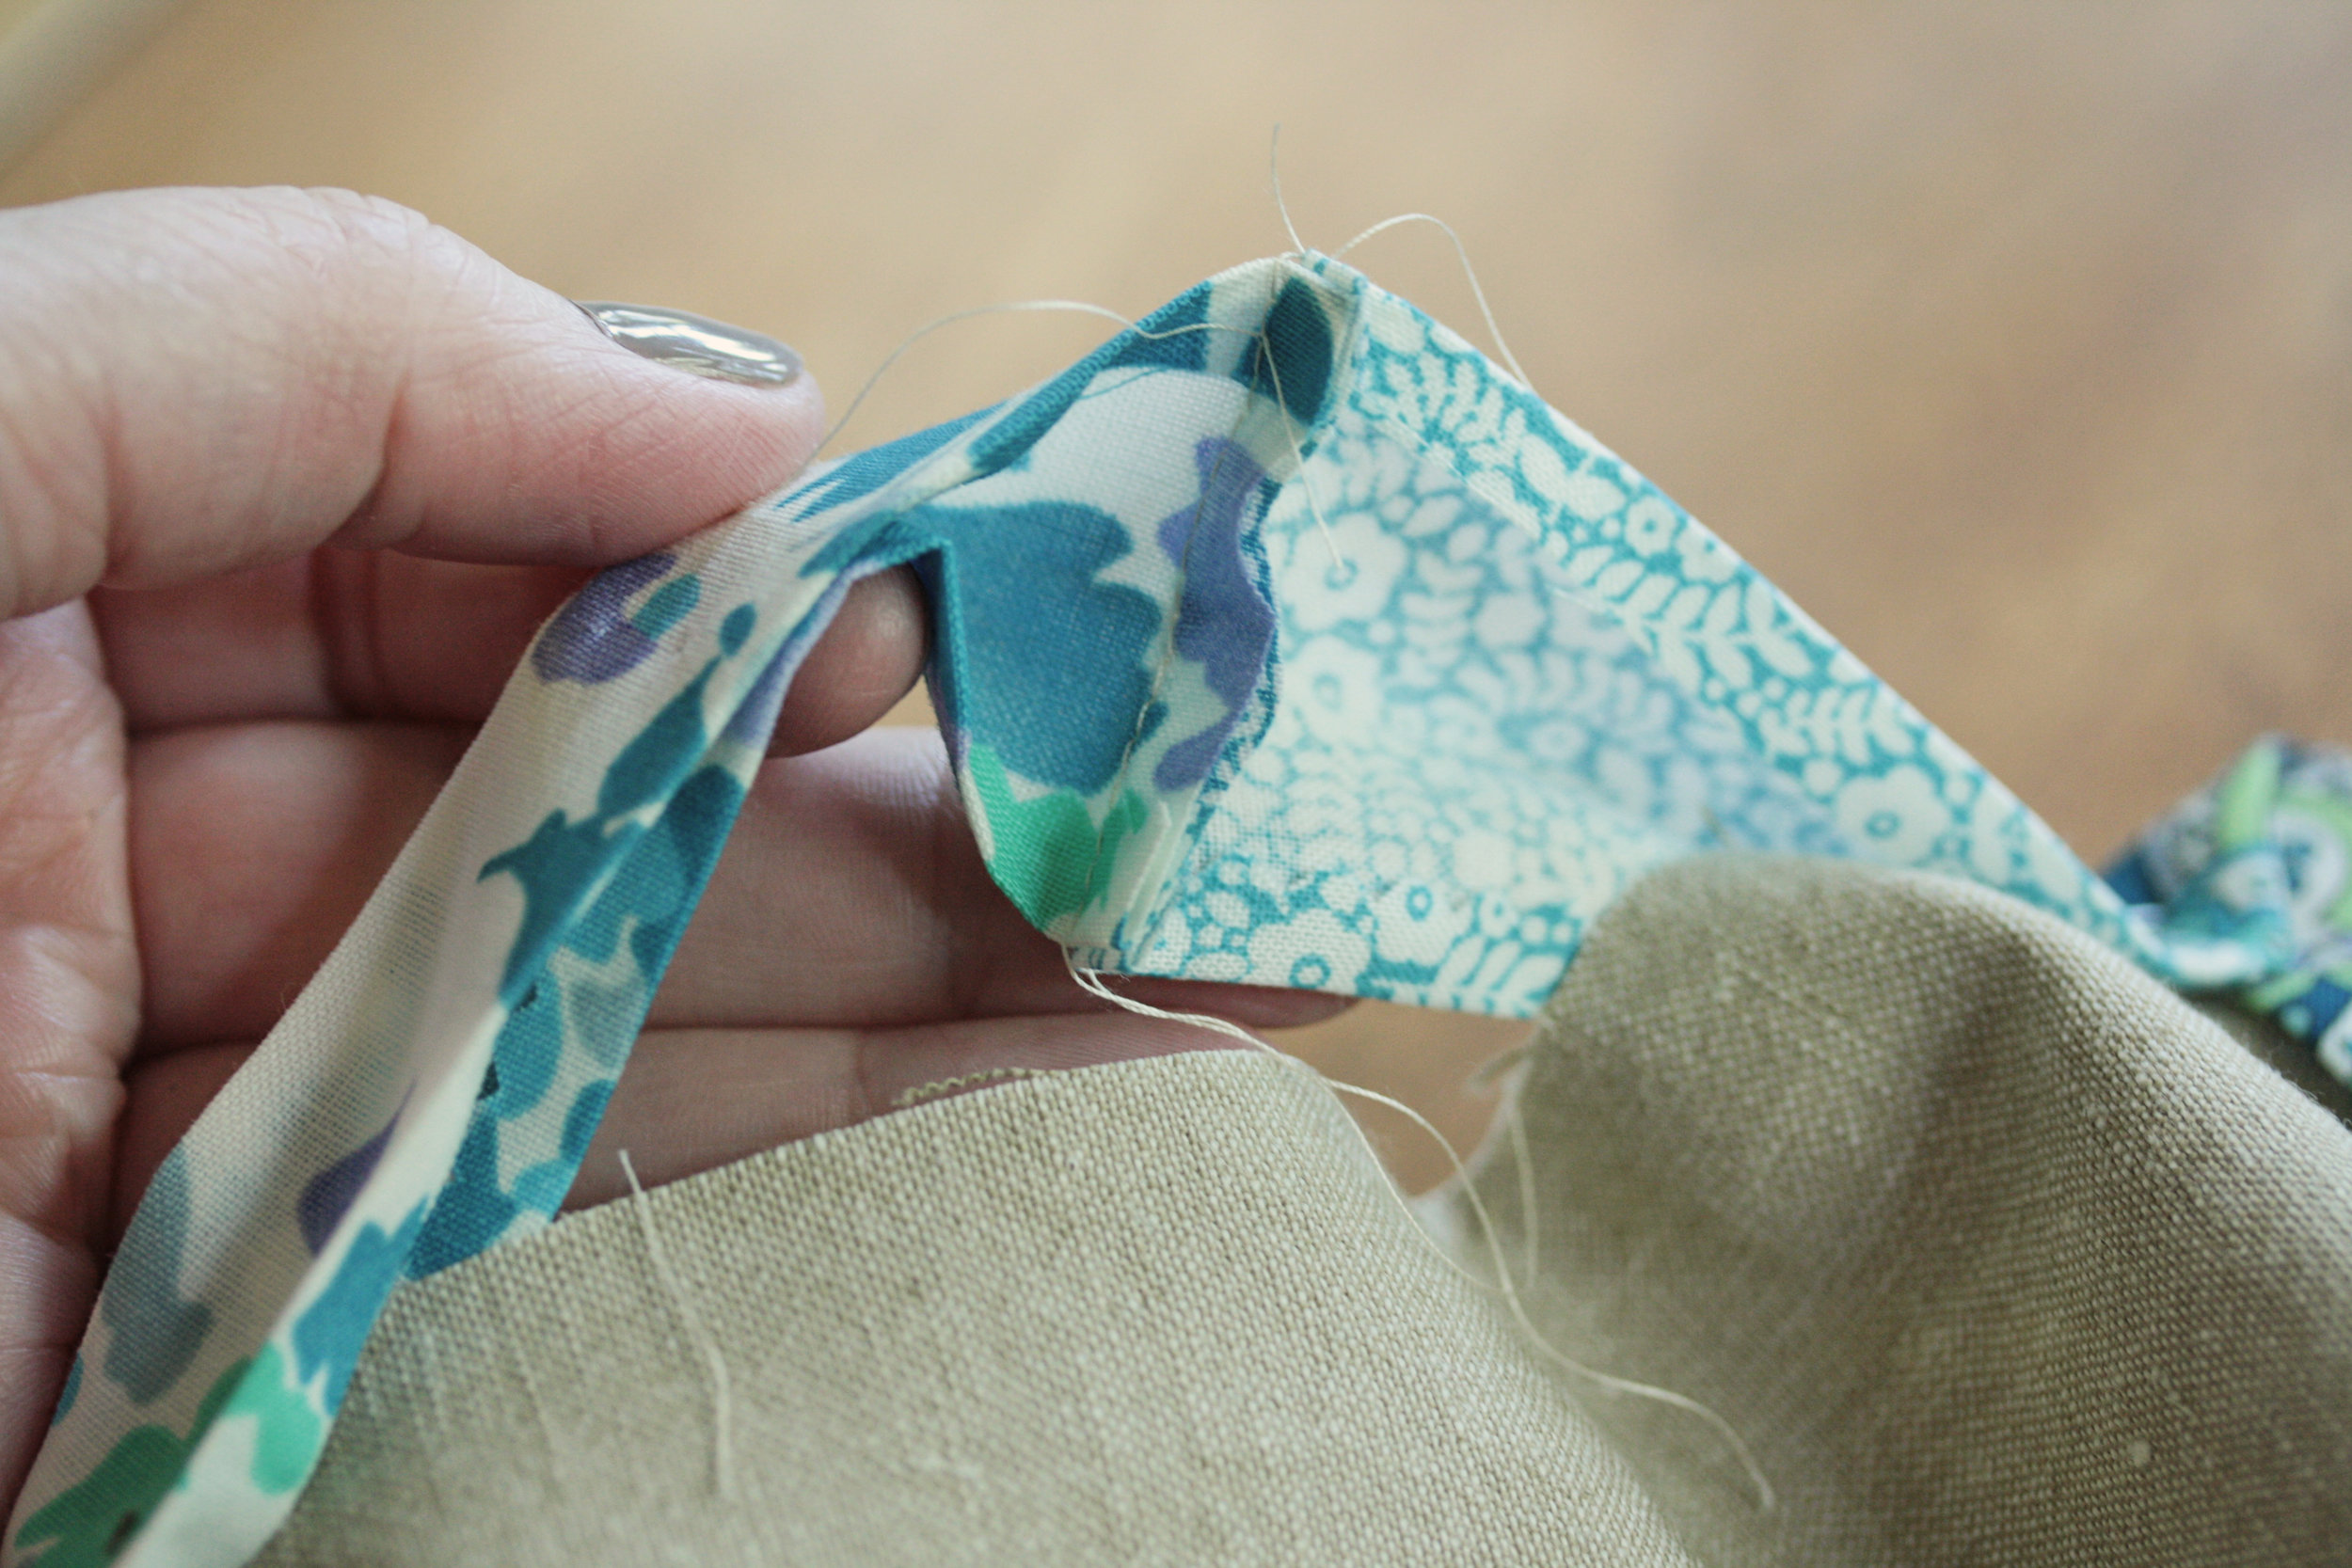
I pressed it open and then pressed the binding in half and pinned it.

I found a zig zag stitch to be more forgiving when it came to catching the back of the binding.

At the corners, I went half way in to the corner, backstitched to the edge, and then with my needle down, I turned the napkin and stitched down the next edge.

Lulu has already claimed the blue ones, the spouse really likes the brown print.

Actually I really like the browns too. They remind me of a dress and pinafore that my mom made me way back when in the '70's - it was very little house on the prairie chic.

Sounds like liberty lifestyle will be hitting stores this fall so that gives me just enough time to plan a quilt with it, maybe something inspired by little house on the prairie chic. It's about time for it to come around again.
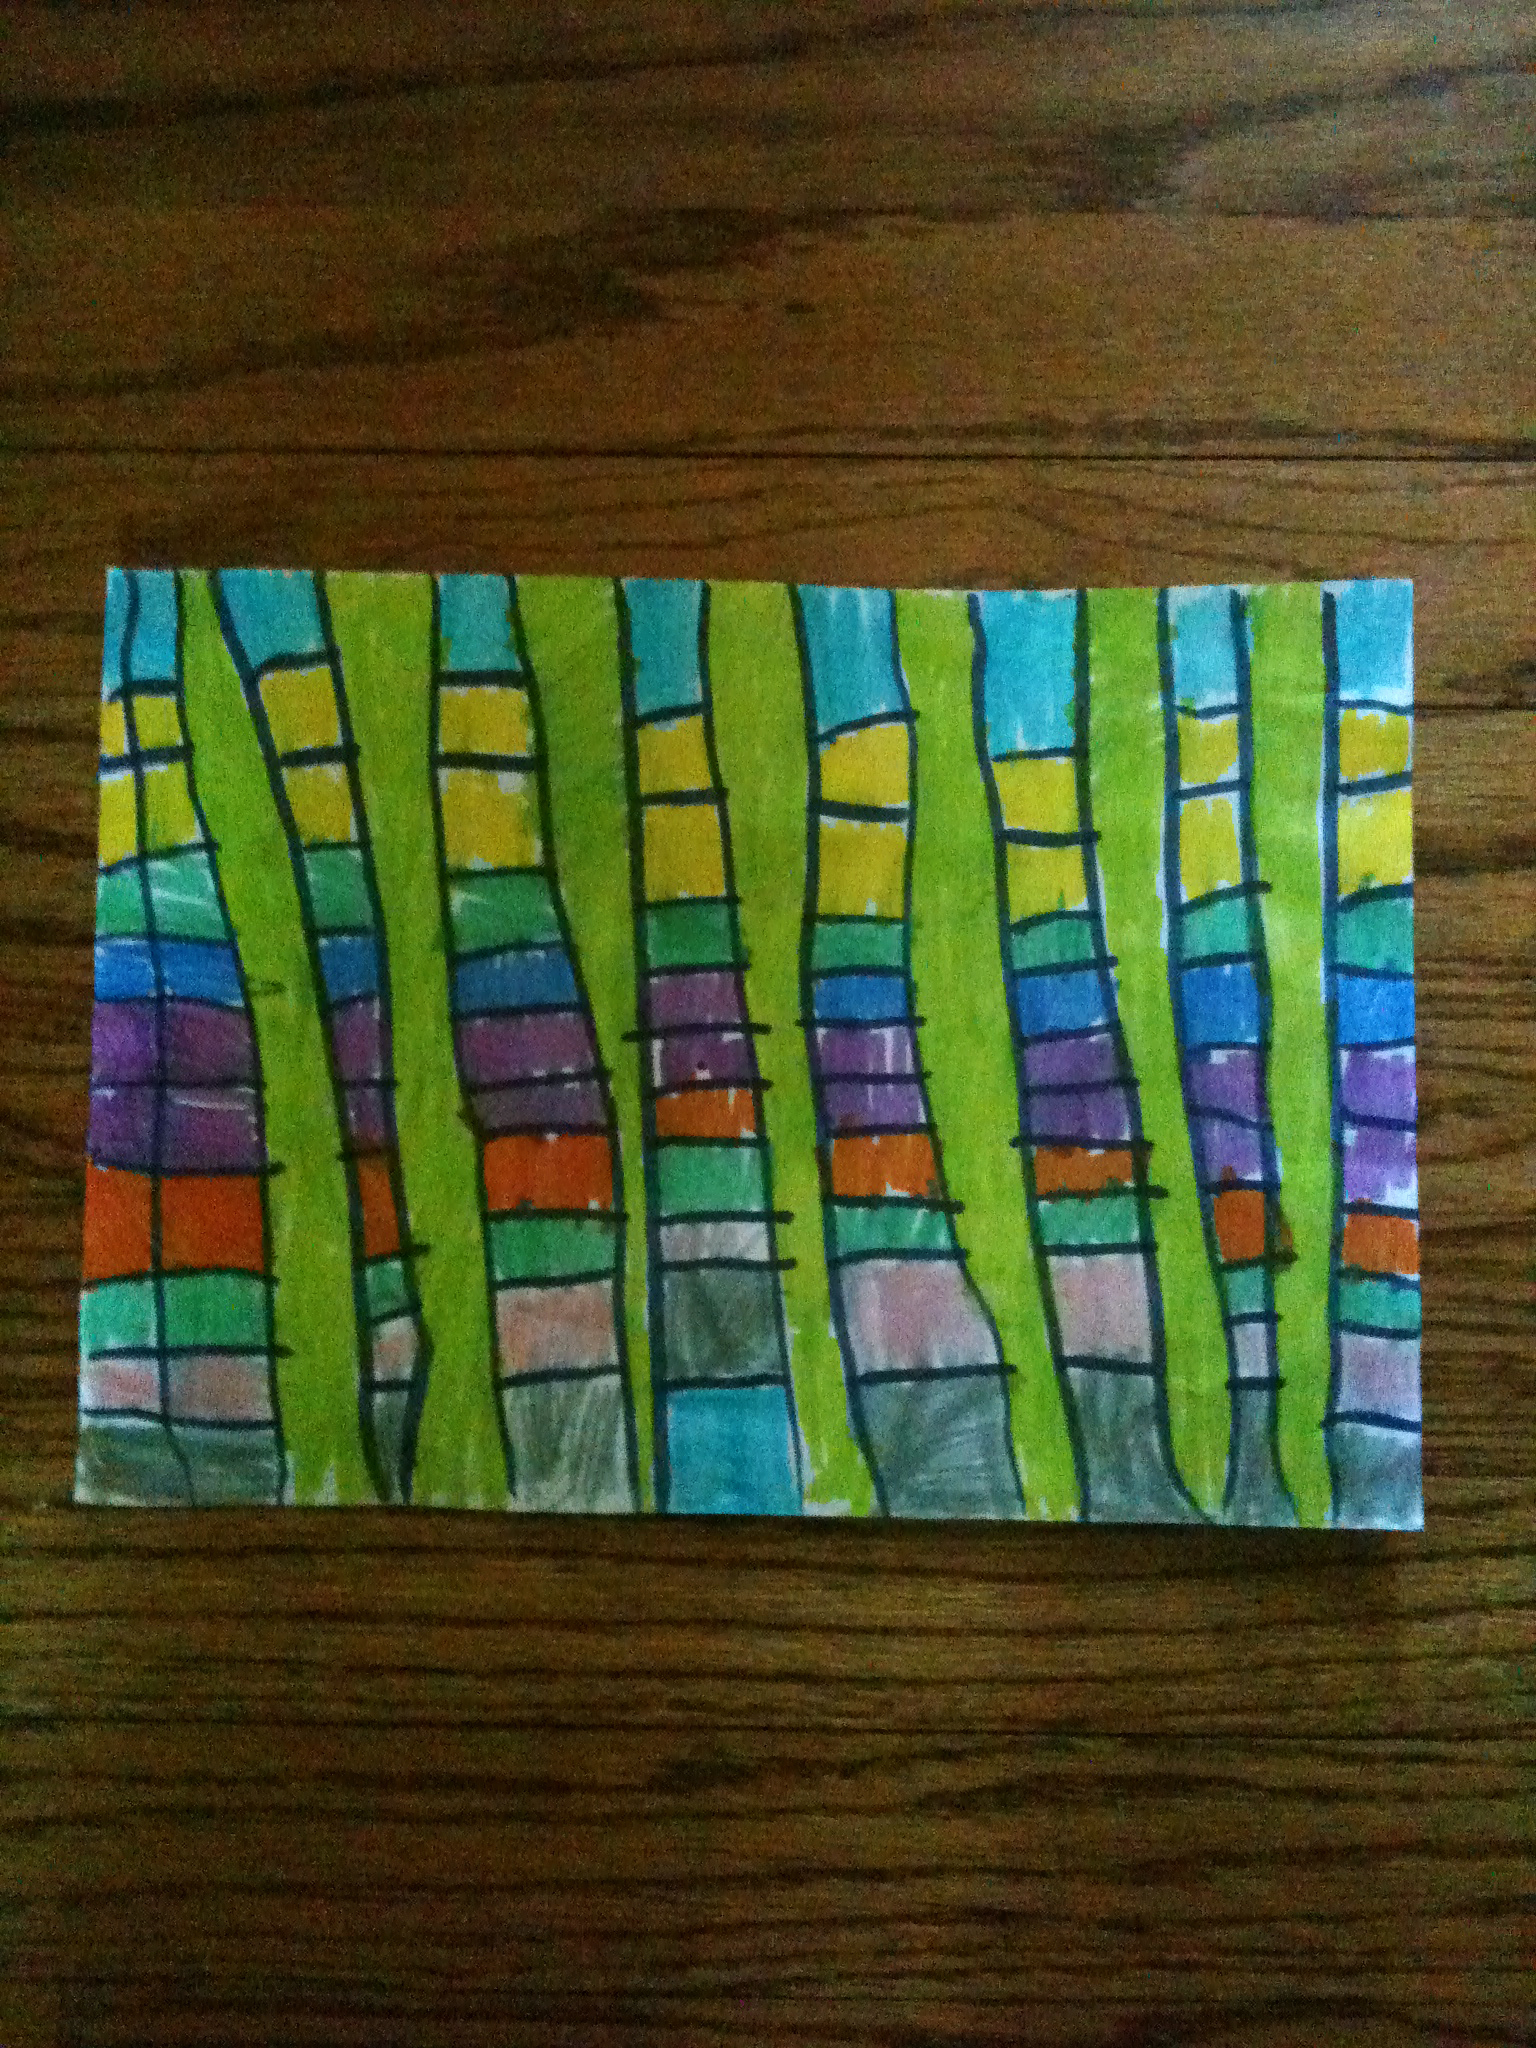
scooter girls and puppies

I finished this quilt a few weeks ago.  It's a mix of three jelly rolls - sherbet pipsputting on the ritz, and bella solid (off white).  I quilted it in a plaid pattern of groups of five lines on the vertical and groups of three lines on the horizontal.
The back is mostly a mix of Putting on the Ritz yardage along with a floral block from Barbara Brackman's Encyclopedia of Pieced Quilt Block Patterns.

This quilt was part of a silent auction at a benefit for the mother of a girl in cj's class who is battling cancer for a second time.  The bids went down to the wire with one of cj's para getting the final bid and the quilt.

I am still sewing around here

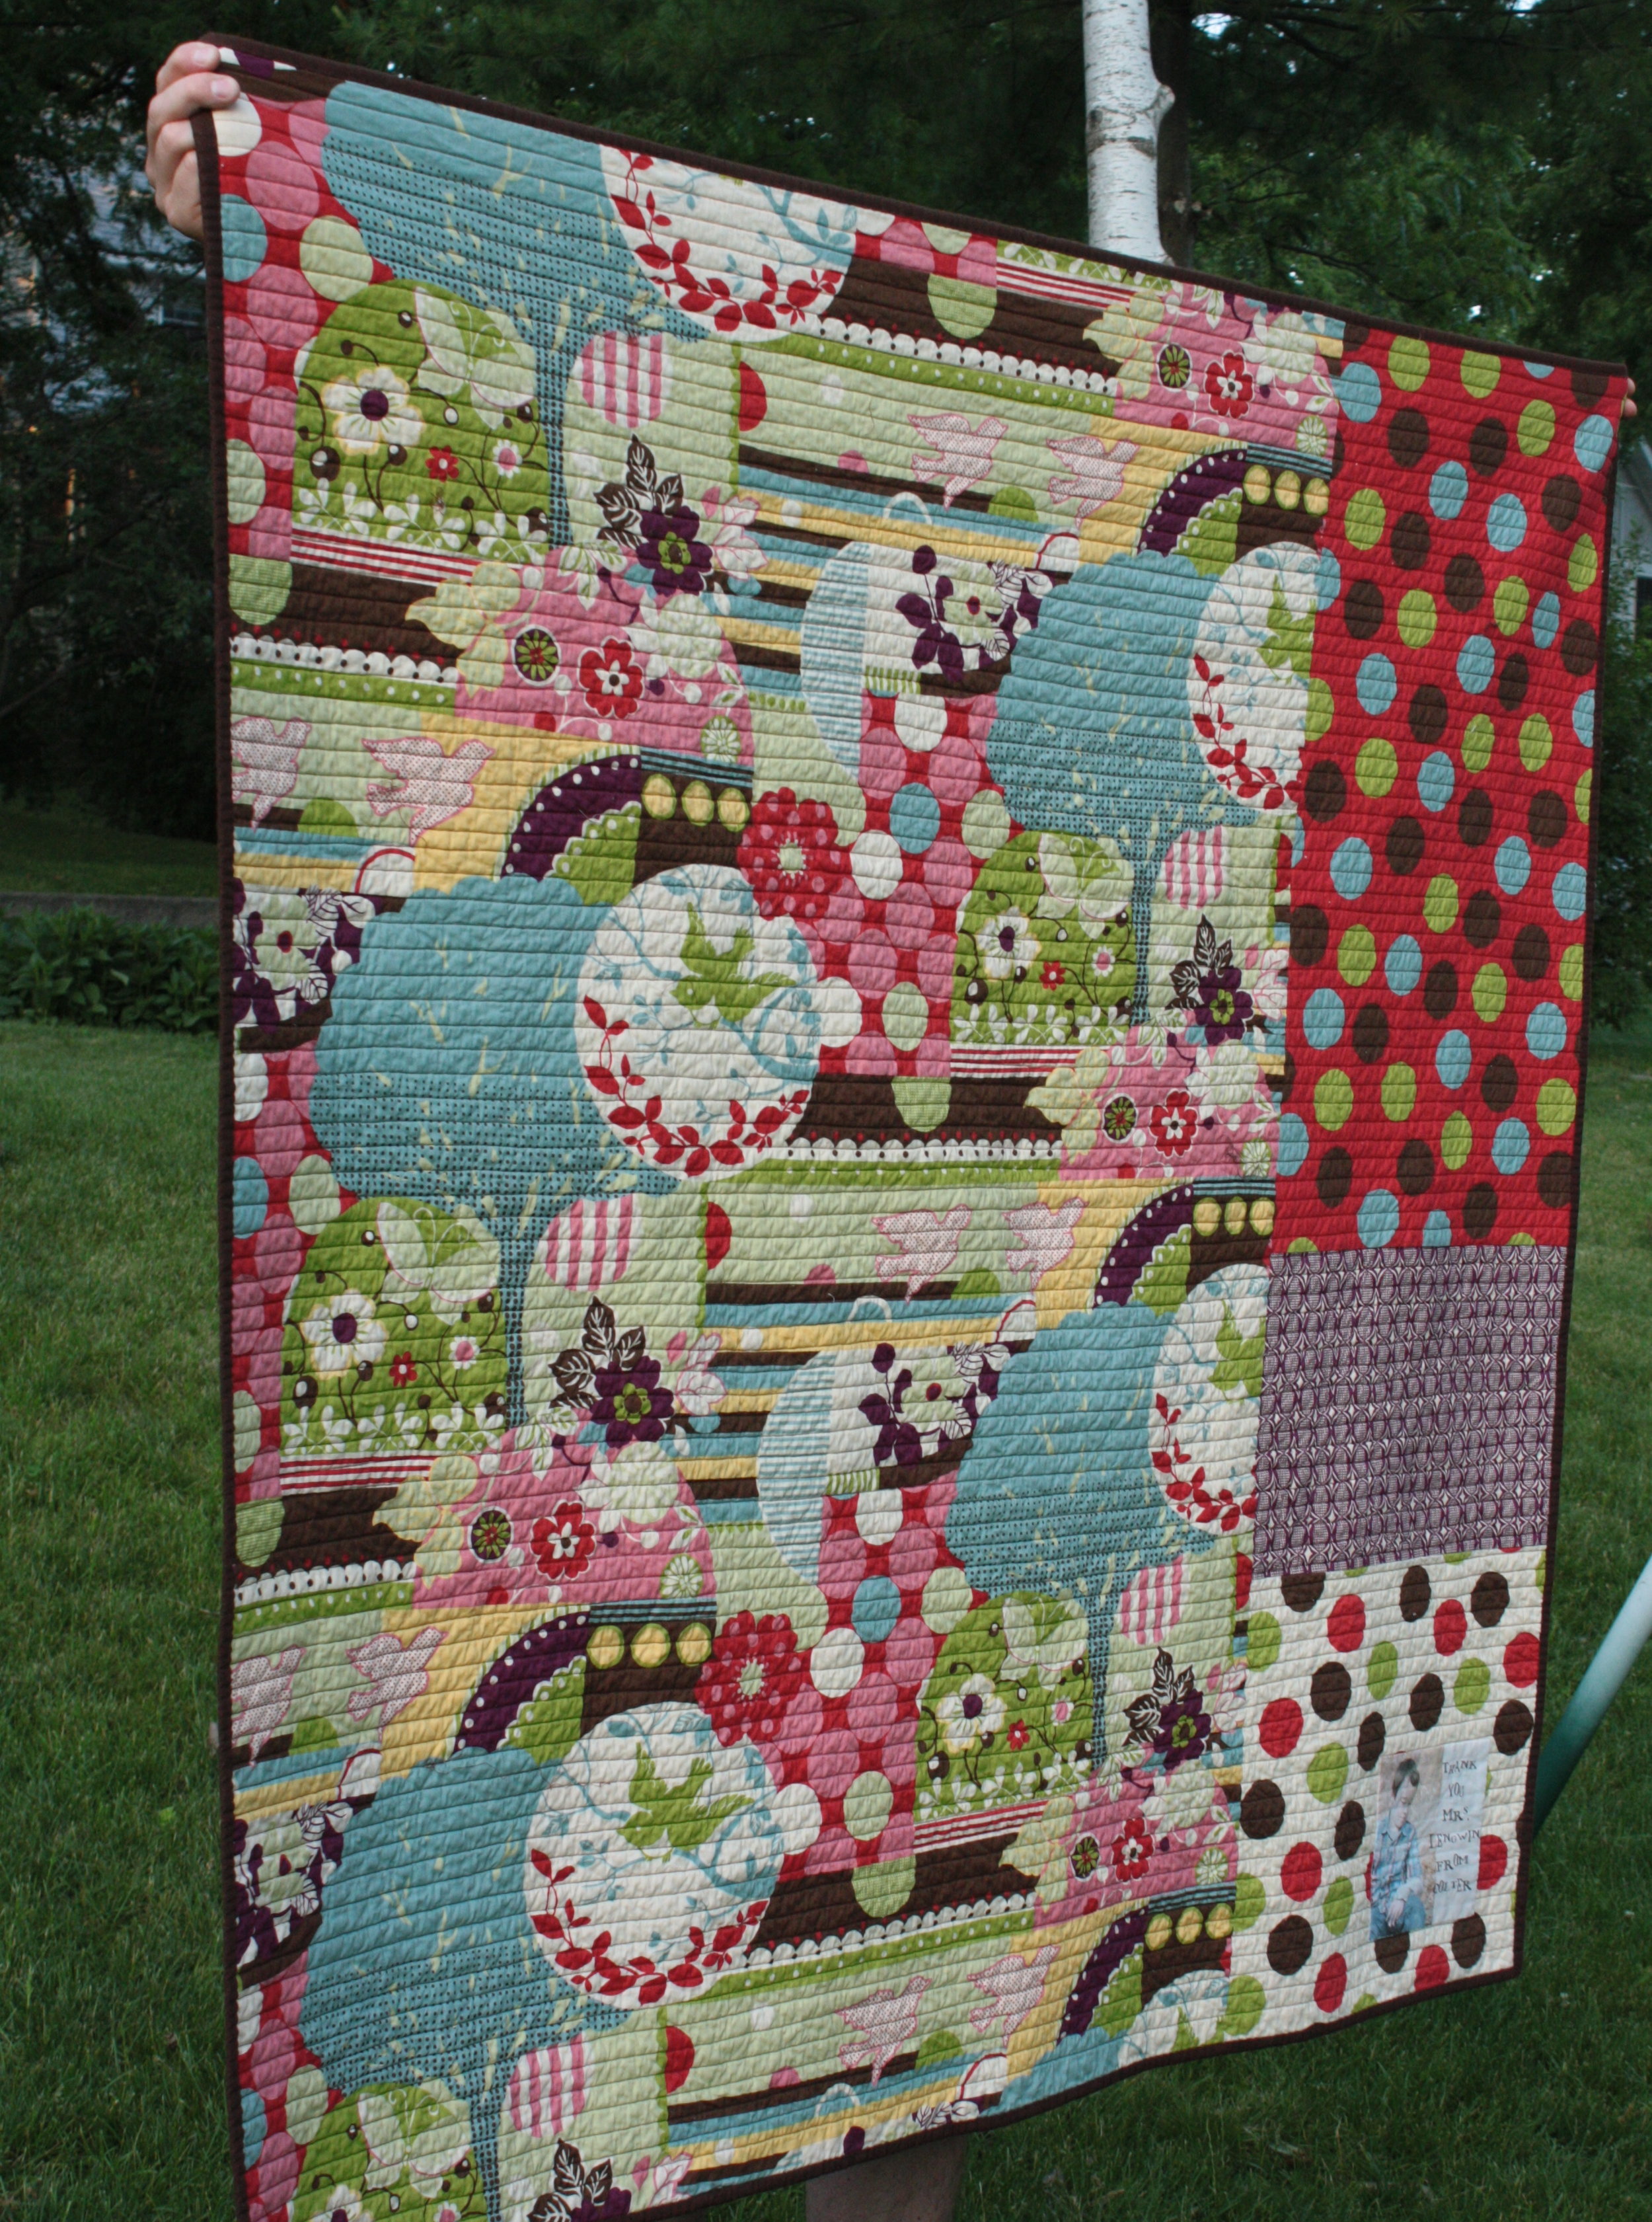
I just finished this quilt for a very dear friend of our family.

It's made with Freebird by MoMo for Moda.

The piecing is my design that evolved from playing with scraps and half square triangles.

It's quilted with straight lines every 5/8" in a chocolate brown thread.

I really love the denseness of the quilting.  It gives the quilt such great texture.

It's summer break here now, which means I have even less time to work on projects.  I will be spending the next week or two trying to find a "new" routine around here.  Which will most likely involve a lot of groaning and complaining when I pull out the workbooks and flashcards.